Week 3 - Geometry simplification of an Electronic enclosure assembly
Aim: To simplify CAD geometry into ICEPAK bodies using Ansys SpaceClaim and import the geometry into ICEPAK to check for interference.
Objectives:
- To explain the types of bodies in ICEPAK
- To create a workflow in Ansys Workbench.
- To import the geometry into Ansys SpaceClaim and simplify for ICEPAK-compatible bodies.
- To Load simplified geometry into ICEPAK to check for any interferences.
Objective 1.
There are four types of bodies in Ansys ICEPAK.
Focus Bodies: These bodies are the most important, these emit heat or obstruct the flow of the system.
Necessary Bodies: These bodies have some effect on the focus bodies, so have importance in the analysis.
Peripheral Bodies: These bodies may or may not affect the focus bodies.
Dispensable Bodies: The bodes don't affect the physics of the analysis and can be neglected.
Objective 2.
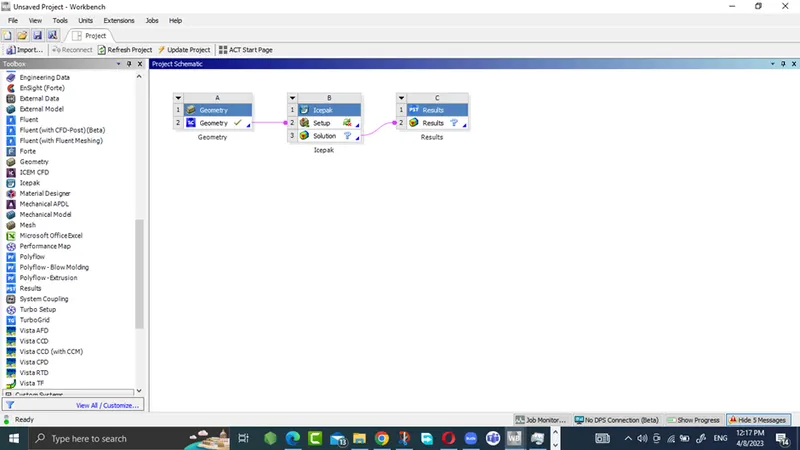
Workflow for the given analysis.
Workflow is created by dragging and dropping from the Workbench component system.
Objective 3.
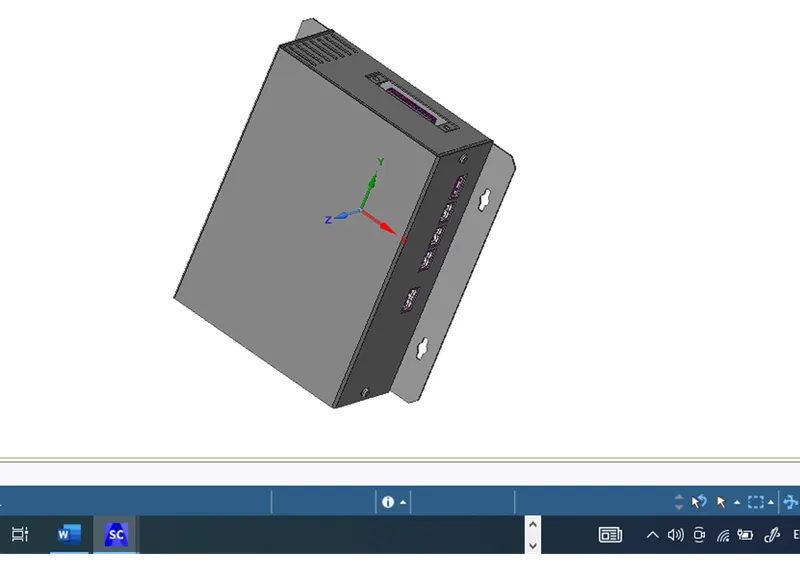
By right-clicking on the geometry component edit geometry with SpaceClaim is selected to load the given CAD geometry into the SpaceClaim.
Given CAD Geometry.
Tools and Commands used for simplification.
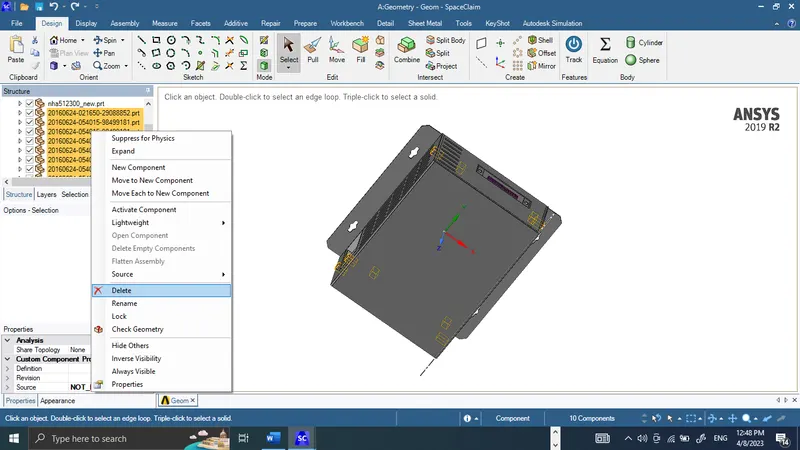
1. Delete Command to delete unnecessary bodies like screws and washers.
2. Split Body Command.
Split Bodies command is used to remove unnecessary flanges useless in the analysis and to convert combined CAD bodies into individual bodes to be simplified for ICEPAK bodies.
3. Delete Command to delete unnecessary rounds.
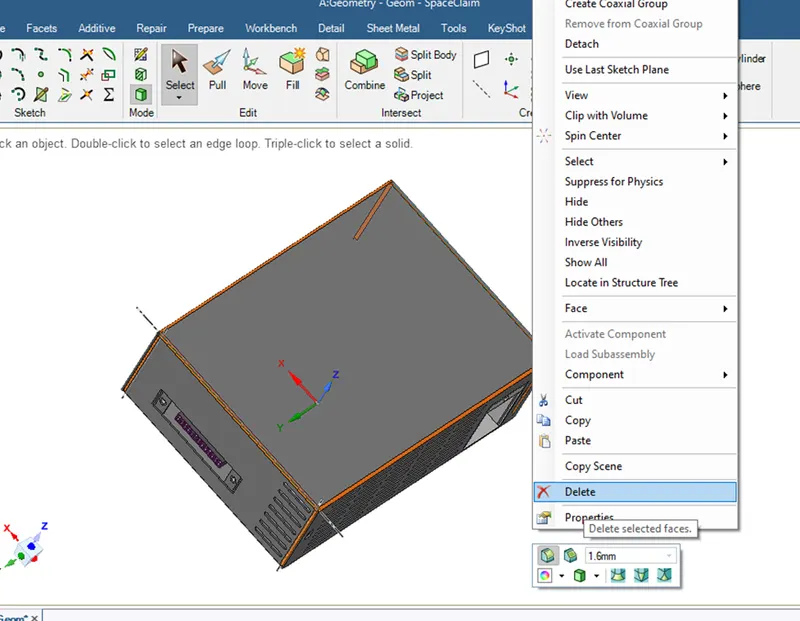
CAD Body with removed unnecessary rounds at model edges.
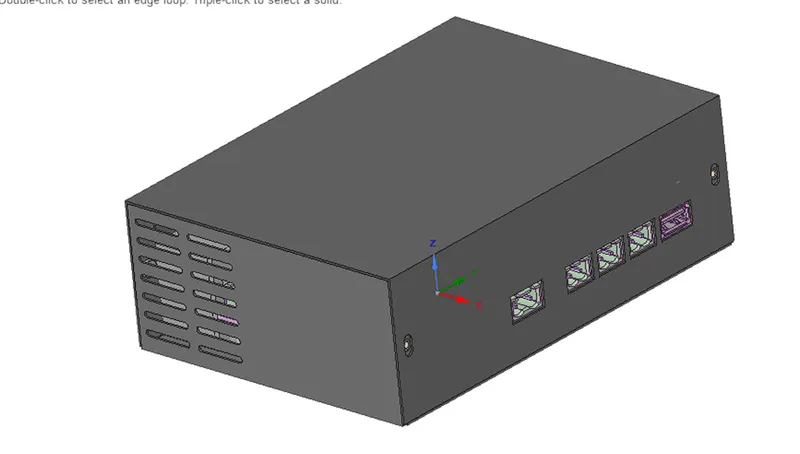
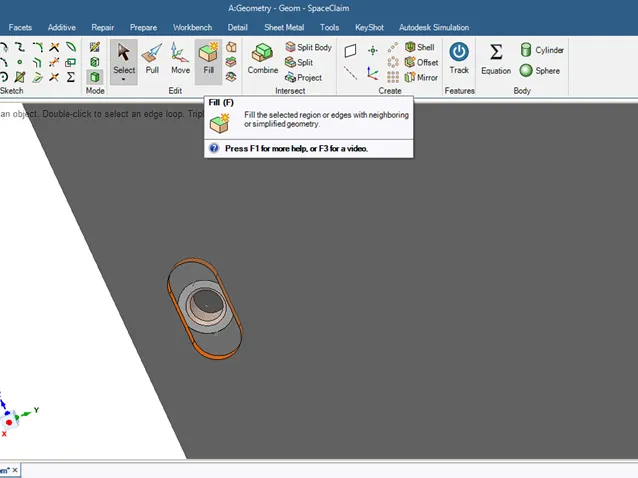
4. Fill Command to fill unnecessary holes and slots.
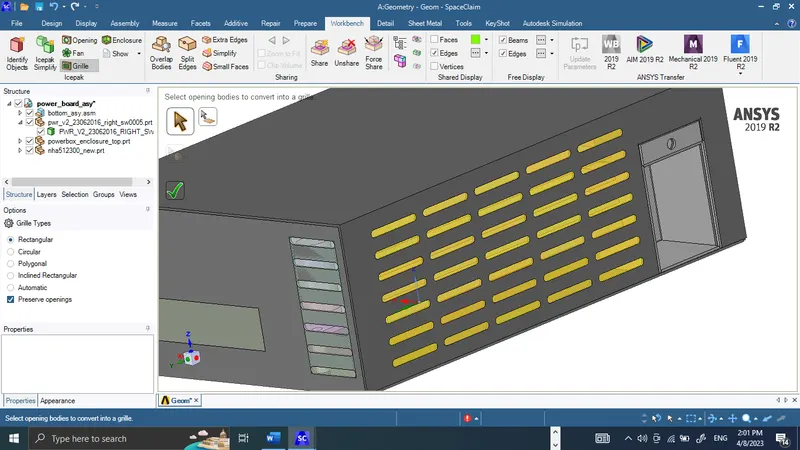
5. Opening and Grille Command to put openings and grills wherever required.
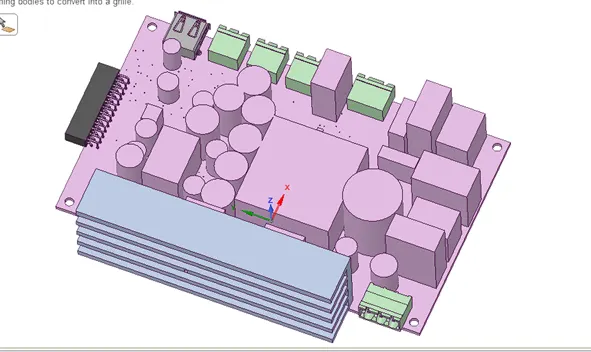
CAD model of power board without any modification or simplification.
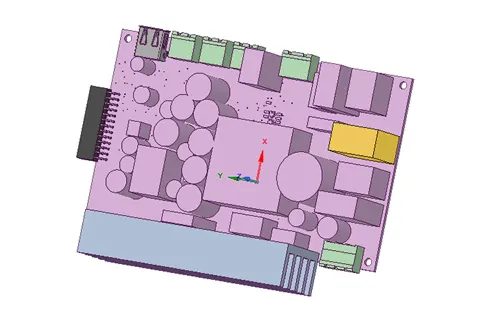
Power board after Split Body Command.
6. Identify Objects Command to identify ICEPAK bodies.
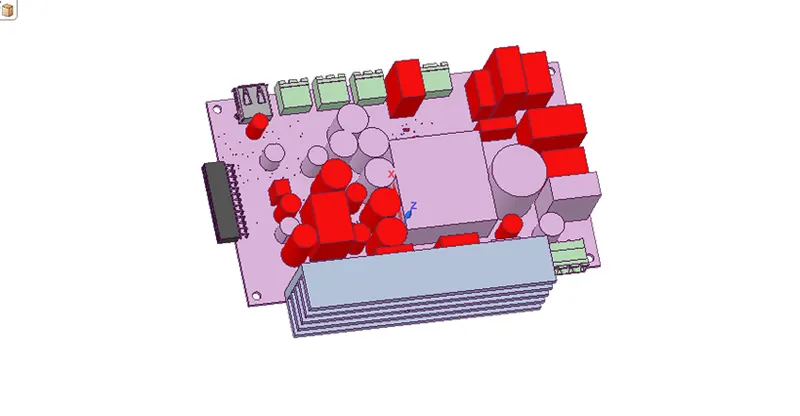
Non-ICEPAK Bodies.
ICEPAK Simplification.
Level 0 (Bounding Box)
To simplify the square CAD body into the ICEPAK body given below.
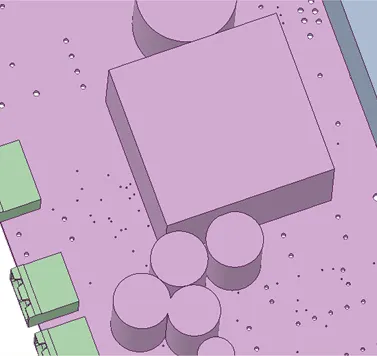
Level 1 (Cuboid, Cylinder Fit)
Level 1 is used for cylinder and cuboid fit for the cylindrical body to be modified for the ICEPAK body.
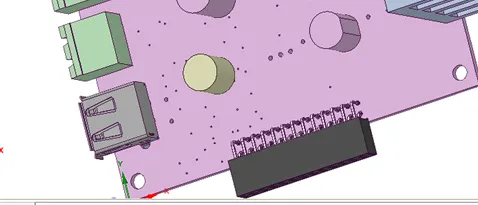
Level 2 (Polygon fit)
Bodies are analyzed along a specified direction and fit within polygon shapes, bodies can be split into multiple polygons if desired.
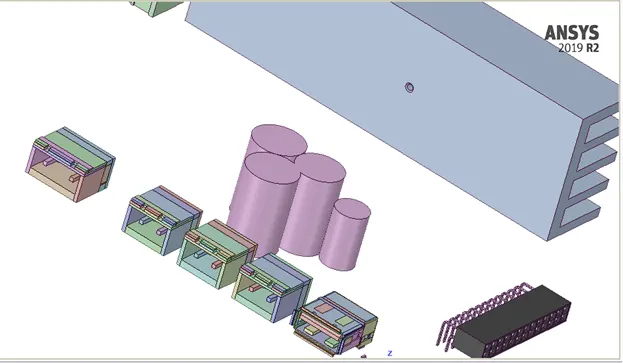
Level 3 (CAD Object)
It is used to modify a CAD Body into a CAD object compatible with ICEPAK analysis.
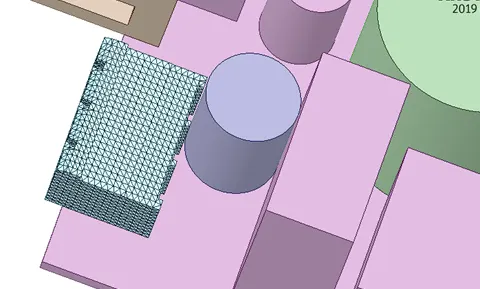
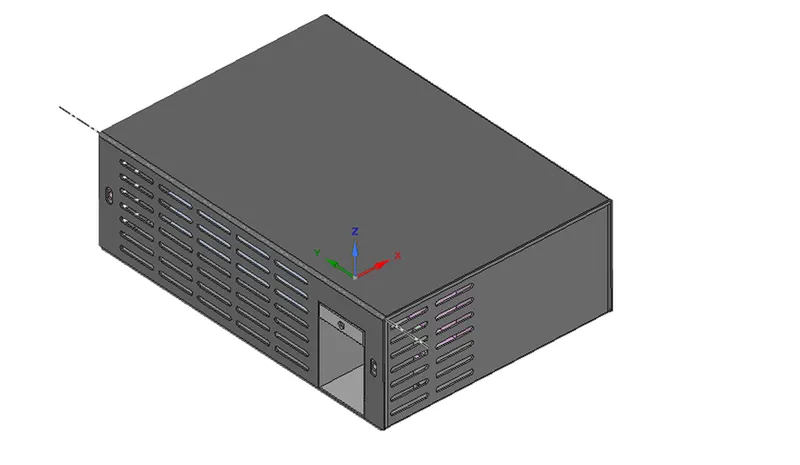
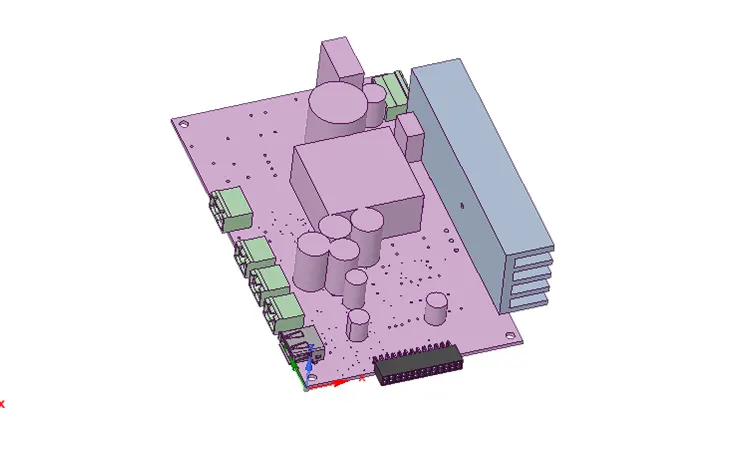
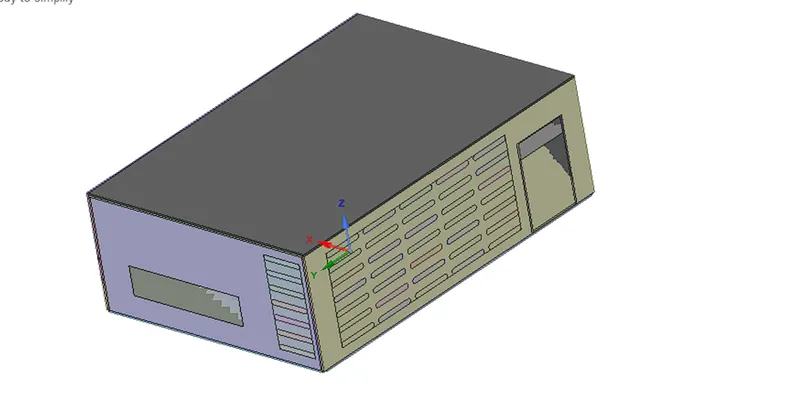
Above mentioned tools and Commands are used to modify a simple CAD geometry into the ICEPAK model geometry given below.
Objective 4.
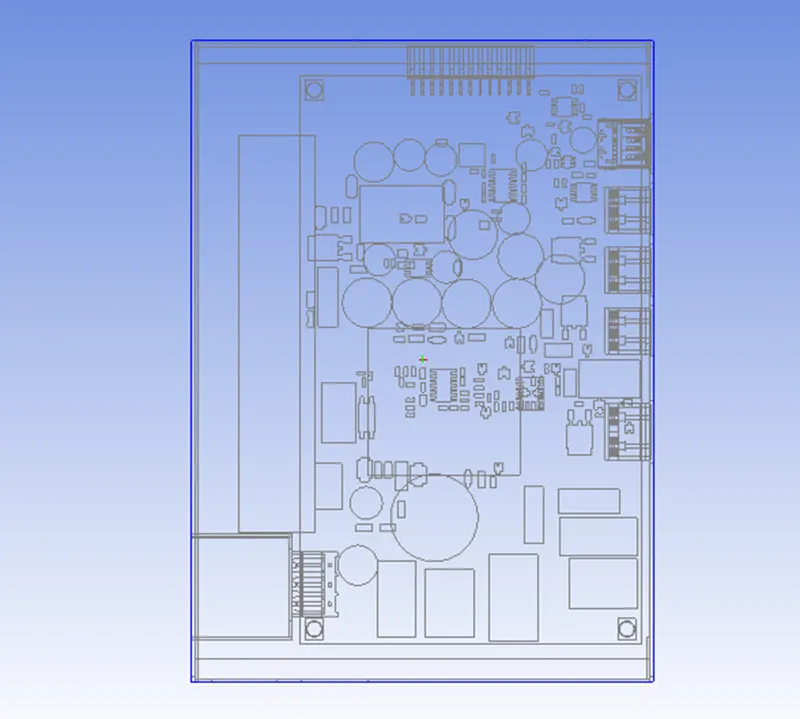
By double-clicking on ICEPAK Set Up in the Workbench workflow Modified ICEPAK model was successfully loaded to the ICEPAK module for further analysis.
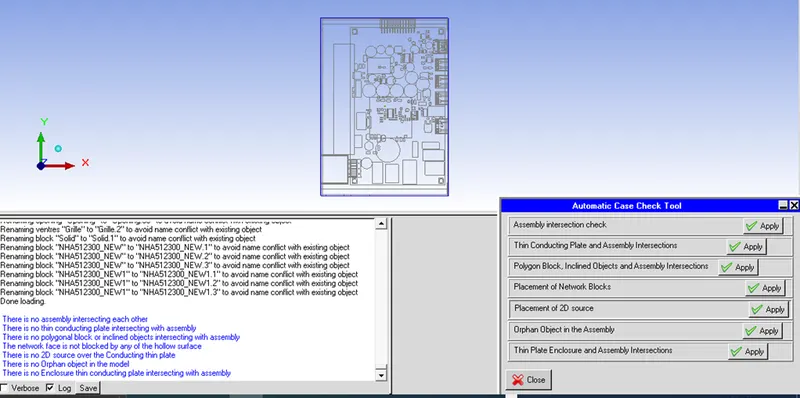
Automatic Case Check Tool is performed to check for any interference in loaded geometry.
Conclusion:
The given CAD model is modified to ICEPAK compatible model and loaded to the ICEPAK module and Automatic Case Check Tool and no error is found.
The model is ready for further analysis.