Drop test Challenge
OBJECTIVE: To build the input deck for a drop test simulation from scratch.
Note: The orientation of the cellphone is also important and there are specific guidelines on how to orient the products but for this assignment, we will ignore that. The objective of this assignment is not to get a correct simulation but to get a feel lof creating an input deck from scratch.
PROCEDURE:
- Solver deck set-up
- Open the given LS-Dyna keyword file in LS-Pre post.
- The keyword file consists of 3 FE parts: A simplified cell-phone model, a floor plate made of shell elements, and another floor made of block elements. We need only one type of floor. Hence we can delete the floor made of block elements and retain the floor plate made of shell elements. Delete it by going to parts option under the keyword manager.
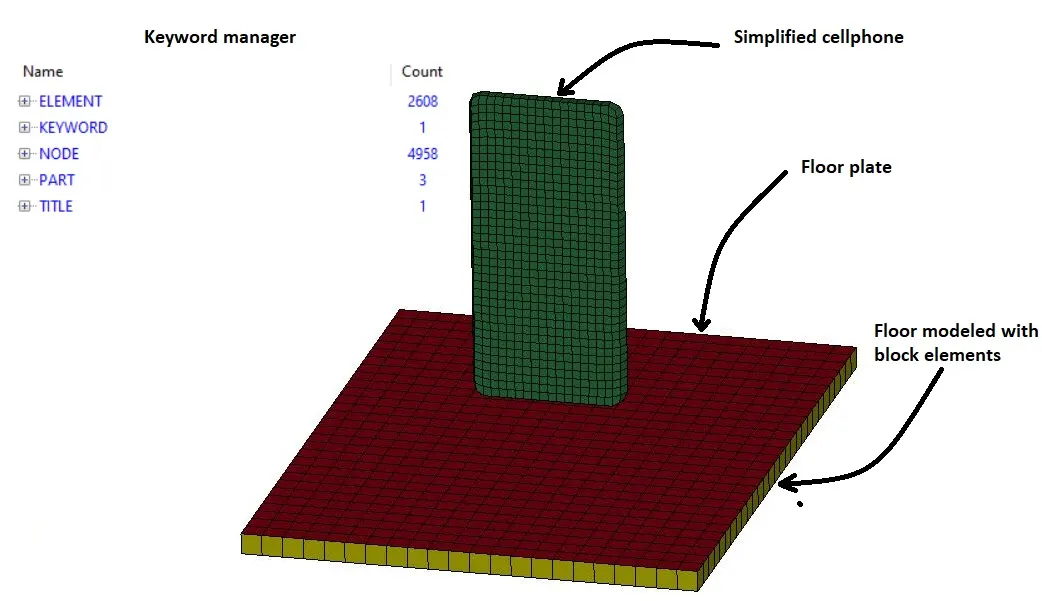
Figure 1. The imported keyword file
- Now go to the Parts option under the keyword manager button. The already present parts are not named properly. We will rename them as Phone and Floor respectively.
- Now we need to assign proper materials and sections to the parts. The floor has to be modeled as a rigid part and the phone is to be modeled using an elastic material. In this case, I chose aluminum as the material for the phone. The material properties of aluminum were used to define the Aluminium material card and it was assigned to the phone part. While defining the material for the floor plate, the CMO(Centre of mass constraint option) was set as 1 to apply global constraints on the floor. Con1 and Con2 both were set as 7 in order to completely constrain the floor plate in space.
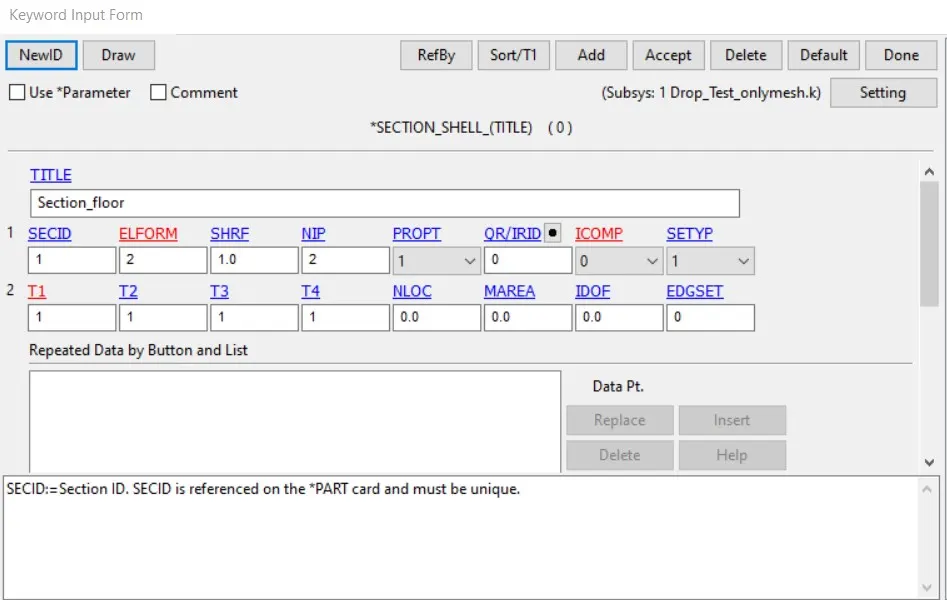
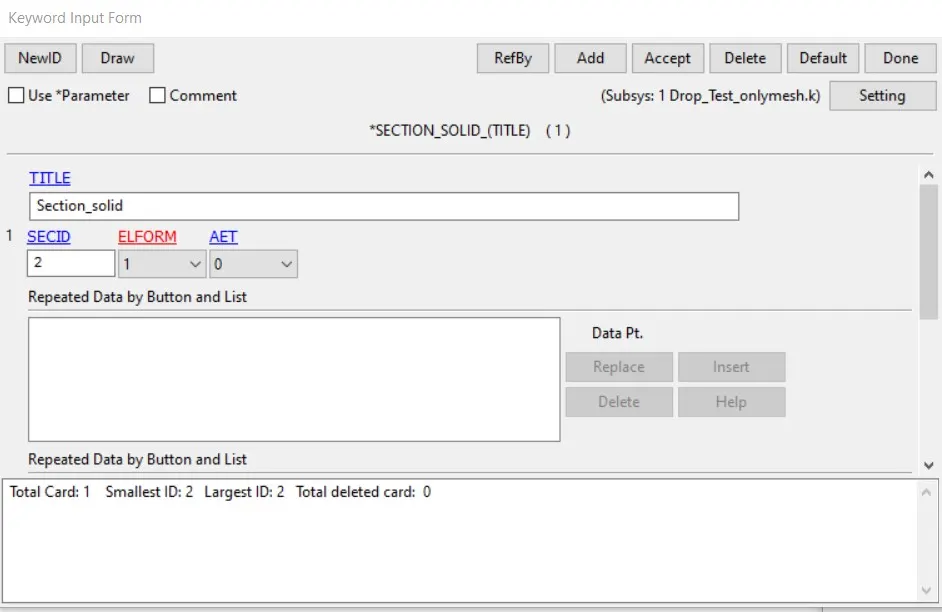
(a) (b) Figure 2.(a) Floor section card (b) Phone section card
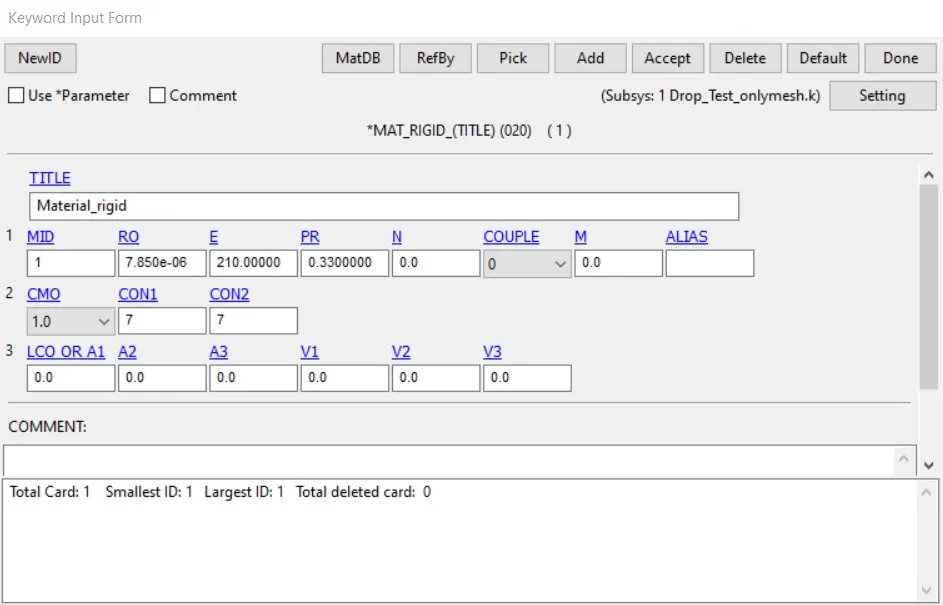
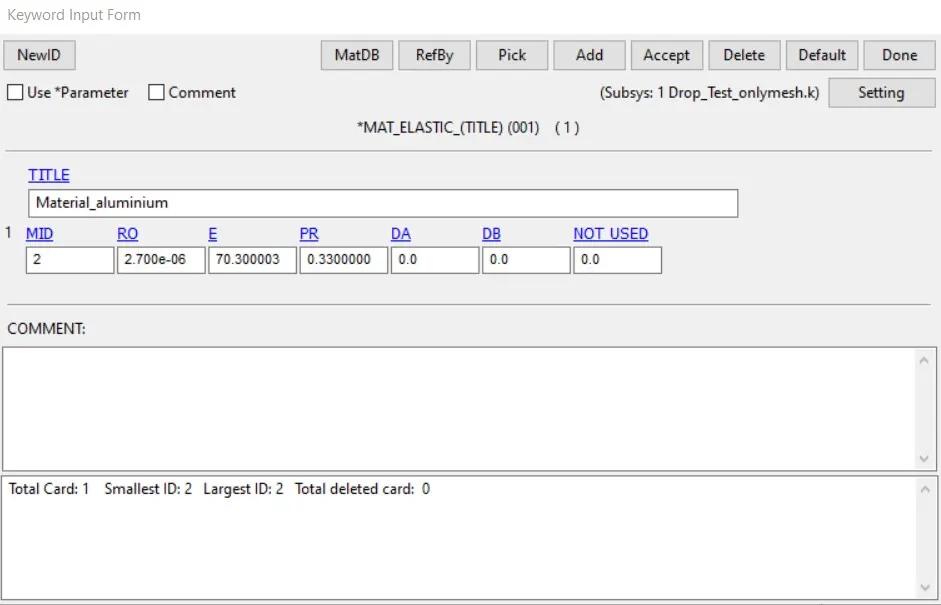
(a) (b) Figure 3.(a) Floor material card (b) Phone material card
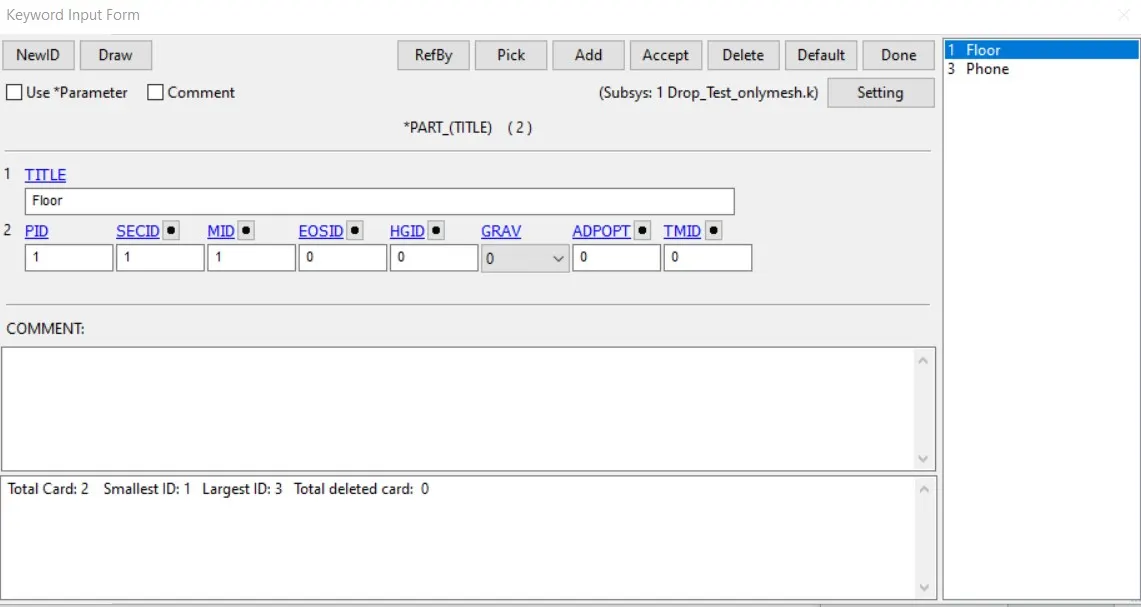
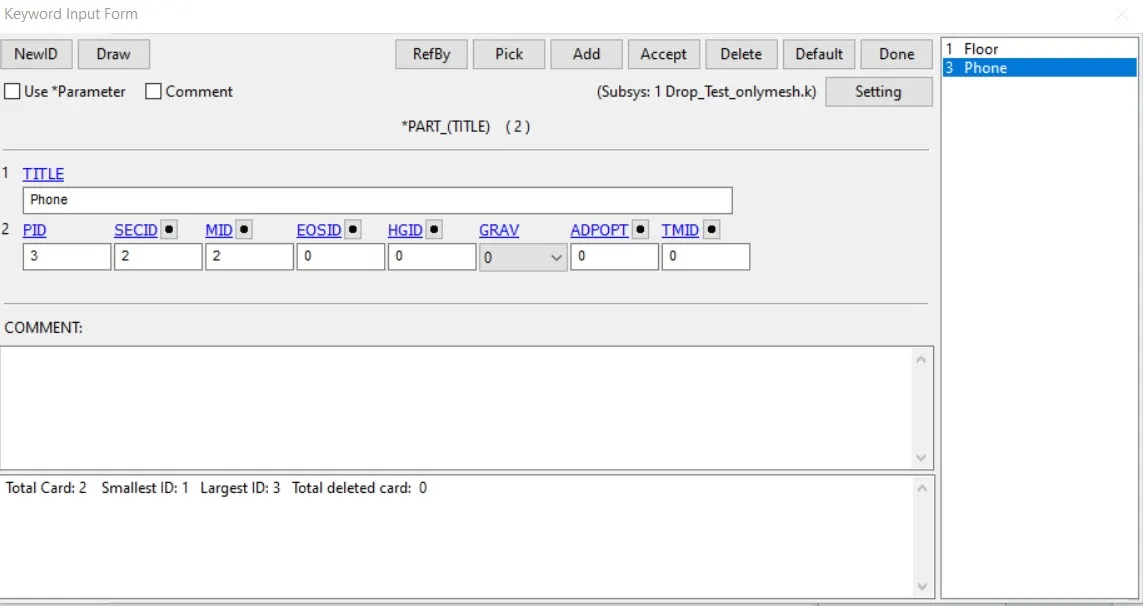
(a) (b) Figure 4.(a) Floor part (b) Phone part
- Now that we have completely defined the parts, we will move on to defining the boundary conditions. We have to assign an initial velocity to the phone in the negative Z direction. In order to do that we first need to create a node-set containing all the nodes of the phone. We can do it by either using the Create entity option or by going into the sets option under the keywords manager. After creating the node-set, assign an initial velocity to this node-set by using the velocity option under the Initial keyword in the Keywords manager.
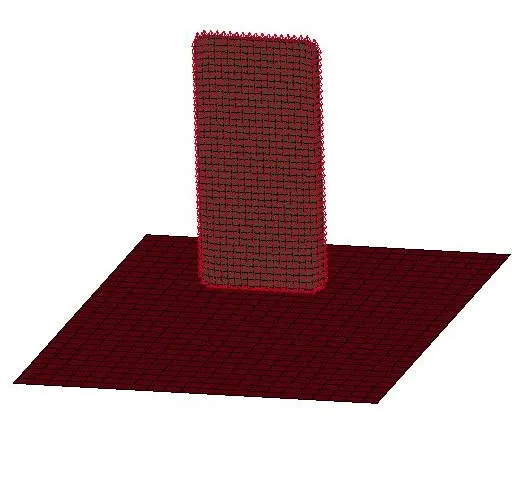
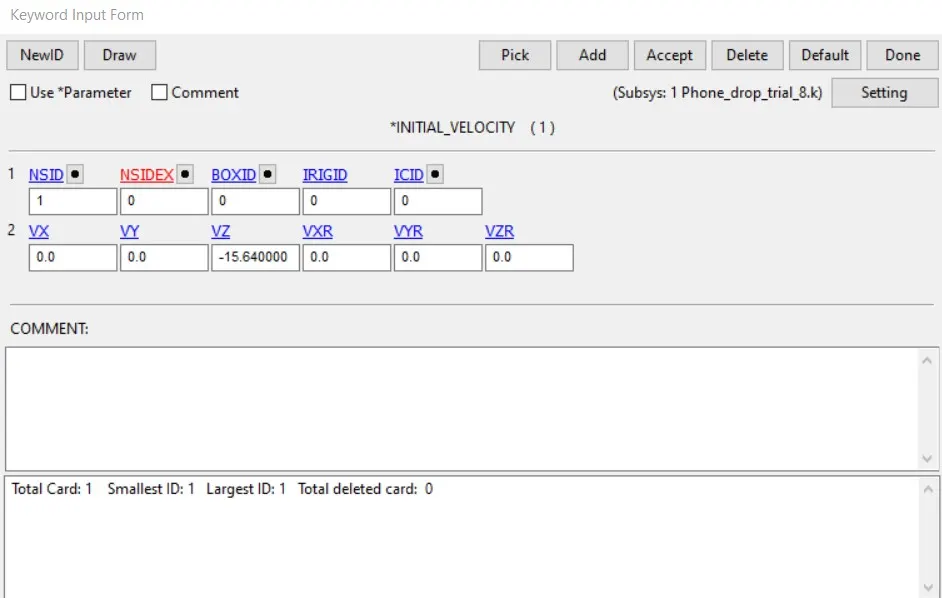
(a) (b) Figure 5.(a) Node-set containing the nodes of the phone (b) Initial velocity(-15.64 mm/ms in Z axis) assigned to the node-set
- Now we need to define contact between the Phone and the floor in order for the impact to occur. An automatic surface to surface contact is defined using the contact keyword under the keywords manager, keeping the floor as the master part and the phone as the slave.
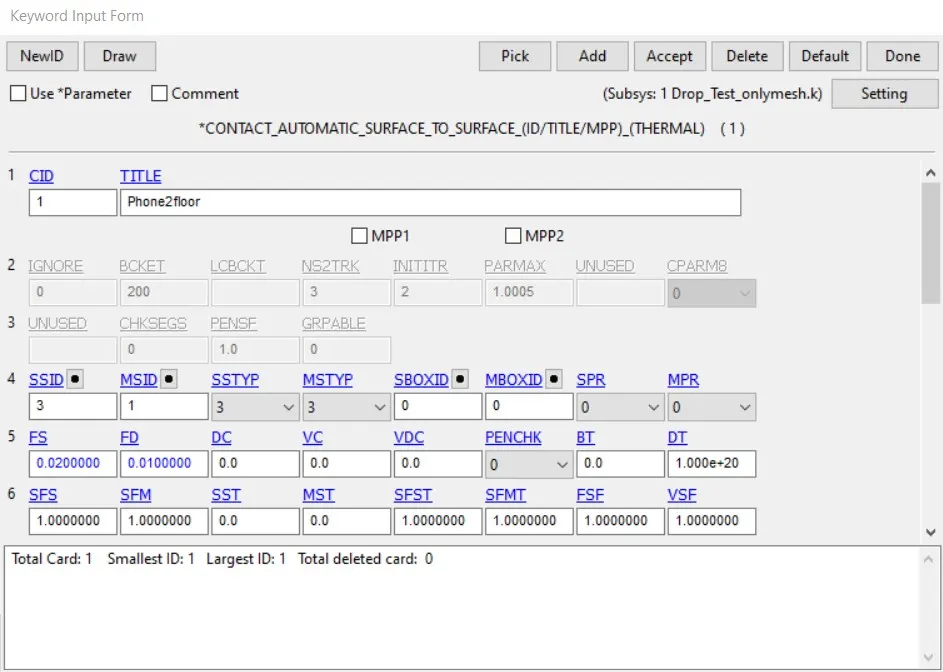
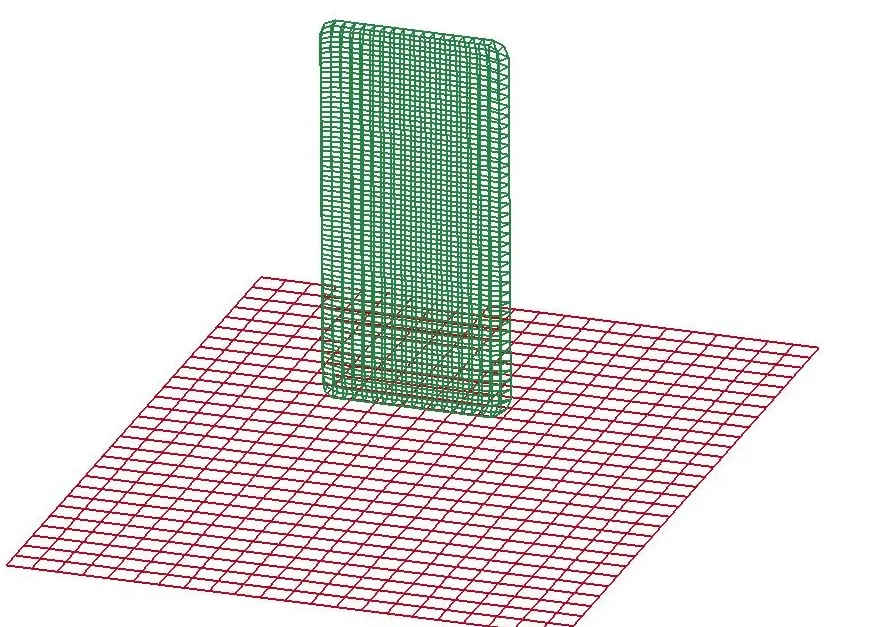
Figure 6.(a) Automatic surface to surface contact defined
- The distance between the bottom edge of the phone and the floor plate is roughly 11 mm. With an initial velocity of 15.64 mm/ms, the impact will most likely happen after ~0.7ms. So the termination time has to be greater than 0.7 ms to capture the impact properly. Thus we will define the termination time as 2 ms.
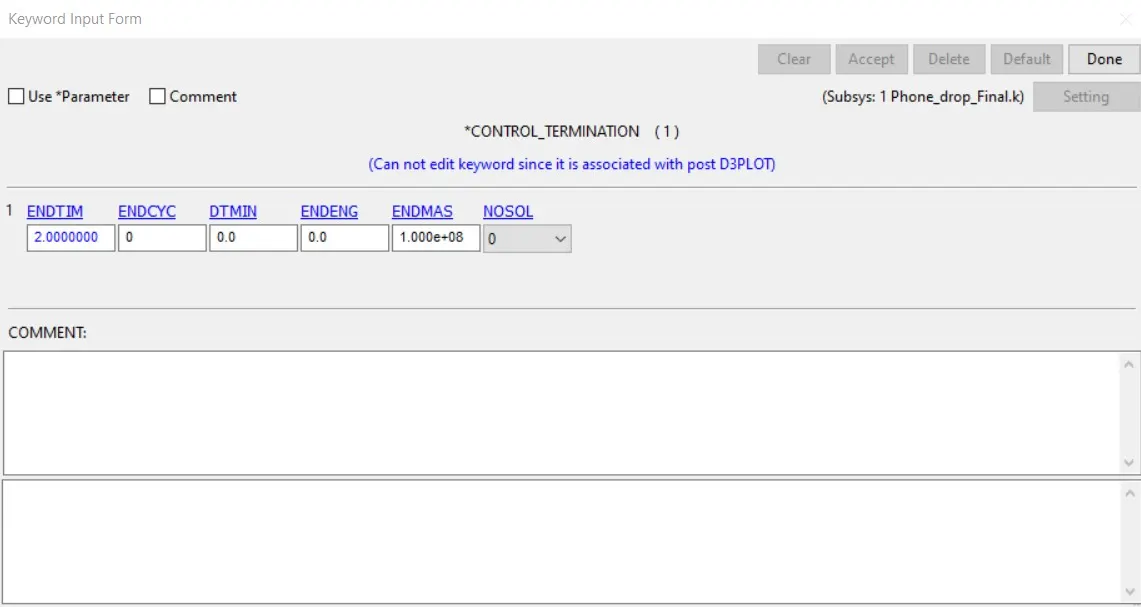
Figure 7. Termination time set as 2 ms
- Result requests
- The result requests are made using the Database keyword.
- Under the ASCII option, we will select the GLSTAT(global statistics), Matsum(Material energies), and RCFORC(Resultant Interface Forces). The Time interval between outputs(DT) is kept as 0.01 for all the results.
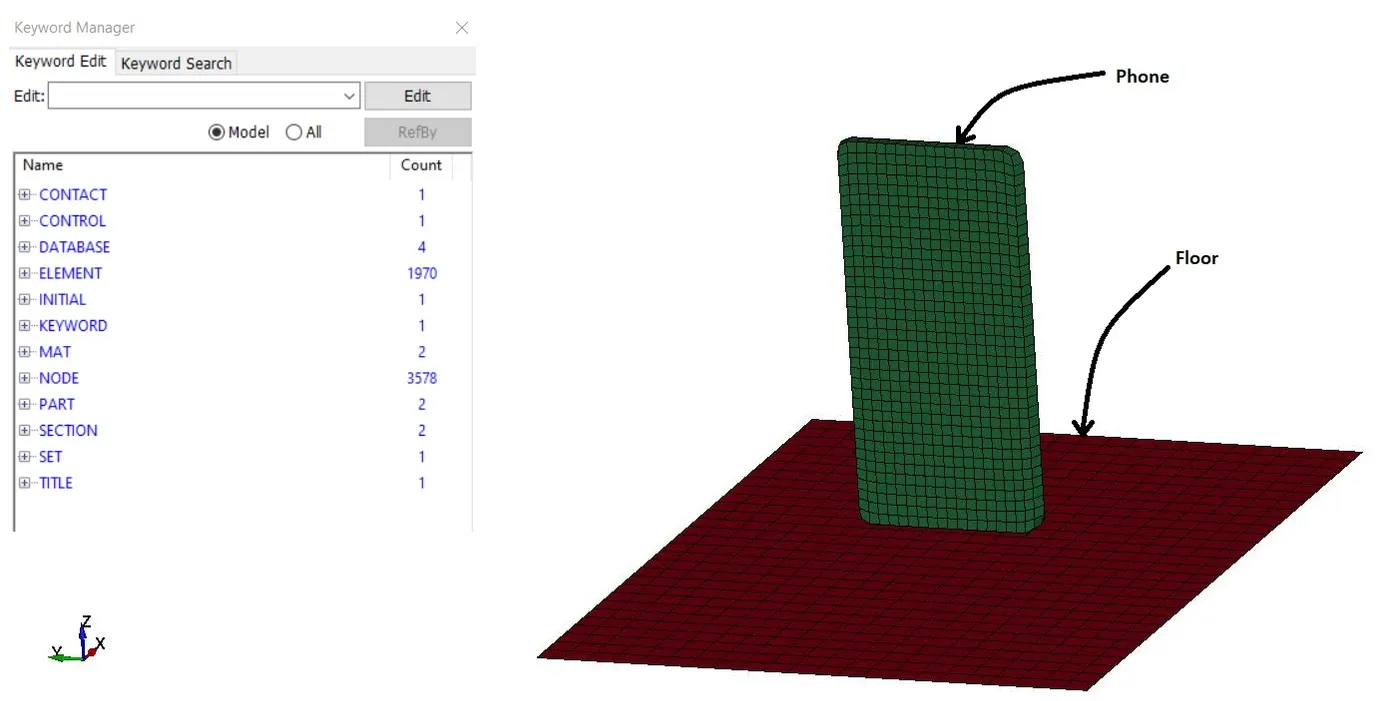
Figure 8. Final keyword file
Now run the analysis using the LS Launch manager.
RESULTS:
- The stress contour animation clearly shows the stresses getting developed as the phone impacts with the floor. The max stress observed is 0.114 GPa. There seem to be some abnormalities in the results but the objective of this assignment is satisfied.
The impact simulation is shown below.
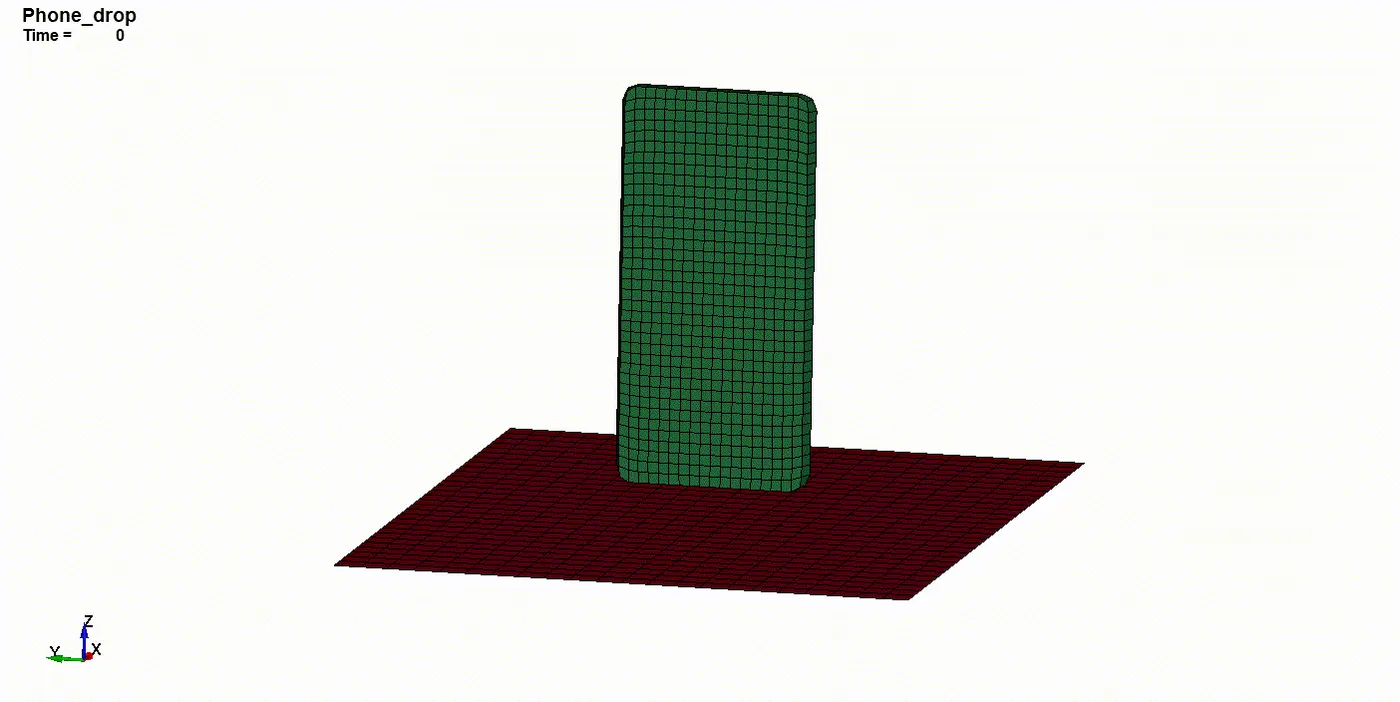
Figure 9. Drop animation
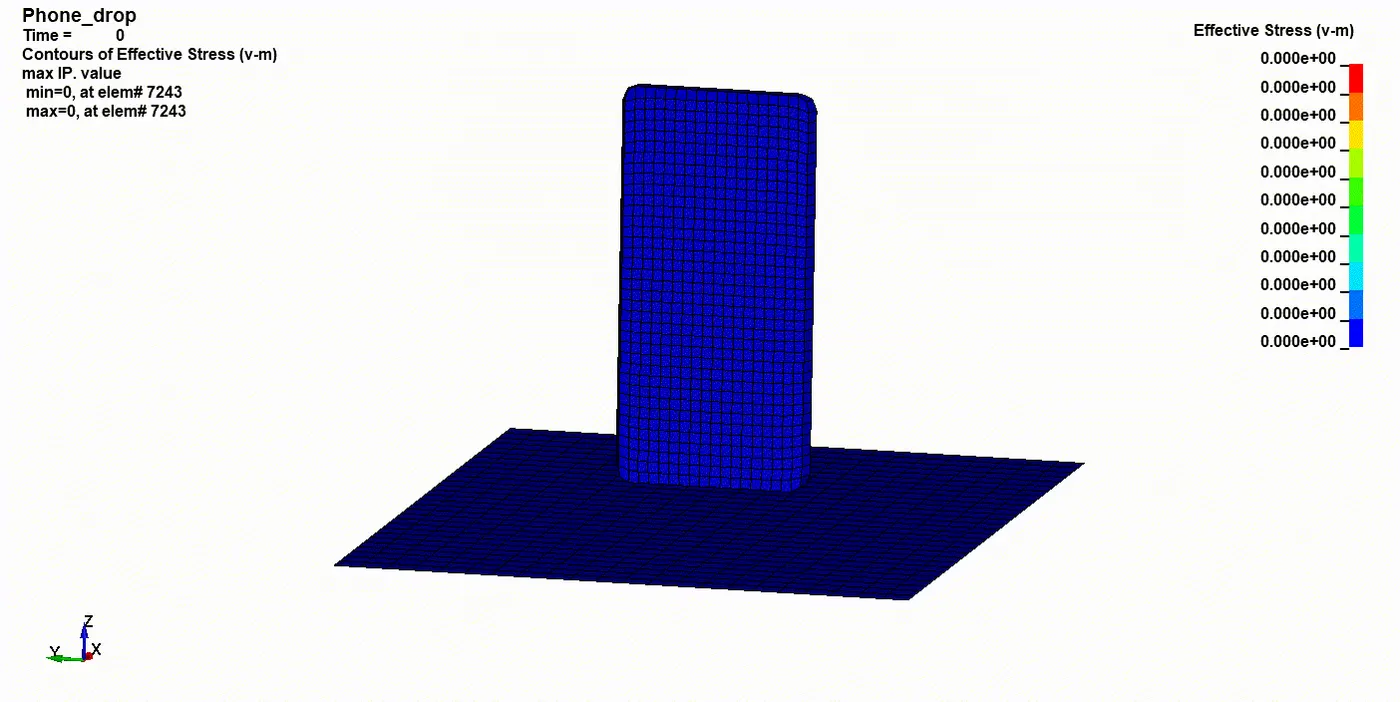
Figure 10. The von-mises stress contour animation
CONCLUSION:
- The solver deck for the drop test was created from scratch.
- The analysis ran successfully, giving the requested results.
Click here to view the completed files.