Week 3 - 2D meshing for sheet metal
STRUCTURAL ANALYSING USING ANSA FOR THE GIVEN HOOD MODEL
AIM
To perform a topology and performing good mesh flow and quality checking using ANSA using the following given criteria.
PROCEDURE
The first step we have to follow on these steps is to check for the geometry errors. Before we doing this, separate all the parts and give a separate property for each element, and check one by one. First do a geometry check-up and solving all those including triple cons, overlapping issues, cracks and improper geometry lines. In checking geometry errors that shown a nearly 51 errors and solve every error. And perform a topology for the entire geometry.
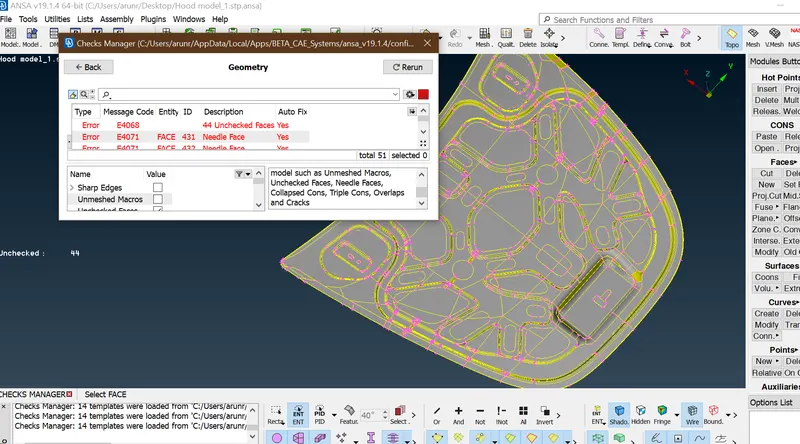
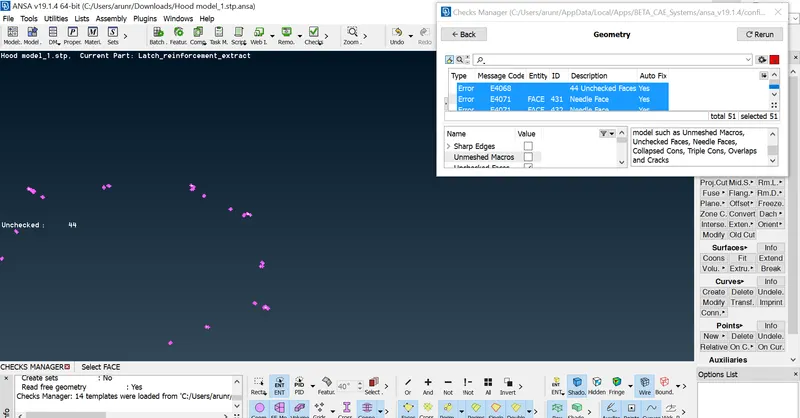
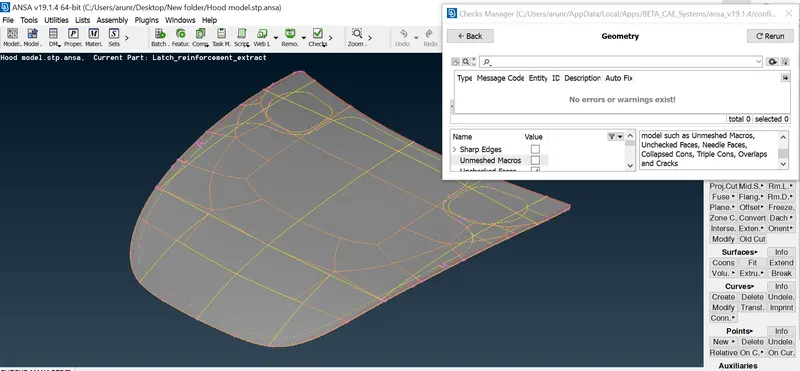
Geometry error before and after solving
MIDSURFACES
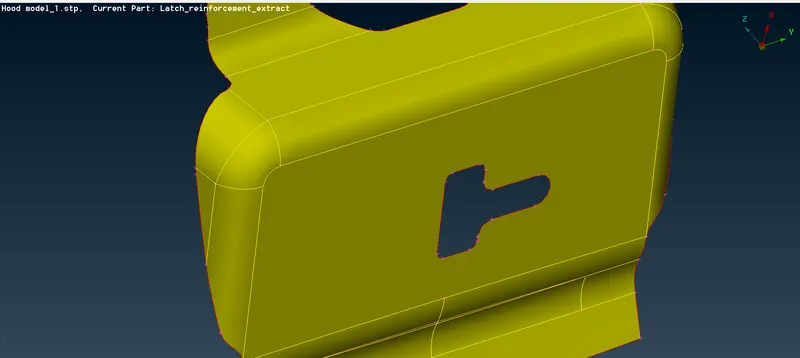
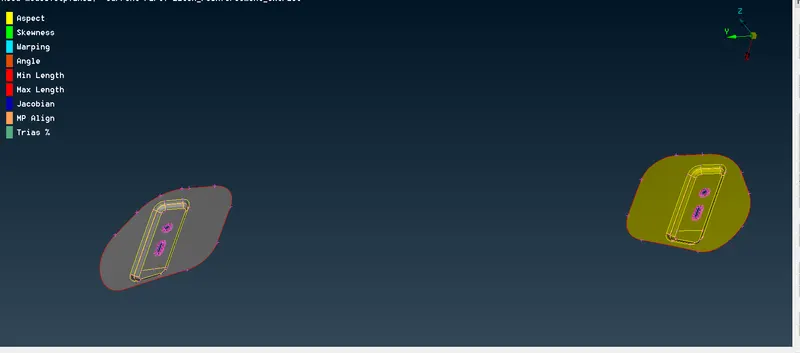
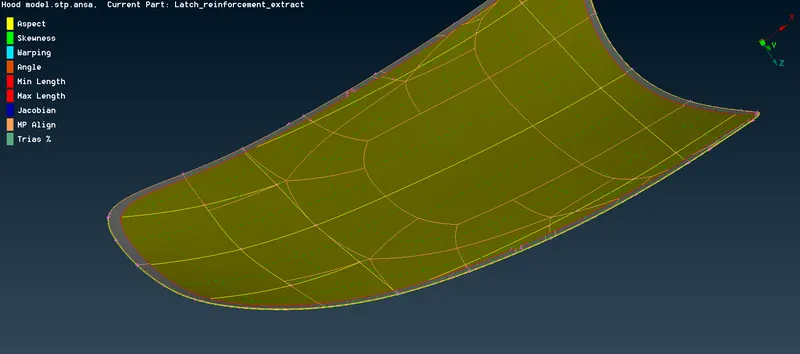
After the geometry clean up we move on to the mid surface generating. Here we can mesh over the 2d or 3d elements. But it not necessary to do meshing in 3d elements. if the element thickness is falls below 5mm we will go for the 2d meshing. To import the given model to be the 2d surface is go for mid surface generating.
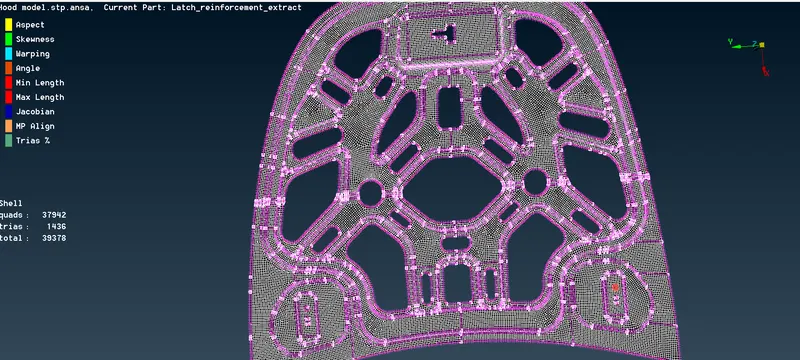
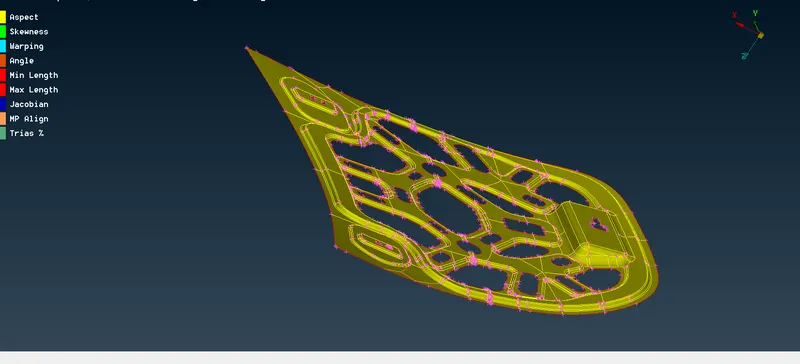
Mid surface can be generate manually and auto mid surfacing using the auto mid operation. Here we can do a mid surface by selecting on by one of surfaces or by selecting an entire part of the single side in a single click. This can be done by using a feature tool. This tool will be available only if you are doing any tool operation.
Feature tool also can assume a certain degree of angle to select the area of the surfaces, e.g.: if you give 40` angle it will select those nearest surfaces that were you selected the parent surfaces.
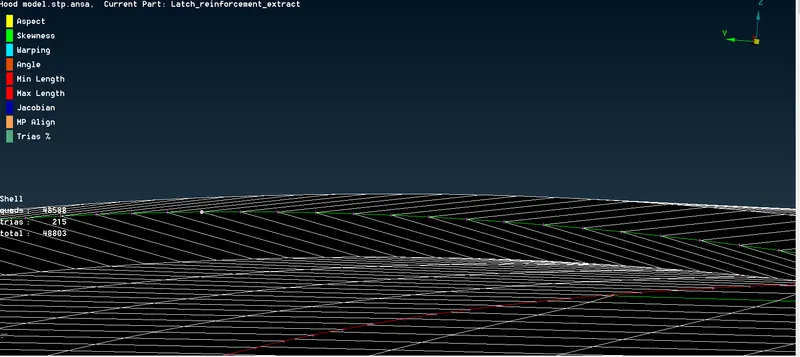
Defeatured area for helming region
Give a +/- value for the mid to create a 2d surface. To know the thickness of the sheet metal you can use a measure tool.
To view the mid planes use Boolean operation to view the certain planes, and separate those mid surfaces using lock and store it in a lock mode separately. In a safer side again check your geometry errors and if it done go for the meshing.
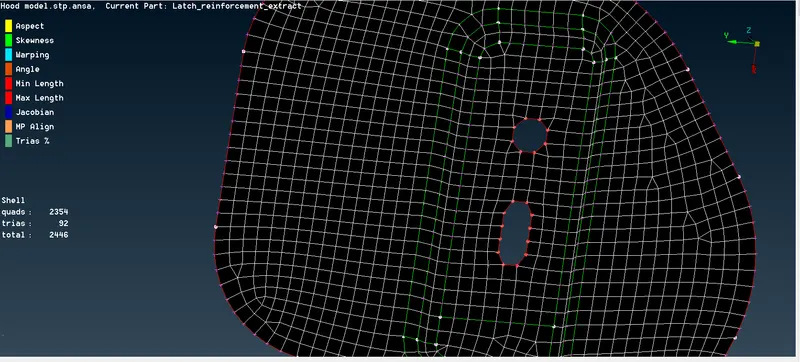
Before doing meshing import all your meshing criteria and give max &min length values. Make sure it all the perimeter distance is same length and use length tool to edit the perimeter and macros tool. now we need to check the unnecessary cons that are generated in the topology, try to delete that all the cons that are not needed using cut tool.
If all the criteria and cons deletion, create a mesh option using the meshing<best<select. Here you can select those surfaces by single part or selecting the whole cons selection using the Ent mode and Macro selection mode.
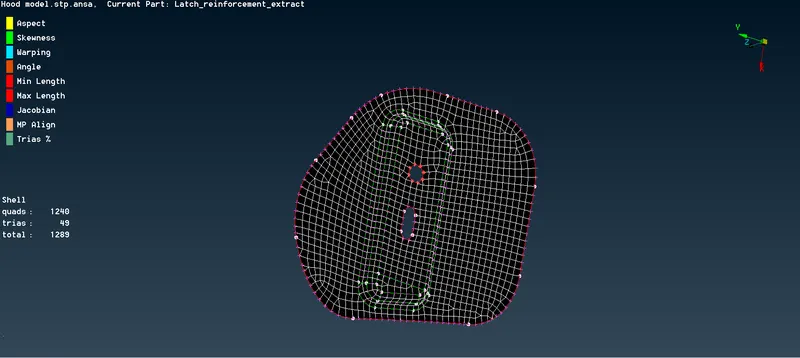
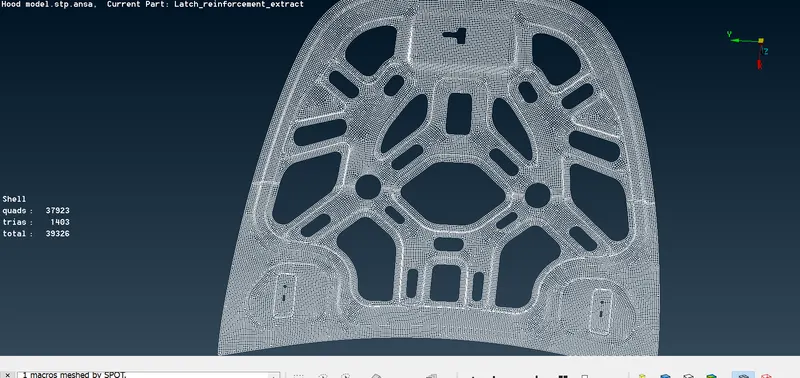
By doing meshing you can use the reconstruct option and smooth option to create the good mesh flow without failing the quality criteria. To check the element which are failing for is to switch it to shadow mode to hidden mode. Create all the surfaces by using these tools and use split option to reconstruct the trias. At the final the trias that are facing towards the sheet metal particle is ok. And trias that are near to free edge need to be reconstruct. Trais that are opposite to each other is not ok.
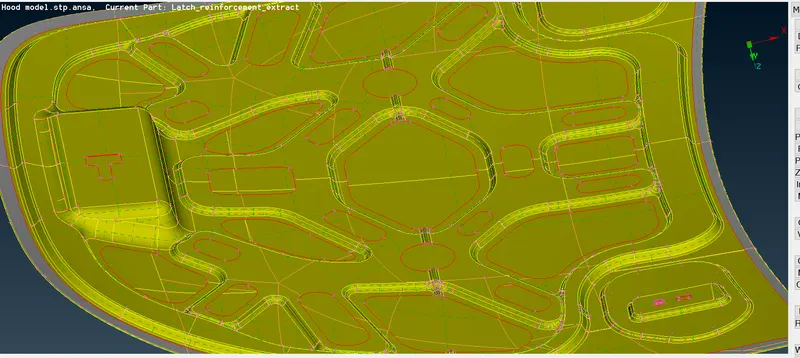
Final FE model
After that check is there is any crack between the mesh elements and paste it using paste option. In the hood edges the hemming region would fail for the minimum length, so we can the two outer cons and it suppressed, don’t suppress the middle con that will be edge volume of the part.
LEARING OUTCOMES
- Geometry clean-up operation and editing the cons for the better mesh flow.
- Learned how to solve the geometry errors in the topology.
- Solving Quality issues in fillets and holes and bend region that are falling below the minimum length.
- Manual mid surfacing is very easier now.
- Creating mesh without having more trias and improper mesh flow.
CONCLUSION
In ANSA here we’re doing a quality analysis using by checking geometry errors and creating mesh flow without failing those quality criteria. And after we got a clean FEA model with proper mesh.