Week 3 - 2D meshing for sheet metal
HOOD MODEL
AIM:
- For the given Hood model, Take the mid surface for all the components after checking the geometrical errors and mesh the mid surface with the given element Quality criteria.
CHALLENGE EXPECTATION:
- All the 2D elements in your model should clear the above-mentioned quality criteria and the features in the model have to be captured properly with good mesh flow.
- After meshing the Mid surface, Thickness must be assigned to Midsurface.
PROCEDURE:
- CAD SET UP
- CAD Geometry
- Model Clean Up
- CAD MODELING
- Meshing
- BOUNDRY CONDITIONS SETUP
- Load Cases
PREPERATION OF MODEL FOR MESHING: (Part -1)
- I used to check the existing PID’s in the ‘Property Card’.
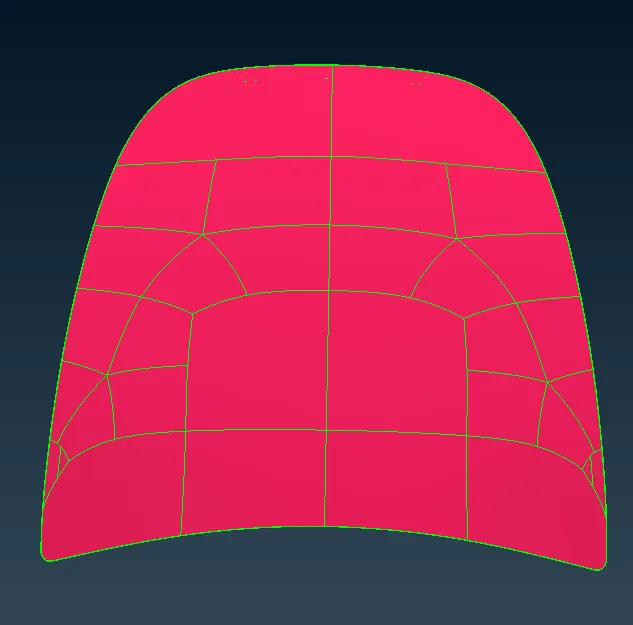
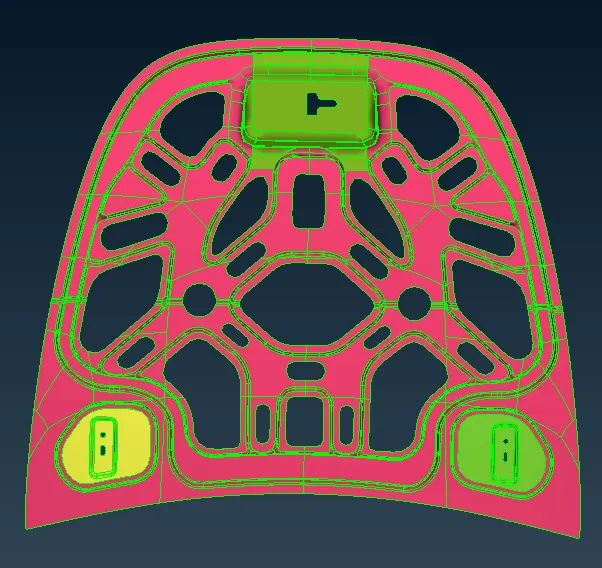
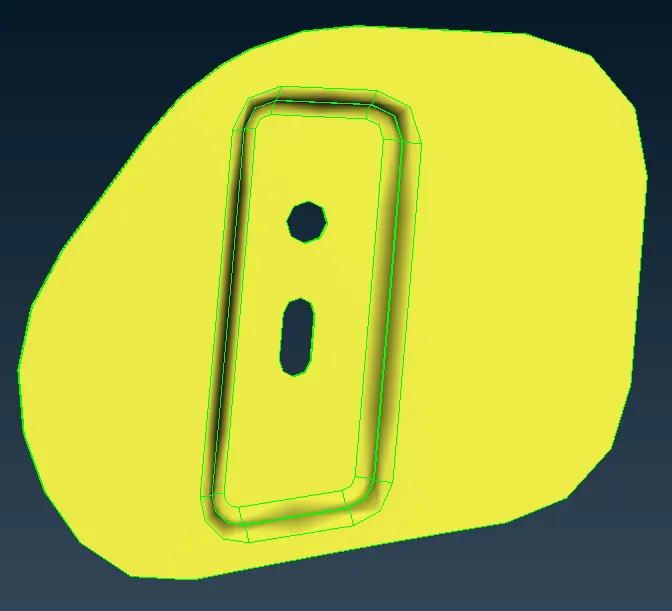
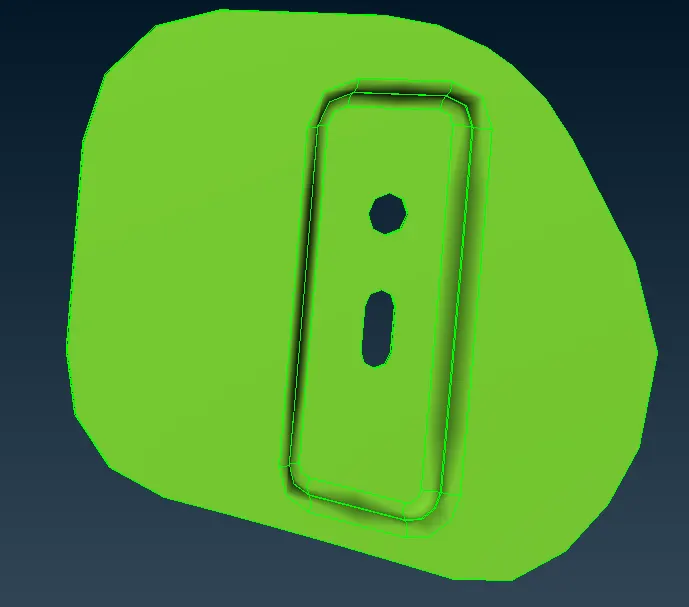
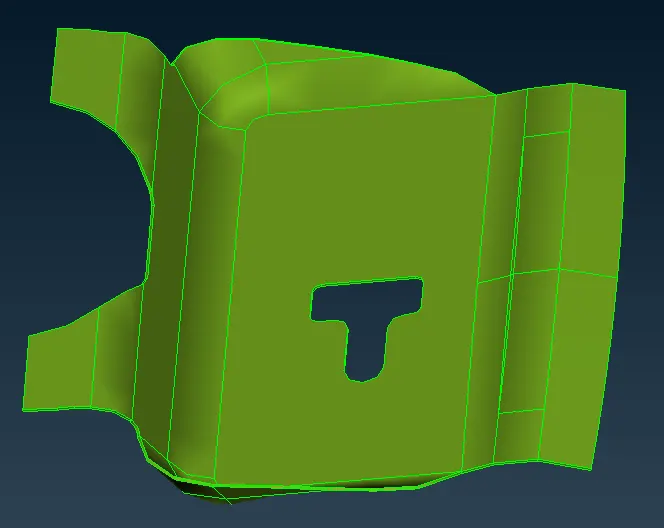
- In this hood model there are more than one sheet metal in one PID.
- It is not very comfortable for the next works, so I am going to work on individual PID's one by one.
SETTING THICKNESS TO THE PID’s: (Part – 2)
- Thickness of the PID Bodies can be measured by the Measure tool present in the ‘Utilities Panel’
- (Utilities/Measure)
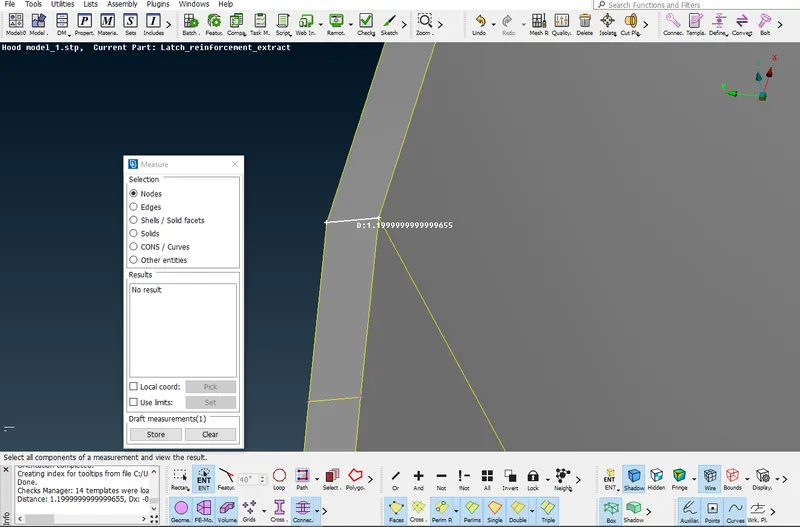
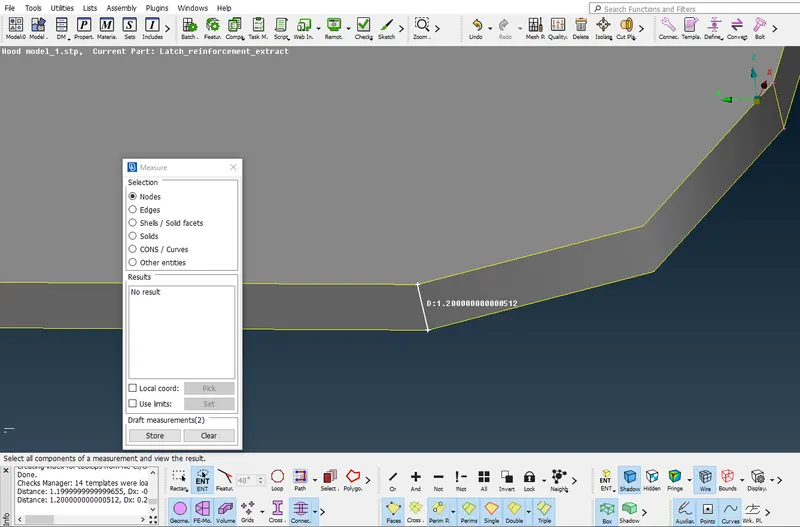
(Note : Sheet metal bodies always having Linear thickness throughout the Body)
PID WINDOW BEFORE THICKNESS ASSAINGED:
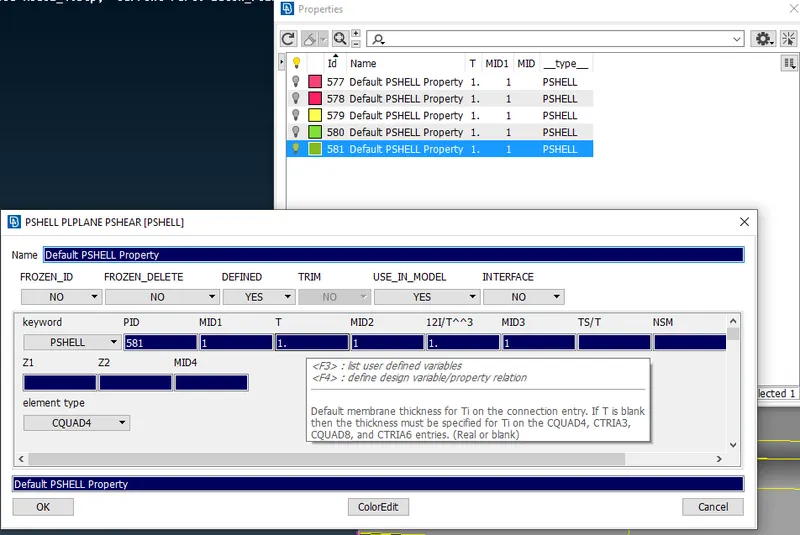
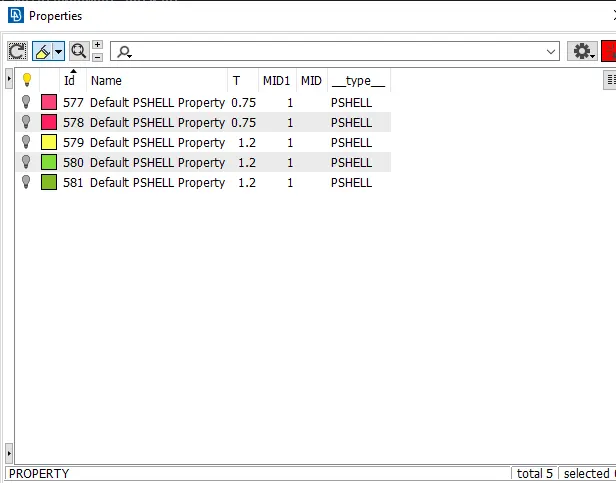
- In default ANSA the PID thickness is 1, After calculating our model thickness I assained the thickness to each and every individual PID's in the below image.
PID WINDOW AFTER THICKNESS ASSAINGED:
TOPO CLEAN UP: (Part - 3)
- Now it is time to Geometry Cleanup.
- Before start meshing Geometry Check is necessary, because in Original CAD geometry there might be some errors in cons.
BEFORE GEOMETRY CHECK
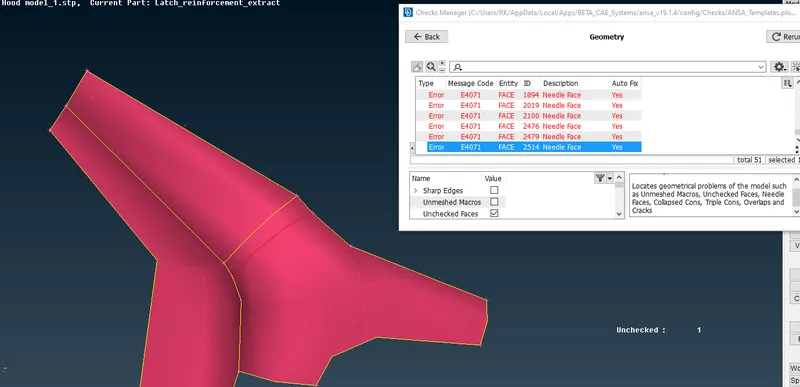
- In our 'Hood Model' lot of small errors was present when perform the geomentry check.
- We can find the option (Tools/Checks/Geometry) here.
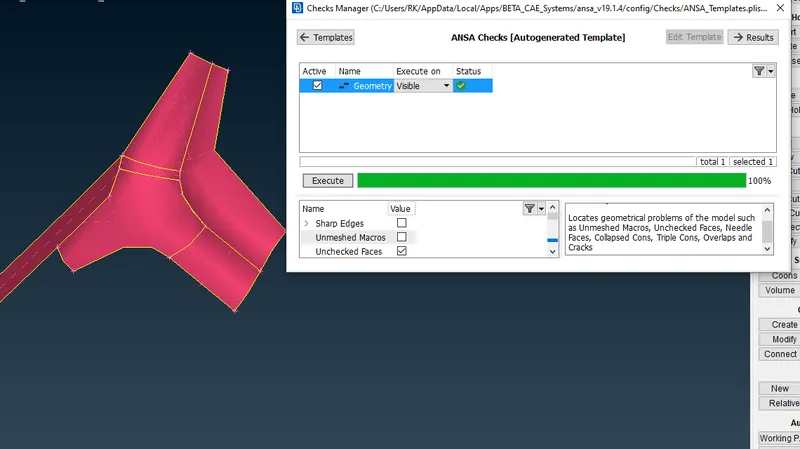
- In ANSA there is an option called 'AUTO FIX', i used this function to fix my errors, because it saves more time.
AFTER GEOMETRY CHECK
MID SURFACE CREATION: (Part - 4)
- We have prepared geometry. Next step is creating the mid-planes
There are Two methods to create Mid plane
- Offset method
- Mid surface/Skin method
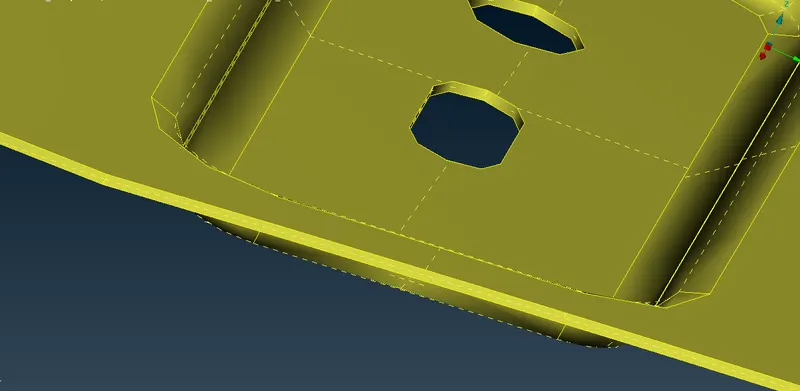
- In this model i used the Offset method to create the Mid Surface, using 'FEATURE AREA' Option (Feature selection/Feature area)
- This Feature area selection option made my work easy, when we use this option the selection can happend only on the one side of the pannel.
- On the middle mouse button confirmation the mid surface creation is done easily.
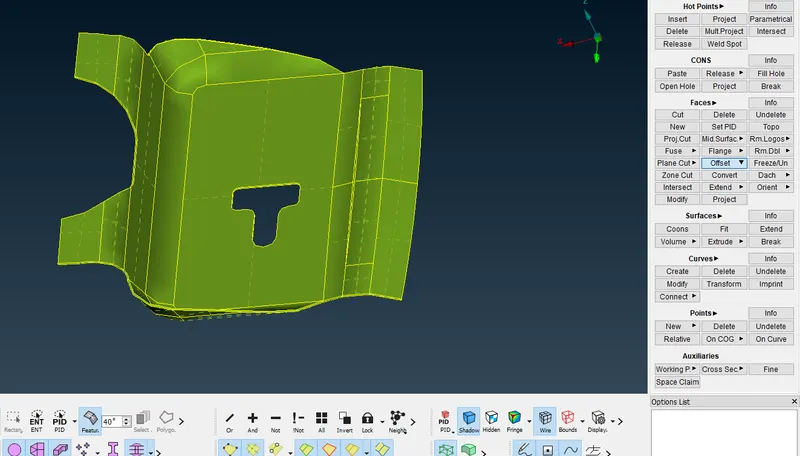
BEFORE CREATING MIDSURFACE
AFTER CREATING MIDSURFACE
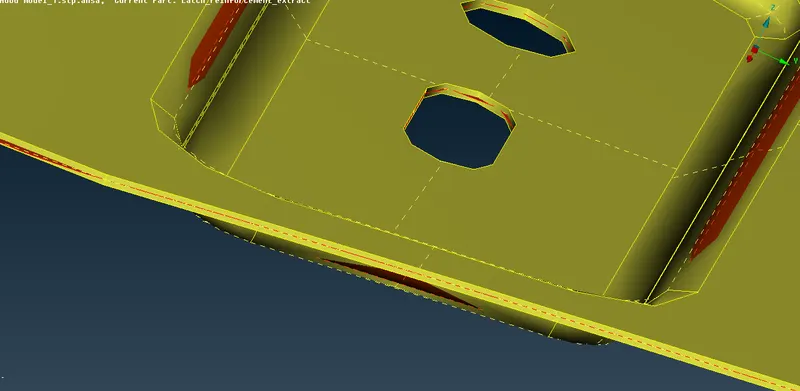
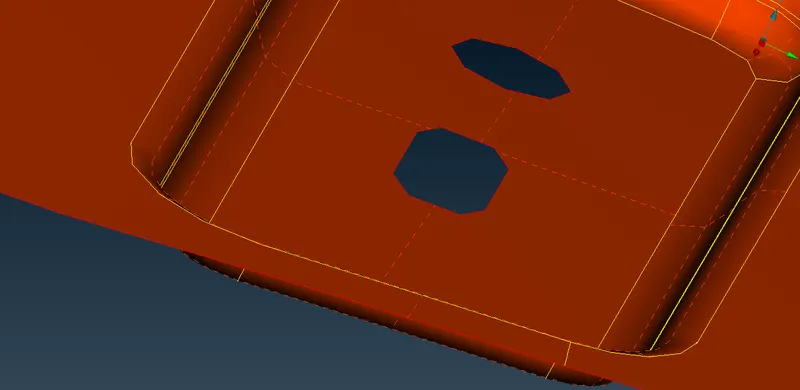
- Once the mid surfacing done, I use the NOT/INOT function to extract the middle surface.
- The Next step is now Set the New PID for the extracted Mid surface (Go to - Faces/Set PID)
EXTRACTED MID SURFACE PID
- Likewise I Created the all PID's mid surface one by one.
STEPS TO FOLLOW BEFORE MESHING:
- We have set the Quality criteria and mesh Parameters properly as per the given requirement.
MESH CREATION: (Part - 5)
- After setting up everything in 'Topo Module' we can start meshing the extracted Mid surfaces in 'Mesh Module'
Here, are the some examples
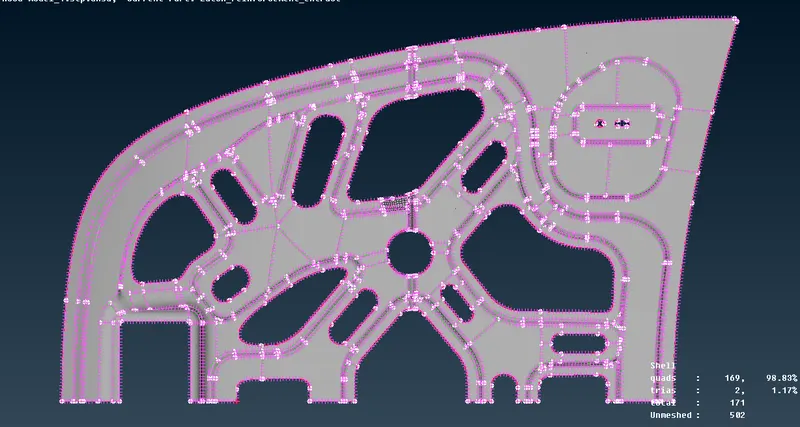
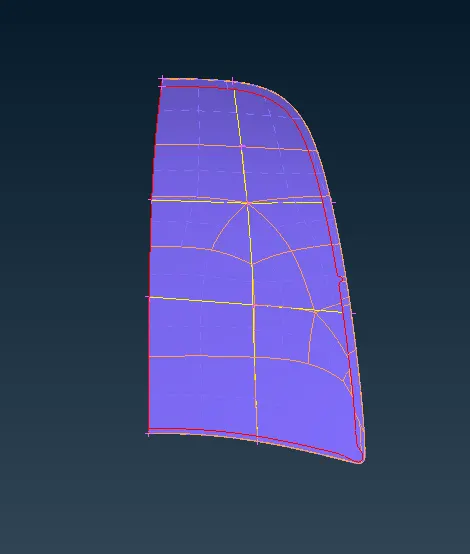
- In this model, some parts are symetric so I use the 'Plane Cut' tool to get the exact half of it.
- This option present in the TOPO MODULE/FACES GROUP/PLANECUT(SINGLE)
PANELS BEFORE MESHING:
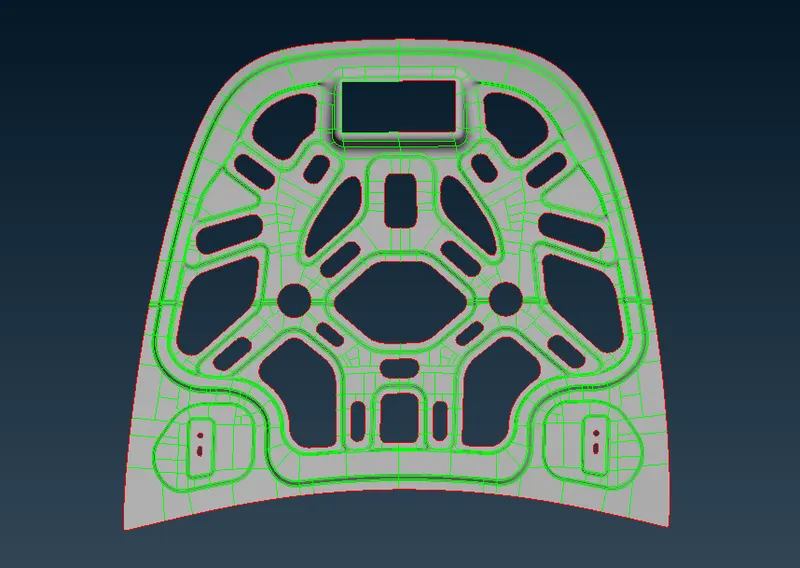
AFTER MESHING:
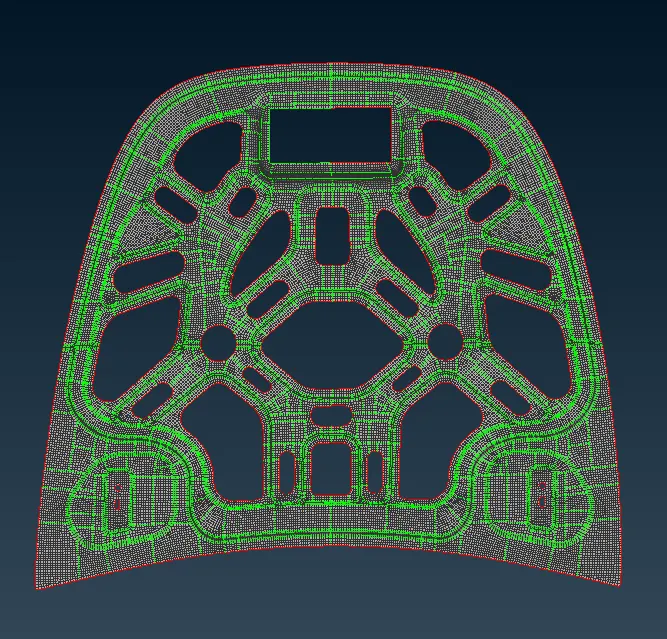
- I use the 'BEST OPTION' (Mesh Module/Mesh Generation/Best) to mesh the entire body
- While meshing I made lot small patches, It mad my 'Mesh Flow' good.
- Finally 'Draw shell as solid' should be activated after finishing the meshing.
- I have attched the '.ansa' File with this report.
CONCLUSION:
- On the conclusion of as a beginer to this meshing area, this model is quiet challenging to me, in some areas i have lot of doubts on how to capturing the good mesh flow.
- I made a lot of mistakes and when i try to fix it on my own and the help of technical support engineers I learned things through this challenge.
- Now I have the confidence to Mesh any panels like this, faster than before.