Week- 5 - Solid meshing
SOLID MESHING - REARVIEW MIRROR
AIM:
- Solid meshing the given Rearview Mirror component using Ansa Preprocessor tool.
OBJECTIVE:
- To mesh the given Rearview Mirror assembly under the given Quality criteria
- Fix the geometrical error while meshing
- Surface Quality after Volume mesh should be good.
2D element Quality criterias
|
S.No |
Quality Criteria |
Value |
|
1 |
Target/Average length |
1 |
|
2 |
Minimum Length |
0.5 |
|
3 |
Maximum Length |
2 |
3D Tetra element Quality criterias
|
S.No |
Quality Criteria |
Value |
|
1 |
Tet collapse |
0.2 |
PROCEDURE:
- CAD SET UP
- CAD Geometry
- Model Clean Up
- CAD MODELING
- Meshing
- BOUNDRY CONDITIONS SETUP
- Load Cases
- Final check for the Quality of elements
PREPERATION OF MODEL FOR MESHING: (Part -1)
IMPORTING THE MODEL TO ANSA
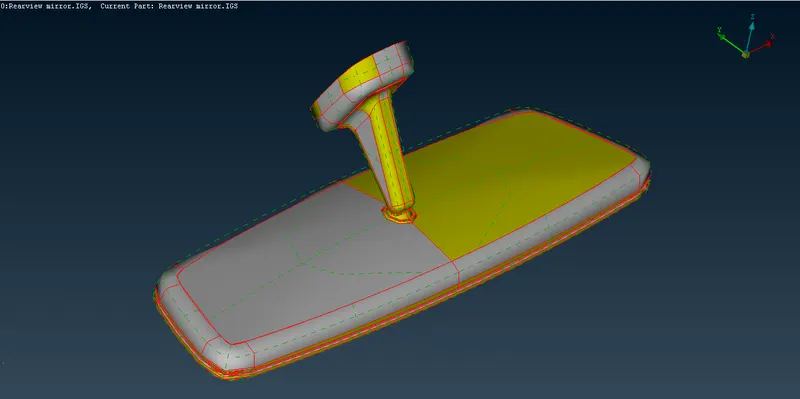
- We can check for the existing PID’s in the ‘Property Card’
- In this model there 4 Properties in total
TOPOLOGY CLEAN UP: (Part - 2)
Steps to be followed in Begining
- After Import the downloaded geometry using File manager, we have give topo to make connectivity of single Cons using (Topo module/Faces group/Topo)
- I prefer work on individual PID's one by one for better handling.
PROPERTIES AFTER GIVEN TOPO
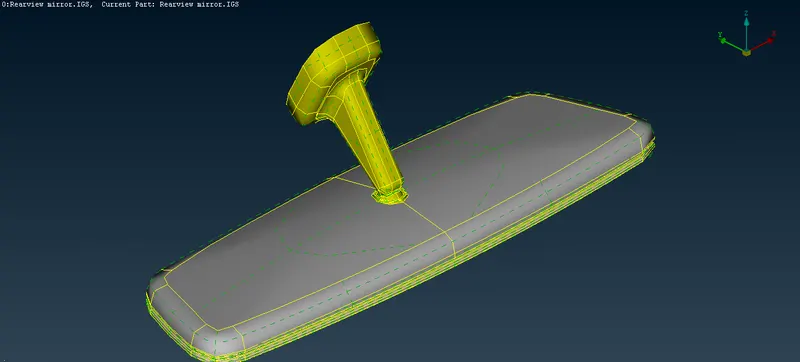
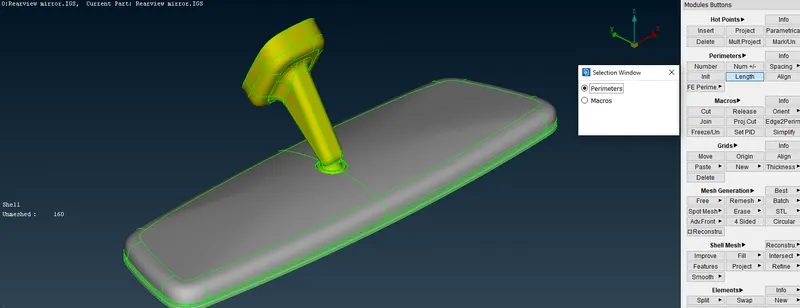
- Then we have to set 'Cons Resolution' for the parent geometry, It is present in (Mesh module/Perimeters Group/Length) for both Macro areas and perimeters length.
- Target length is 1mm, it will be used for achieve the target length while meshing.
- Next step is Orient (Topo module/Faces group/Orient), this Helps to get the same color either Grey or Yellow color one side.
- Now it is time to Geometry Cleanup.
- Before start meshing Geometry Check is necessary, because in Original CAD geometry there might be some errors like Triple cons, Cracked faces etc . . .
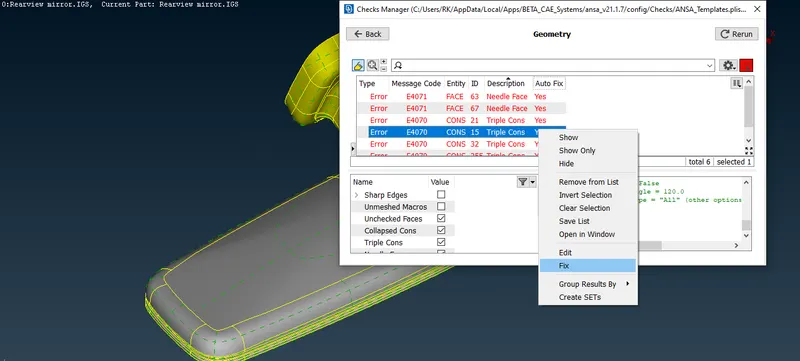
- check the geometry for errors or sharp edges or single cons or crack faces using (Checks/Geometry)
- In our 'Rearview Mirror' some errors were present when perform the geomentry check.
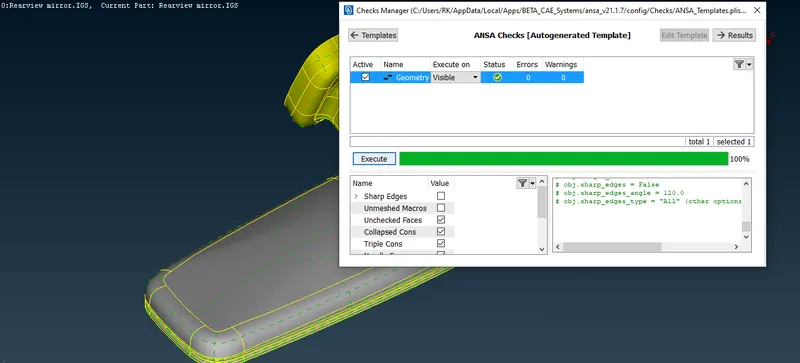
- In ANSA there is an option called 'AUTO FIX', i used this function to fix my errors, because it saves more time.
THICKNESS CHECK
- Materials which is having less than or equal to 6mm can be meshed with 2D Meshing.
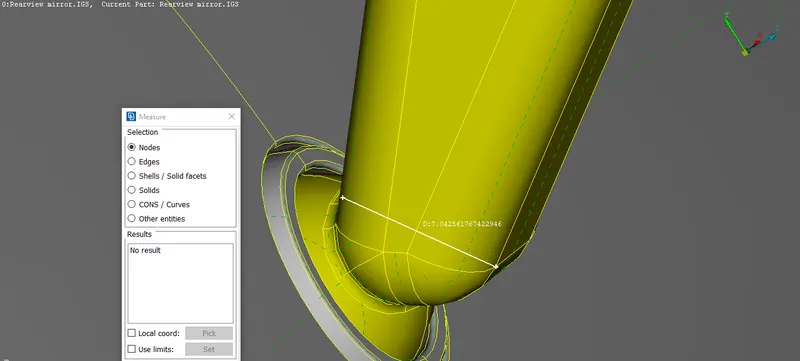
- This model having more than 6mm, so we can go for 3D Meshing.
STEPS TO FOLLOW BEFORE MESHING
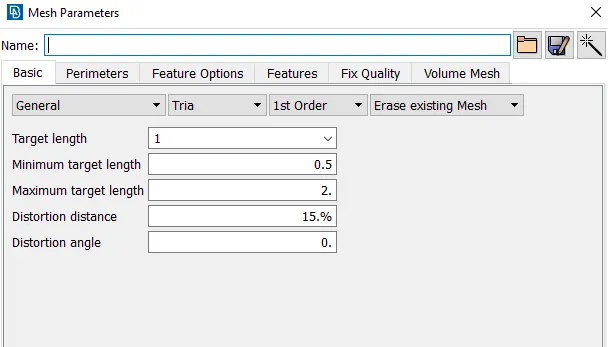
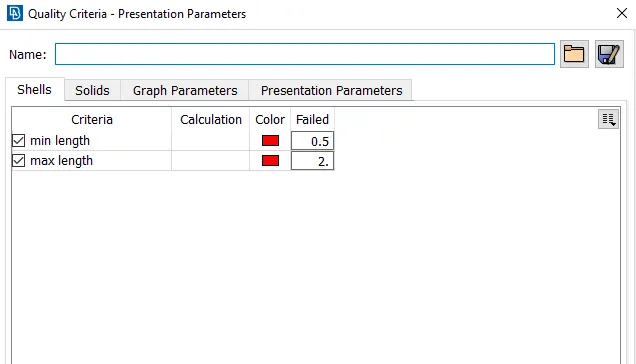
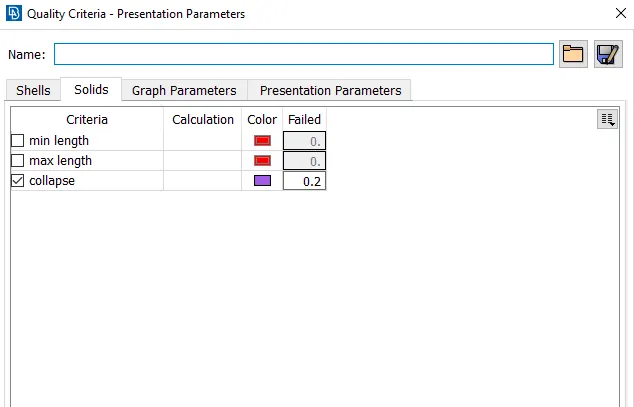
- We have set the Quality criteria and mesh Parameters properly as per the given requirements.
- First select the Mesh Parameters and assign Target length as 1mm, Min length as 0.5mm, Max length as 2mm.
- Set the Quality criteria only Tet collapse for in Solids is 0.2mm
MESH CREATION: (Part - 3)
- After setting up everything in 'Topo Module' we can start meshing in 'Mesh Module'
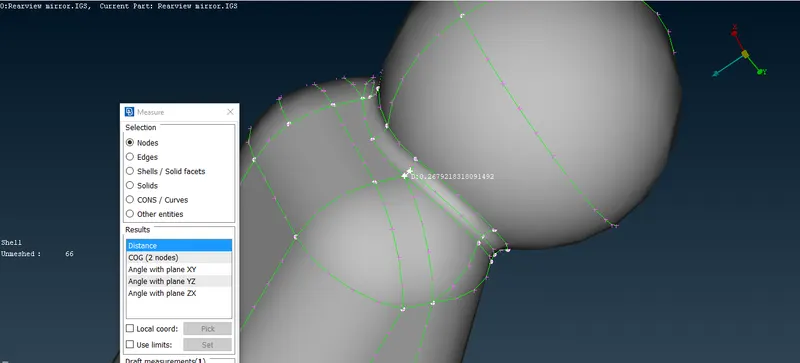
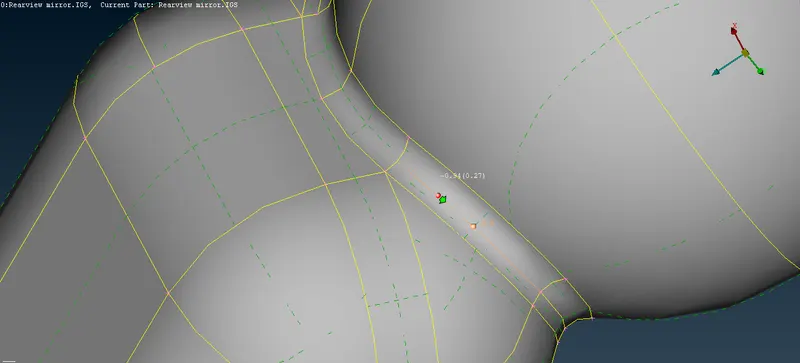
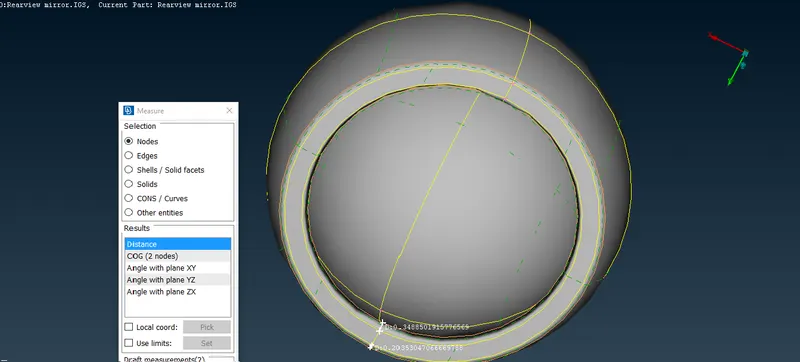
- Befor that Some areas not Satisfying the minimum length of 0.5mm, in these areas we can suppress the Feature Lines to avoid the errors while meshing, using the option (Topo/Faces/Cut)
STEP 1 - SHELL MESH
- Now we start meshing the properties one by one using (Mesh module/Mesh Generation/Best)
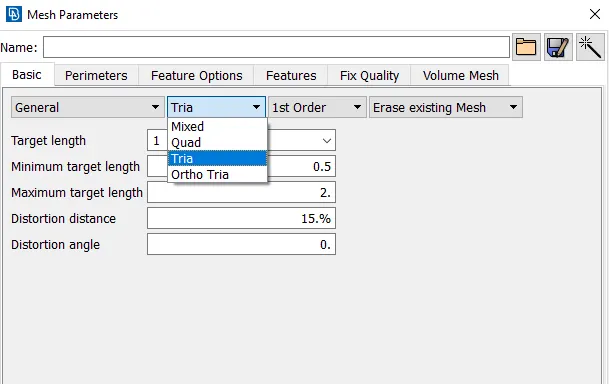
- For the Flat surfaces we can use the Tria in the 'OPTION LIST'
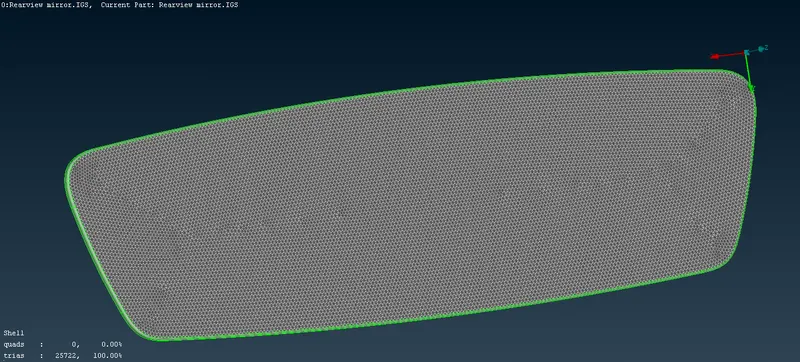
- For the Curved areas we will mesh them with Ortho Tria in 'OPTION LIST'
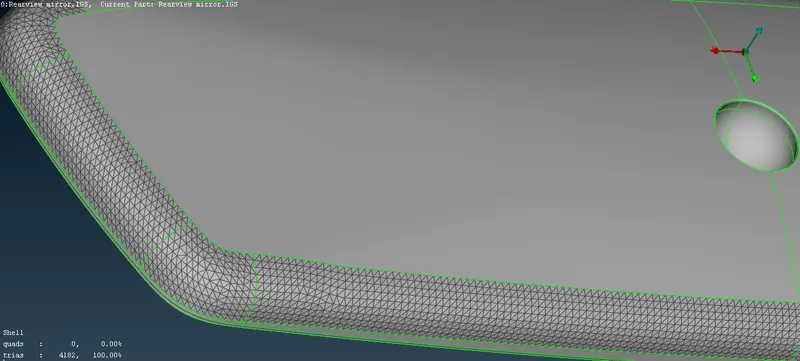
- We will use the Basic Reconstruction in the (Mesh module/Shell mesh/Reconstruction) for capture the better mesh flow without failing any Elements for required Quality criteria.
STEP 2 - VOLUME MESH
- In volume mesh module, we can use the option (V.mesh/Volume/Define) to define the property which is we are going to Mesh
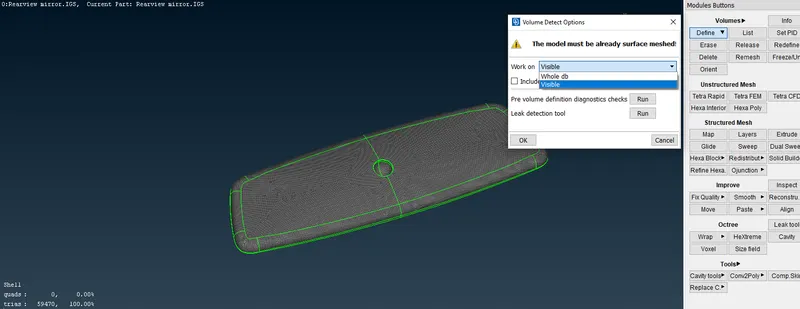
- Now we can go with the option called (V.Mesh/Unstructured mesh/Tetra Rapid) to perform 3D Tetra mesh for the selected area.
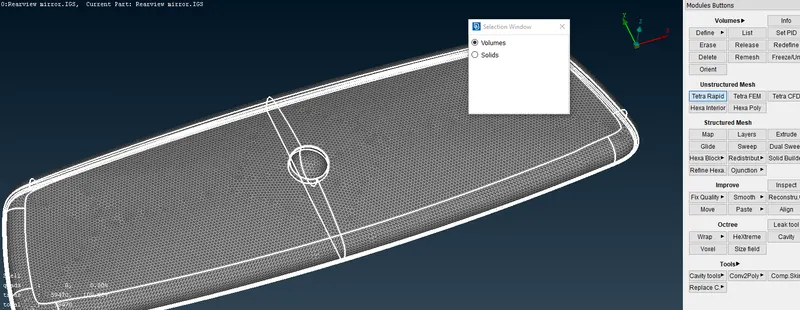
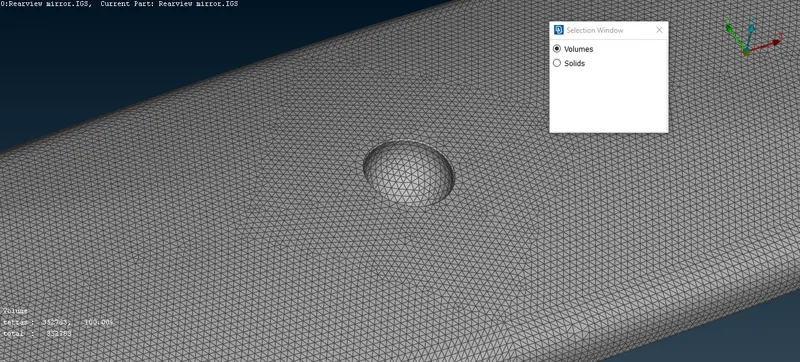
- Solid 3D Mesh has been created, make sure the elements won't fail for any Tet Collapse.
FINAL RESULT:
2D Mesh
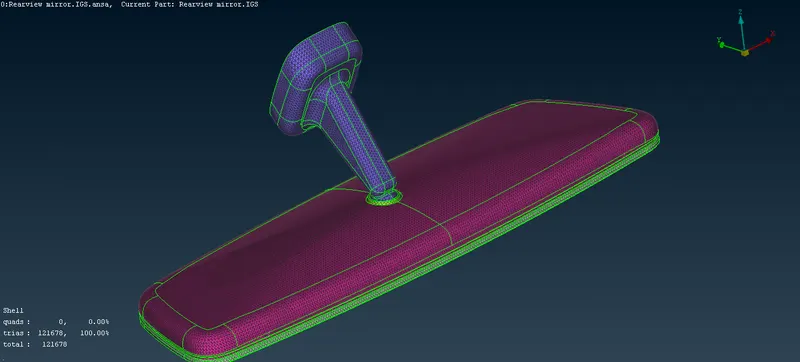
3D Mesh
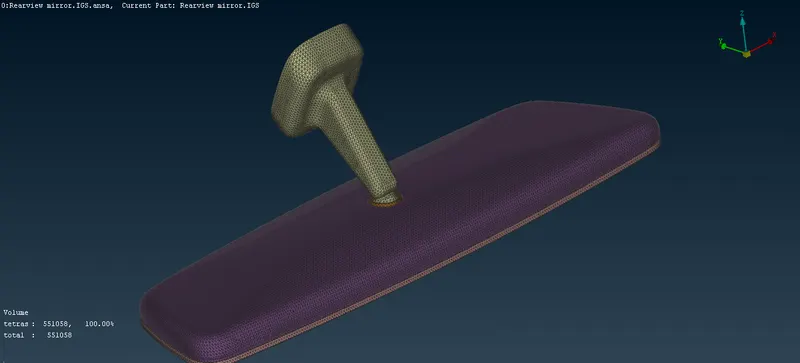
- Here we got the better Result without having any OFF Elements.
REARVIEW MIRROR GOOGLE DRIVE MODEL LINK:
https://drive.google.com/file/d/16sBJhKmOVfLWHwzjoJPCUICTD0FSfCY9/view?usp=sharing
CONCLUSTION:
- Through this challenge Learn about the methods to mesh the materials with Volume mesh
- This model is a easy one, compare to other 2D models, so this one does not take much time to complete it.
- This is the better experience to visually see the technology of the modern world, these Preprocessing softwares are awesome and cool.