Meshing of Door Inner Panel
AIM:
- To extract midsurface for the side door panel and to mesh the panel with the provided quality criteria and assign thickness for the meshed component.
OBJECTIVES OF THE PROJECT:
- To extract mid-surface for the side door panel.
- To defeature the ribs by removing surface fillets.
- To deploy mesh on the extracted mid-surface with the provided quality criteria.
- To check the elements for quality failure and clear them.
- To assign material and thickness for the meshed elements.
PROCEDURE:
- First step is to import the model in HYPERMESH.
- Go to FILE > IMPORT > MODEL > OPEN > BROWSE > IMPORT.
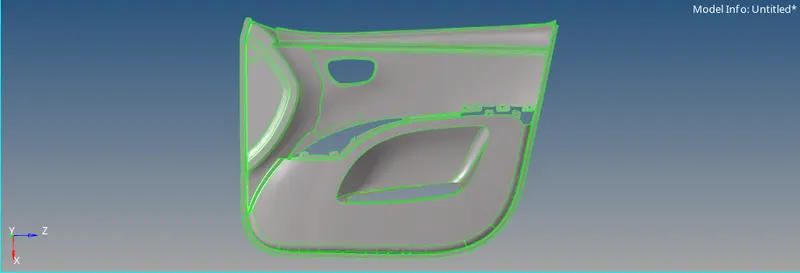
- Then, check the model for any missing surfaces.
- Go to GEOM > AUTOCLEANUP > SURFS > DISPLAYED > CLEANUP.
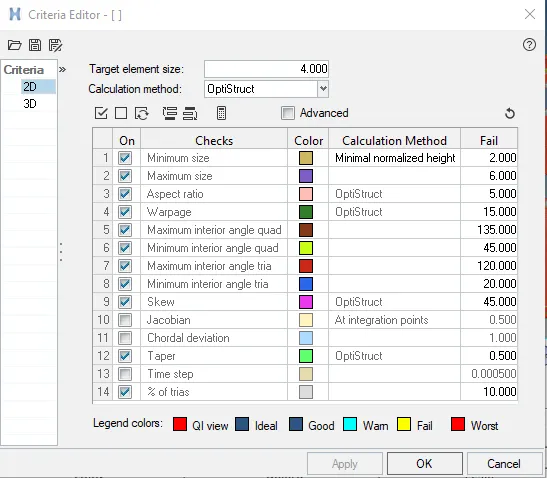
- Go to PREFERENCES > CRITERIA SETTINGS > 2D and enter the following values for quality –
Target Element Length = 4
Aspect ratio = 5
Skewness = 45
Warping = 15
Taper = 0.5
Min length = 2
Max length = 6
Min angle Quad = 45
Max angle Quad = 135
Min angle tria = 20
Max angle tria = 120
Tria % = 10
- Now, go to GEOM > DISTANCE > BY POINTS and measure the distance for Ribs and the Door panel.

- Go to GEOM > SURFACE EDIT > OFFSET > SURFS > SELECT > DUPLICATE > CONTINOUS OFFSET > OFFSET DIST BY > OFFSET, to manually offset the surface and create a mid-surface.
- Similarly, offset all the surfaces to create mid-surface. Then, go to GEOM > QUICK EDIT PANEL > TOGGLE > EDGES FOR JOINING THEM.
- Now, for the ribs go to GEOM > DEFEATURE > SURFACE FILLETS > SURFS > MIN RADIUS = 0.1 > MAX RADIUS > 5 > FIND and then click on REMOVE.

- This will de-feature the ribs, now they are ready for offsetting.
- To offset the ribs, go to GEOM > SURFACE EDIT > EXTEND > EXTEND OVER EDGES > LINES TO EXTEND > SURFS: TO EXTEND > SURFS: TO TARGET > EXTEND.
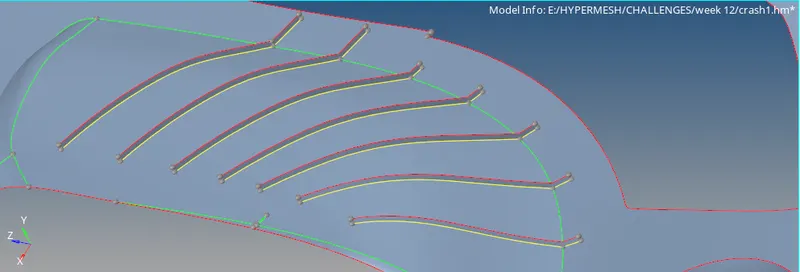
- For ribs with no proper de-featuring go to GEOM > LINES > MIDLINE > CREATE, then go to TOOLS > PROJECT > TO SURFACE > LINES > DUPLICATE > CURRENT COMPONENT > PROJECT.
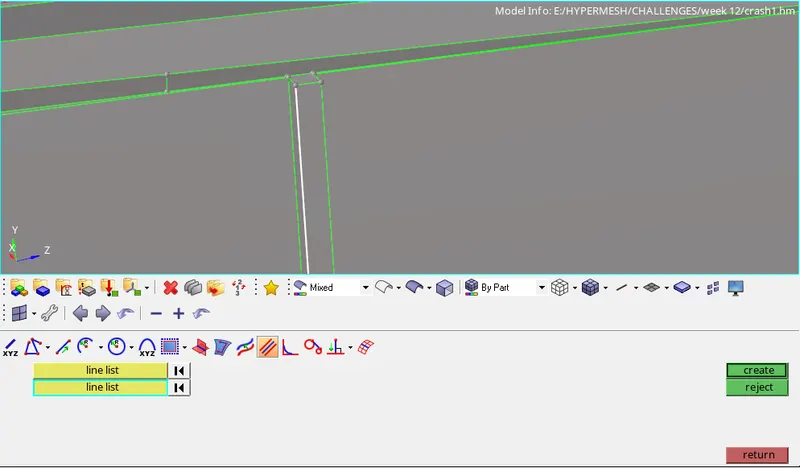
- Now, go to GEOM > SURFACE > RULED > LINE LIST > CREATE. This will create a surface in between the lines.
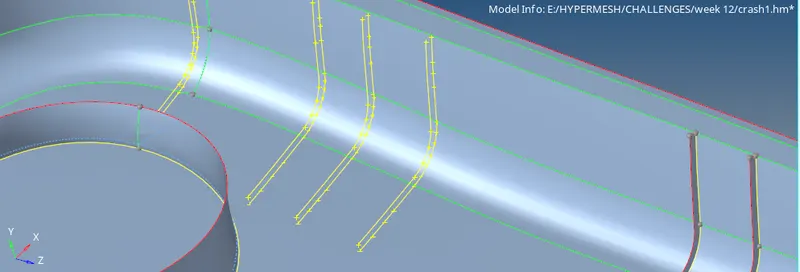
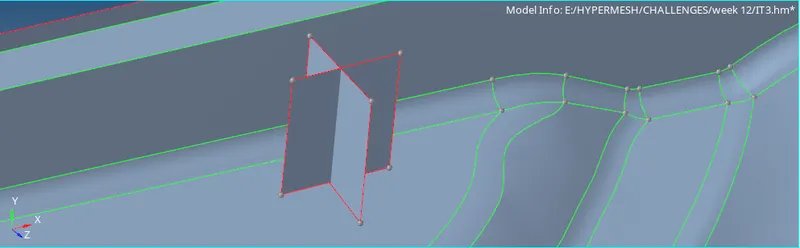
- Then extend the ribs to the door panel mid-surface and create a T-connection.
- Similarly, join all the surfaces using toggle and extend option.
- Now, the mid-surface extraction is complete.
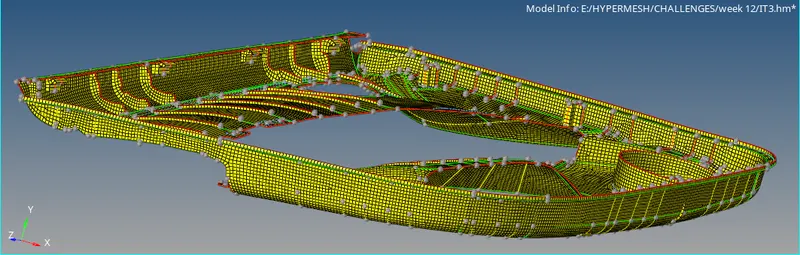
- Go to 2D > AUTOMESH > SURFS > ELEMENT SIZE = 4 > MESH TYPE = MIXED > MESH.

- Start meshing with each surface manually with the provided quality criteria.
- Check for the quality of the elements. To clear the elements failing for quality go to 2D > QUALITY INDEX > CLEANUP TOOLS and use the cleanup tools for improving the mesh flow.
- Avoid opposite trias, trias touching each other, reduce no of trias in a small region to get a better mesh flow.
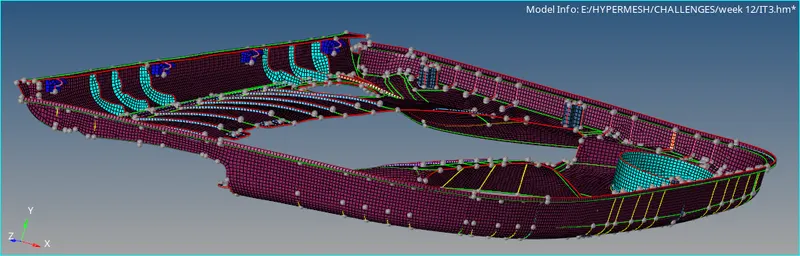
- Now, after the meshing is complete, CREATE > COMPONENT for mid-surface, for parts with different thickness.
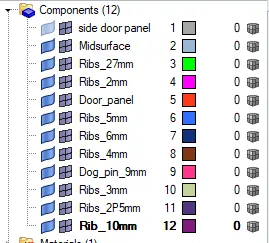
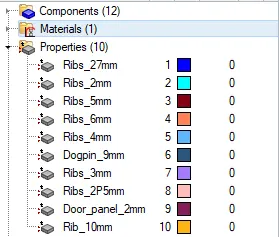
- CREATE > PROPERTY for elements with different thickness. Assign thickness in the property card.
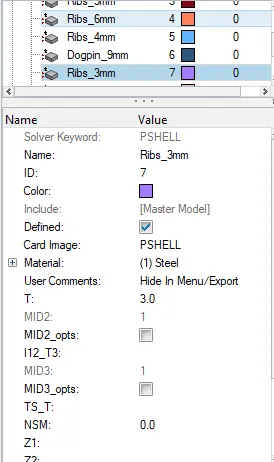
- CREATE > MATERIAL > STEEL > MAT1 .
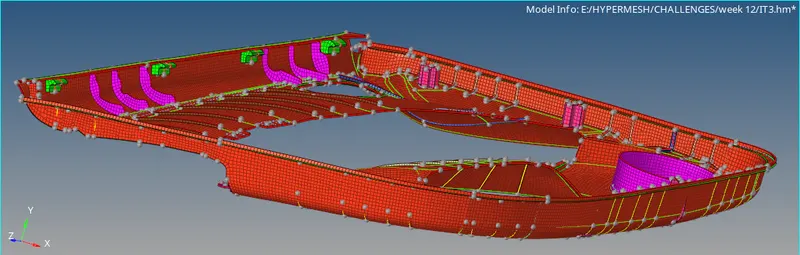
- Assign Material and Property to the respective components.
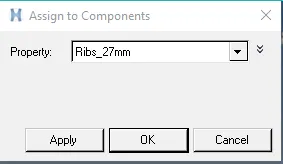
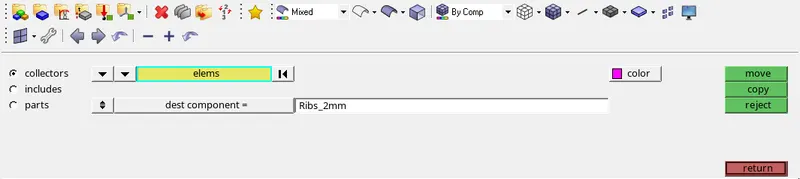
- Go to TOOLS > ORGANIZE > ELEMENTS and organize the elements to the components according to their thickness.
LEARNING OUTCOMES:
- To extract mid-surface for the door panel.
- To use offset option for extracting mid-surface.
- To de-feature the surface fillets.
- To mesh the extracted mid-surface with the provided quality criteria.
- To clear the elements failing for quality.
- To improvise the mesh flow using the cleanup tools.
- To assign property and thickness to the component.
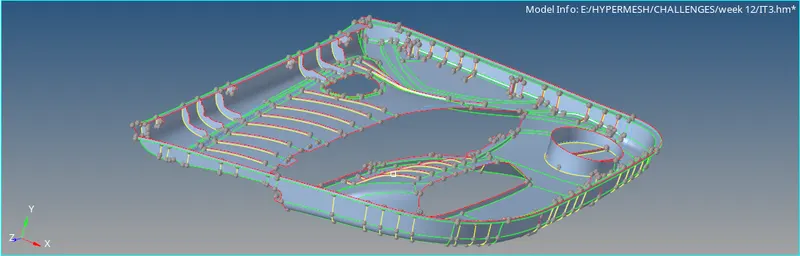
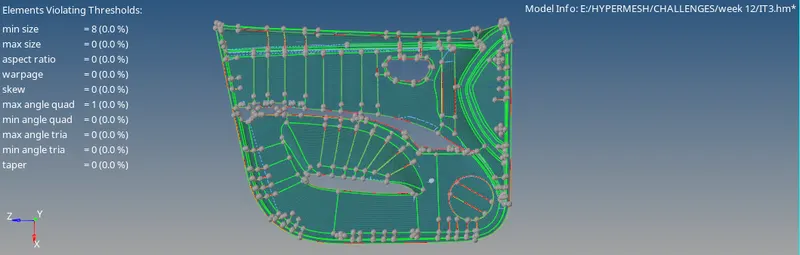
RESULTS:
CONCLUSION:
- Hence, by completing this project we conclude that the side door panel is mid-surface, meshed and by assigning thickness the model is ready for processing.