Morphing
AIM:
- To learn the Morphing module and understand the use of Morphing in Design changes.
OBJECTIVES OF THE PROJECT:
- To understand the use of Morphing module for design changes in geometry or in the FE model.
- To create a box and make changes to the model.
- To understand the different tools in the MORPH module.
PROCEDURE:
- First step is to import the CAD model into the ANSA software.
- Then go to FACES > TOPO to stitch all the faces together.
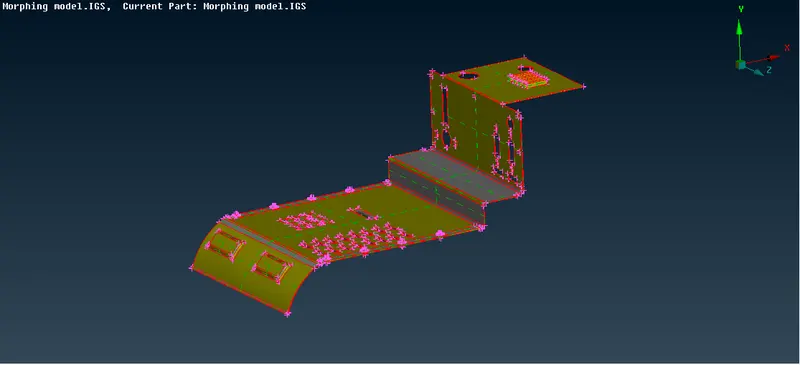
- Go to FACES > ORIENT > VISIBLE to make the orientation of all the faces same.
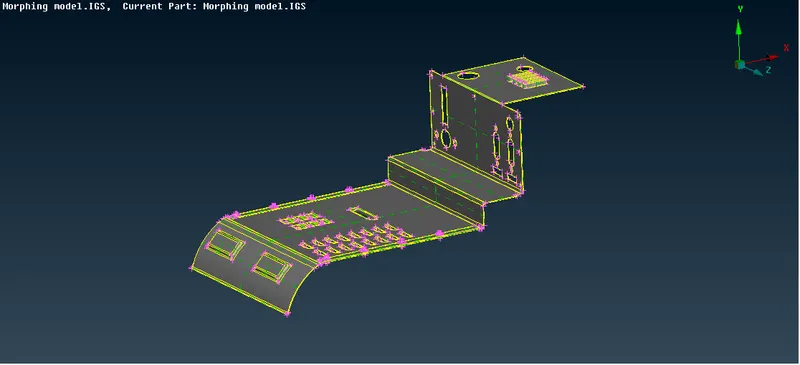
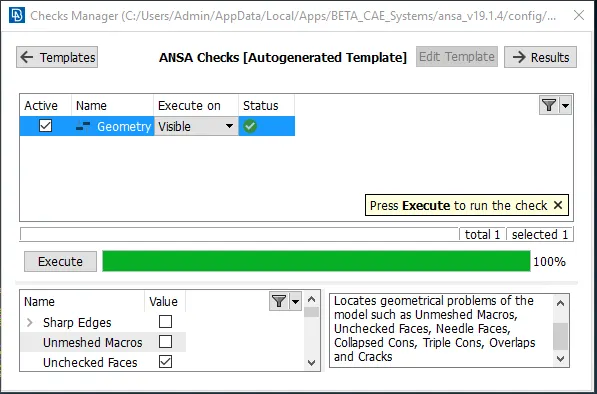
- Go to UTILITIES > CHECKS > GEOMETRY > EXECUTE to check for the errors in the geometry.
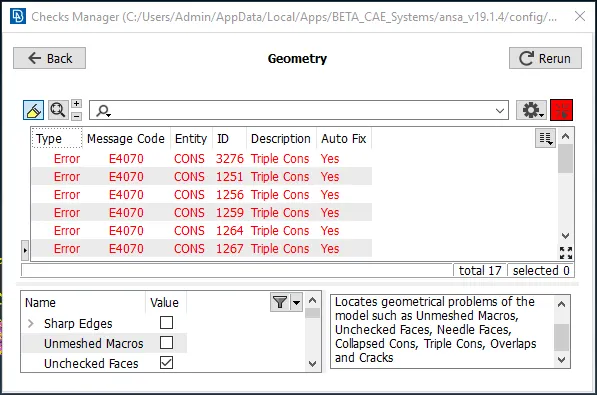
- Eliminate the errors with Auto fix option.
- Go to MESH MODULE > PERIMETERS > LENGTH > 1MM > OK.
- This will improve the resolution of the geometry.
- Then go to MODULES > MORPH to perform Morphing operations.
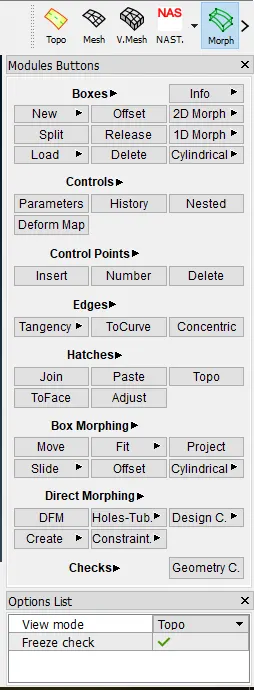
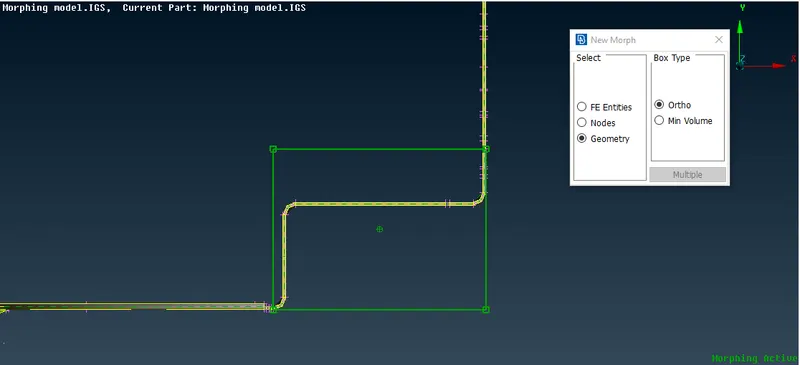
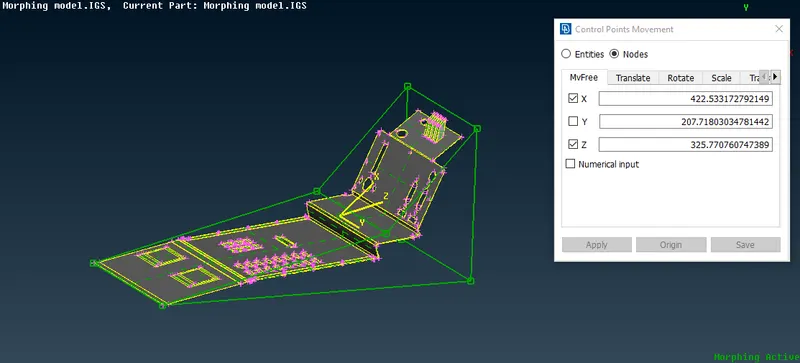
- Go to BOXES > NEW > ORTHO > GEOMETRY > SELECT THE ENTITIES > OK.
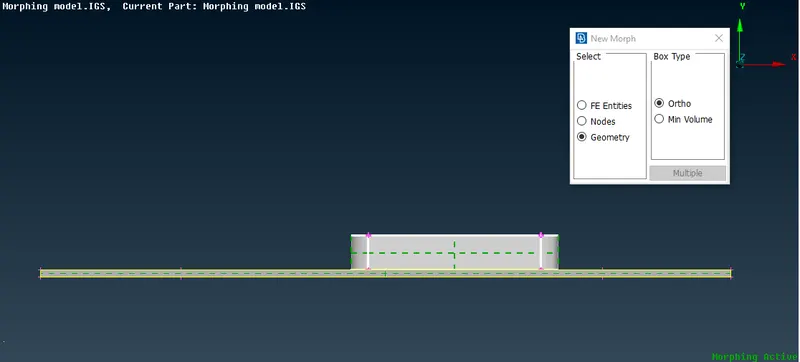
- This will create a Morph box around the selected geometry.
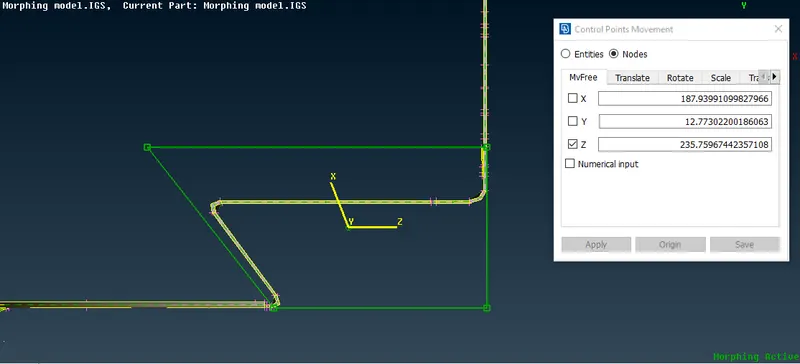
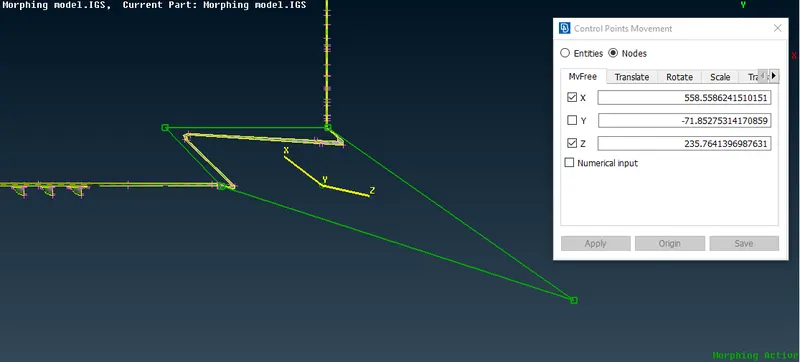
- To make changes to the box go to BOX MORPHING > MOVE > PLACE LOCAL COORDINATE IN THE BOX WITH RIGHT CLICK > SELECT THE POINTS > MOVE > OK.
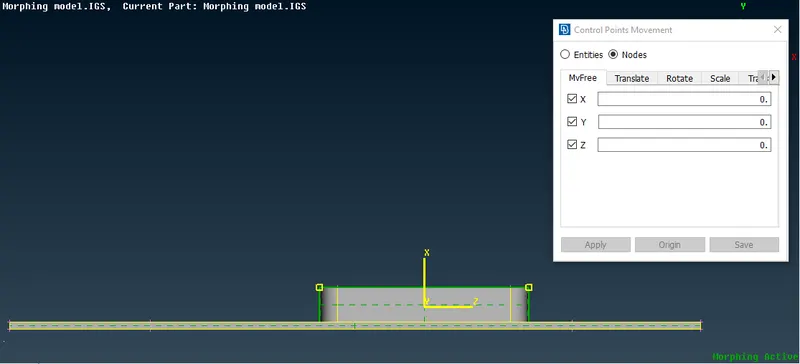
- This will move the points in the desired directions.
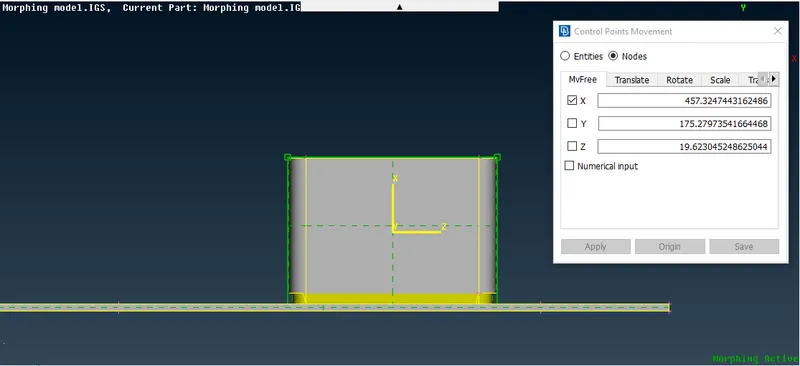
- Similarly, Design changes can be performed at different faces or entities using the
- MORPH BOX technique.
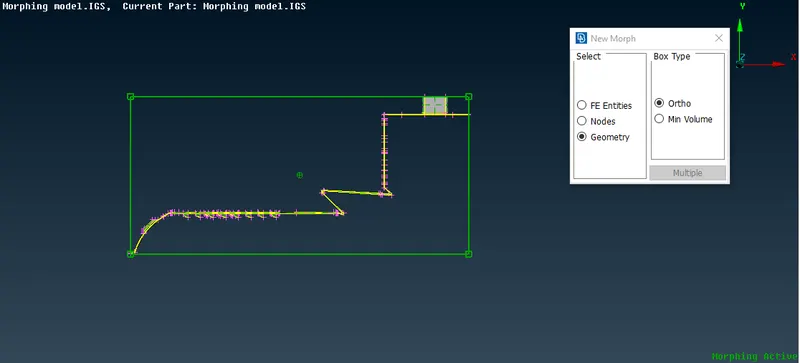
- Go to BOXES > DELETE to delete the boxes created.
- 2D Morphing and 1D Morphing can also be performed on Curves and Points.
- Direct morphing can be performed using DFM and moving selected entities.
LEARNING OUTCOMES:
- The design models can be further iterated or changes can be made to make a new model based on the same design geometry.
- Morphing technique can be used on the geometric model and also on the FE model.
CONCLUSION:
- Morphing technique is the simple and effective way to create Design changes in any geometric and FE model.