Solid Meshing on Rearview Mirror Using ANSA
AIM:
- To check for the geometrical errors and mesh the component using tetra elements with given element Quality criteria.
OBJECTIVES OF THE PROJECT:
- To Understand the Tetra Meshing on the components.
- To define volume for the component.
- To Mesh the volume using Volume Mode.
- To understand the Volume Mode.
- To Mesh the Model as a solid Component.
PROCEDURE:
- First step is to import the Geometry in the ANSA.
- Then have a clear understanding of the geometry.
- The geometry is not stitched together, so Provide TOPO.
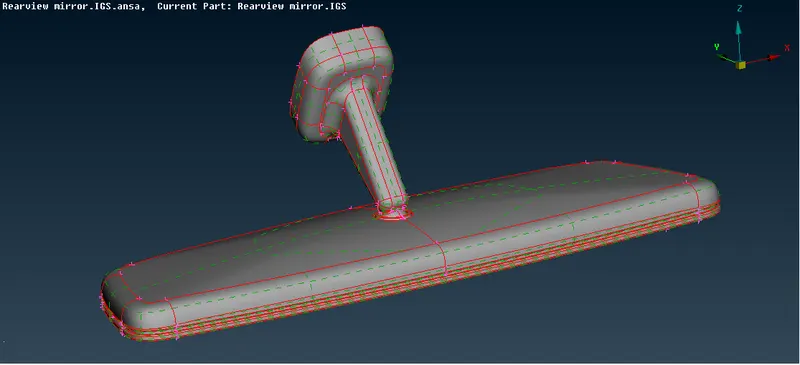
- FACES > TOPO.
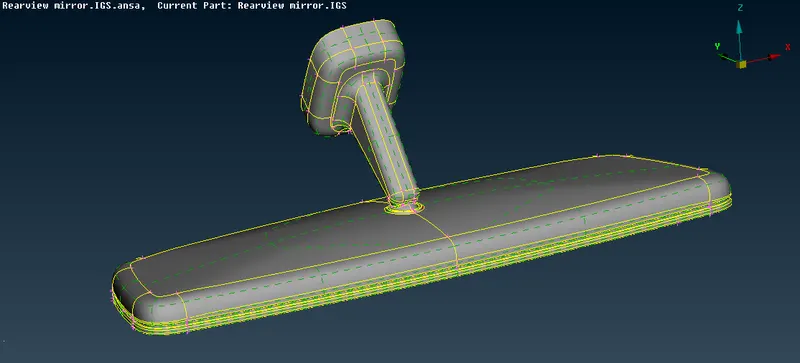
- Now all the faces are stitched together.
- Next step is to check the geometry.
- TOOLS > CHECKS > GEOMETRY > EXECUTE.
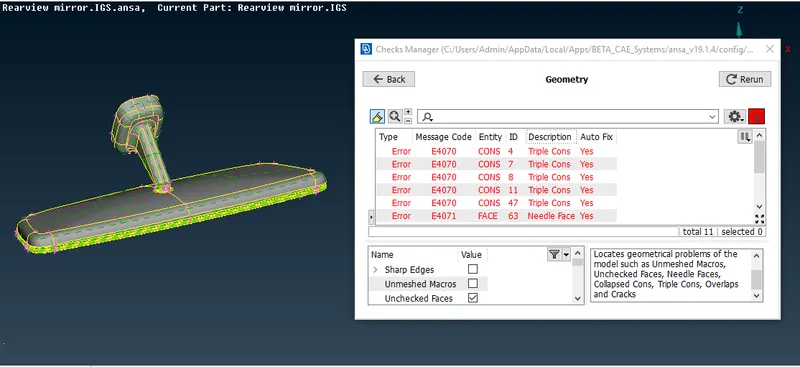
- Now, ANSA will check the geometry for Errors.
- If ANSA show some errors fix them with auto-fix until the geometry is clean.
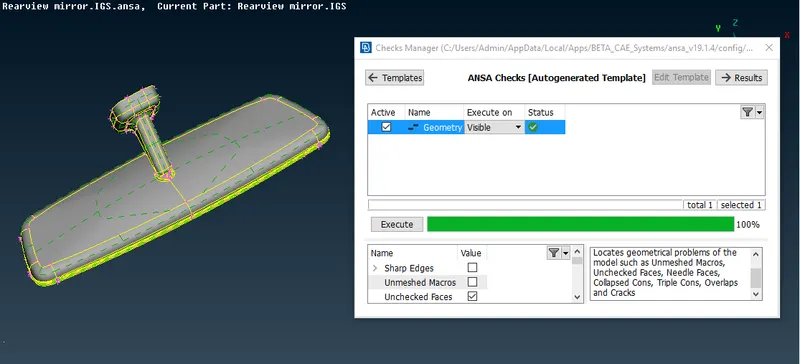
- Now, go to UTILITIES > MESH PARAMETERS and enter the following parameters-
Select the ORTHO TRIA
Target Length = 1
Minimum Length = 0.5
Maximum Length = 2
- Go to UTILITIES > QUALITY CRITERIA and enter the following values –
In Shell Quality,
Target Length = 1
Minimum Length = 0.5
Maximum Length = 2
In Solid Quality,
Tet Collapse = 0.2
- APPLY > OK.
- Go to TOOLS > SETTINGS > SAVE ALL > OK.
- Now we can proceed with the Mesh.
- Switch to MESH Module.
- Go to MESH GENERATION > SPOT MESH > SINGLE and check whether the element type is ORTHO TRIA.
- Start meshing with the curve or the feature areas with Ortho Trias.
- Faces having no curvature or features or flay faces can be meshed with Tria elements instead of Ortho Tria elements.
- Go to SHELL MESH > RECONSTRUCT and select the faces to obtain a smooth mesh.
- After all the faces are meshed now we can proceed to volume meshing.
- Switch to VOLUME MESH Module.
- Now go to PROPERTIES and one by one properties for defining Volume.
- Go to VOLUMES > DEFINE > MANUAL > SELECT THE PROPERTIES > NEW PID > SOLID PID > OK.
- Define the volumes separately as per the no of properties.
- Hence 4 volumes will be defined as unmeshed.
- Go to VOLUMES > LISTS > RIGHT CLICK > REMESH > TETRA RAPID > OK.
- Now, volume mesh is done.
- We can also use TETRA FEM instead of TETRA RAPID for volume meshing.
- Difference between TETRA FEM and TETRA RAPID can be seen in the following images.
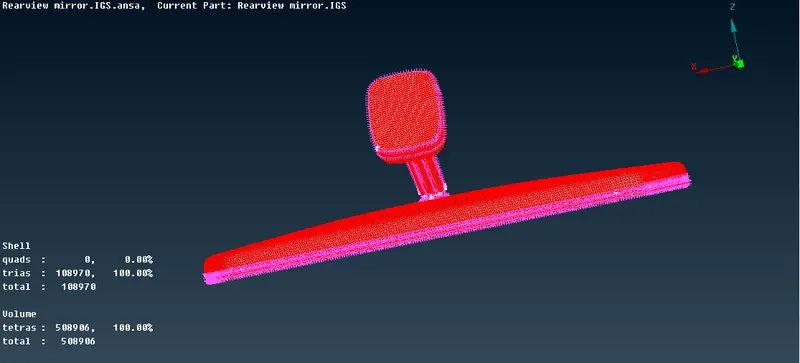
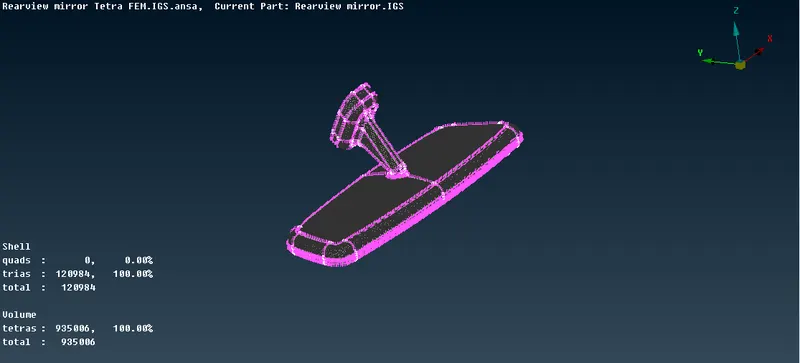
- The no of elements in the TETRA FEM Mesh is seen to be more than the TETRA RAPID Mesh.
- Hence, as the TETRA RAPID Mesh elements are less, the time taken for Processing is also less. Hence, go with TETRA RAPID.
- Now, go to DRAWING STYLES > HIDDEN and check for OFF elements.
- For elements failing for Tet Collapse go to IMPORVE > MOVE and Move the nodes in such a way that they are moved inside the volume, not disturbing the surface.
- Check for any Kinks and Raised Edges and if any eliminate them.
- Now, the Meshing is complete.
CONCLUSION:
- The Rear View Mirror Model is Meshed with Tetra Elements.
- Volume Meshing or Solid Meshing is Practiced on the Model.