2D meshing on the instrumental Panel
AIM:
- To extract the Mid-surface for the component and to mesh the component using suitable method.
OBJECTIVES OF THE PROJECT:
- To convert the model into 2D model for analysis.
- To extract the Mid-surface of the model for making it 2D model.
- To understand the Mid-surface extracting methods.
- To mesh the components using the given quality criteria.
- To eliminate the off elements.
- To assign thickness to the component after Meshing is completed.
PROCEDURE:
- First step is to import the CAD geometry into the ANSA software.
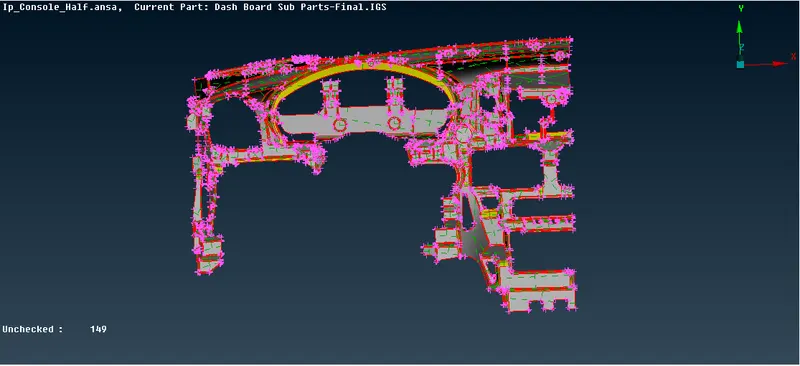
- Then go to FACES > TOPO to stitch all the faces together.
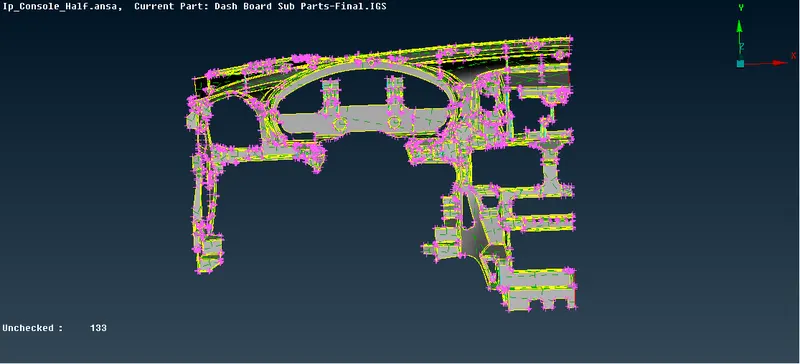
- Then go to FACES > ORIENT to make the orientation of all the faces same.
- Go to UTILITIES > MESH PARAMETERS and enter the following values :
Target/Average Length = 4mm.
- Go to UTILITIES > QUALITY CRITERIA and enter the following values :
Minimum Length: 2
Maximum Length: 6
Maximum Aspect: 3
Warpage: 15
Skewness: 45
Jacobian: 0.7
Minimum quad angle: 45
Maximum quad angle: 135
Minimum tria angle: 30
Maximum tria angle: 120
Tria Percentage: 15
- Go to MESH MODULE > LENGTH > PRRIMETERS > 1MM > MACRO 1MM > OK so that all the length of the mesh perimeters is converted to 1mm.
- After the length is converted to 1mm the model is refined and now checks for disturbed faces.
- Go to TOOLS > CHECKS > GEOMETRY > EXECUTE >OK to check the CAD for geometrical errors.
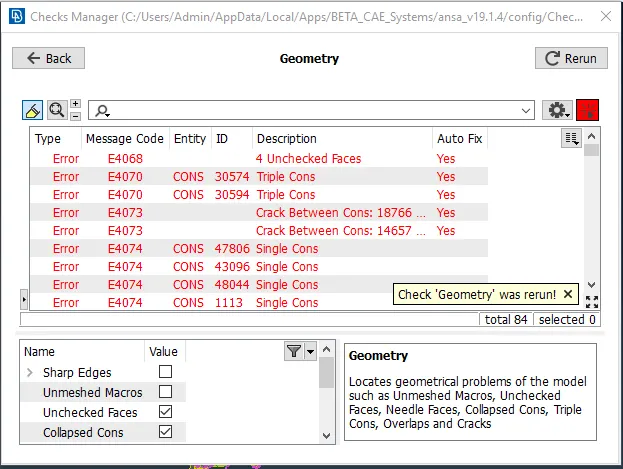
- Eliminate the errors with auto fix option.
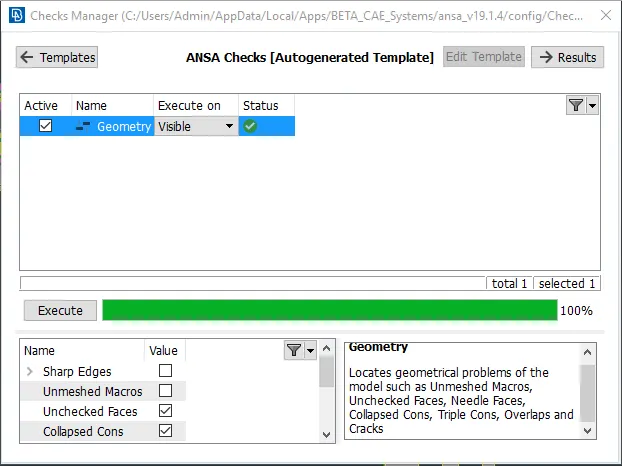
- Go to UTILITIES > MEASURE and measure the thickness of the component.
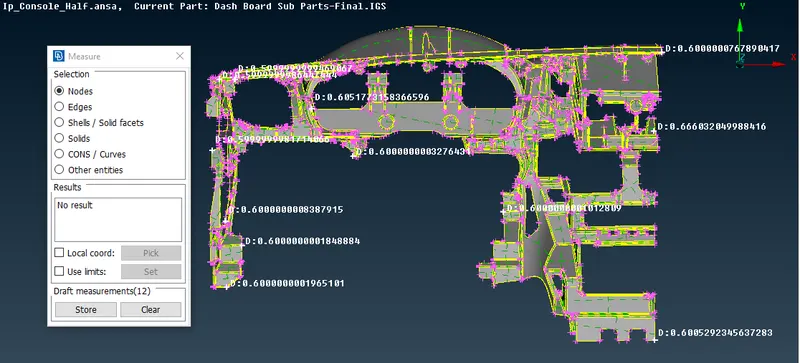
- Go to TOPO > FACES > OFFSET to manually offset the faces.
- Start working with smaller regions to offset the faces and offset the total component.
- This will convert the model into 2D.
- Go to FACES > MIDDLE > MULTI and create middle faces for the features and the ribs.
- Now for the dog houses create parametric cuts and convert them into curves.
- To convert them into curves go to CURVES > CONS2CURVE to convert the lines to curves.
- Go to FACES > NEW to create a face between the curve and the base face. Dog houses should be created into cross pattern.
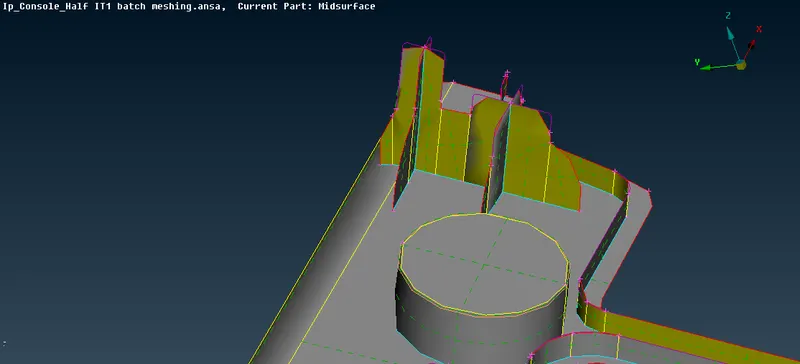
- A second Method to create an auto-mid is using MIDSURFACE > SKIN.
- After Mid-surface is created go to MESH MODULE.
- As the component is complicated and large, Manual Meshing may consume time and hence we go for Batch Meshing.
- For this go to LISTS > MODEL BROWSER > SET PART > NEW > MIDSURFACE > OK.
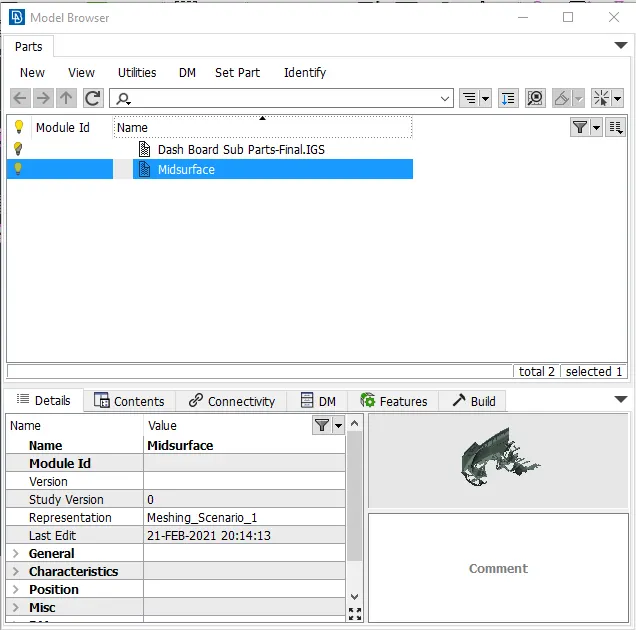
- This will assign the extracted mid-surface as a new part.
- Then go to TOOLS > BATCH MESHING > NEW > MESHING SCENARIO > MIDSURFACE > GREEN ARROW > OK > CHECK MESHING PARAMETERS AND QUALITY CRITERIA > RUN.
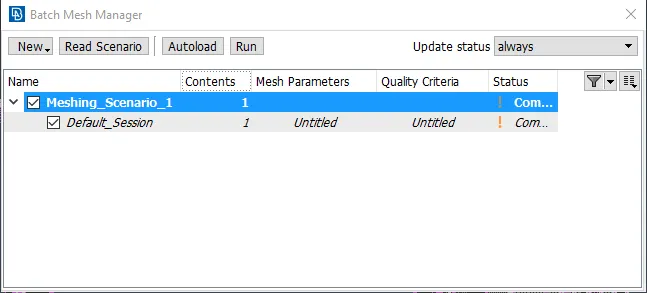
- Using batch meshing option ANSA will auto-mesh the whole component within few minutes of time.
- This will reduce a lot of time on meshing instead of manual mesh.
- Now as ANSA has generated an auto-mesh on the component go to DRAWING STYLES > HIDDEN to check for the OFF ELEMENTS.
- The quality of the mesh should be increased manually.
- Use RECONSTURCT and SMOOTH option to improve the quality of the mesh.
- Try to keep the off elements as low as possible.
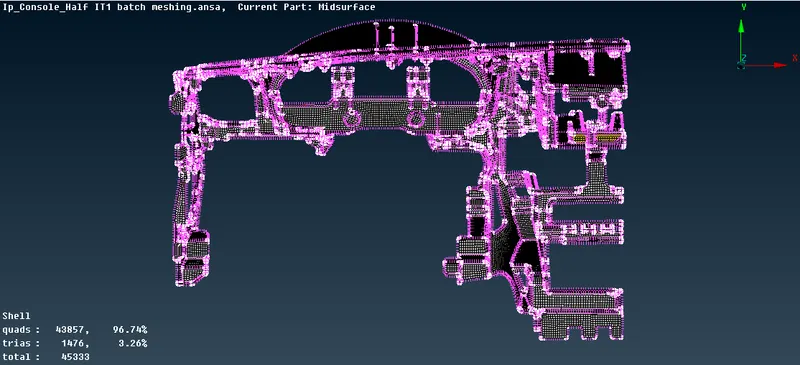
- After all the meshing is completed go to TOPO > FACES > SET PID and select the mid-surface to set property ID.
- Then go to properties and set thickness for the component. The thickness should be as measured earlier.
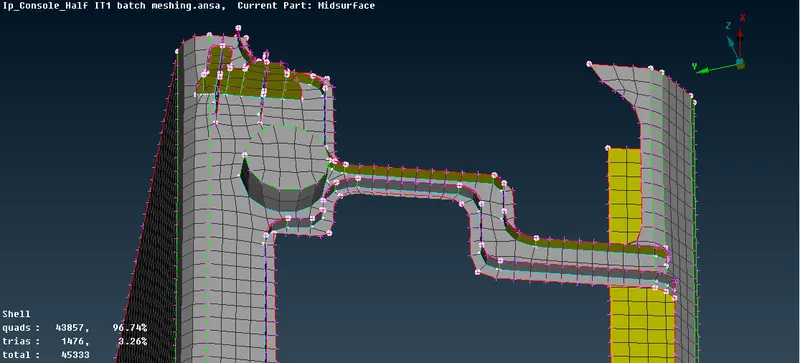
- Go to UTILITIES > QUALITY CRITERIA > PRESENTATION PARAMETERS > DRAW SHELL AS SOLID > OK.
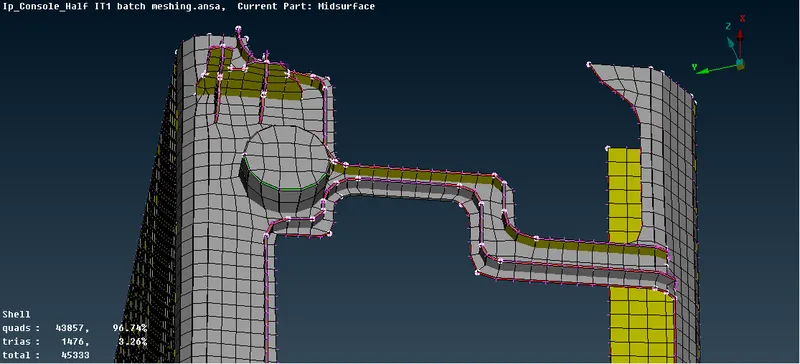
- Go to FILE > SAVE.
LEARNING OUTCOMES:
- The dog houses can be created into cross pattern for better mesh quality.
- To use batch meshing option to reduce time on meshing.
CONCLUSION:
- This way we can conclude that we have successfully extracted the mid-surface for the component and also meshing is completed for analysis.
LINK FOR MODEL:
https://drive.google.com/file/d/1m30ZXnqQFRGptIHLwhY5JpPiR0AK4TvJ/view?usp=sharing