Week 11 - Project - A pillar Design with Master Section
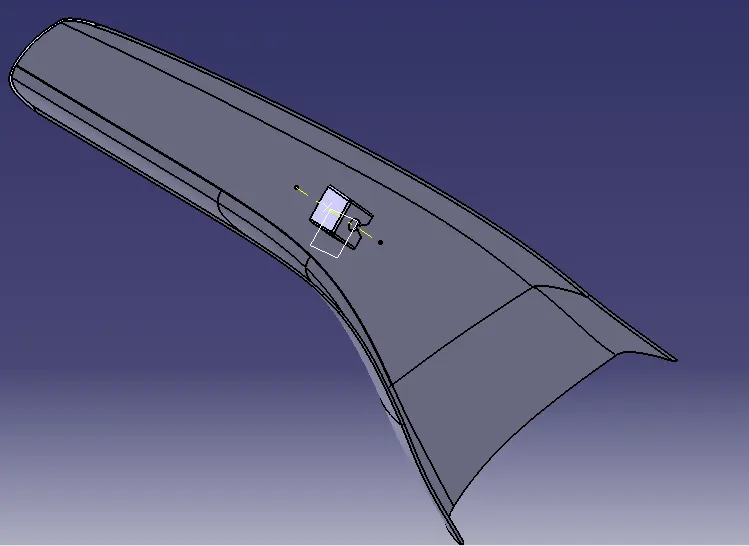
AIM: To create the A Pillar Design with the master section given as the intersection sketch with the Class A surface and create the tooling axis and perform the Draft analysis for the final solid part.
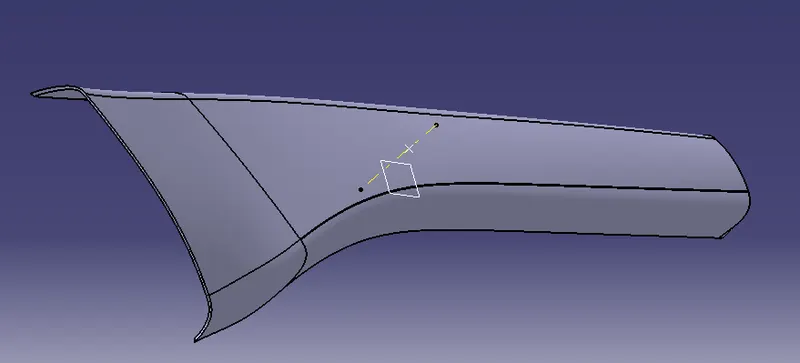
CLASS A SURFACE: Class A is an aesthetic surface with the highest quality finish. Most Class A Surfaces for an Automotive Component are made using AUTODESK ALIAS. It is taken as a reference by the Automotive Plastic Designer to create CLASS B(with or without B surface features as required), CLASS C surfaces.
GIVEN:
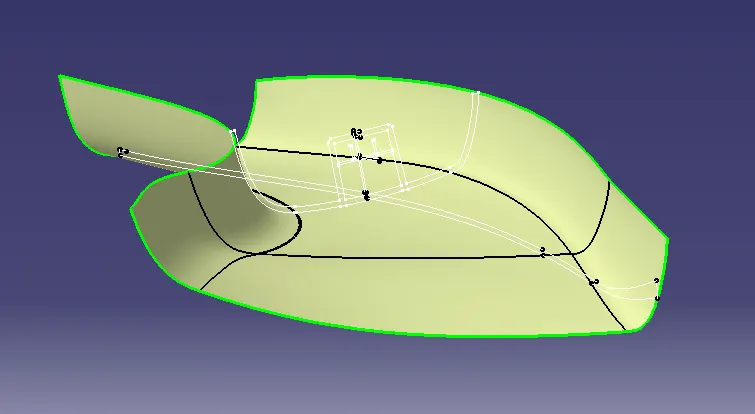
* Check the given A surface using join command or boundary command.
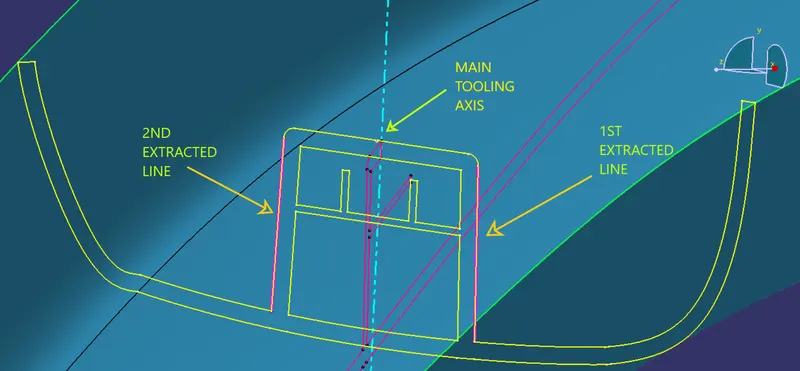
* Create the tooling axis using the master section. Extract the lines as shown below and bisect them to get the tooling axis.
* Perform draft analysis of the given A class Surface.
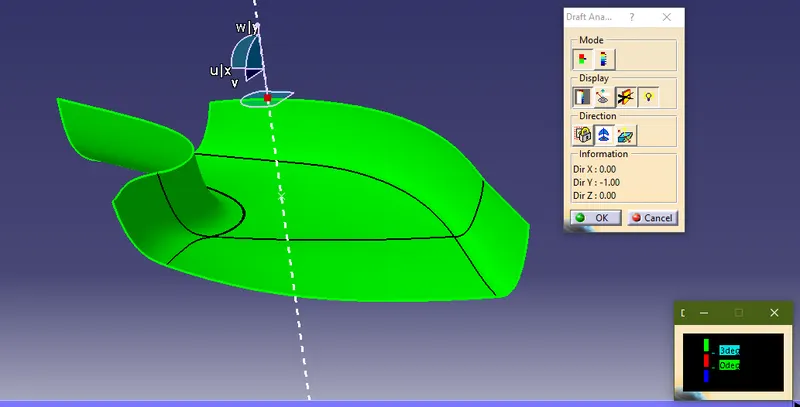
We can observe that there is a region where the draft angle shows less than 3 degree. Usually, this is to be informed to the Class A developers. Here, we can considering this minor deviation and proceeding with it.
* Creation of B class Surface:
Offset the A class surface by 2.5mm in the direction, inward of the A class surface. We observe that, some part of the B surface will not be generated after offset. This is rectified / patched using sweep command.
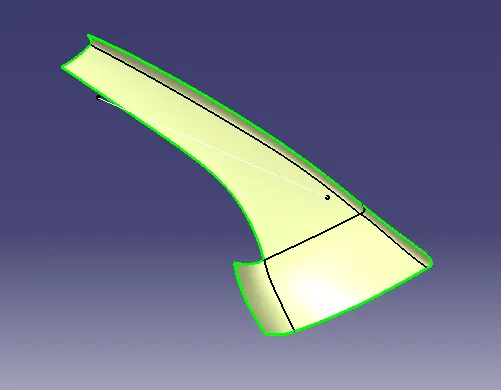
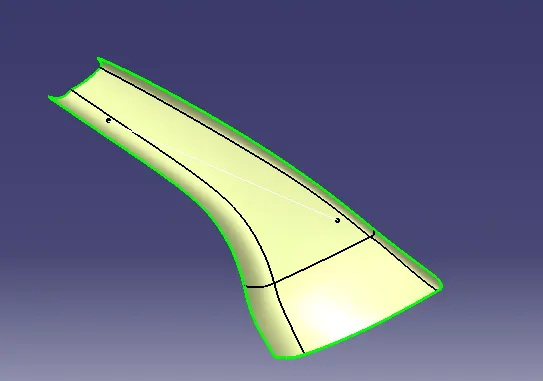
* Extrapolate the B surface such that it can be used while trim operation with C surface for the solid body generation.
* Create C class Surface:
Use the A class Surface, and extract the boundaries of it, follwed by smoothening them. Use sweep command with reference surface and with draft direction to create the C class Surface. Join the C surface with the A surface. The result will be as shown below.
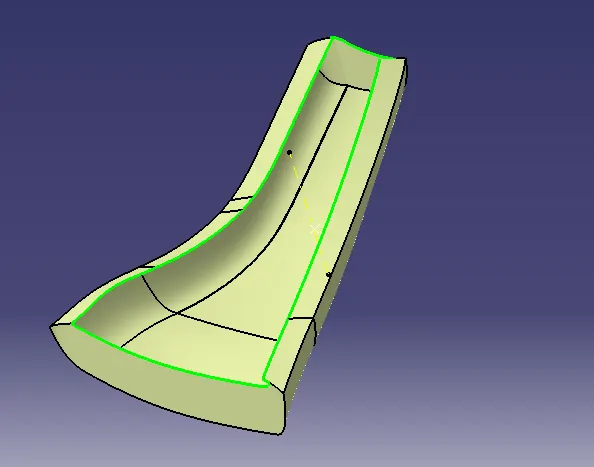
* Thim the above surface with the B class Surface. We obtain the closed surface as shown below.
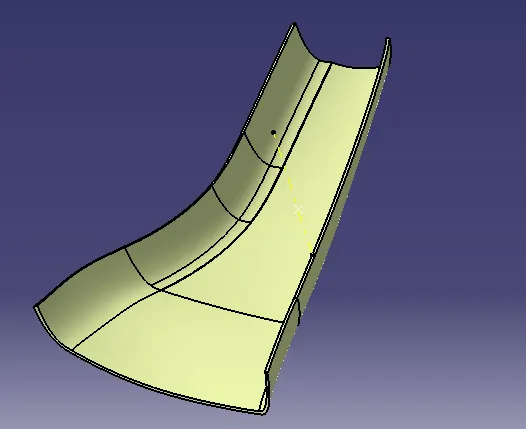
* Use Close surface to convert the closed surface into a solid.
* perform draft analysis on the created solid body.
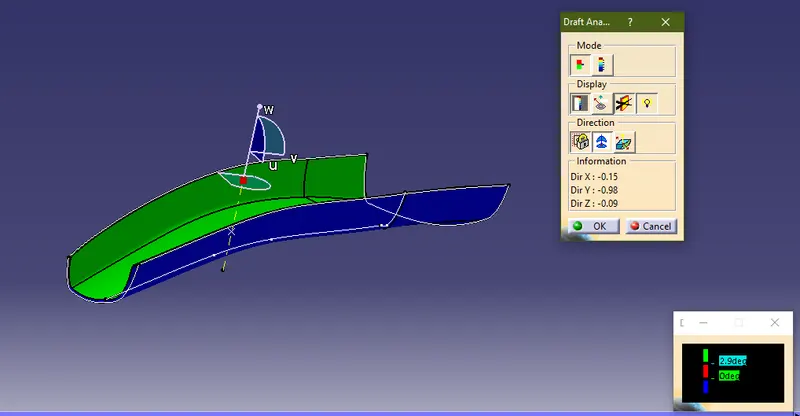
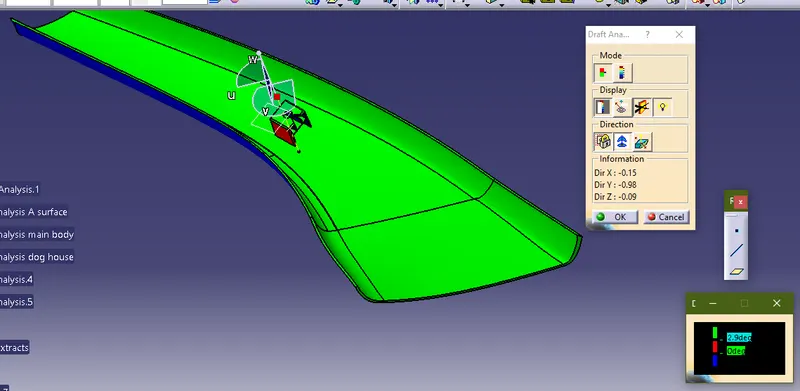
* We can observe that the solid body clears the draft analysis ensuring that the product is manufacturable.
* Now create the dog house using the master section provided.
* extrude the outer surface of the master section of the dog house. suh that we obtain the surface a shown below.
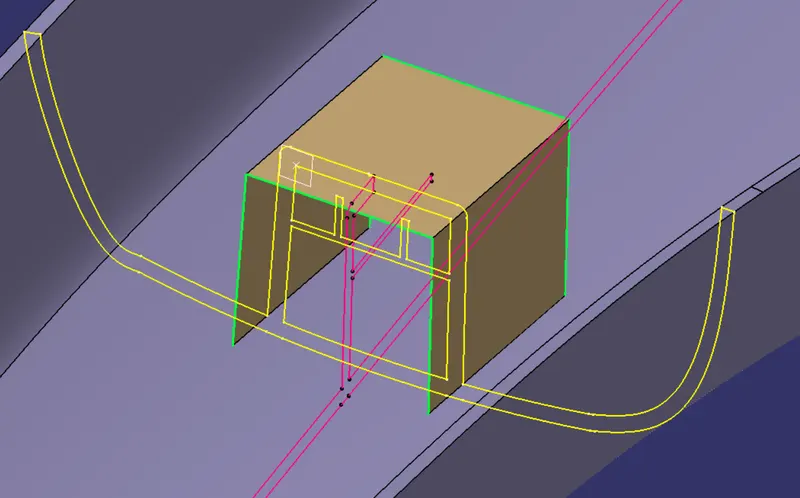
* go to the part workbench and thicken it by 2.5 mm to get the body as shown below.
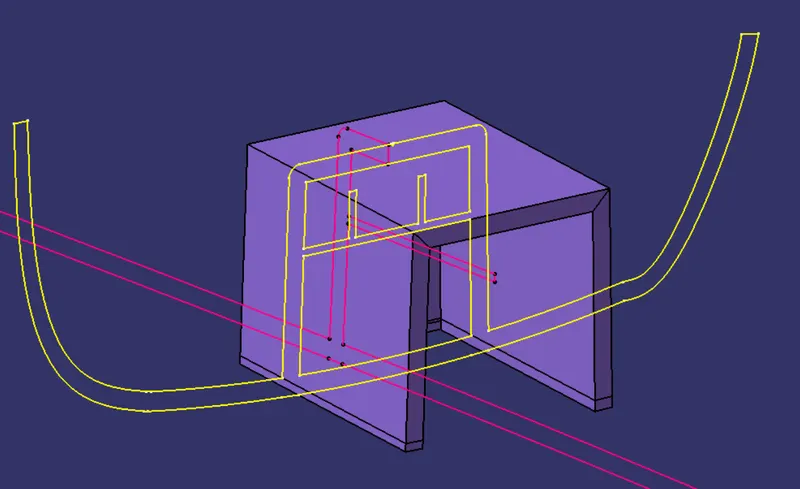
* Using master section, we are going to create the inner walls of the dog house as shown below:
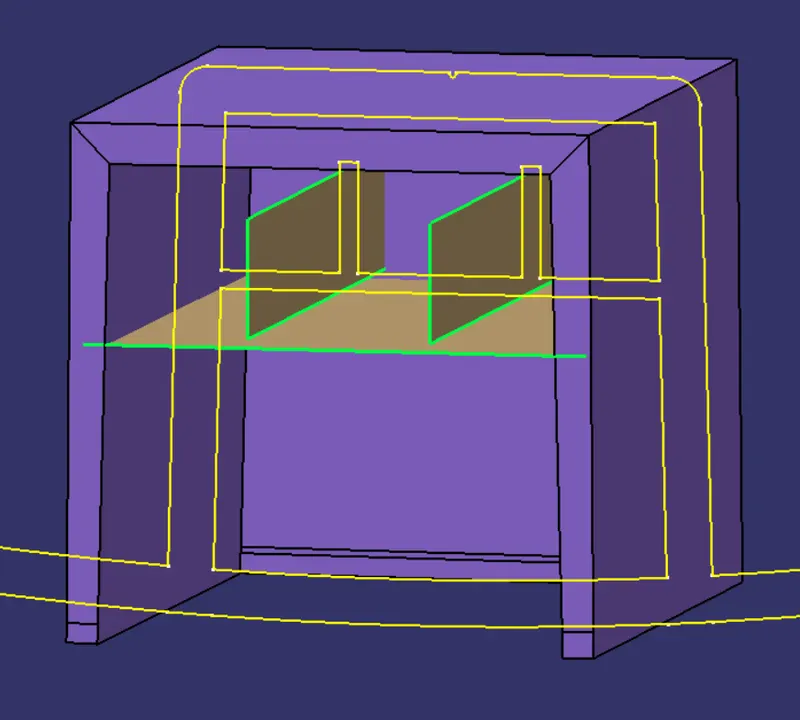
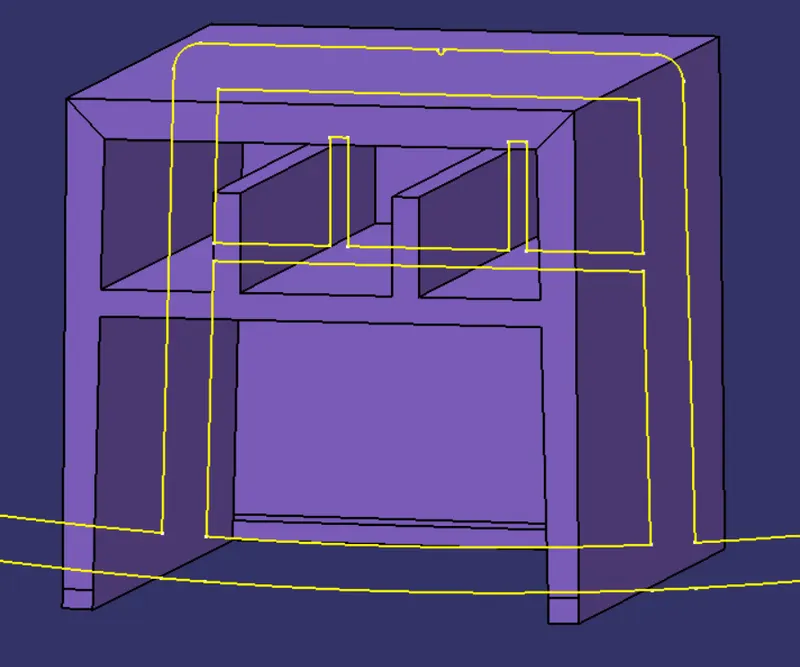
* provide fillets were ever needed.
* Now coring operation is to be done ont he dog house.
* firstly create a extract an the base section of the dog house. and offset it to a value, considering the rules to design a dog house. and extrapolate it as needed.
* similarly, the same procedure has to be followed for the the inner side of the dog house also.
* Now split the solid dog house with the offset surface, also remove the material on the top of the dog house as given in the reference drawing to get the result as shown below.
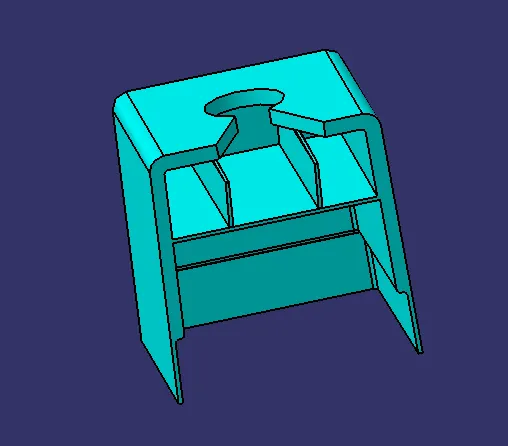
* check the draft analysis of the dog house created.
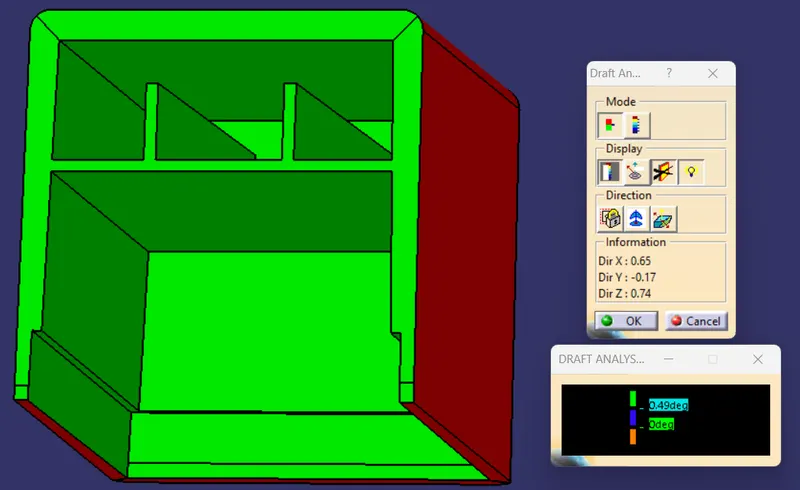
* Since, the dog house clears the draft analysis, it is good to go and add it to the main A pillar body using the union trim.
* We get the solid body as hown below.
perform draft analysis on the final solid body.
Thus, the A pillar with the B features is created.
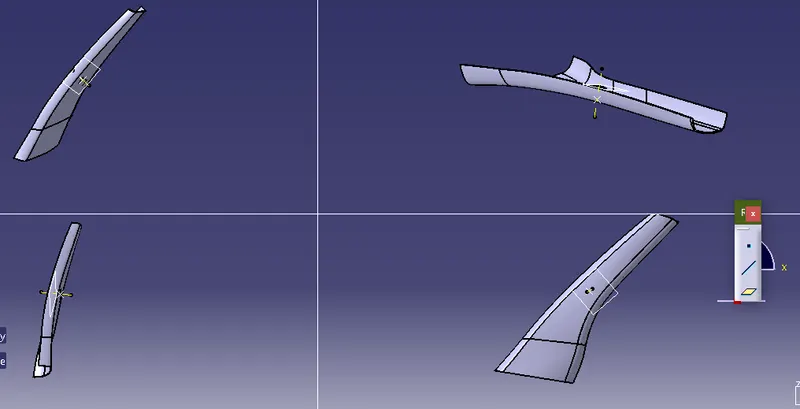
The view of the A pillar are given below.