Week 11 - Final project
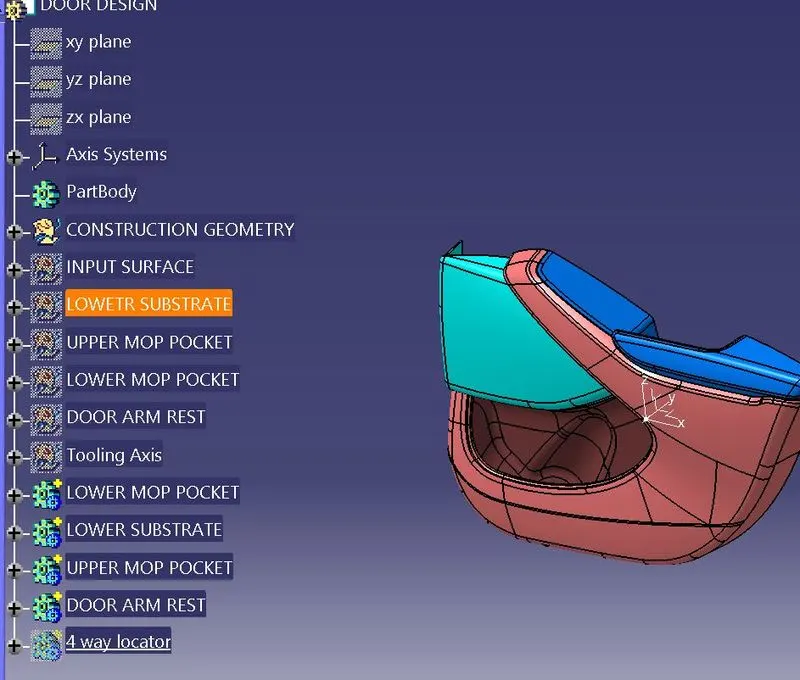
1. INPUT SURFACE
A. ASSEMBLED INPUT SURFACE
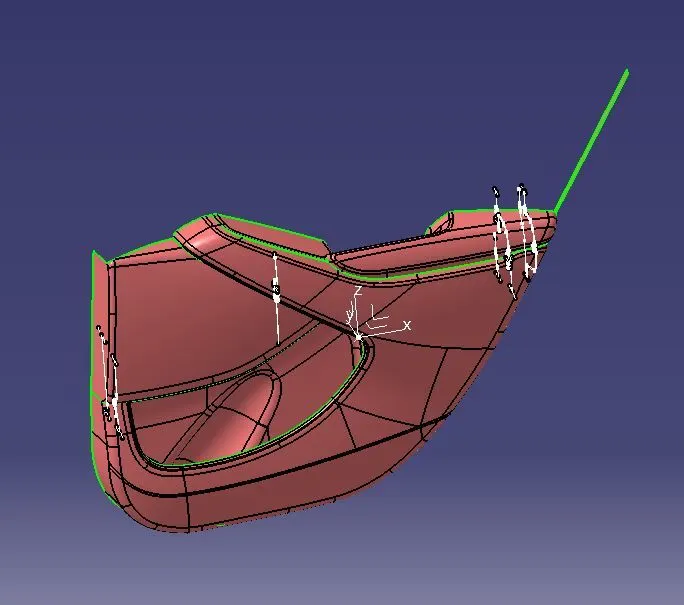
B. LOWER SUBSTRATE
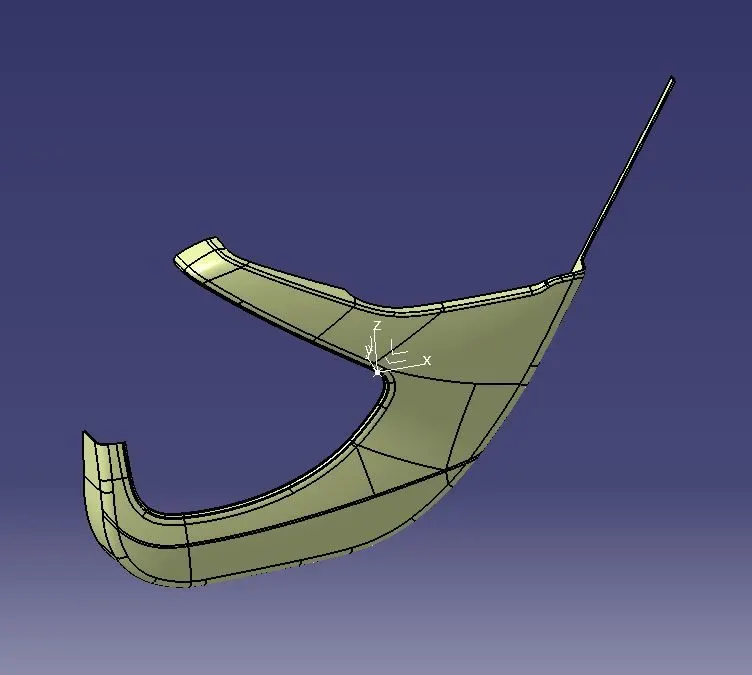
C.UPPER MOP POCKET
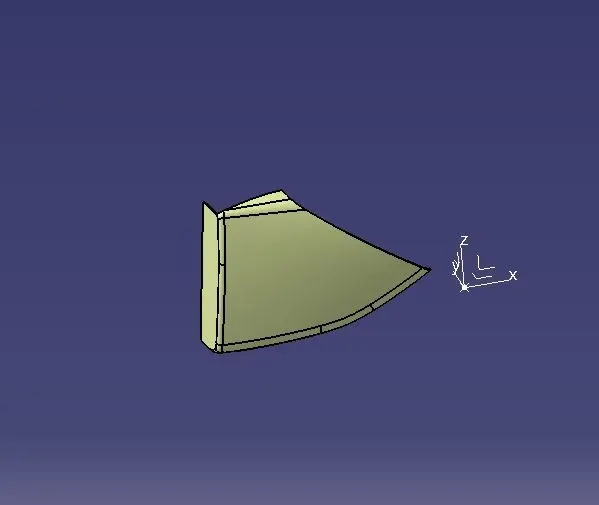
C.LOWER MOP POCKET
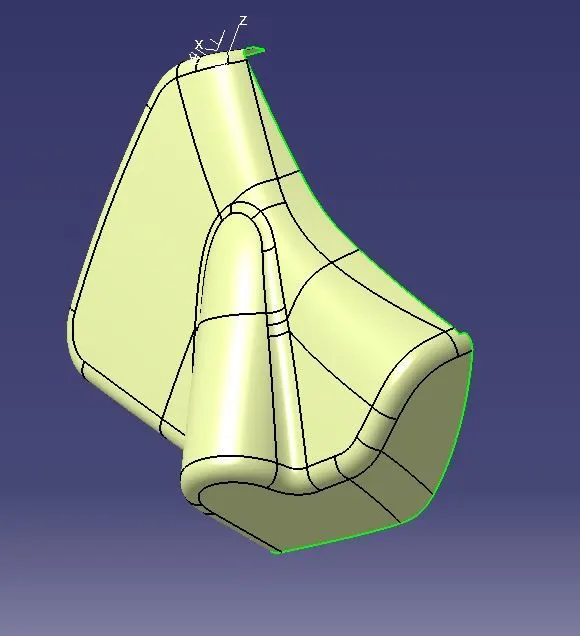
D. ARM REST
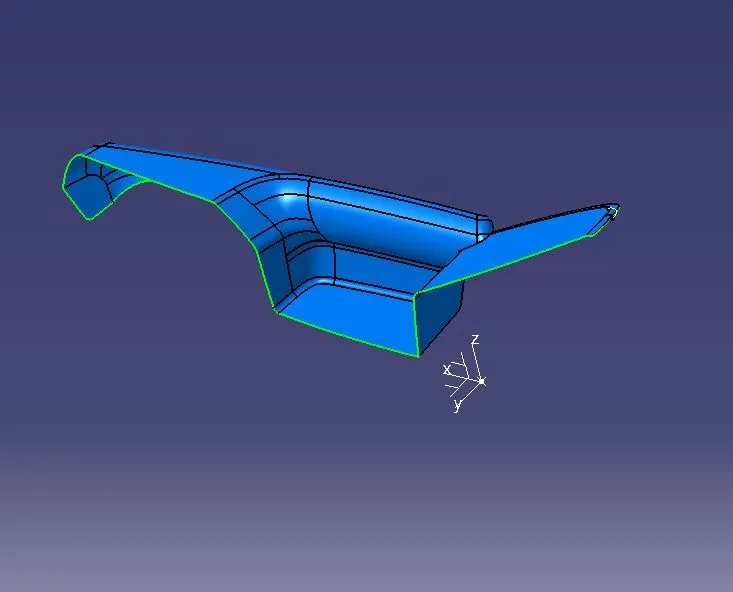
2.THICKEN PART
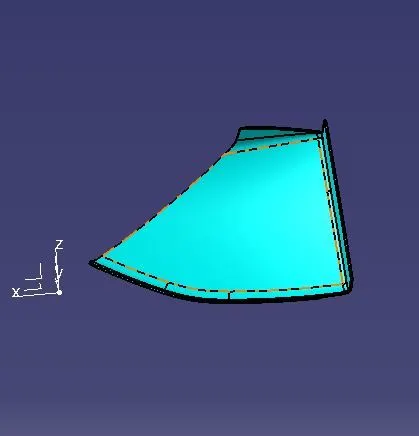
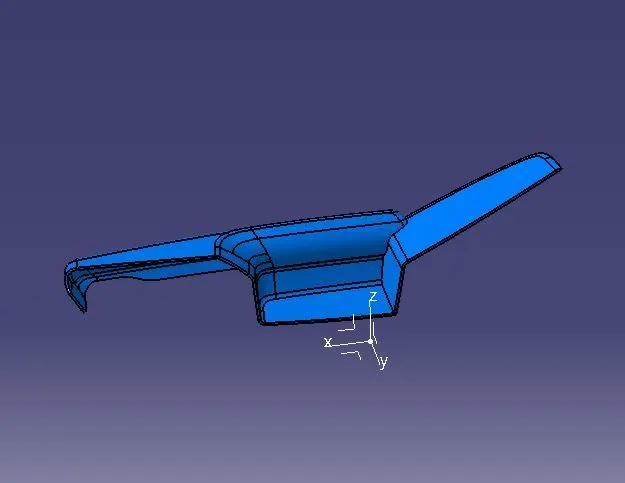
In this fisrt we have to create join the class A surface and checking surface continuity, then creating b surface through offset command and the then go to create c surfce and join all them together with seperate part.
now we have to use close command in part work bench and close them all seperately and final thicken surface obtain.
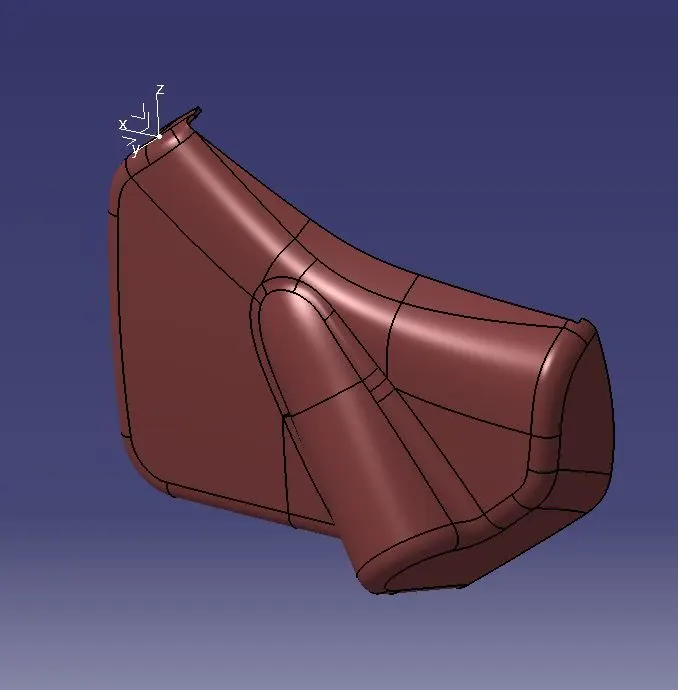
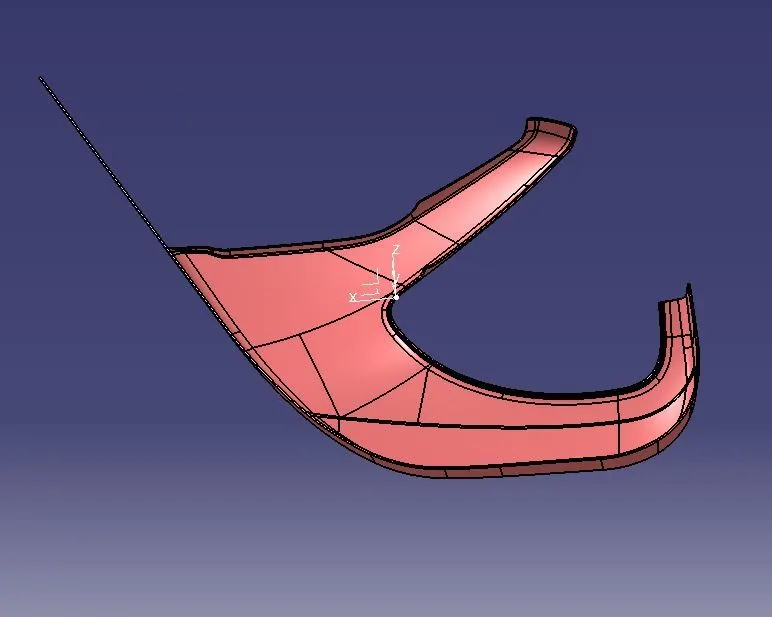
3. MOUNTING FEATURES
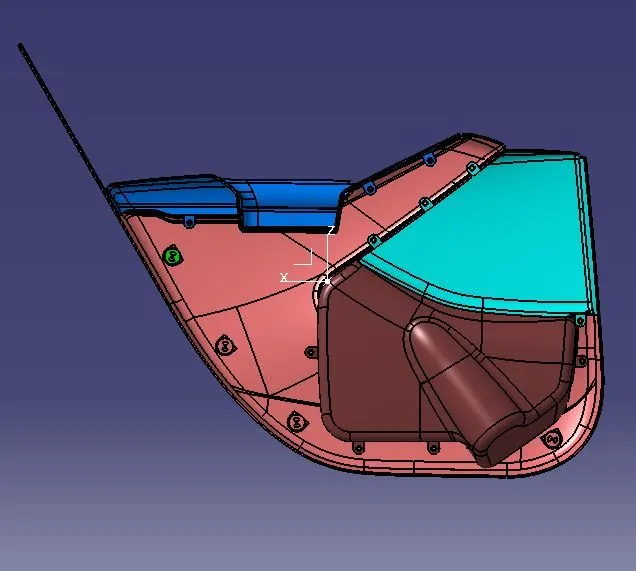
Mounting is the features which is fixing the part with othe part. In the below image we have to create mounting features which is dog house, push pin, heatstack.
4. MATERIAL DETAIL
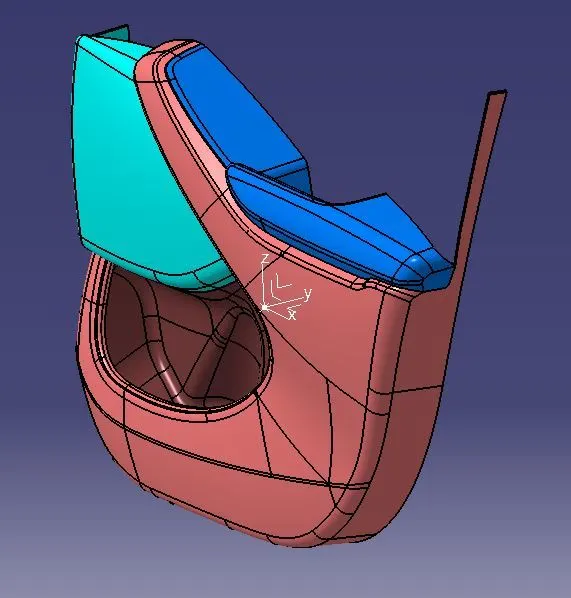
This is shown the complete thicken assembled part.
| PART NAME | QTY | MATERIAL |
| LOWER SUBSTARTE | 1 | PA6GF30 |
| UPPER MOP POCKET | 1 | PA6GF30 |
| LOWER MOP POCKET | 1 | PA6GF30 |
| ARM REST | 1 | PA6GF30 |
5.DRAFT ANALYSIS
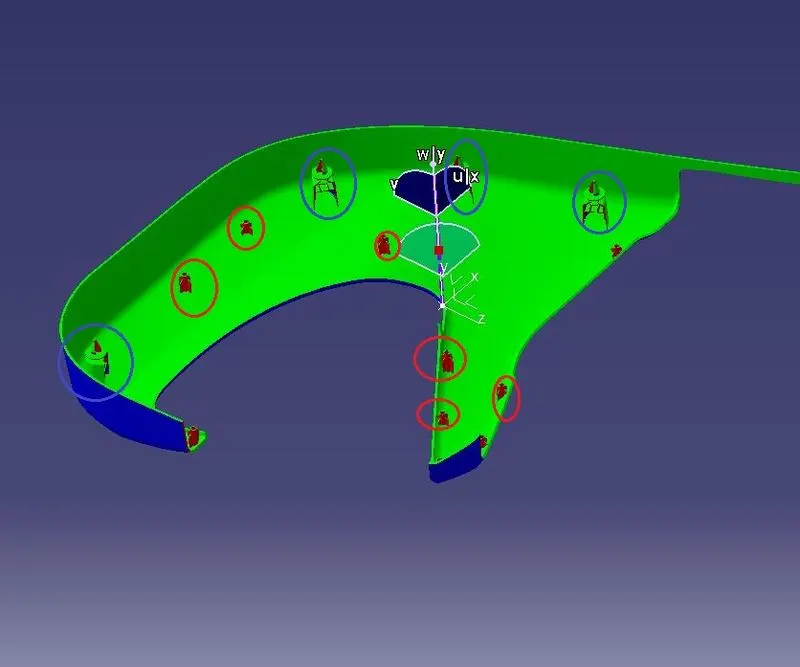
A.Draft analysis of lower substrate
In this red area which is heat stack, therefore the the draft at this area is 0.5 degree which is on red circle.
For dog housee we have use slider ( Lifter ) for the demoulding. Here push pin is the seperate part whch is assembled on lower substrate.
B.Draft analysis of upper mop pocket
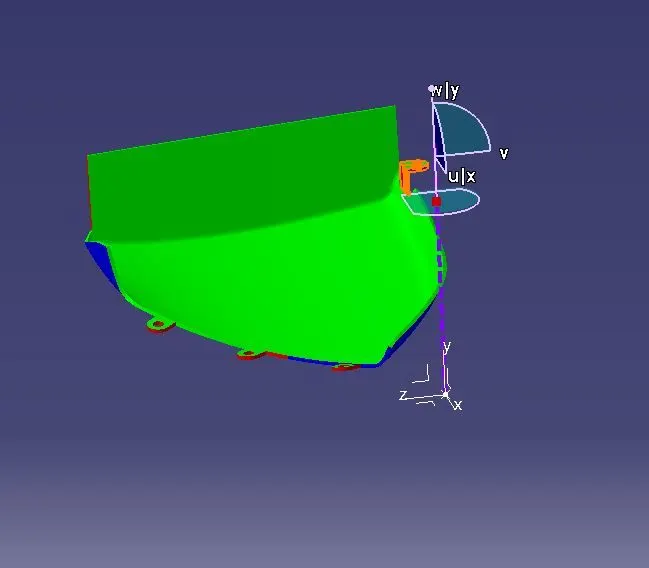
This part is good along tooling axis. tooling axis is the shown in voilet colour.
C.Draft analysis of arm rest
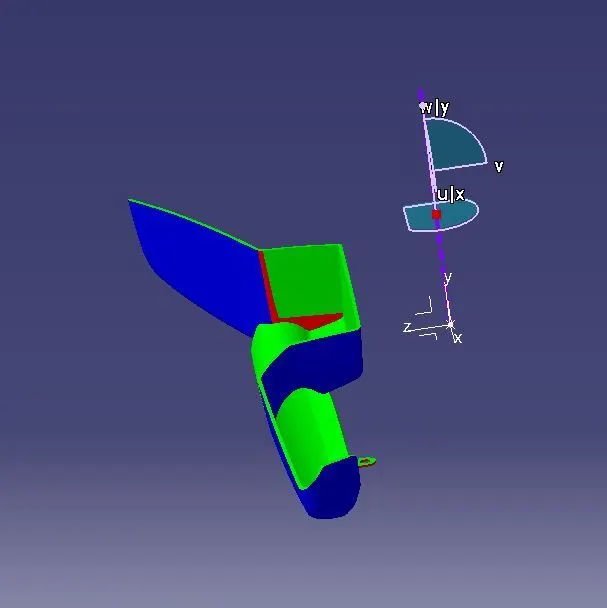
In this part we use slide which is perpendicular to main tooling axis, but here is also some draw which is that side wall is undercut so need to some modification in A class surface with the help of styling team.
D.Draft analysis of lower mop pocket
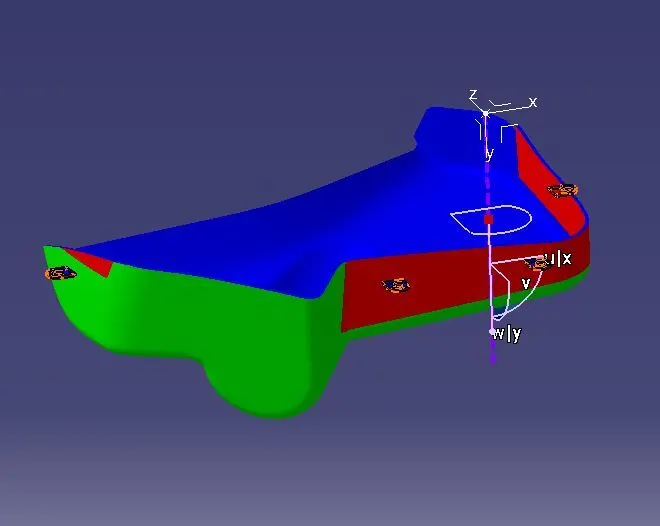
In this part red area shown that draft is less then two degree so we need to modify either tooling direction or A class surface.
6. TREE STRUCTURE