Week 8 - Challenge 3 - Switch Bezel Design
Objective:-Create the Switch Bezel Plastic component through the given Class-A surface. To begin with, the tooling axis for the given Class-A Surface should be created meeting the requirements of the draft angle and at the end perform the Draft analysis on the model.
Input Surface:- First we input given class A surface in .igs format. Igs format is that format which is seperaately suface.
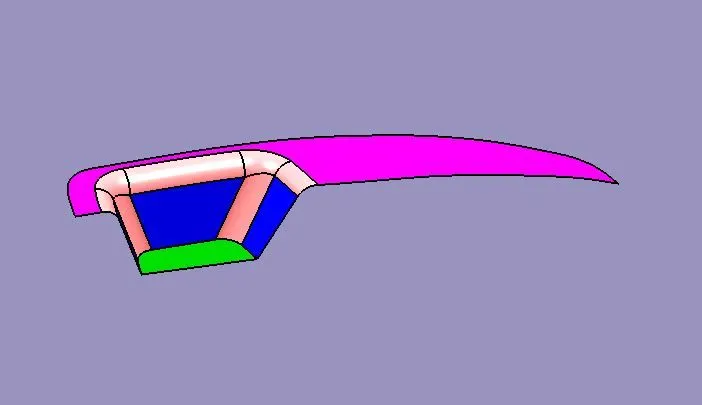
Joining Surface:- Joining the input surface but it's shows some error at the pink surface. this ocuurs due to conversion of file from one fromat to another format. after modifying this surface little bit again joining this surface though joining command.
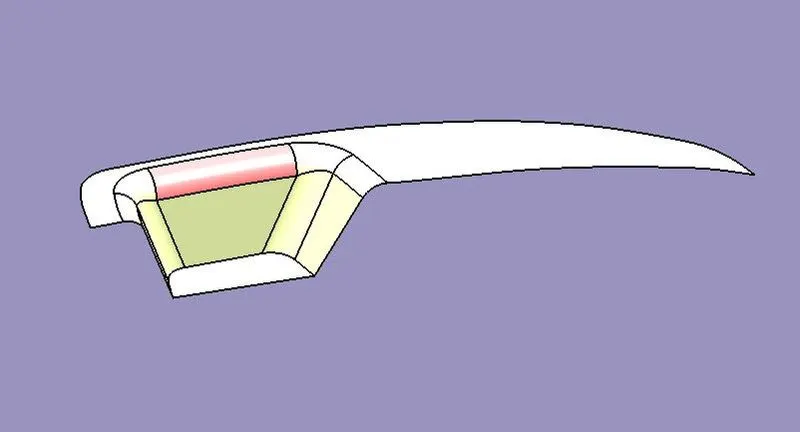
This is final class A Surface which is properly join to each others.
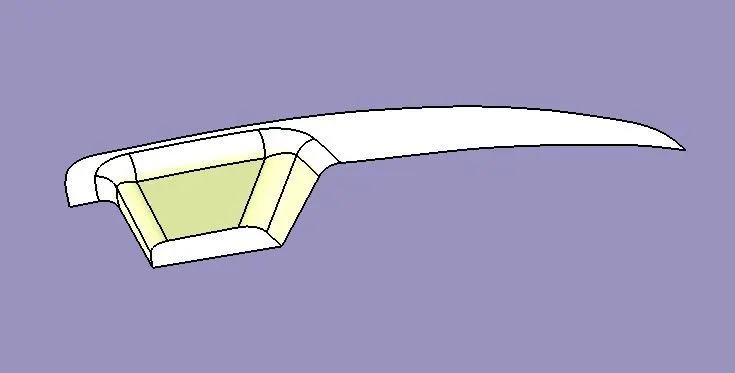
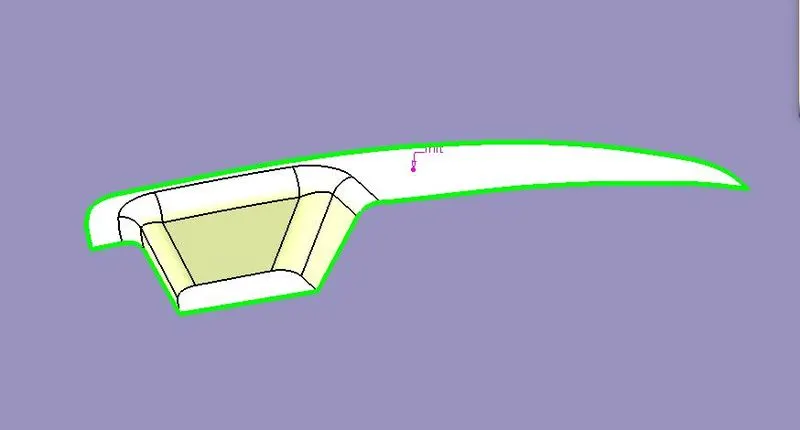
Checking boundary condition of the given class A surface through boundary command, Green line show the only one boundary of the input surface which means no voids available between the surface.
Creating Tooling Axis: After analysis of the model we have to check the tooling feasibilty of the model which obtain that it's suitable in Z direction.
Creating Point on the bottom surface which show in white colour.
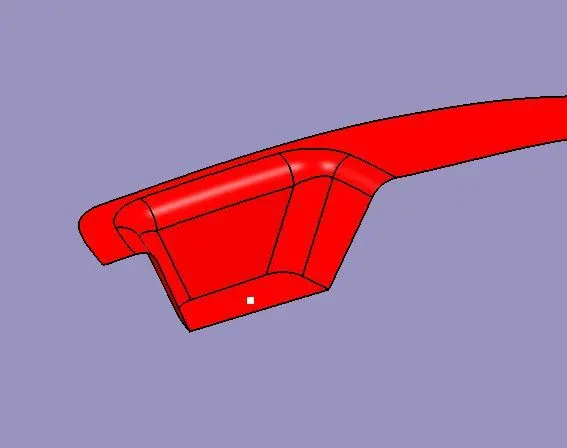
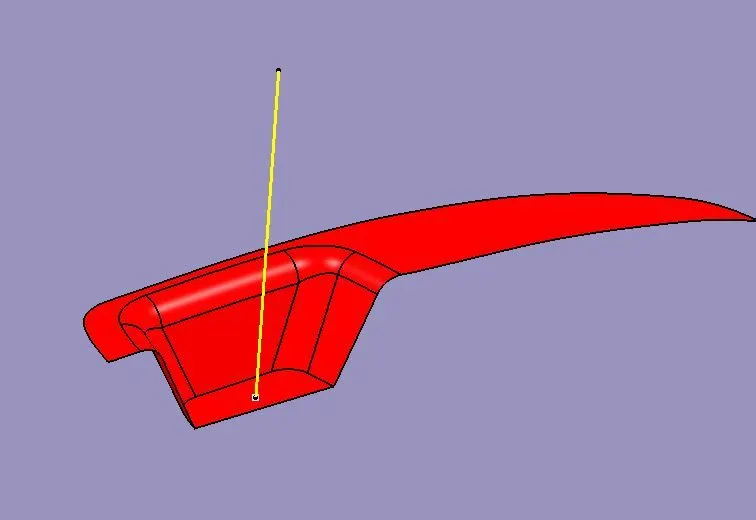
Here we creating a Dummy tooling Axis with the help of line cmnd.
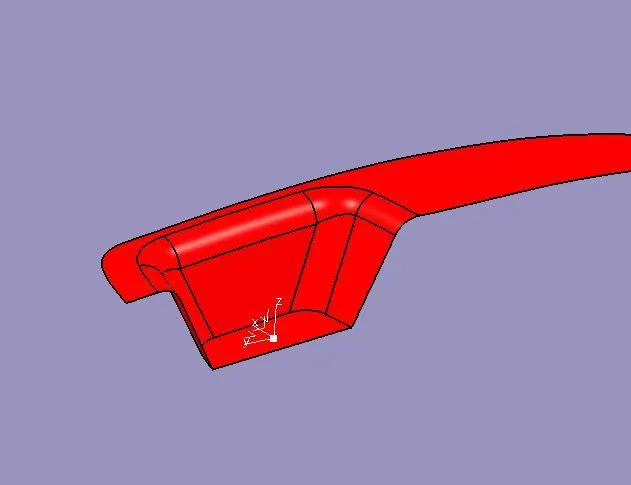
Creating Axis System on that point.
Creating Intersection line of the given class A surface with y-z plane for which we get white color line. using line cmnd we create line from point to point which show in purple colour.
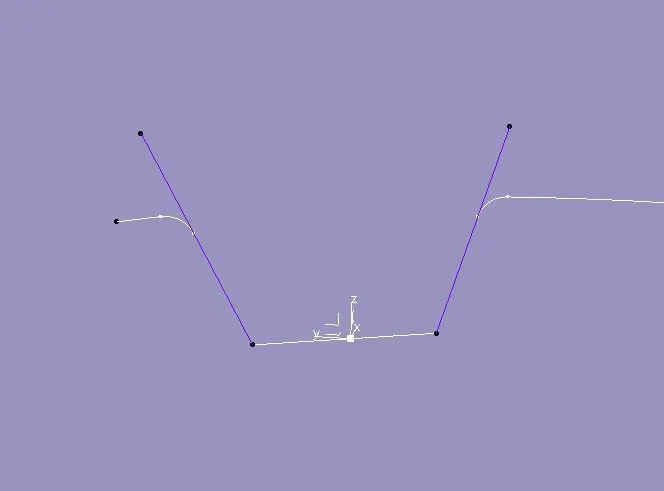
We create the bisecting line awith the help of above purple colour line. This bisecting line shows in sky blue colour in the below image.
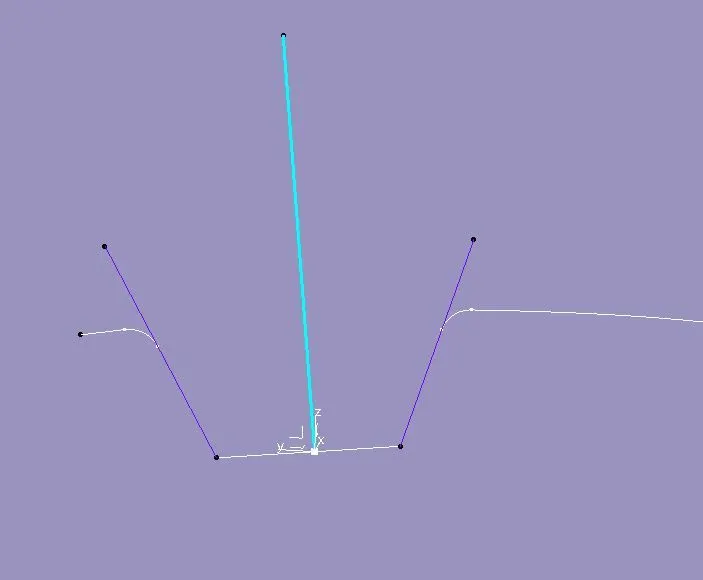
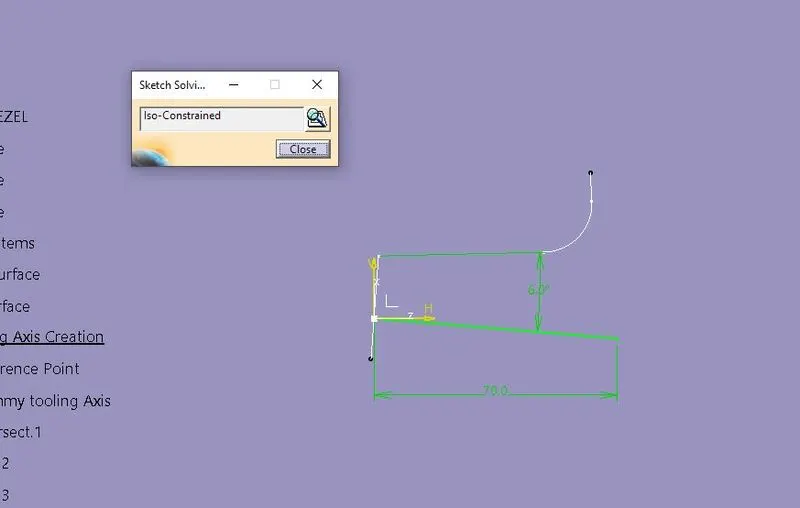
Creating Intersection line of the given class A surface to x-z plane, we get white colour intersection line. after here only one side surface for which we not able to create bisecting line for that we maintaing the drafte angle ( Min. 3 degree required in automotive industries) create sketchand mainatin the draft angle show in the below image for that we create bisecting line.
On the above we make two bisecting line after that we create a final bisecting line on the above two bisecting line which is the final Tooling axis of the given model.
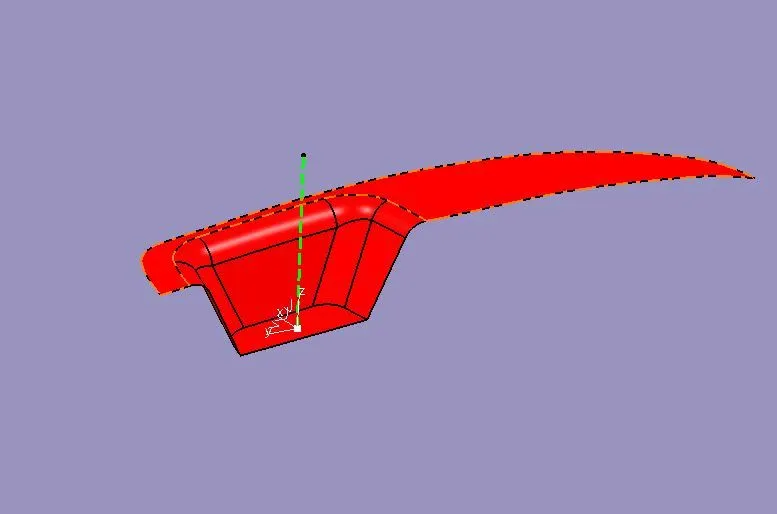
Creating B Surface:- We create B surface which obtain from class A surface. Extract the Class A surface after that we use untrim cmnd complete the surface , now offset the surface 2.5 mm outside of all surface. now using trim cmnd we trim the surface and join the surface together properly after that we use edge fillet cmnd to fillet the sharp edges but we consider one thing here that if the fillet on the class A surface at concave edge then on the b surface at convex edge we add the thickness value on the given fillet value in Class A surface and vice versa.
The below imgae show the B class surface.
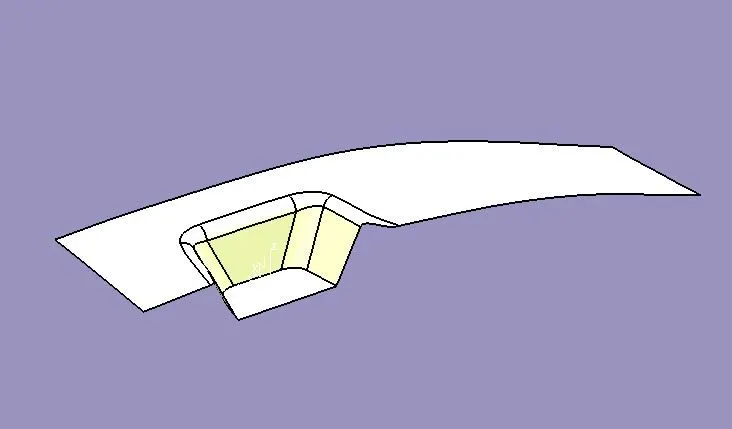
C class surface:- Extracting the outer boundary of the given class A surface thereafter we using sweep cmnd creating surface with 3 degree draft along the tooling axis . Below image the C surface.
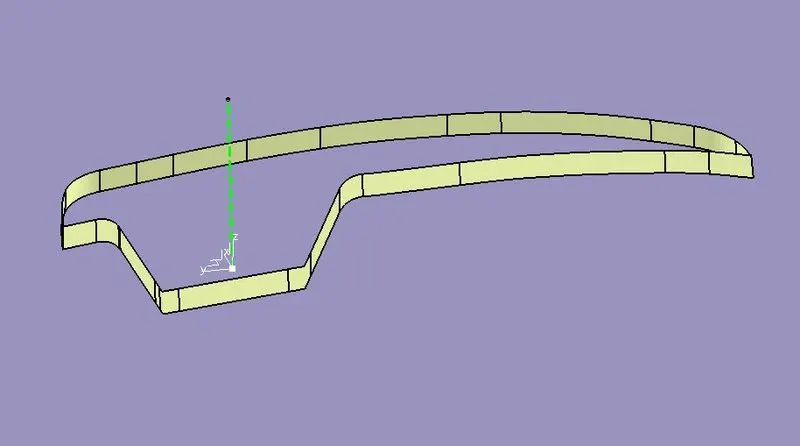
Joining A,B & C Surface:- First we using join cmnd and join the A surface to C surface & there after using trim cmnd trim and join the B surface to the previous join surface.
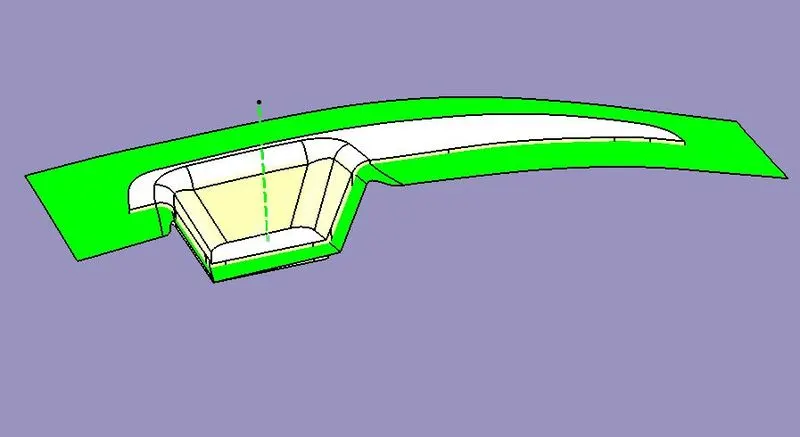
Final output of the joining the surface of A, B & C surface.
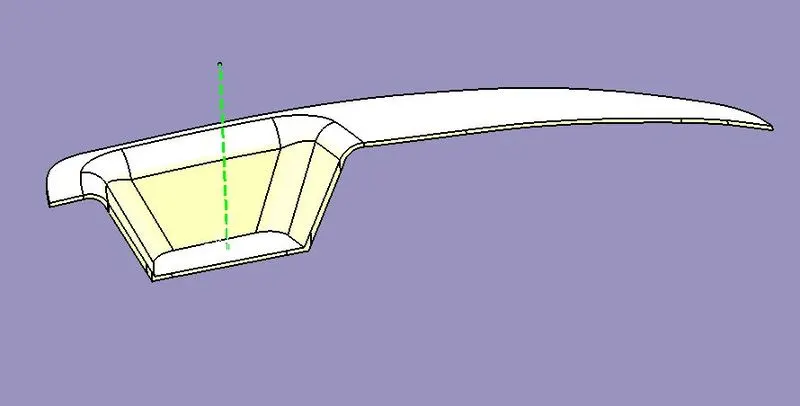
Close Surface:- We close the above surface using close surface cmnd in part workbench & make the solid parts.
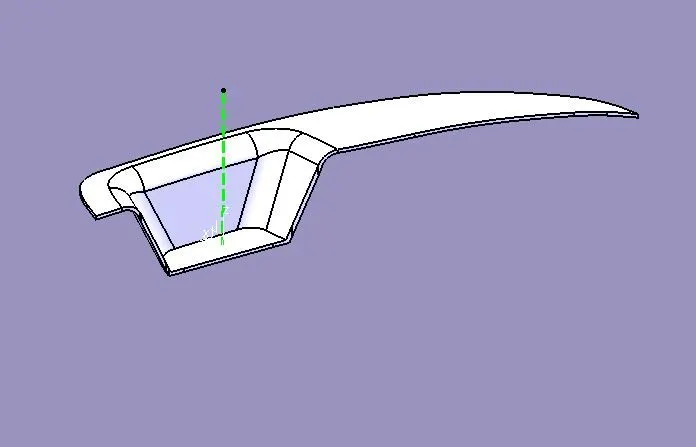
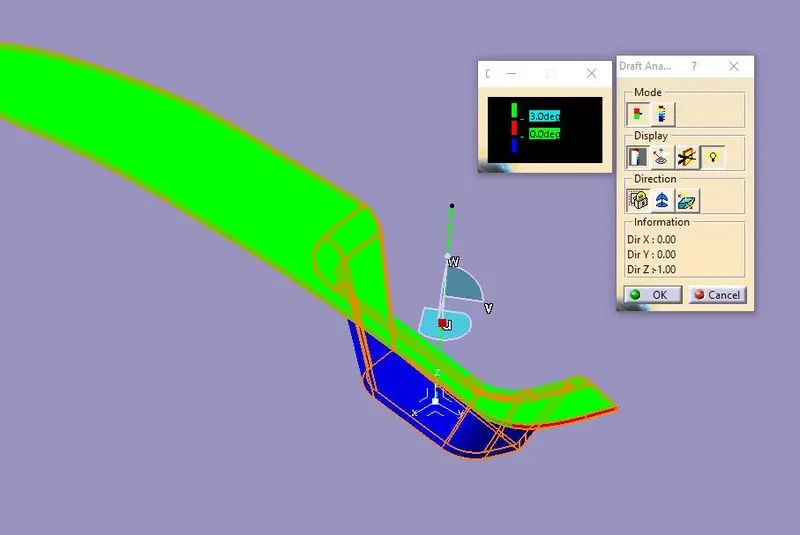
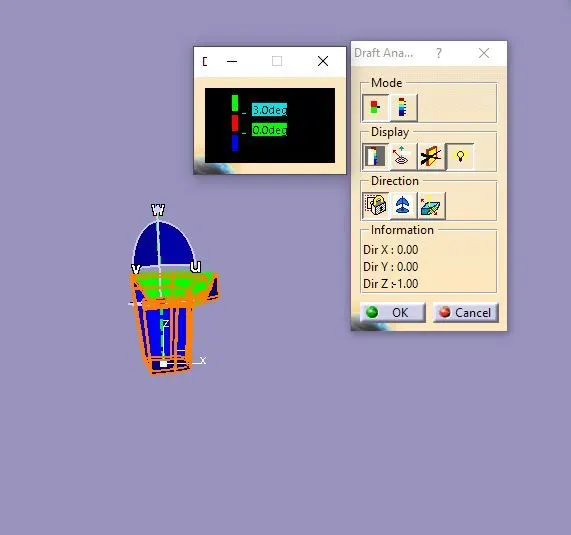
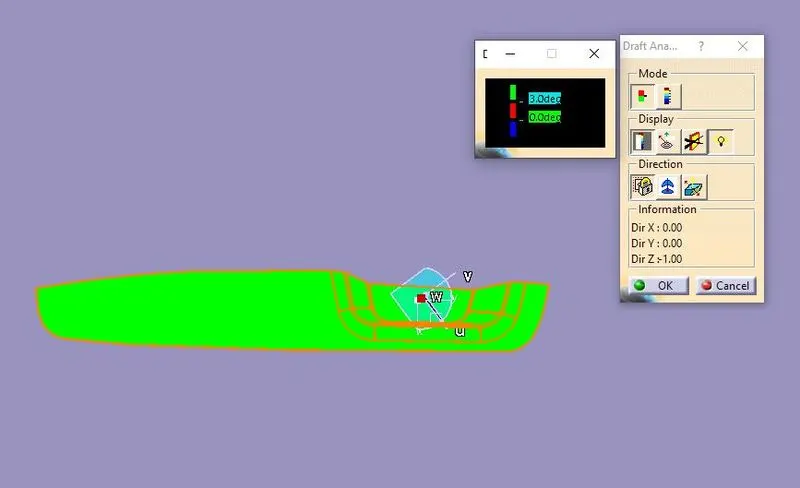
Draft Analysis:- Using features draft analysis cmnd first we aling the compass on the tooling direction then lock the compass and click on the part body (Under the material mode) then draft analysis colour shows .
Below image the two color varient mode of draft analysis.
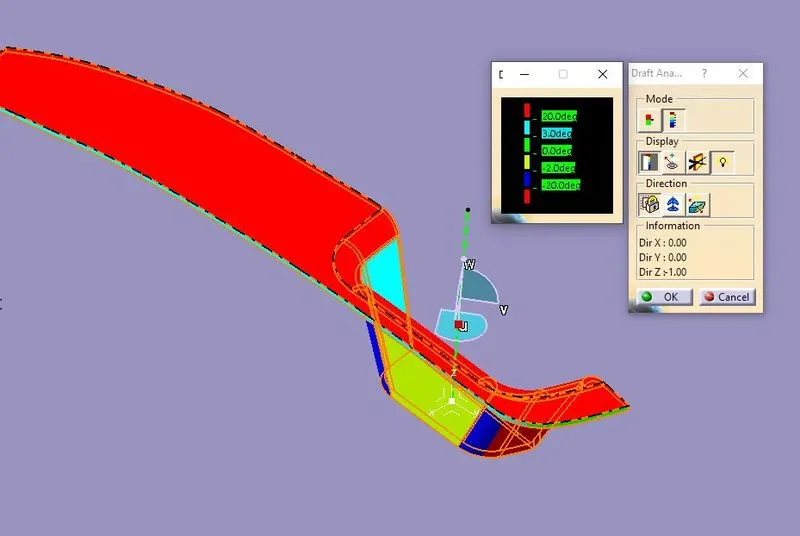
There are different color mode on the below image with different types of view.
Isometric view
front View
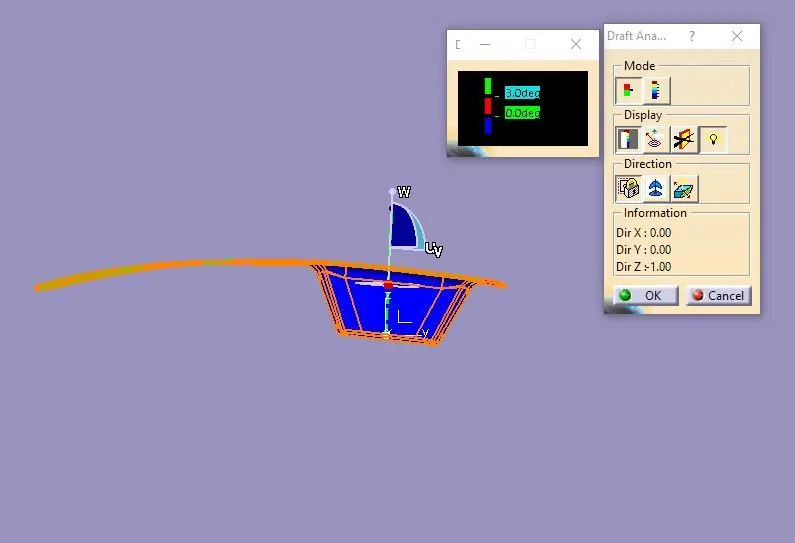
Side View
Side View
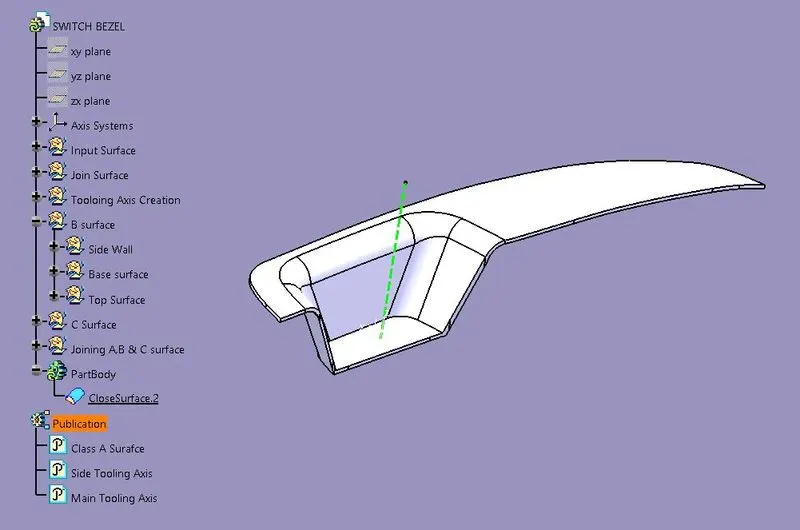
Tree Structure of the complete model.