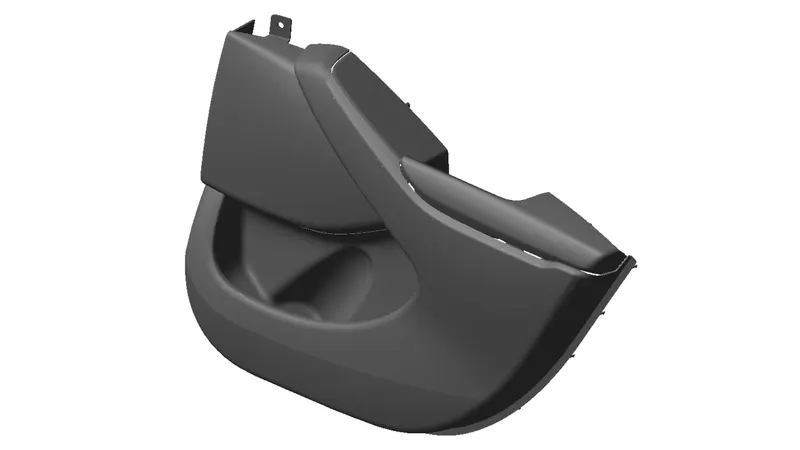
Week 11 - Final project
Aim:
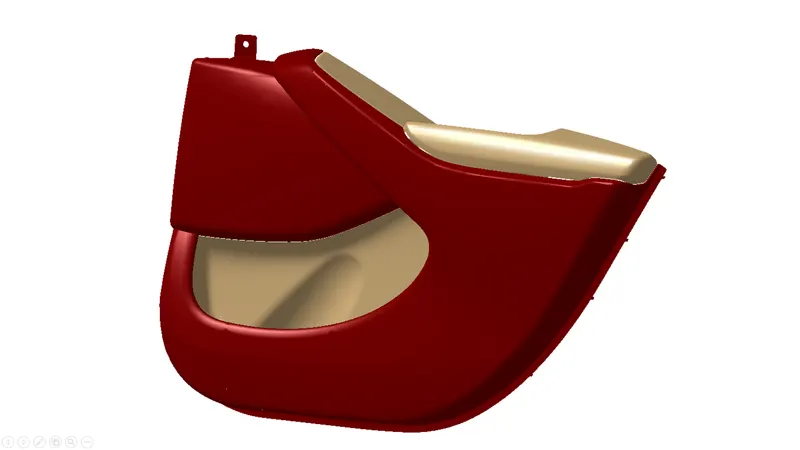
a.)To develop the door trim panel from the given A-Surface.
b.)To use refer to the Master sections and give nominal thicknesses to the parts
c.)Develop an attachment strategy and apply materials to the parts
Procedure:
To develop the component, we first need to break down the given A-surface to managable components for tooling. The A- surface is careful studied and using multiple extracts , individual A-surfaces of sub-parts are made.
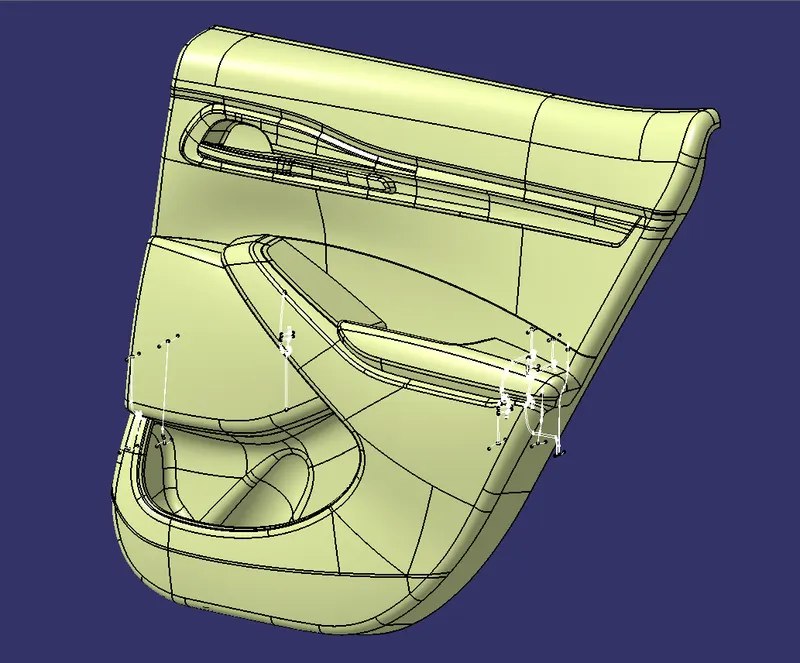
The armrest has a leather covering in the master section so the plastic component is offset accordingly.
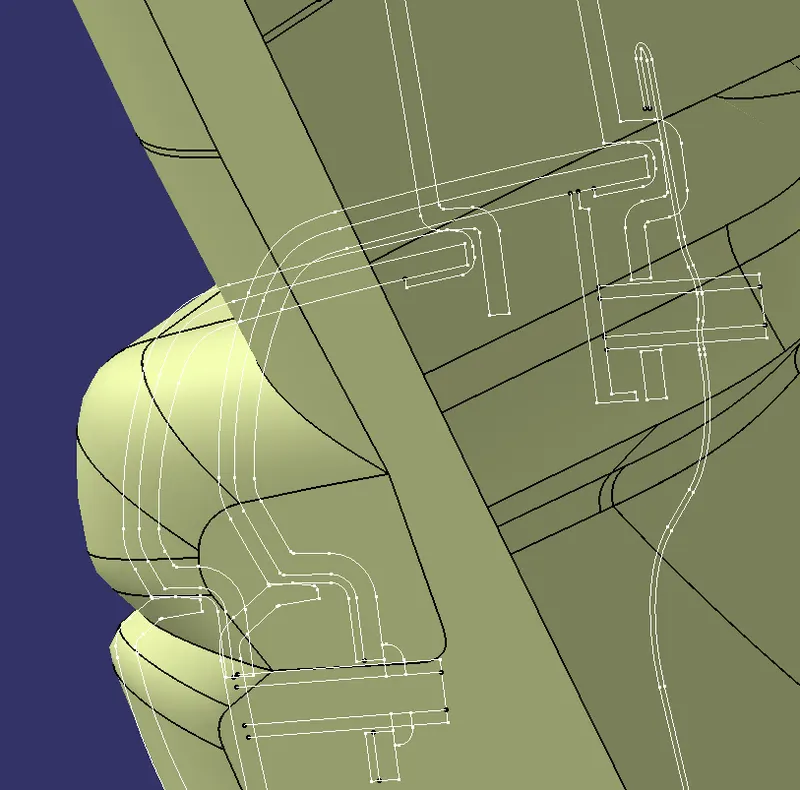
A-Surfaces of the parts we are going to thicken.
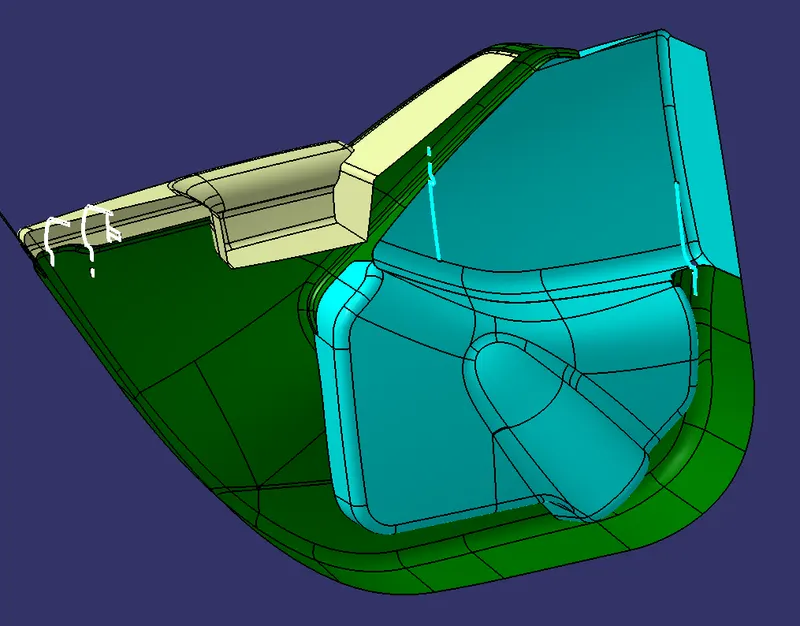
We will start with the A-Surface of the Armrest.
We need to make sure the Armrest is toolable.
The two part strategy of the Armrest was first adopted but it did not work for the tooling axis selected. So the chosen method for tooling was in the basic X-Y- and Z axes to creating the part in one mold. After consulting with industrial experts,it is established that the x y and z axes are perfect for reducing assembly clashes later. The undercuts are taken care by the side cores which I have taken in the X and Y directions.
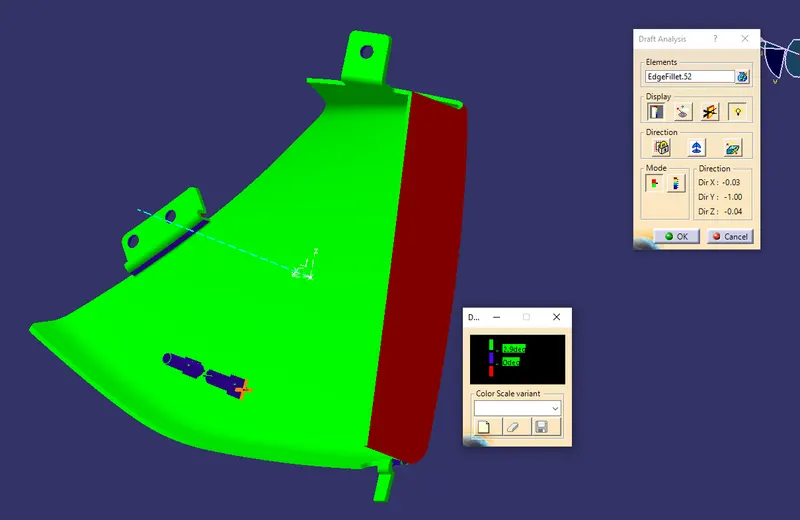
After following the master sections correctly and giving the correct thickness of 2.5mm to the B surface; The C-surface was carefully created making sure that they have a draft angle of atleast 3 degrees. The final draft analysis of the Armrest is shown below clearing all the to oling directions.
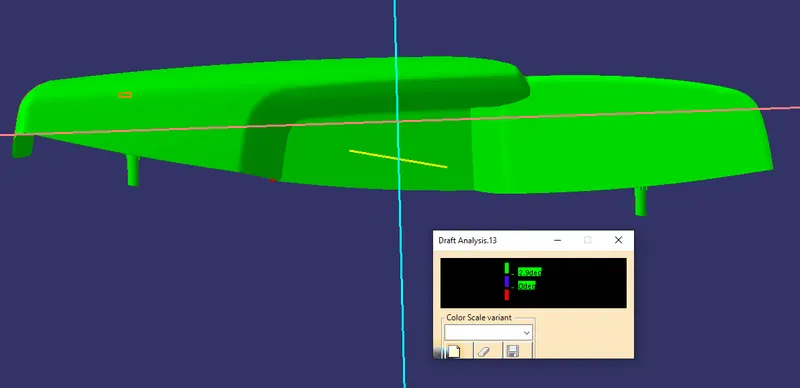
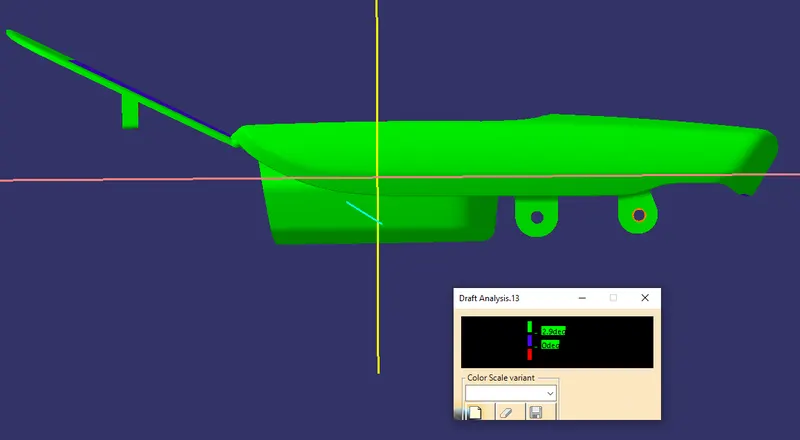
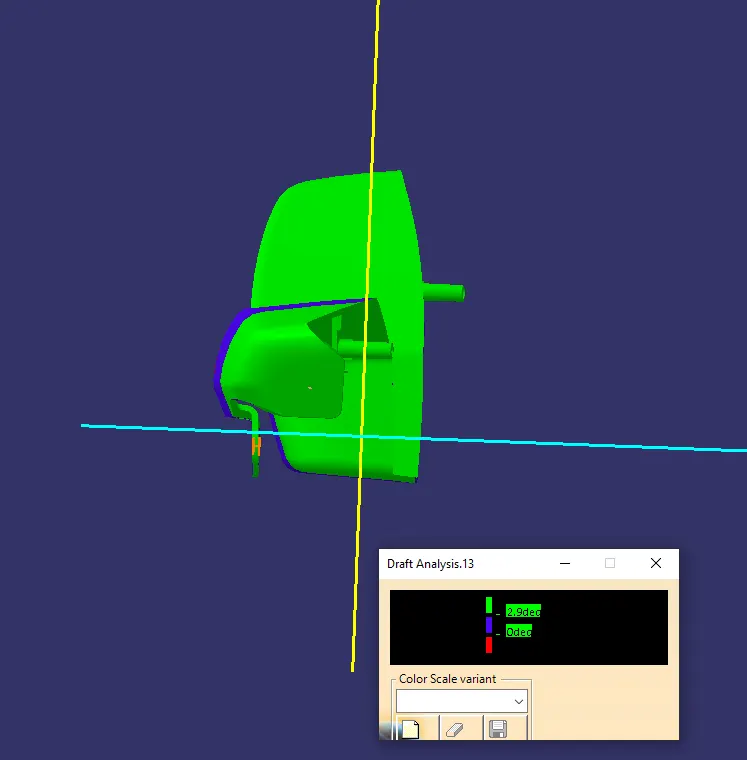
All Engineering features have been given proper heights, thicknesses as shown.
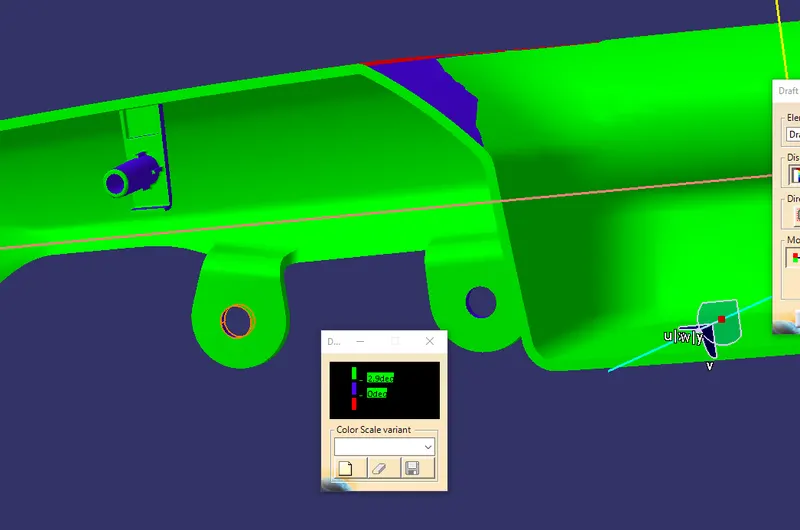
Similarly, with less complexity for tooling, the lower substrate is made using the Y-axis as the main direction for tooling.
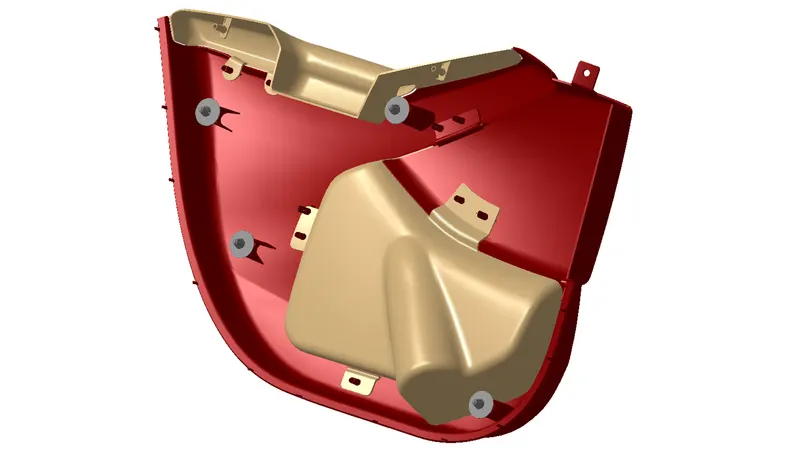
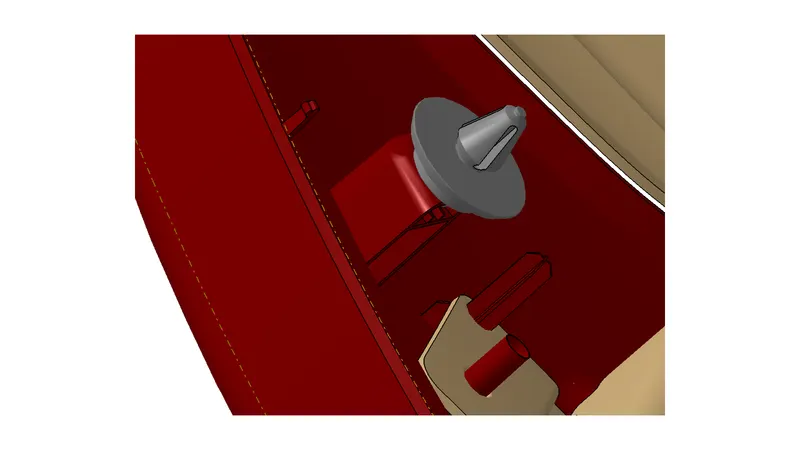
All heat stakes dog houses, and locators have been designed keeping in mind industrial guidelines such ribbed heat stakes for support; A thickness range of 40 to 50% of the component thickness on the ribs,heat stakes; Drafts to clear tooling.
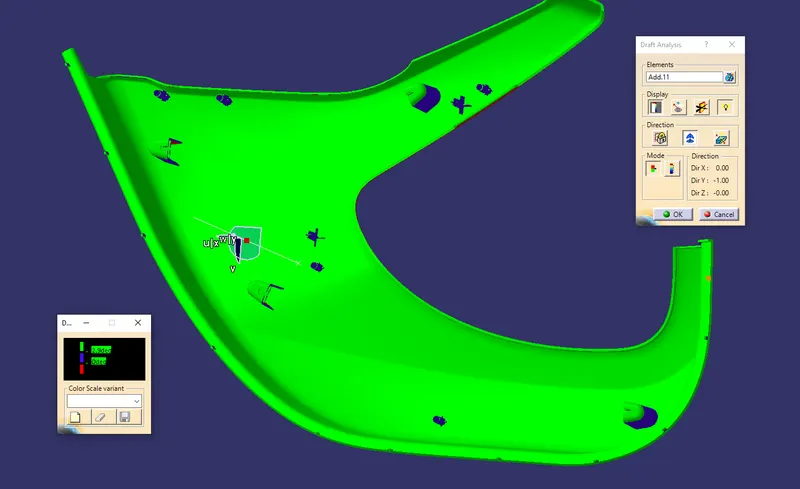
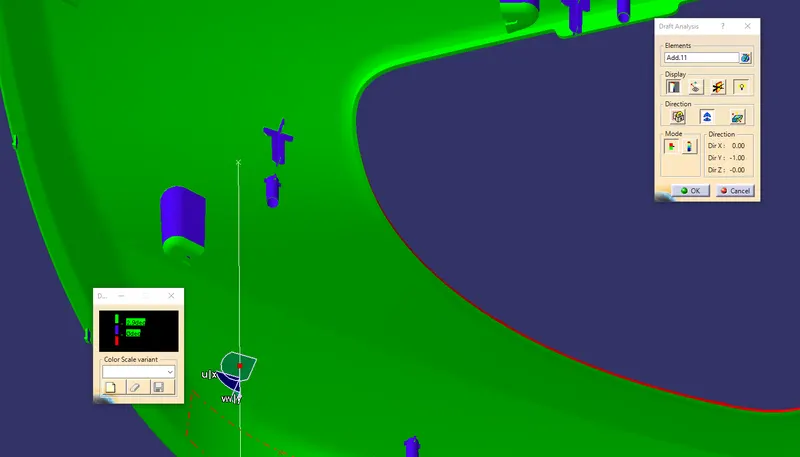
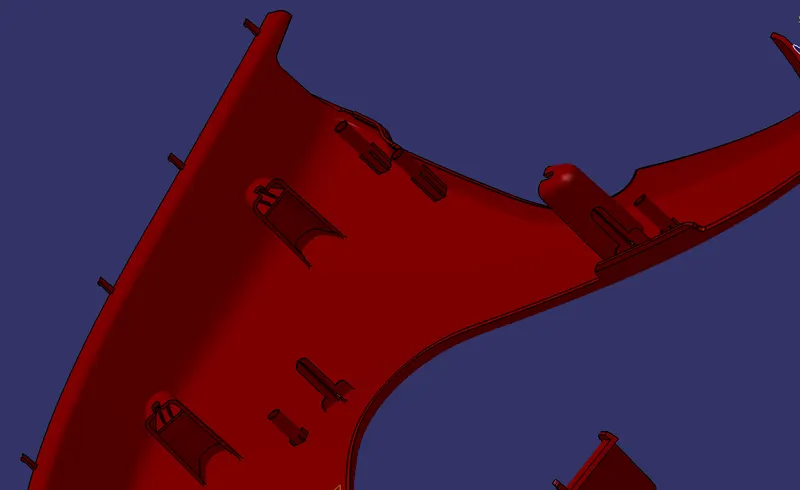
For the Map pocket region, I have decided to split the parts into the upper and lower sections and use locators and heat stakes to assemble them correctly in the Product file.
The heat stake ribs have a height of 6mm while the heat stake itself has a height maintained as 6+2.5+12 ~21 to 23mm through this project
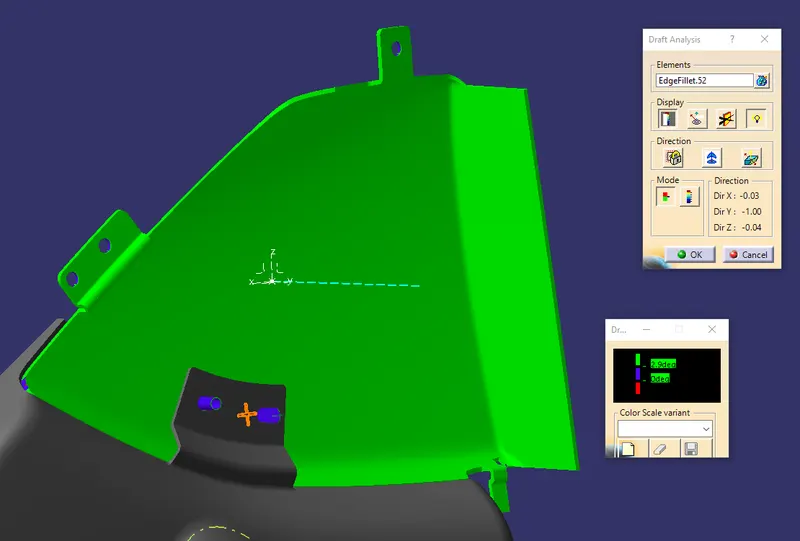
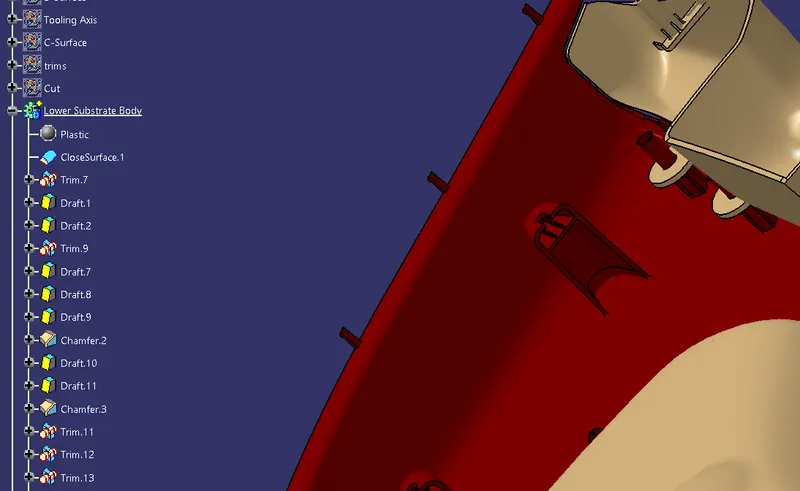
Plastic material has been applied to all the parts.
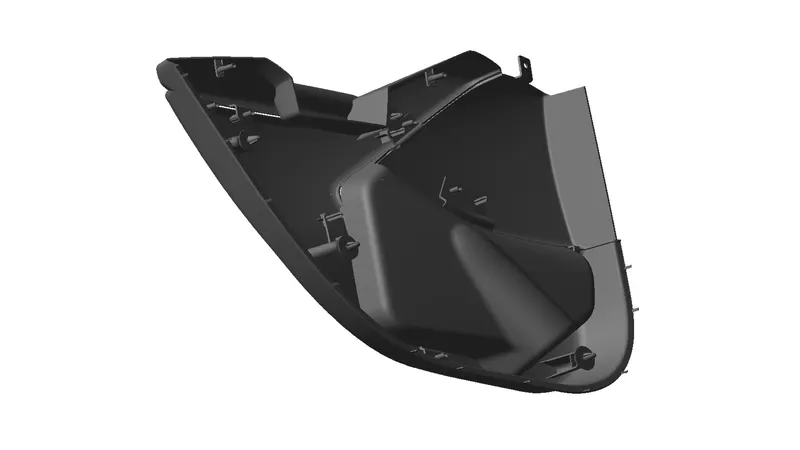
Push pins have been placed correctly onto the dog houses in the product assembly workbench. Master sections have been used and followed.
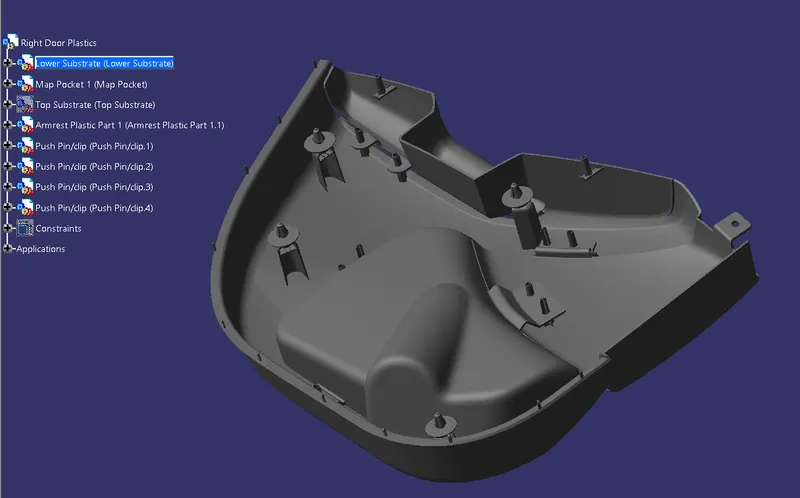
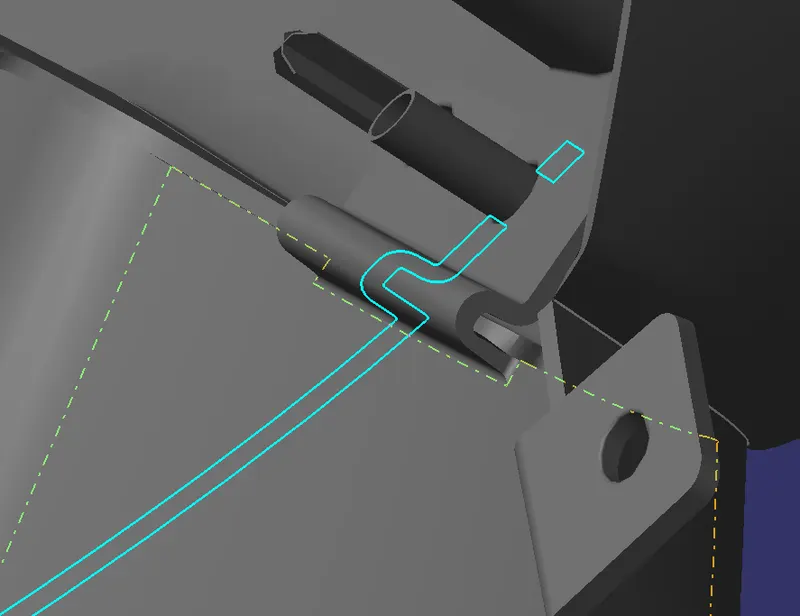
Observation Images of the project: