Week 10 - Challenge 2- Attachment Feature Creation (Dog House)
OBJECTIVE
To create dog house for Door Trim considering the design rules.
DESIGN METHODOLOGY
Door Trim with Dog House attachment:
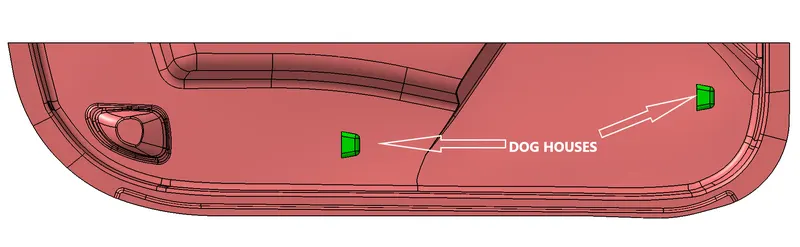
Commands Used to create Class A Surface, Class B Surface,
Class C Surface and Final Surface in Generative shape design, CATIA are:
- Join
- Intersect
- Point
- Line
- Extract
- Surface Untrim
- Offset
- Extrapolate
- Boundary
- Split
- Trim
- Curve Smooth
- Sweep
- Edge Fillet
Door Trim Class A Surface
Given input Class A Surface is the aesthetic part, from the solid plastic component is created using CATIA.
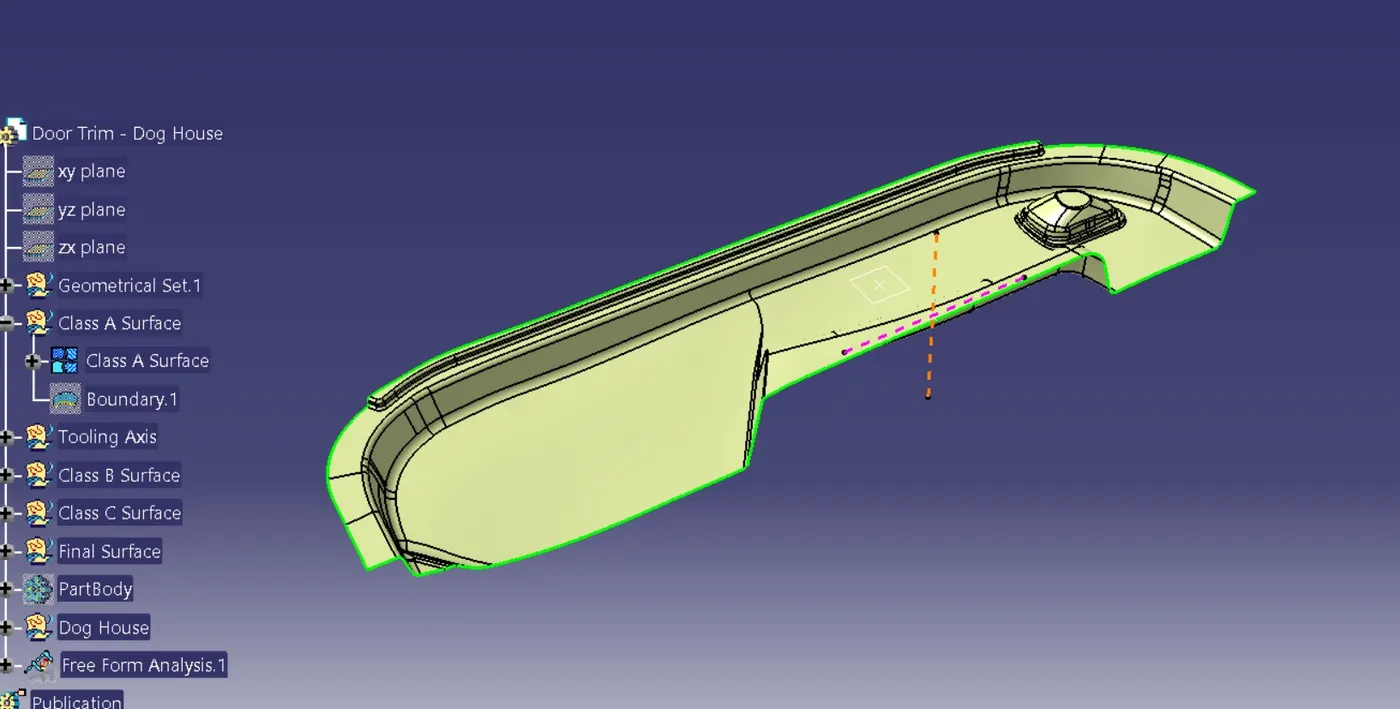
Here for the door trim, Class A Surface is obtained by using Join command and ensuring there is no gap in the boundary of the surface.
Tooling Axis
In injection molding, the Class A surface is examined initially to locate the tooling direction or axis that separates the molds from casting. Tooling direction is crucial in plastic product design as it determines direction at which the plastic part separates from the mold. In most cases tooling direction could be along the surface, or by creating bisecting line from the surface profile.
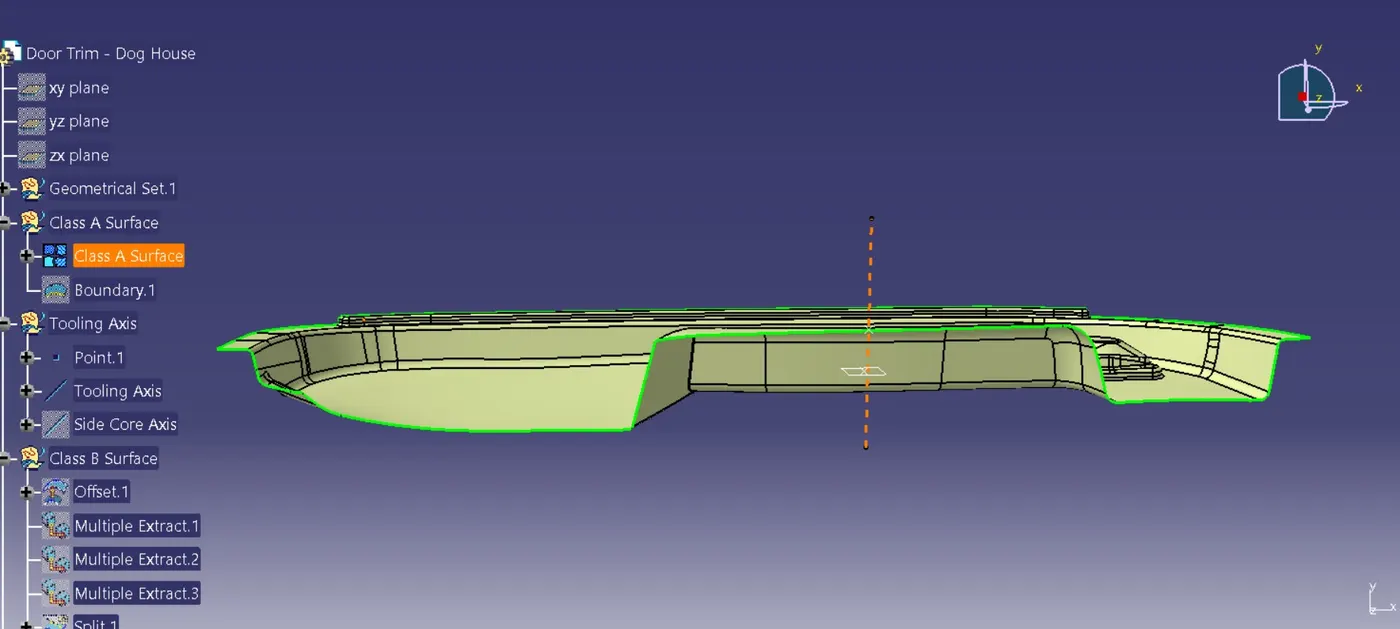
Draft Analysis
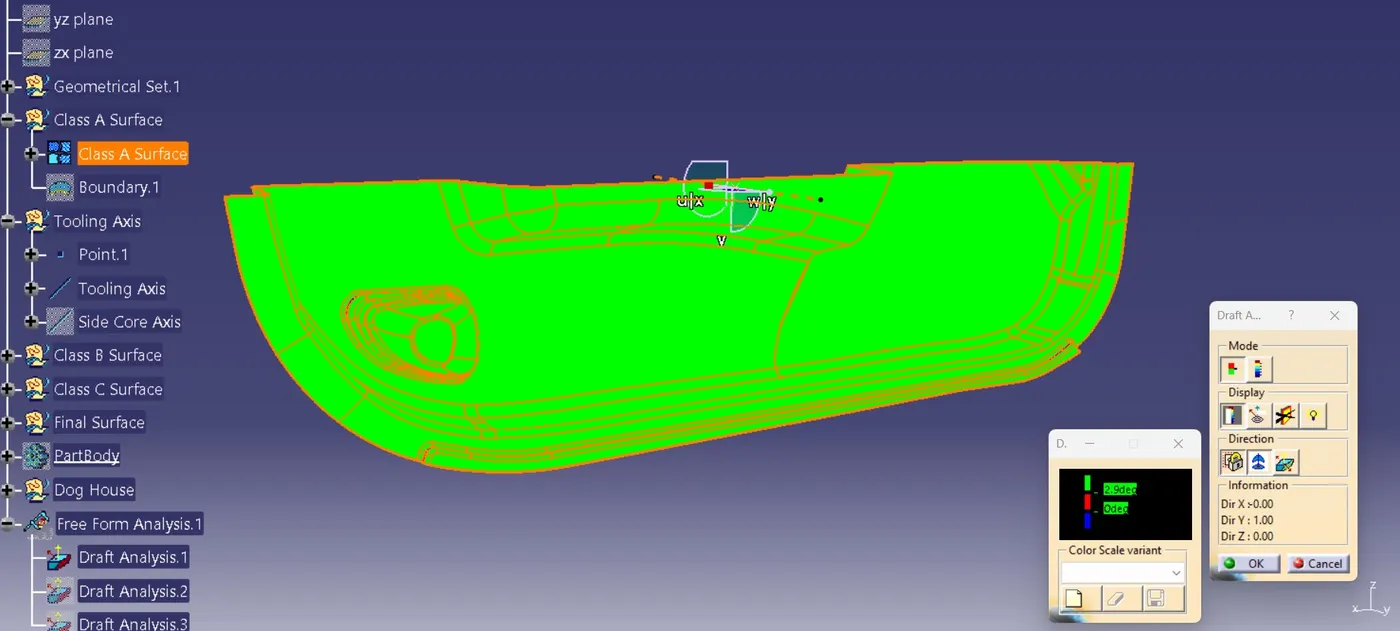
Choosing the Class A surface perform Feature Draft Analysis with respect to Tooling Axis. Green colour indicates the surface can be manufactured using core and cavity method. Given draft angle of 2.9 degrees for door trim Class A Surface:
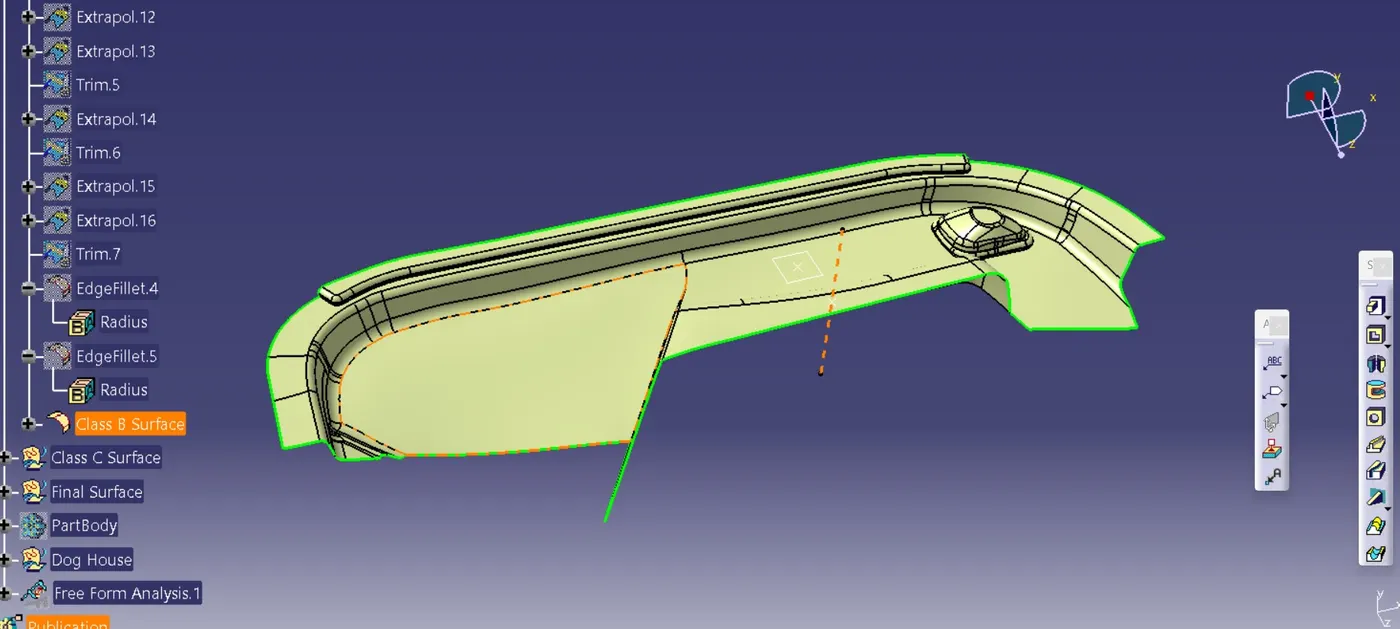
Class B Surface
Class B Surface is created by offseting the Class A Surface according to the thickness of the part. Here in this model 3mm thickness is taken.
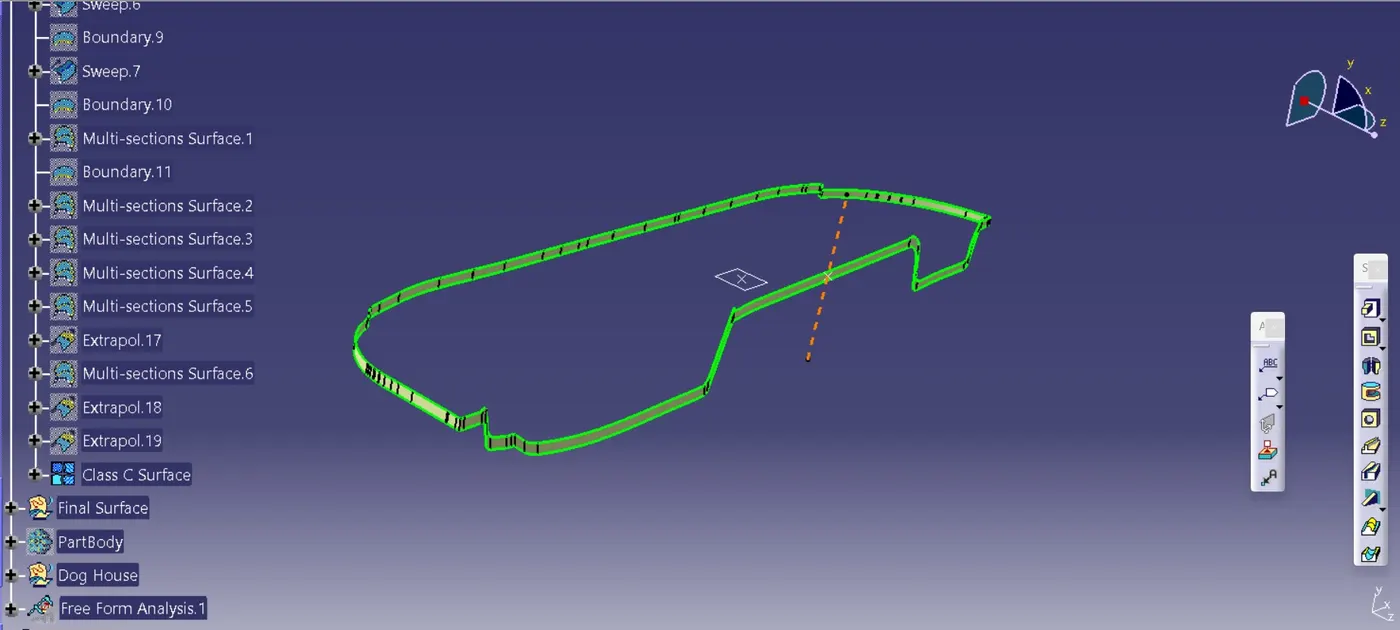
Class C Surface
Class C Surface is the joining surface between Class A Surface and Class B Surface to obtain the solid plastic model.
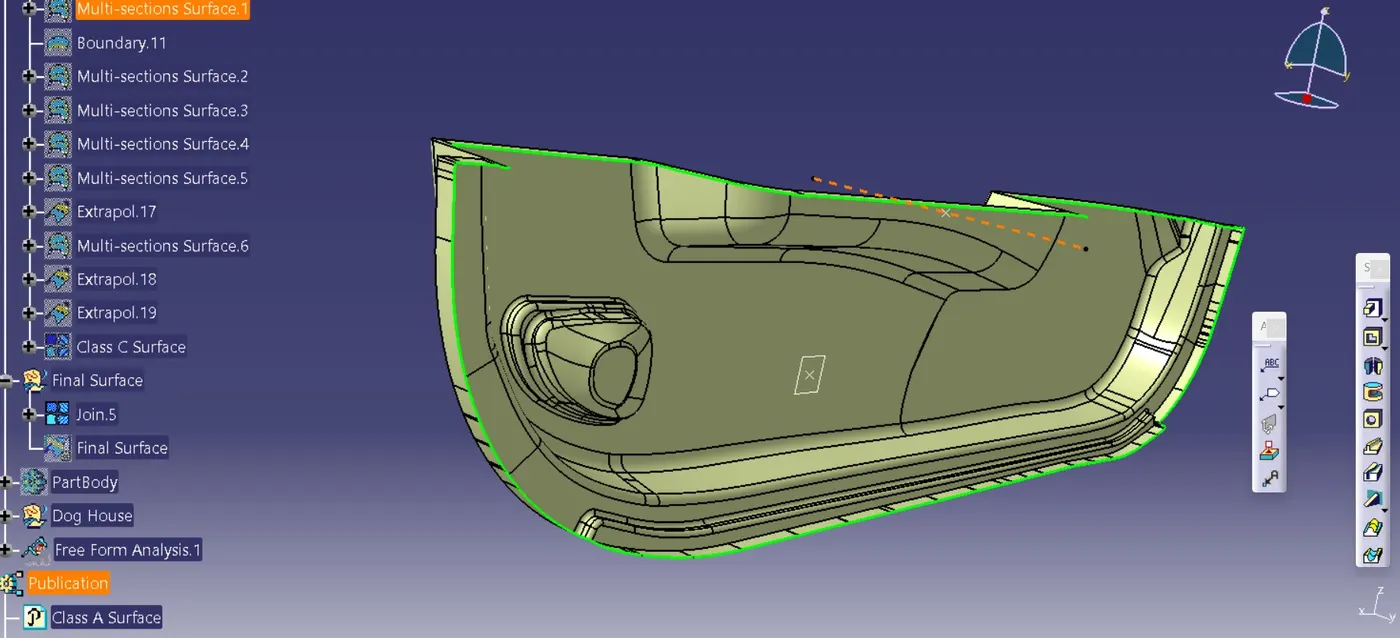
Final Surface
Final Surface is obtained by joining Class A Surface and Class C Surface, then using Trim command with joined surface and Class B Surface to obtain the closed surface model.
Dog House
Dog houses are created to prevent sink mark on the Class A surface that could be result from screw bosses installation, and additionally solving length challenges for screw bosses installation of which needs to be joined to other components.
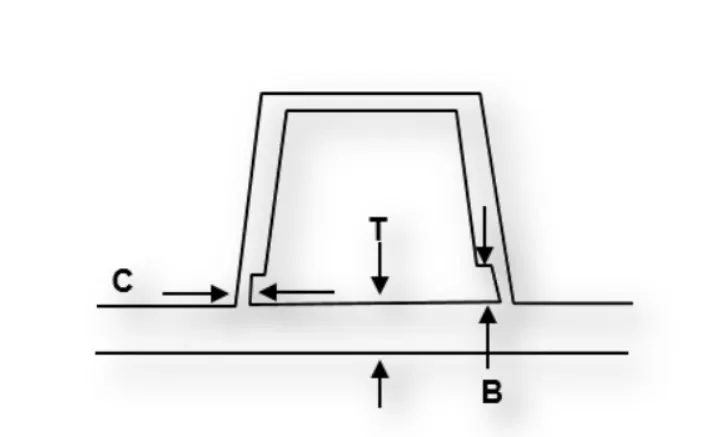
- C thickness should be 40% of the main wall thickness of T
- The minimum width of the dog house is 12 mm.
- The height of B should be 3-6 mm
Steps involved to create dog house:
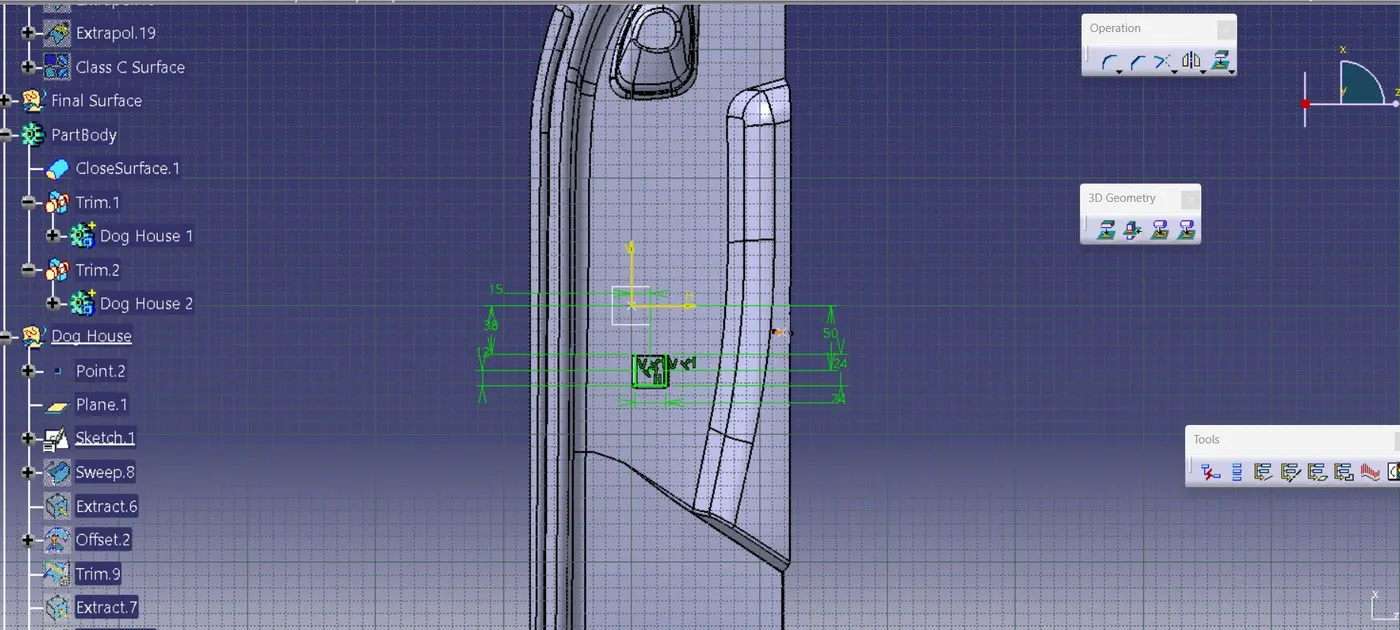
- Create a side core axis by using the point created of Tooling axis along with X component.
- Create sketch for dog house by creating a positioned sketch on the z-x plane. Use sweep method on sketch with Tooling axis as direction to obtain the outer wall of dog house.
- Thicken command in the part workbench is used to obtain solid part model of dog house.
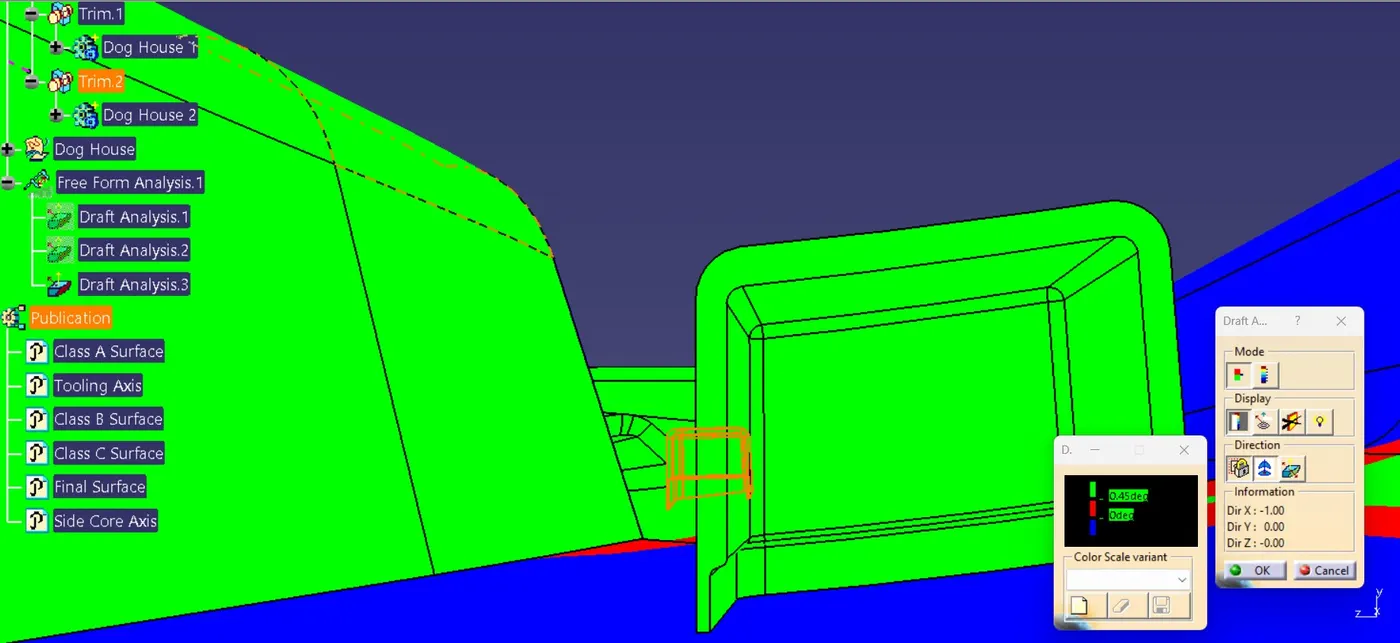
- The inner walls are properly drafted by giving draft angles of 0.5degrees along with side core axis and fillets are also provided by considering the design rules.
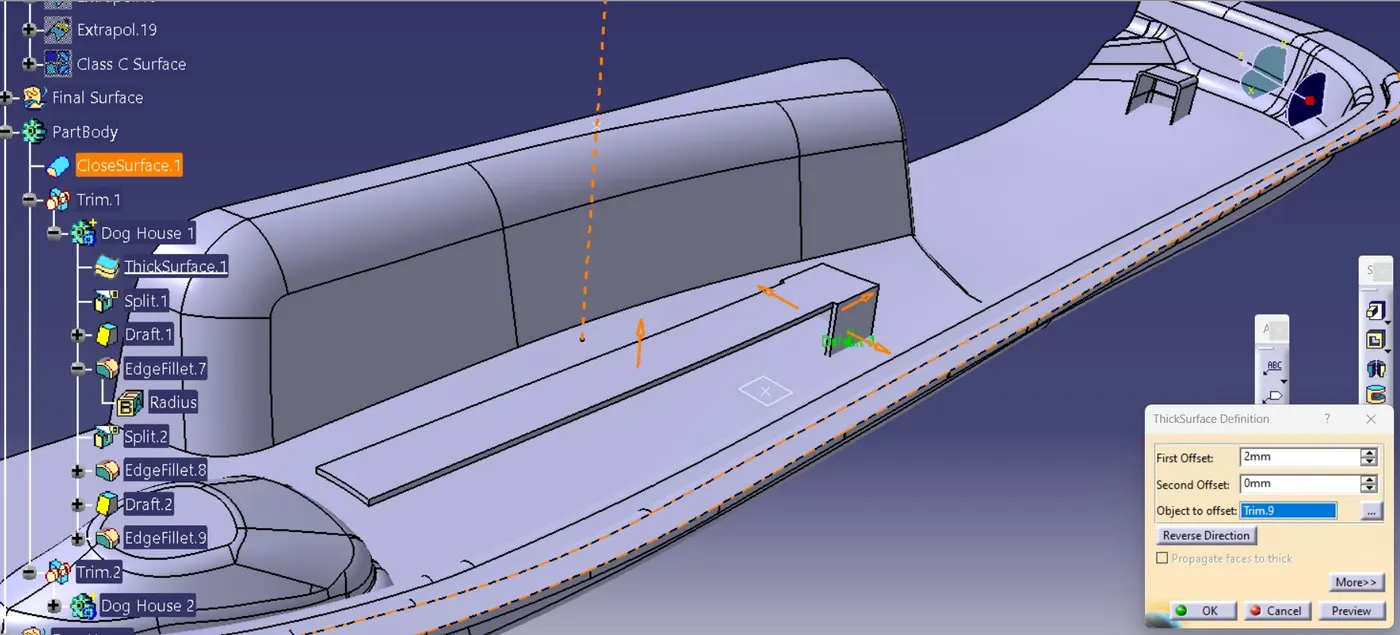
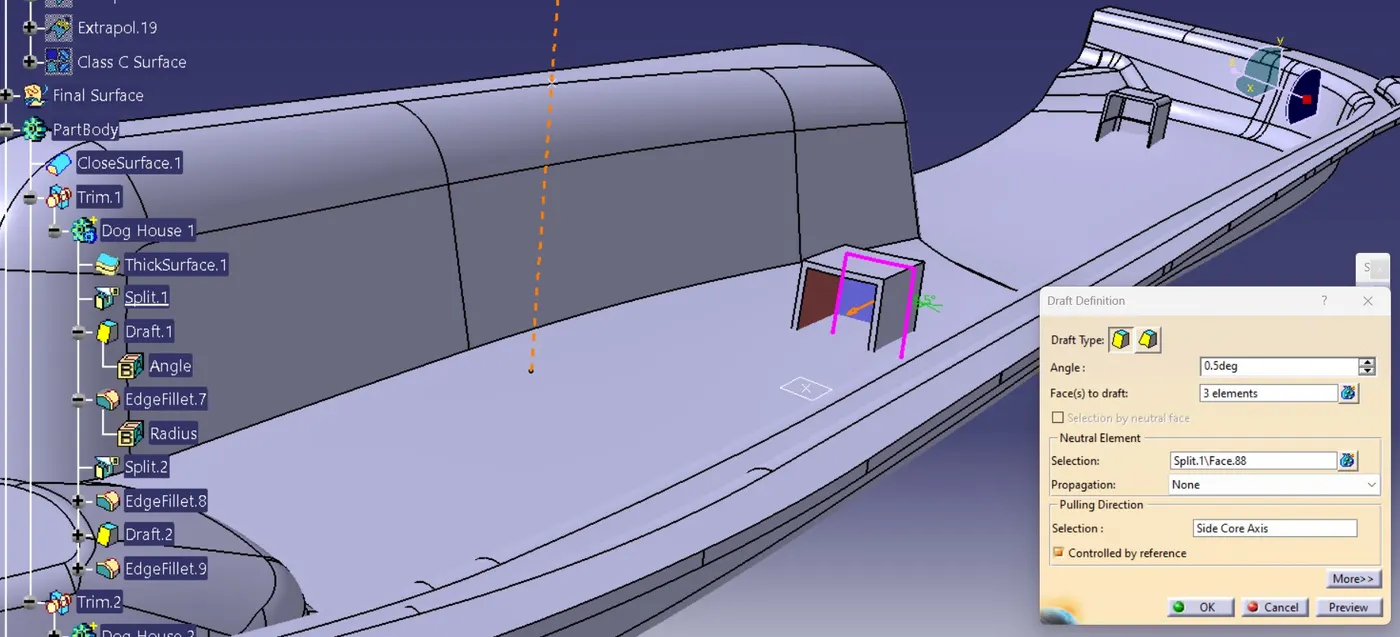
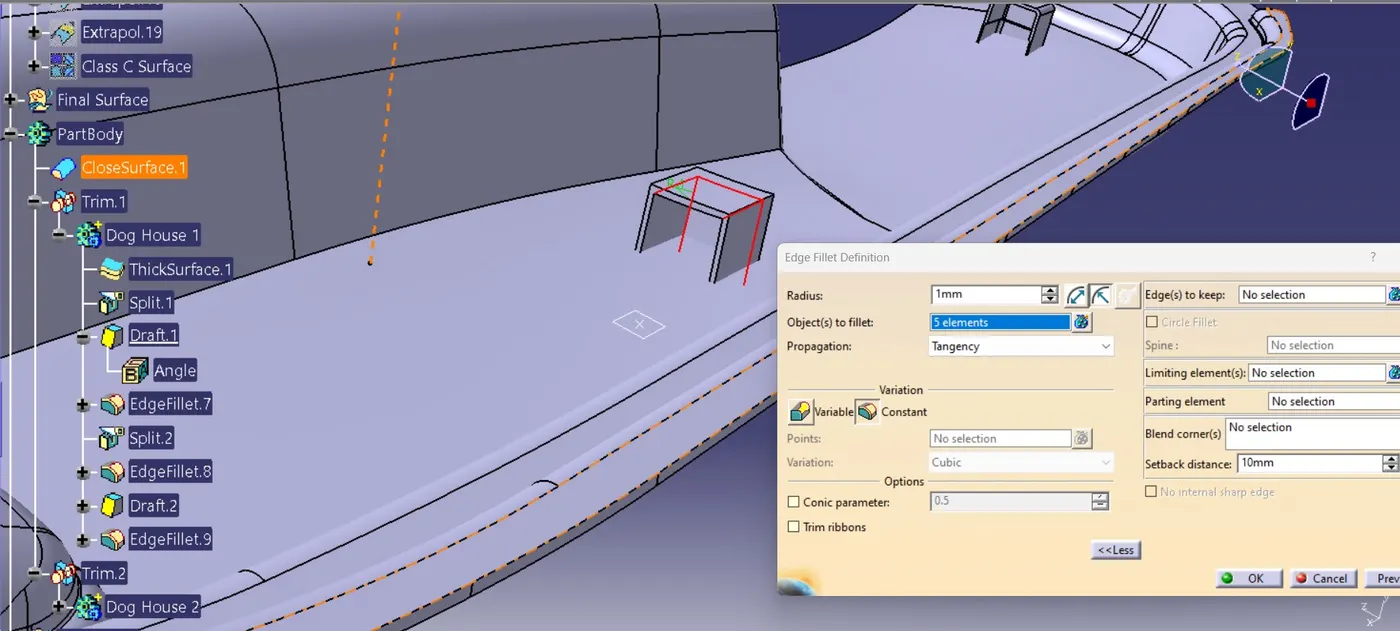
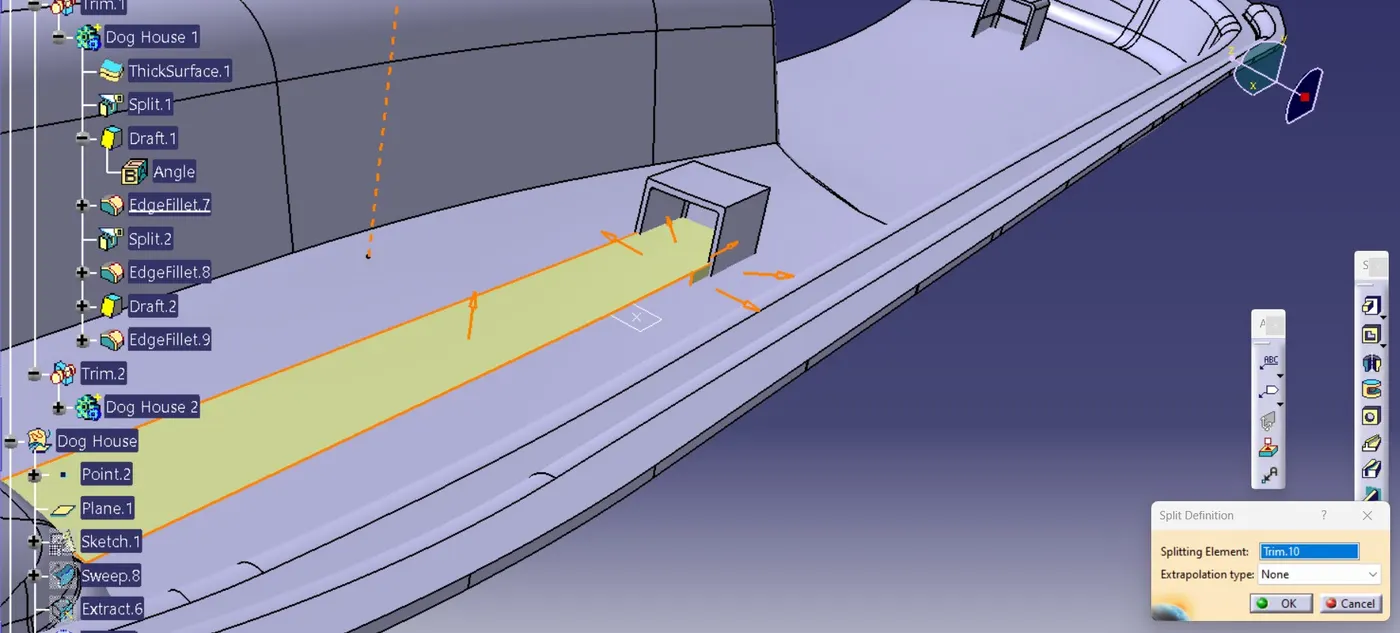
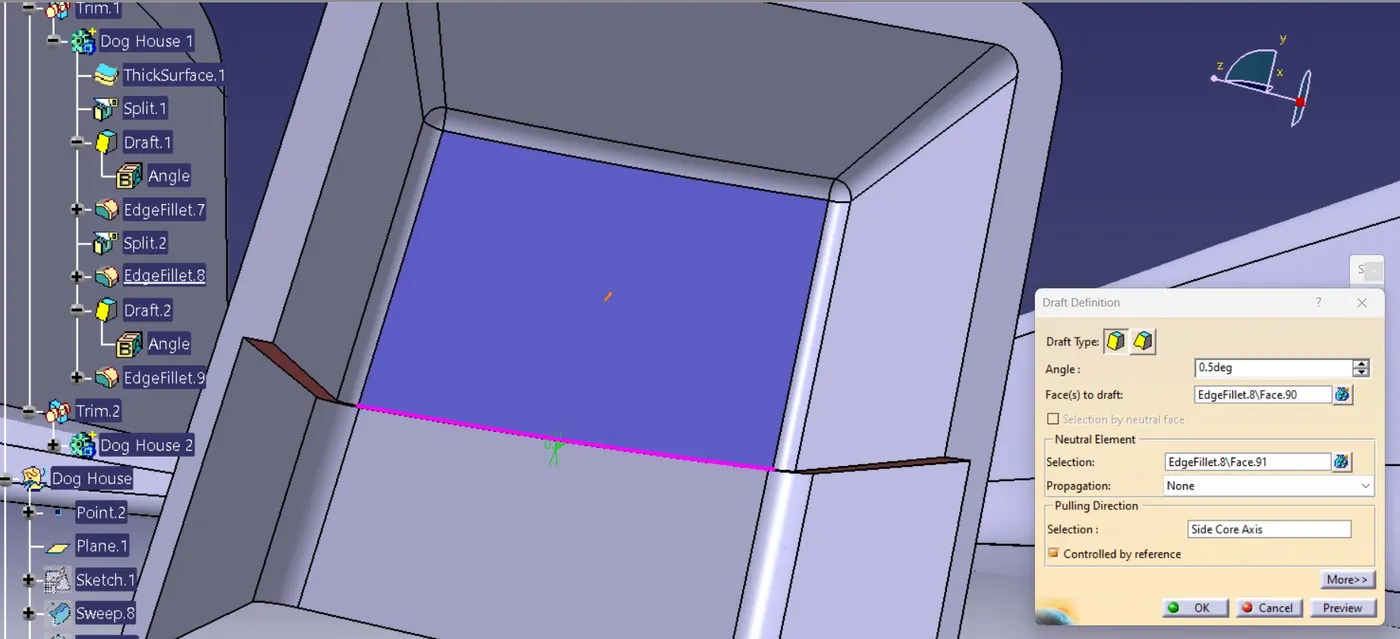
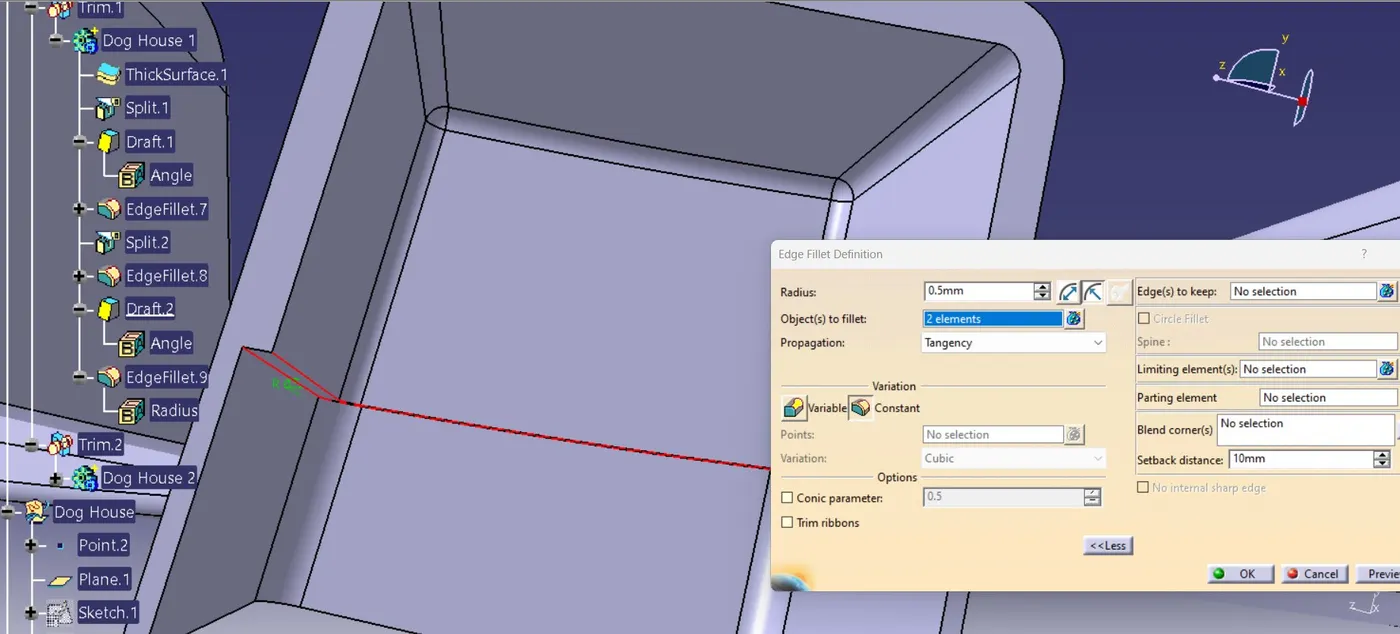
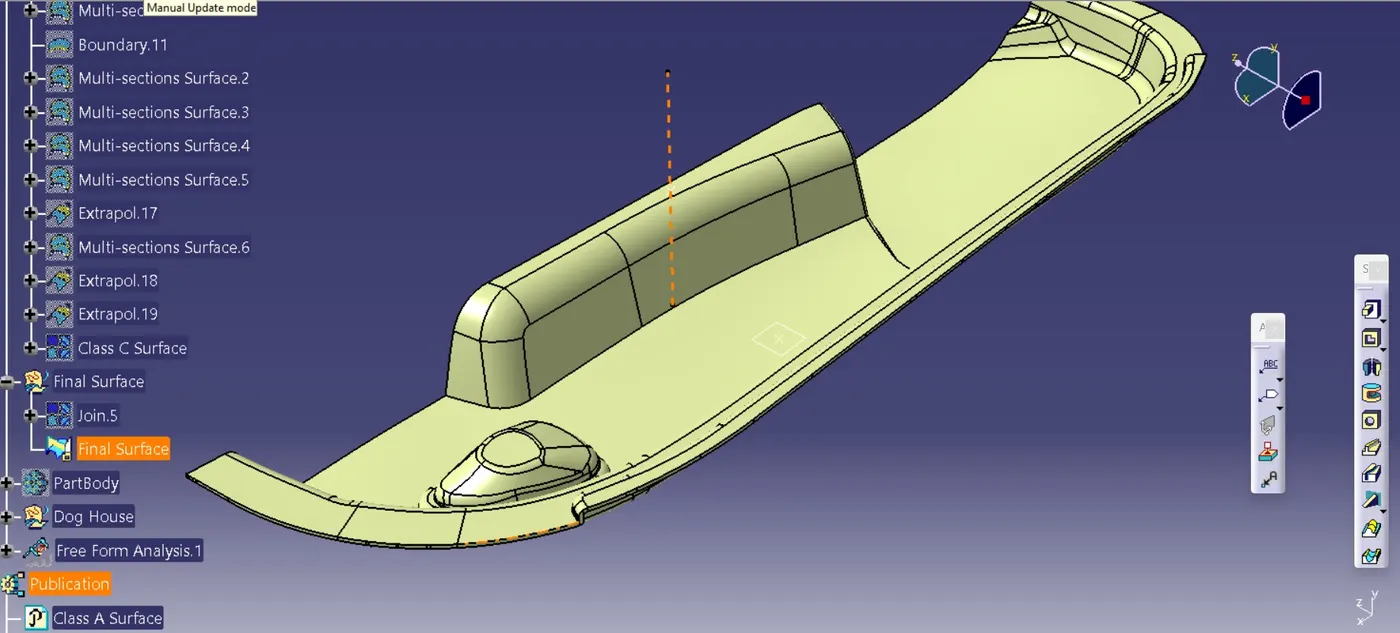
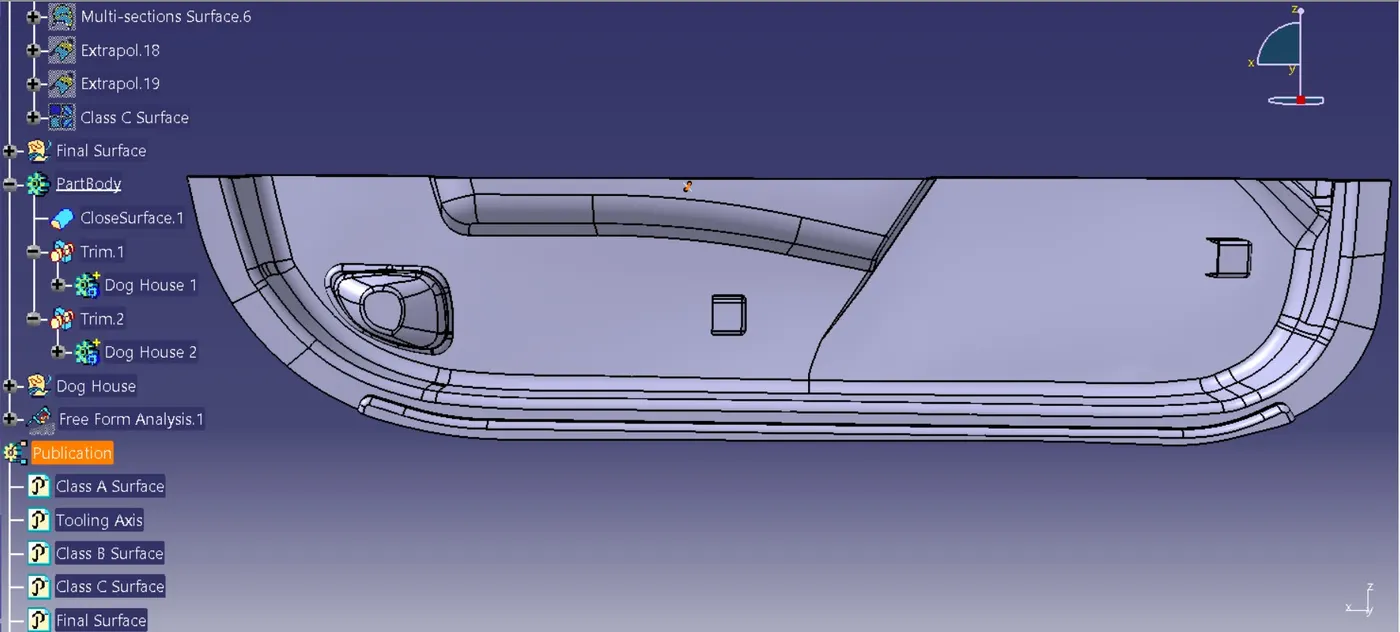
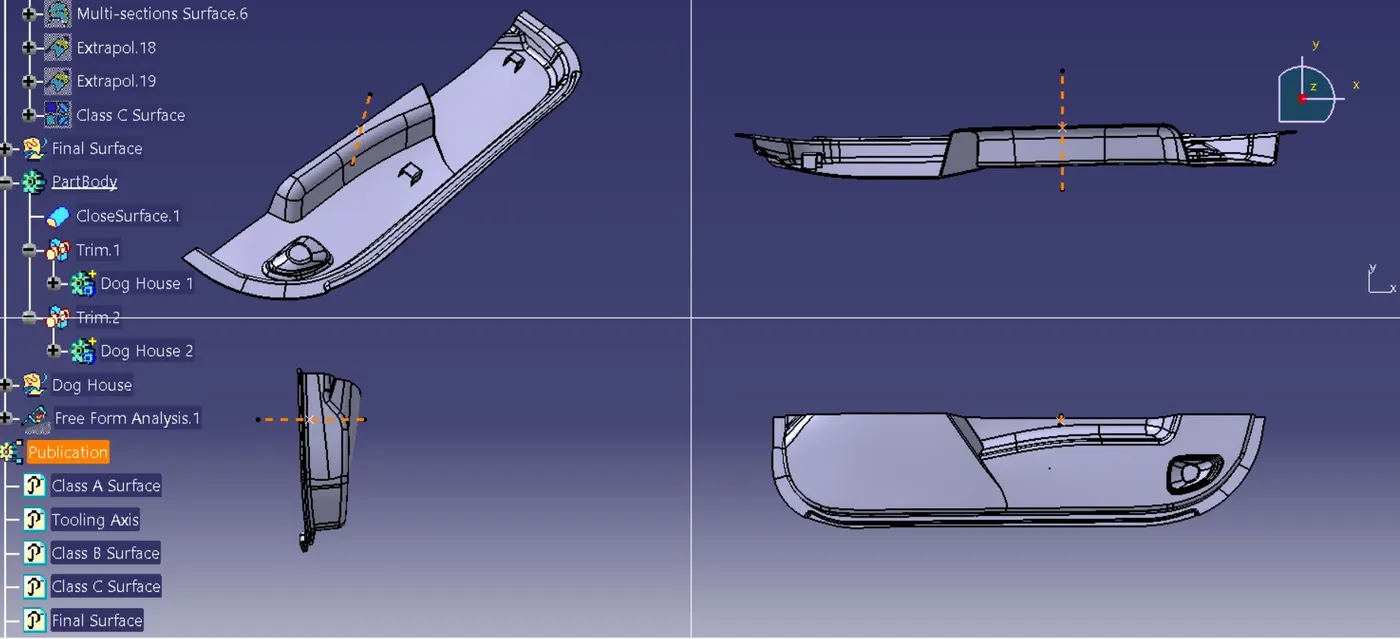
Final door trim part body with attachment feature, dog house:
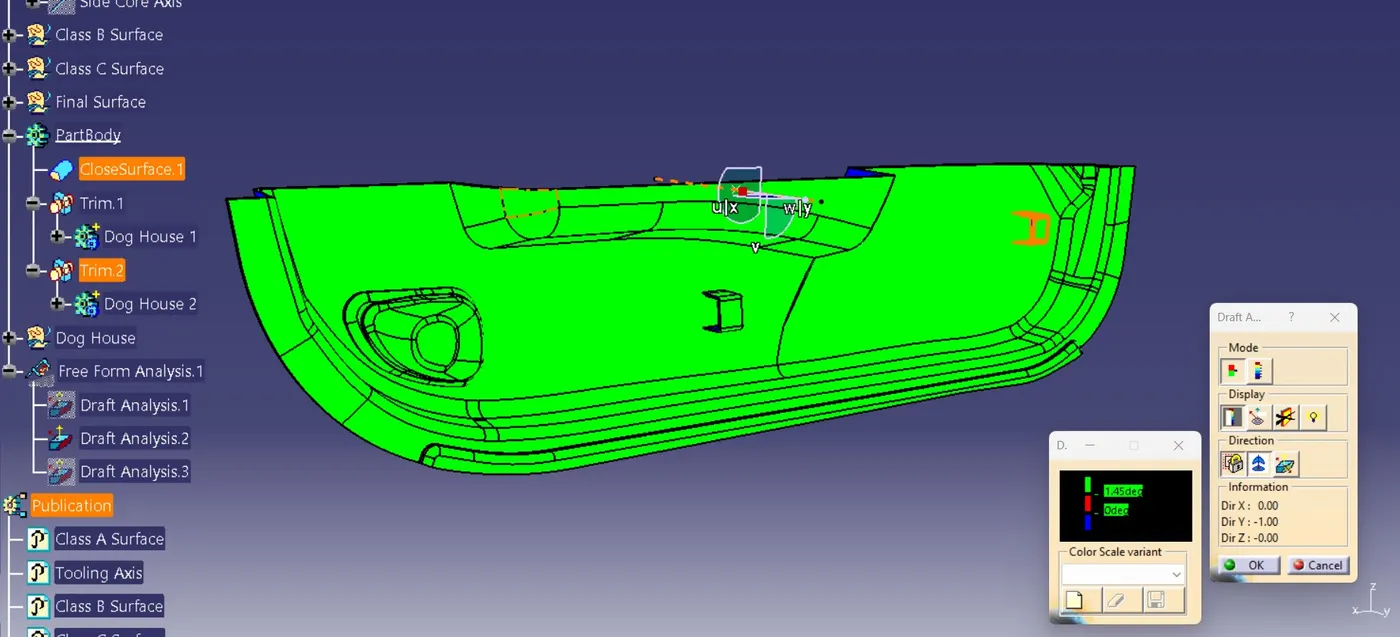
Draft analysis of door trim with dog house attachment with tooling axis:
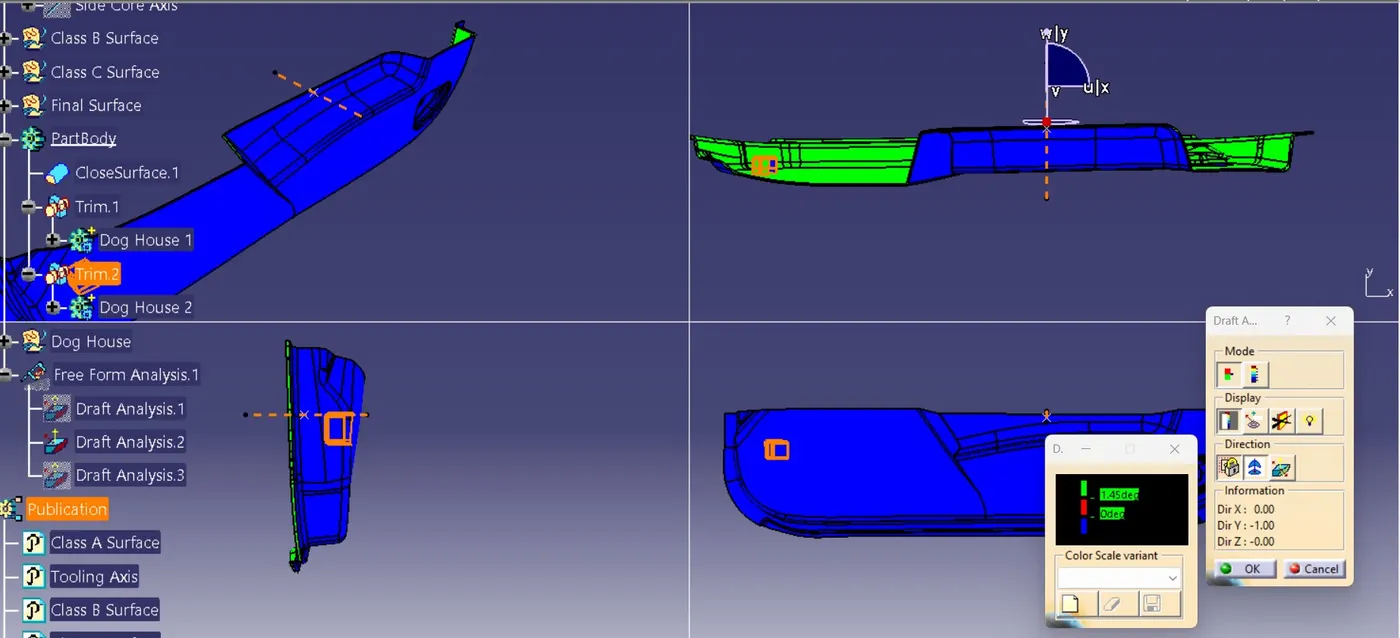
Draft analysis of door trim with dog house attachment with side core axis:
CONCLUSION
From the given master section of door trim successfully created Class A Surface, Class B Surface, Class C Surface and final solid part model of door trim along with attachment feature dog house on Door Trim considering the design rules and meeting manufacturability criteria. An end draft analysis were also performed to analyze the manufacturability.