Week 10 - Challenge 2- Attachment Feature Creation (Dog House)
Procedure to make Dog House in CATIA V5
At first i have taken a random area for a Tooling Axis. The Tooling Axis is drawn along Y Direction. Then the Tooling Axis is Published.
Now the Reference Surface is taken which is Class A Surface. From the Class A Surface the outer areas where is taken to form a Class B Surface. Then the Class B Surface is hided and the Class C Surface work is started. So for the Class C Surface the Offset is taken from the Class A Surface with 2.5mm distance above. While taking the Class C Surface there may be some surfaces may be missed, that missing surface has to be recreated using some tools like Extrapolate, Trim, Boundary options, etc.
Then After the Class C Surface is created without any errors all surfaces are now going to be joined with Trim. At first the Class B and Class C Surface is Trimed to form a Top surface. Then they were Trim with Class A Surface to form the final Output which is closed Surface.
Then After the Closed Surface is done the Closed Surface command is used to make a Solid Body for the Closed Surface.
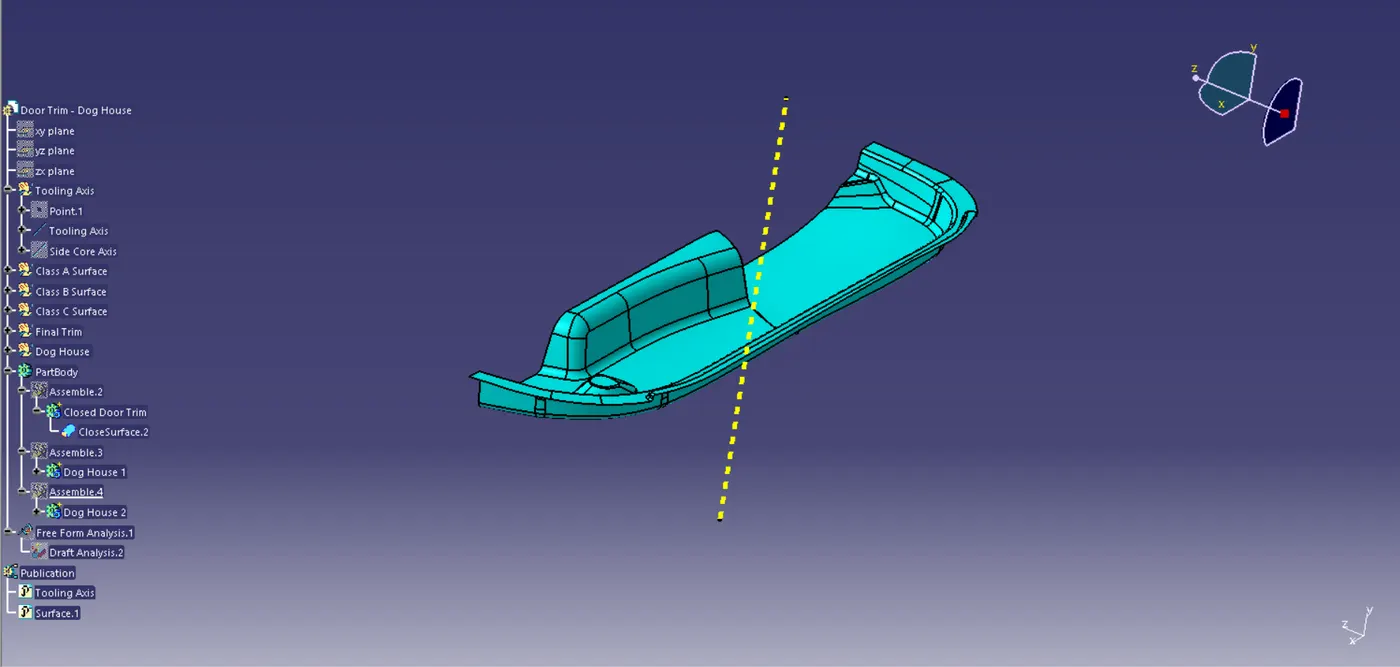
Fig 1. Tooling Axis 1
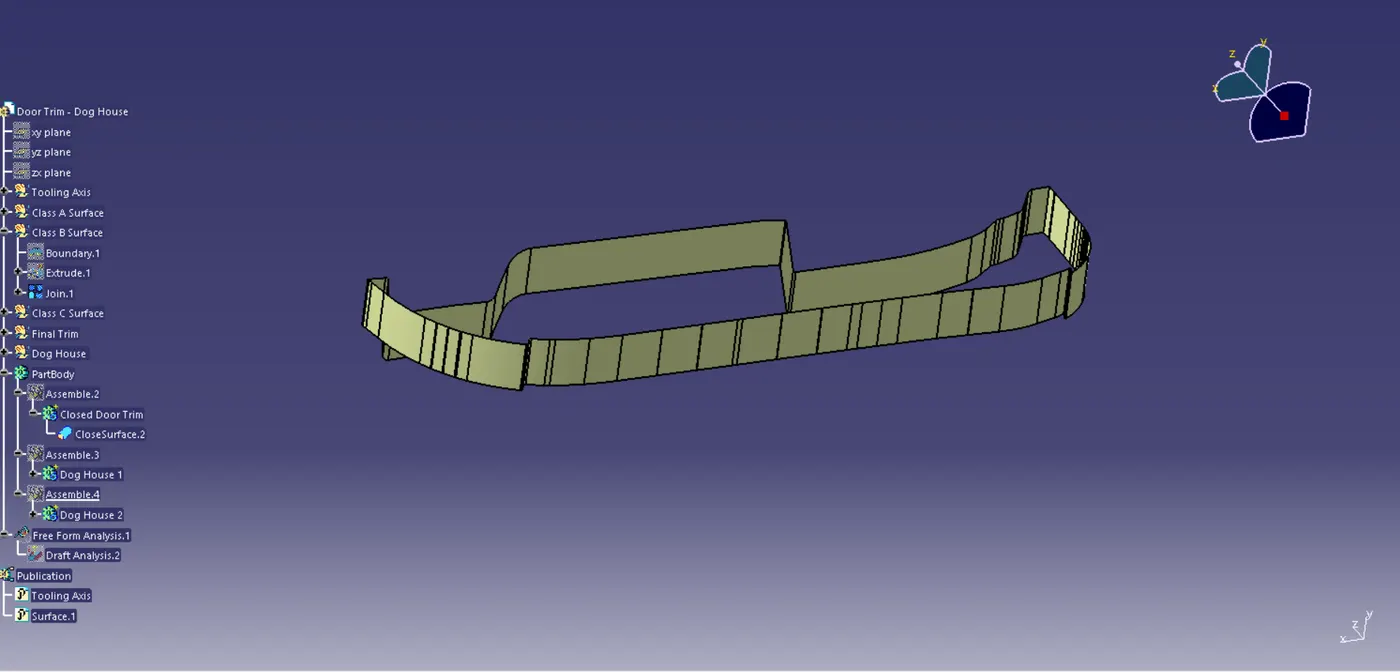
Fig 2. Class B Surface
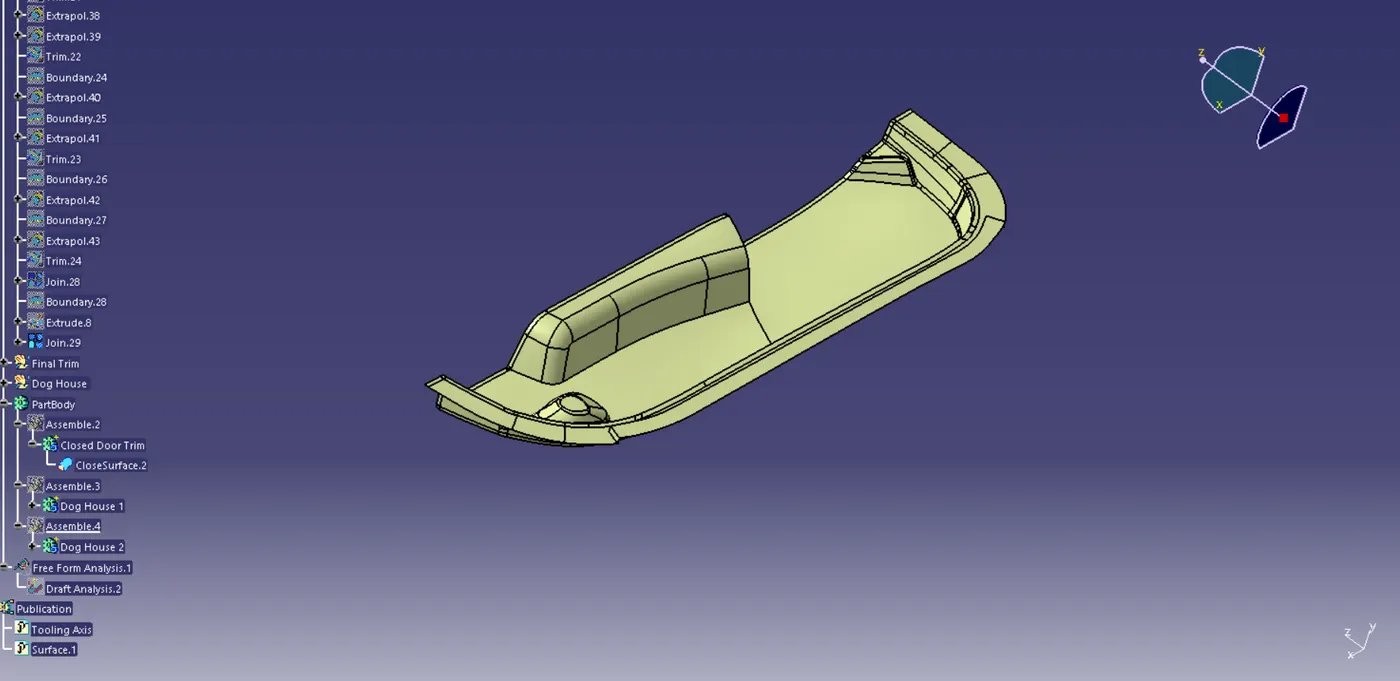
Fig 3. Class C Surface
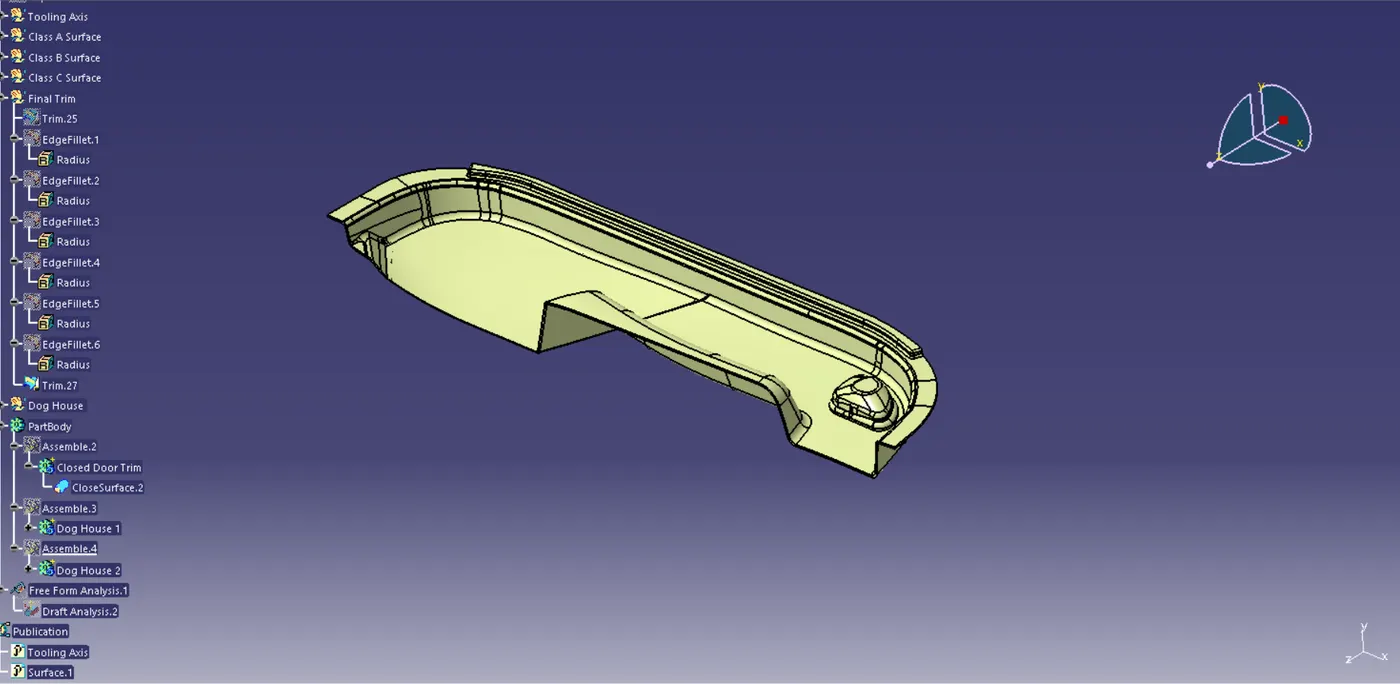
Fig 4. Final Closed Surface
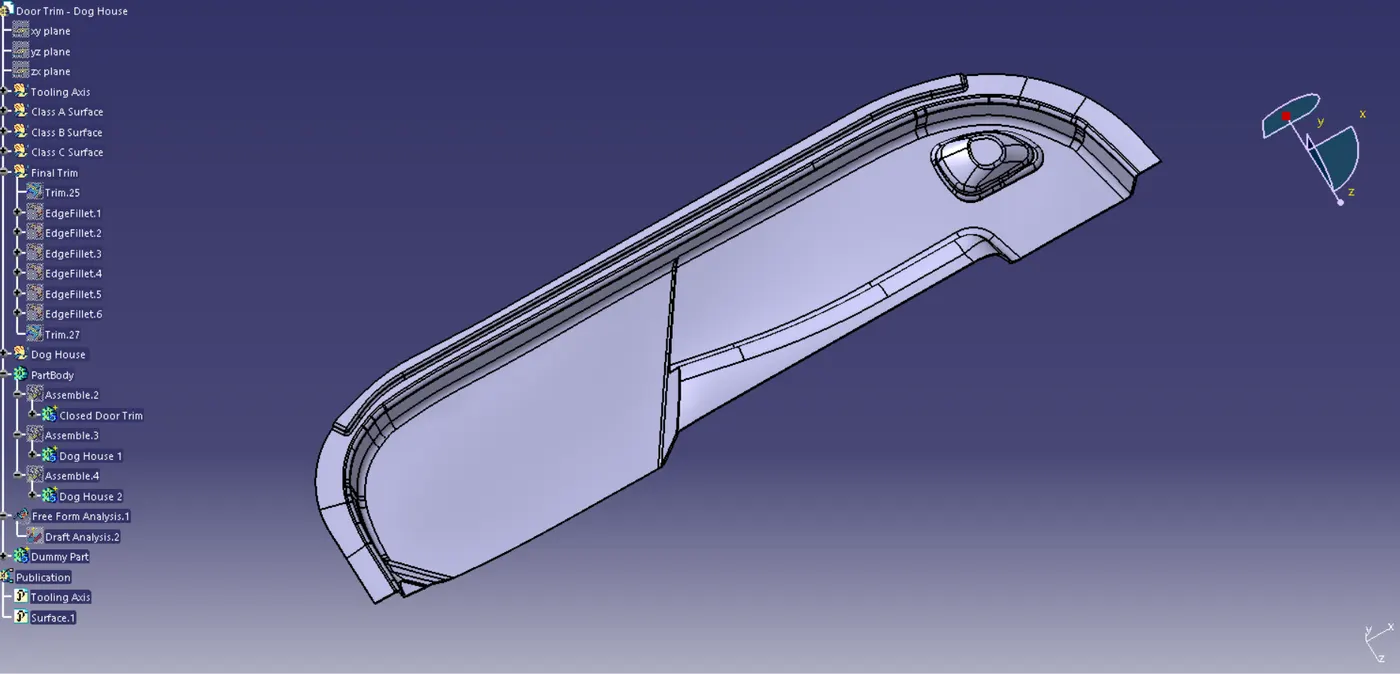
Fig 5. Closed Body
After the Solid Body is formed the Door Trim works is started. At first the location has to be known to make the Door Trim. Then on that area a point and Plane has to be created for the Position Sketch Reference. Then a Simple Sketch is done for the Dog House. Then the Sketch was Extruded or Sweep above the Surface and 1mm was just added below for a contact with the Surface. Then from the Surface an offset is taken above the surface with required distance to cut the top portion of the Extruded Surface. Now the Surface is Thickened and then inner body is Drafted with 0.5 Degree.
Then on the Edges of the Surface the Fillet is given. Then the Door Trim is Joined with the Solid Body with Boolean Operation (Assemble). After the Dog House is done we need another Dog House on the end of the Closed Body.
So the Dog House 1 is Copied and paste on the Door Trim-Dog House. While pasting the copied part select the As Result option. Now Select the Body which we Copied and now select the Translate Option and in Vector Definition select the Coordinates to place the Copied Body.
Then Drafting is done for the Dog House with the new Direction on X Axis.
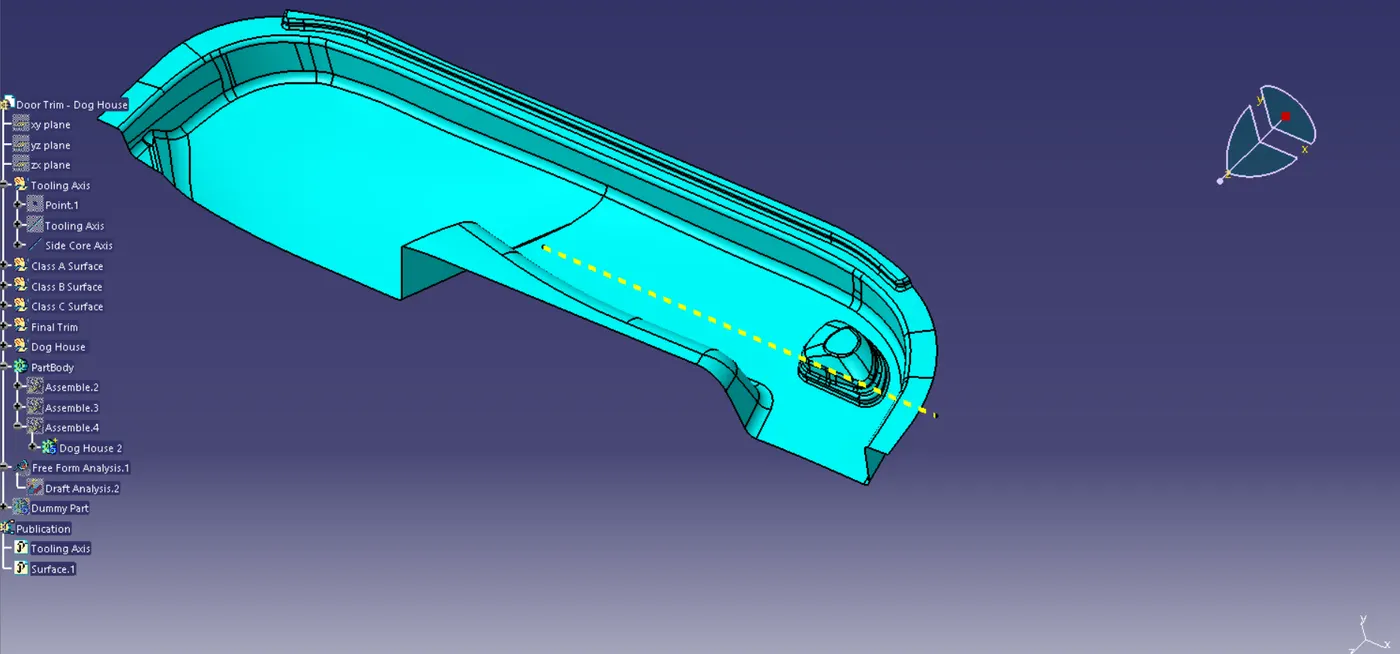
Fig 6. Tooling Axis 2 X Direction
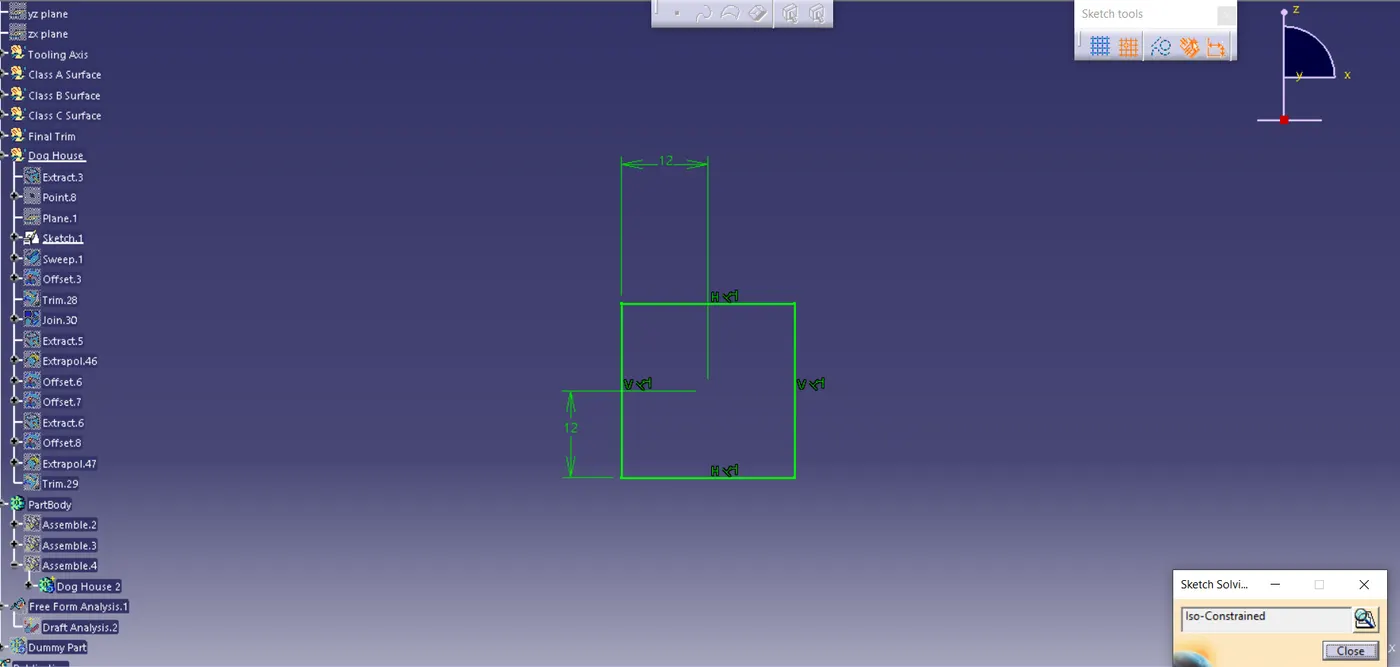
Fig 7. Sketch for Dog House
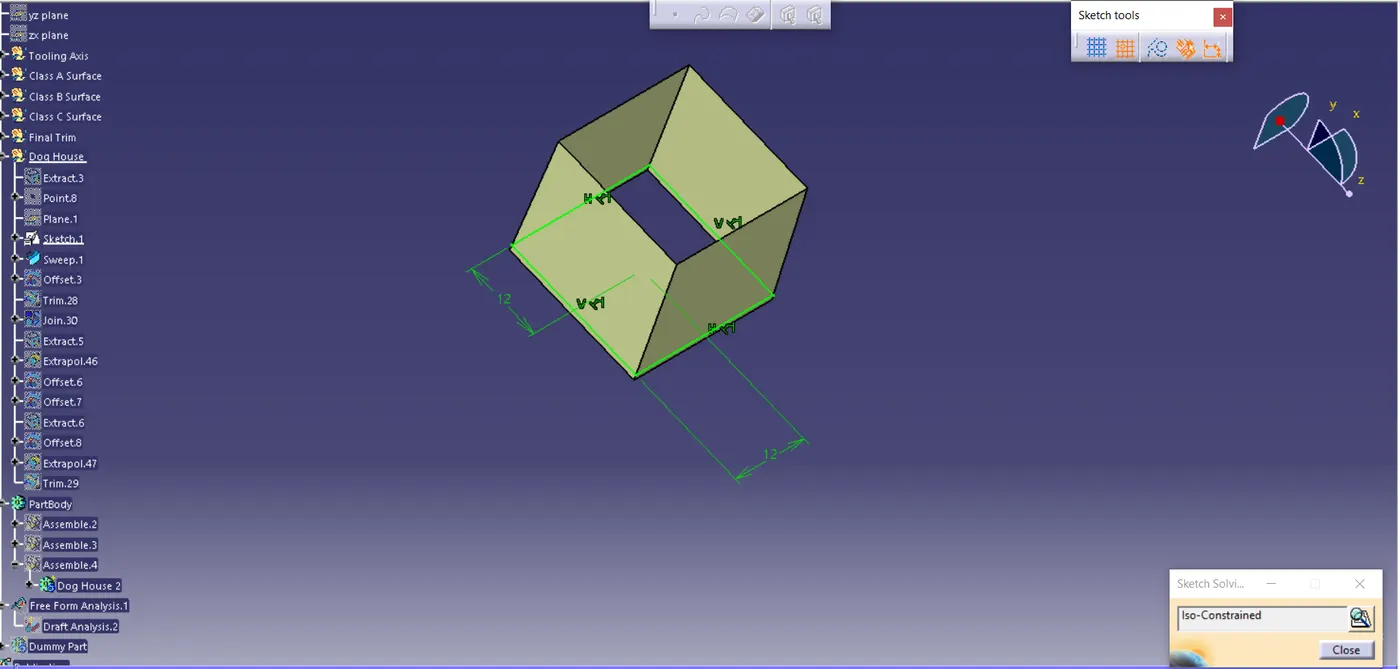
Fig 8. Sweep for Dog House
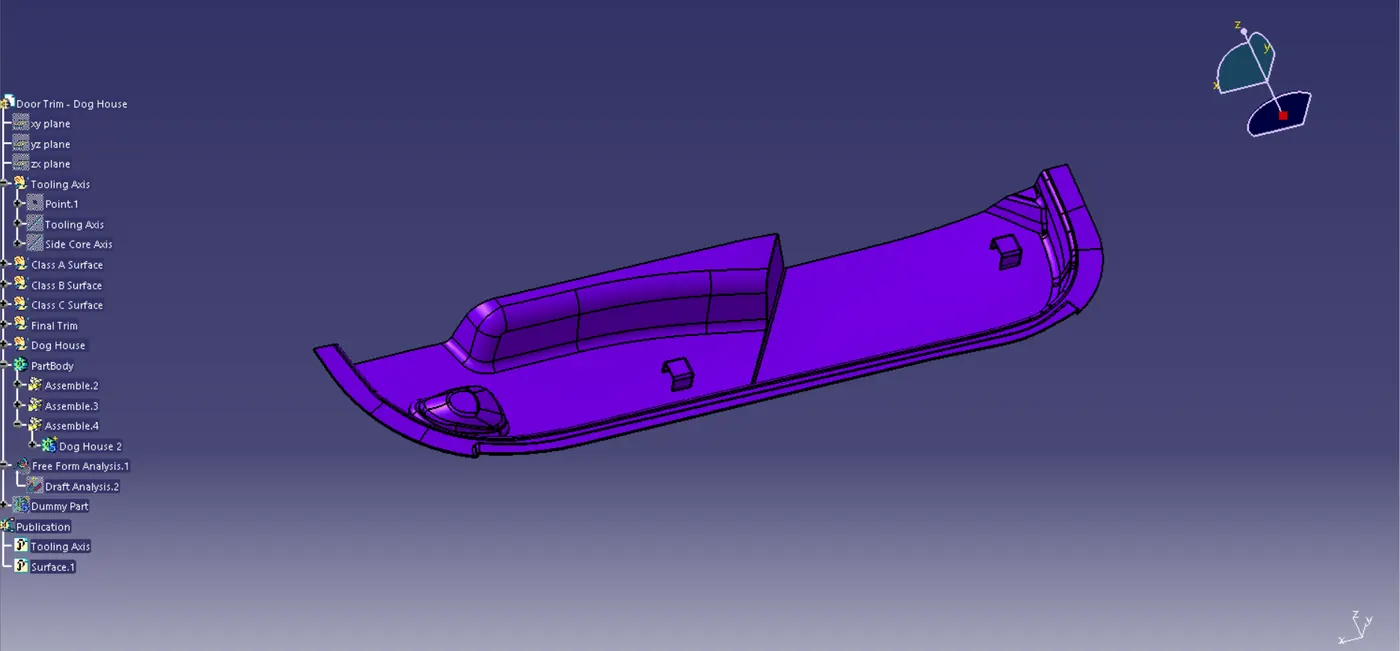
Fig 9. Final Output of Dog House in Door Trim