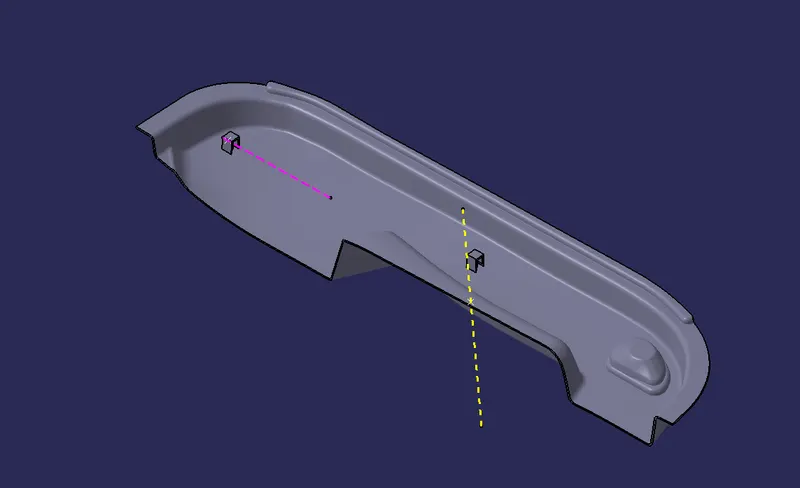
Week 10 - Challenge 2- Attachment Feature Creation (Dog House)
AIM: The objective of this project is
- To create the Door Trim closed component from the given Class-A surface.
- To create the tooling axis for the given Class-A Surface meeting the requirements of the draft angle.
- To create a Dog House on the B side surface considering the design rules for that.
- To create the Lifter axis for the dog house feature meetinf the requirement of the draft angle.
- To perform the Draft analysis on the Final component.
STEP 1
CLASS A SURFACE
- Open the given class A surface and join all the surfaces using Join Feature. After joining check the connectivity by using Boundary Feature.
- Select the Shading with Edges without Smooth Edges option and see whether there is any black lines. If there, we need to repair that line.
- For repairing that dark black lines, use Extract feature and then apply Parallel Curve feature on that extracted lines. And join those parallel curves with drawing lines to close it. after closing it, use join feature on those lines. Now, split those lines form the A surface.
- Now, use Multiple Section Surface to fill the surface on the class A surface to get complete smooth surface.
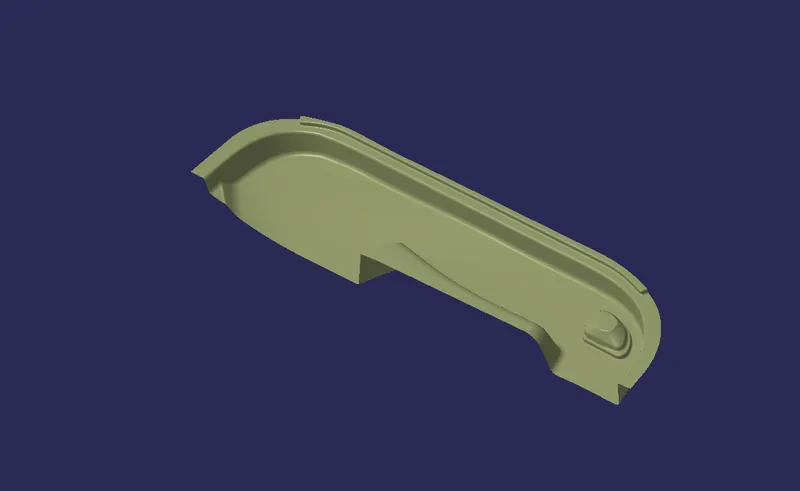
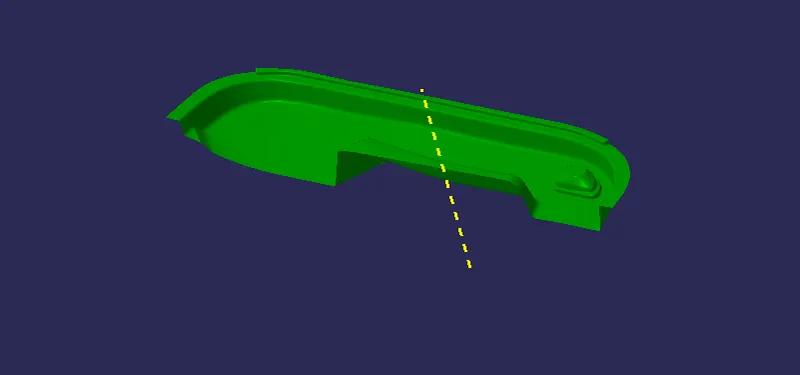
- Final Class A Surface after repairing.
STEP 2
TOOLING AXIS
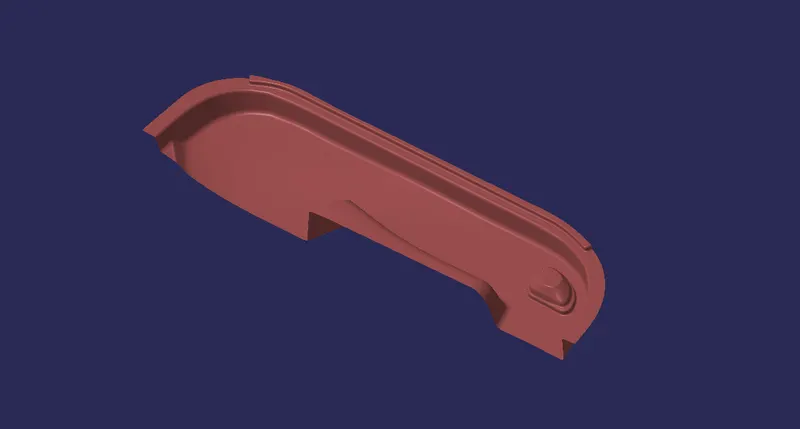
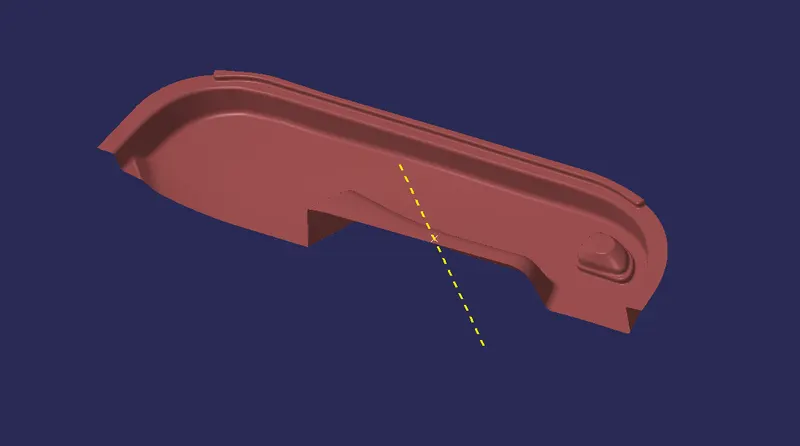
- To create the tooling axis, draw a point on the class A surface and draw a line using that point and the respective direction. Thus, the tooling axis is created.
STEP 3
DRAFT ANALYSIS ON CLASS A SURFACE
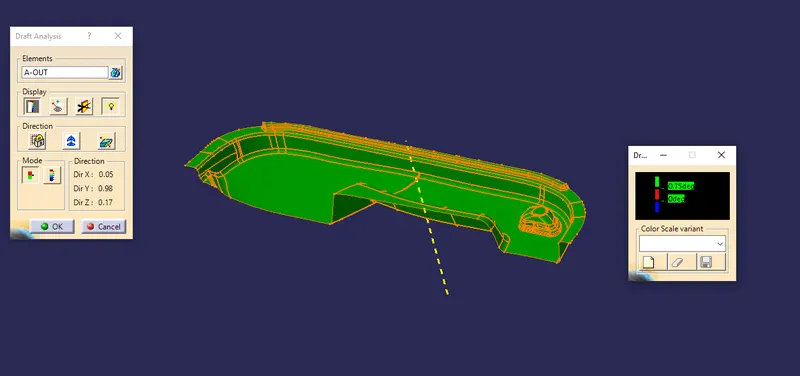
- Then, perform draft analysis using Feature draft analysis. Align the compass to the tooling axis and lock it. Then select the class A surface as the element and click OK to see the analysis.
STEP 4
CLASS B SURFACE
- Now, offset the class A surface using Offset feature of about 2.5 mm.
- After, offseting some surface will be missing in offseted surface, for that use Multiple Section Surface for filling those surfaces.
- Check for any black line on the surface, if so, extract those line then use Prallel curves feature and split those lines form the surface and agian use Multiple Surface Section feature on those gap to fill. Or, we can use fillets of about 0.25 mm to cover those black lines.
- Finally, Extrapolate the surface to extand the surface.
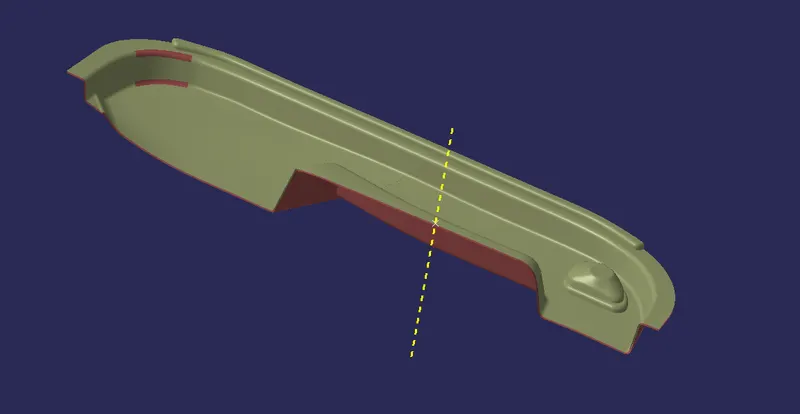
- Final Class B Surface after repairing and extrapolating.
STEP 5
CLASS C SURFACE
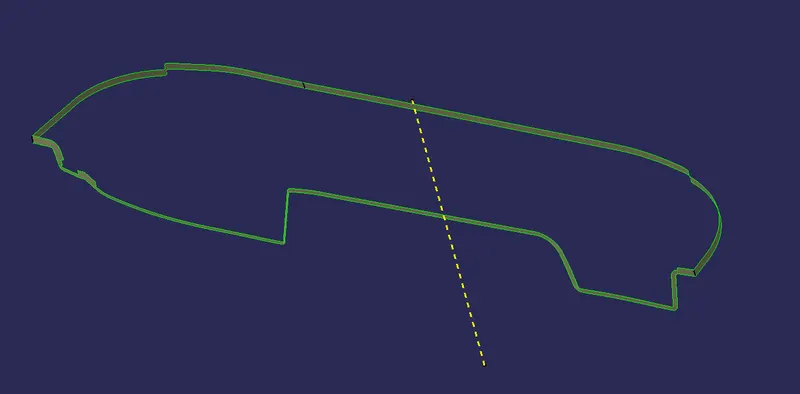
- Create a boundary on the Class A Surface using Boundary feature. And then use Sweep option to the boundary to create a sweep surface with an draft angle of about 1.5 degree. If the sweep came properly without any twist and turns or any sharp edges, then its fine. Otherwise we need to sweep seperately from the class A surface using sweep and multiple surface section.
- After doing that, join all the sweeped surfaces using Join feature.
STEP 6
CLOSED SURFACE
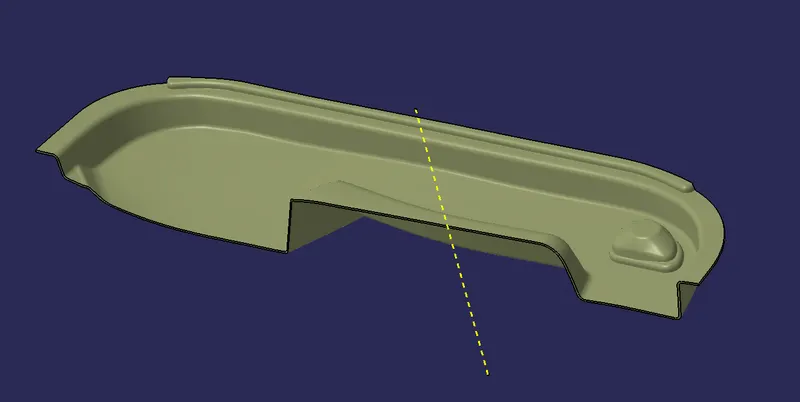
- Now, use trim or join feature to the class C sweeped surface with the class A surface first.
- Then, use trim feature to trim that surface with the class B surface to get the complete closed surface.
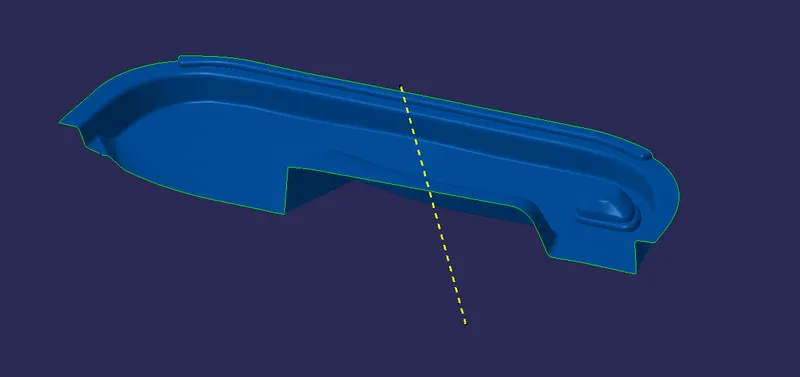
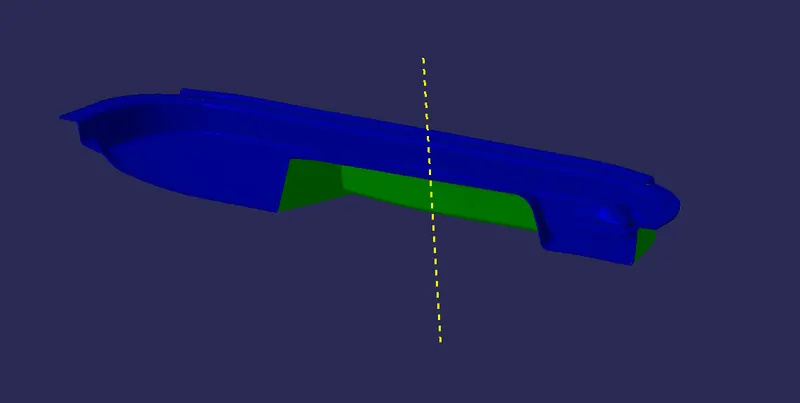
- Draft analysis on Closed Surface.
STEP 7
B SIDE FEATURE CREATION
DOG HOUSE
- Design Guideline For Dog House Creation
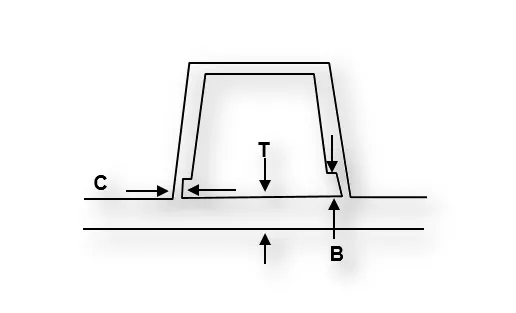
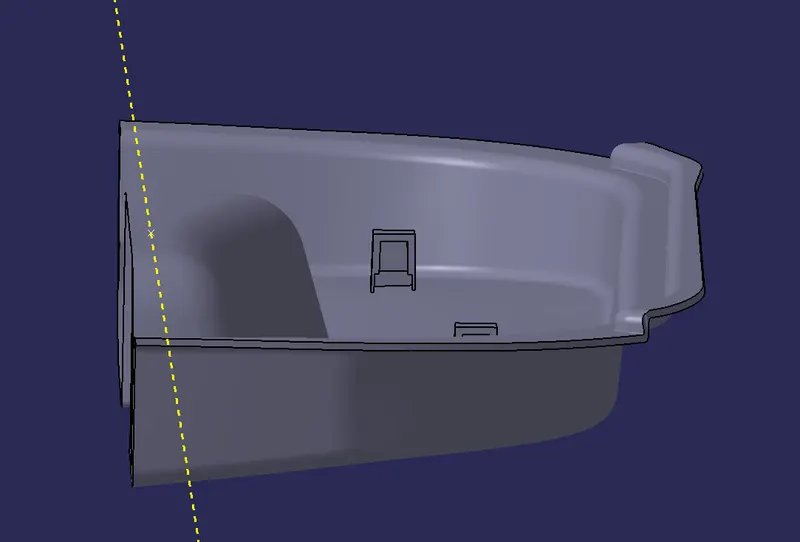
- For creating a dog house on the class B surface, first create a plane on the surface using a point and the reference plane. Then, draw the dog house profile following the given guideline for that. After that use sweep option on that sketch with an given draft angle of about 1.5 degree. Use thickness feature in part deign to give thickness to the drafted surface of about 2.5 mm.
- Again, draw a sketch for creating inside B And C surface for dog house following the guideline and sweep it and give thickness of about 1.8 mm or more.
- Finally, use Union trin feature to trin the two solid component to get the final look of the dog house. Then, use translate feature to translate the dog house where its required.
STEP 8
LIFTER AXIS
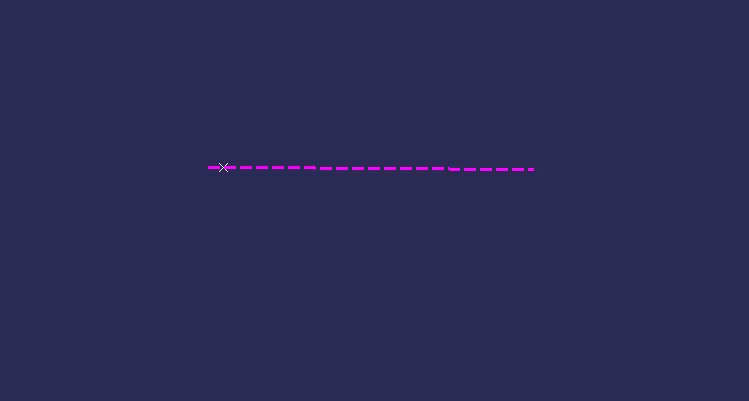
- First create a point on the dog house surface and draw a line with respect to the that point and the perpendicular directioin of the main tool axis.
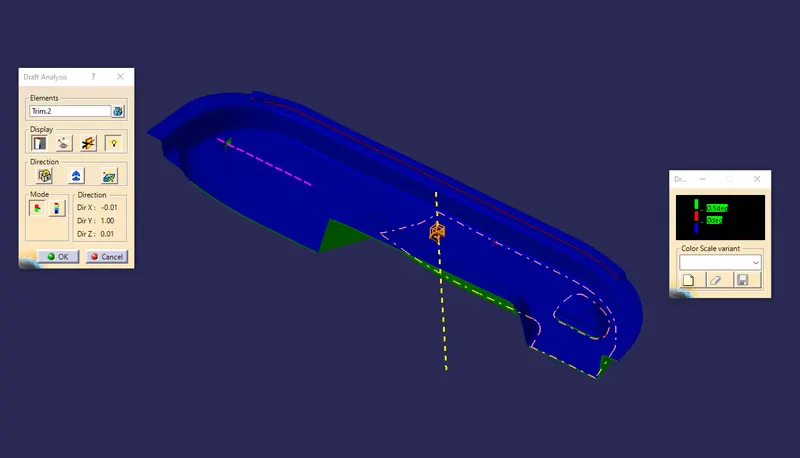
- Then, perform draft analysis on the final solid component with the help of the lifter axis.
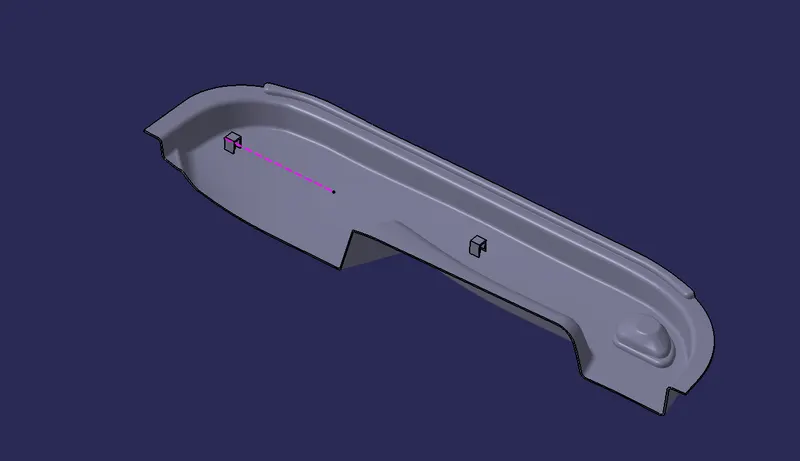
- Draft analysis on final solid component.
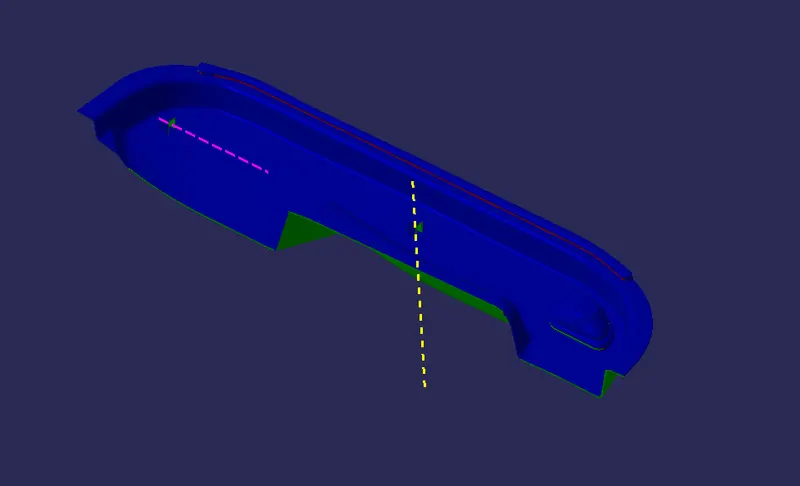
- MULTI VIEW
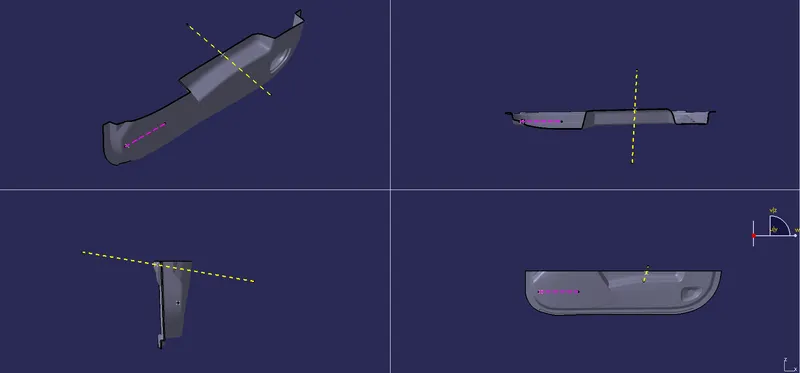
- SOLID COMPONENT