Week 10 - Challenge 2- Attachment Feature Creation (Dog House)
Aim:
To model a plastic part and creating a dog house feature in the part from the given class-A surface.
Procedure:
Creating Tooling Axis:
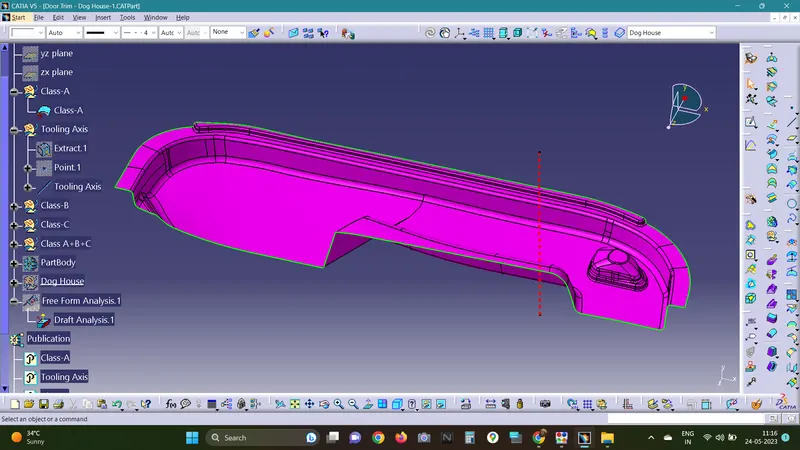
- The given Class-A surface is visually analysed for a suitable tooling direction.From the given class-A surface ,the suitable tooling direction is found to be in the Y-direction.
- A plane surface is extracted and a point is created on it using extract and point commands respectively.
- Using a line command , a suitable tooling axis is created.
Draft Analysis:
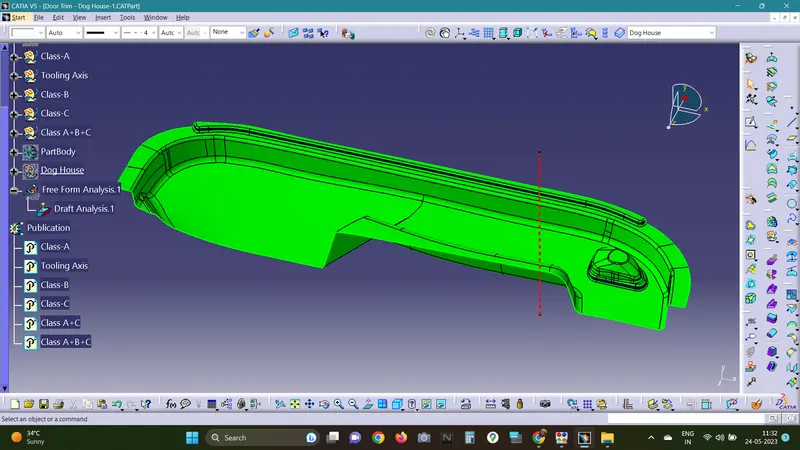
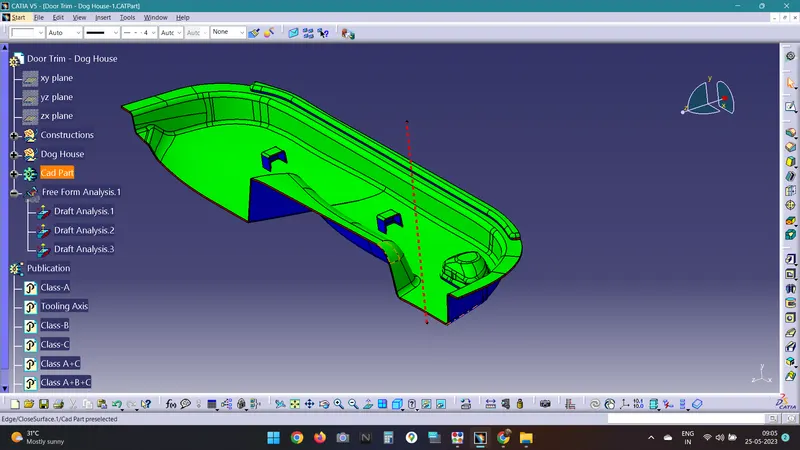
- Using the Insert>Analysis>Feature Draft Analysis command ,draft analysis is carried on.
- The compass is moved and coincided with the tooling axis and locked.
- The surface to be draft analysed is selected and thus draft analysis is done.
Creatig Class-B surface:
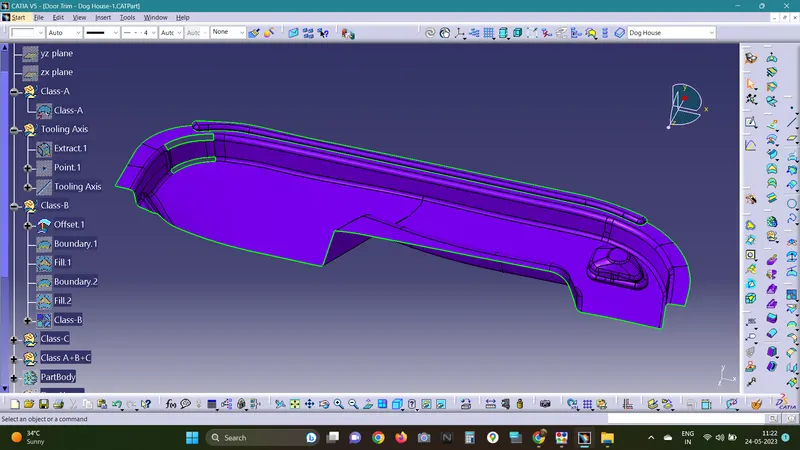
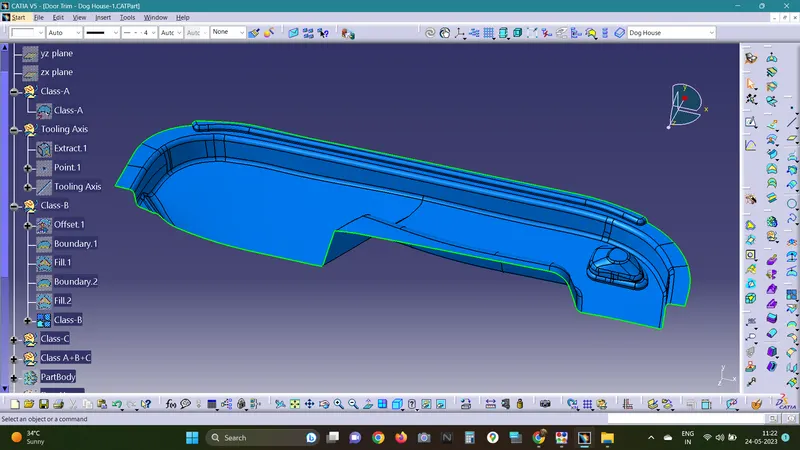
- The class-B surface is created by offsetting the class-A surface for the required thickness i.e., 2.5 mm using the offset command.
- Then the surface is checked for irregularities and using 'fill' command ,the gaps are filled.
Creating Class-C Surface:
- The class-C surface is created by 'sweep' command using the boundary of the class-A surface with a suitable draft angle.
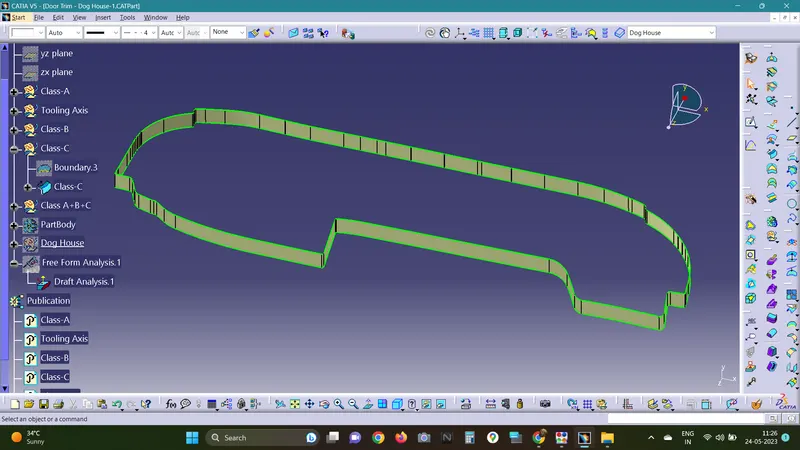
Creating the full Model:
- The class-A and class-C surfaces are joined using join command.
- The class-B surface is extrapolated using Extrapolate command.
- Using 'Trim' command the final cad model is obtained.
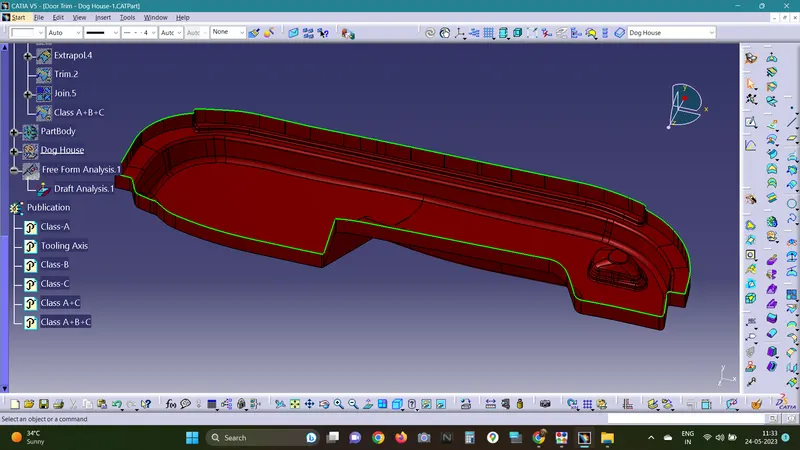
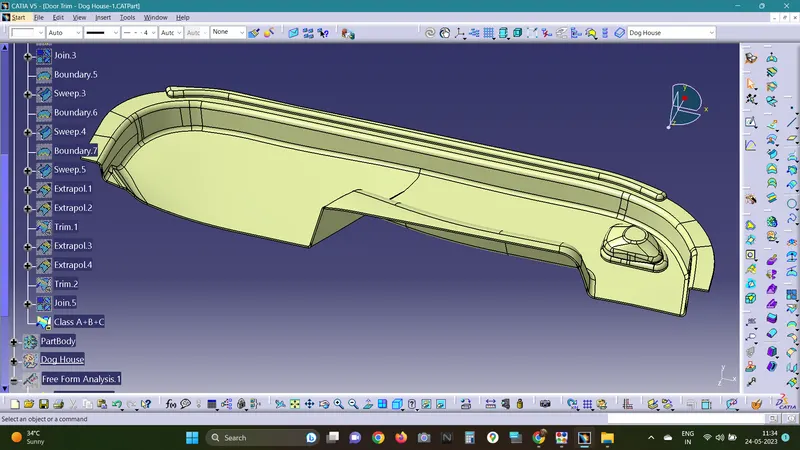
Modeling Part Design:
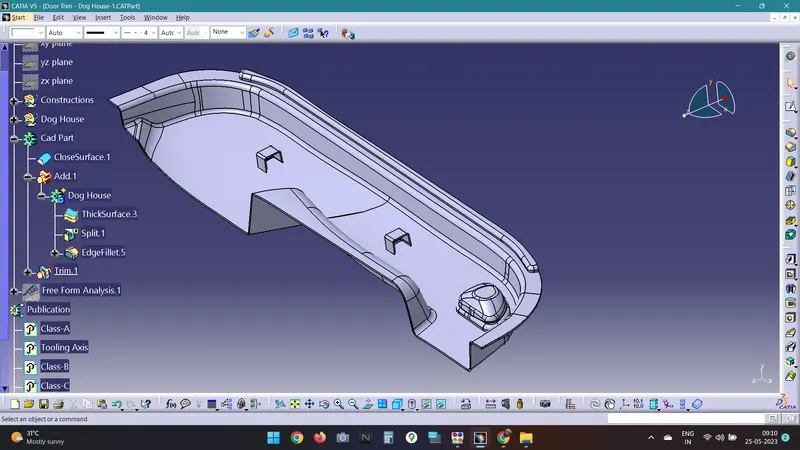
- The part design window is selected and using the 'Close surface' command the final cad model is transfomed into a part design.
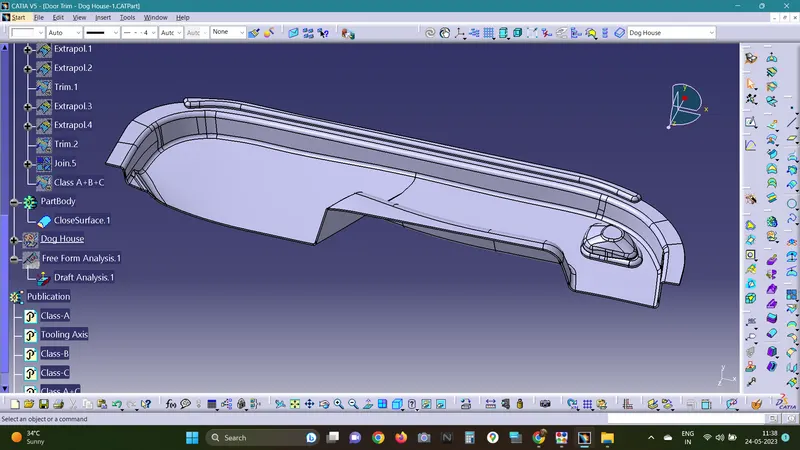
Creating Dog House:
- With the standard design dimensions , a dog house feature is created using sweep, thick surface ,edge fillet commands and translated.
- Using union trim command , the dog house feature is joined to the cad part.
- A draft analysis is carried on using the side core axis for the dog house feature.
Conclusion:
The cat part is created from the class-A surface and the dog house feature is obtained using the standard design requirements.