Week 10 - Challenge 1- Attachment Feature Creation (Ribs & Screw Boss)
AIM :-
To Create the rib for the Drill Handle considering the design rules, also Create the Screw boss for the Drill Handle considering the design rules.
ABSTRACT :-
Here we need to create the Ribs & screw bosses by provided the guidelines, with given Class A surface , we need to make first closed surfaces. Firstly obtaning the Class b, Class C respectively. And finally make it as a closed , After this we convert them into solid once. And geometrically appling Ribs & Bosses proper guidliines & rules as well.
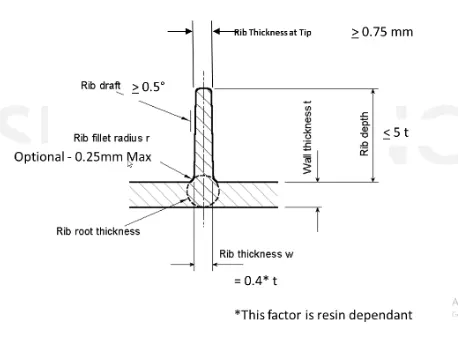
- Design rules for RIB creation.
- Design rules for SCREW BOSSES creation.
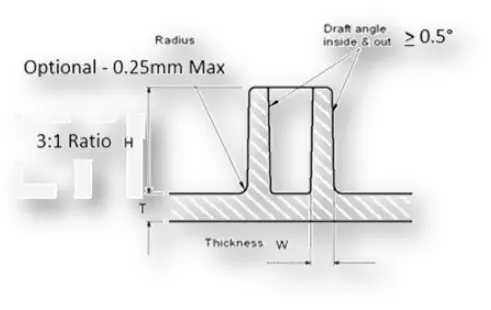
General Guidelines for Bosses:
- Draft - 0.5 degrees on the walls of boss
- Thickness - Typically 40%* of the nominal wall at the base.
- Height to Diameter Ratio - 3:1
- Radii - 0.25mm maximum radii.
The following procedure has gone for making the final component, with proper Ribs & bosses.
PROCEDURE_1 :- Check the Class_A & making the Tooling Axis.
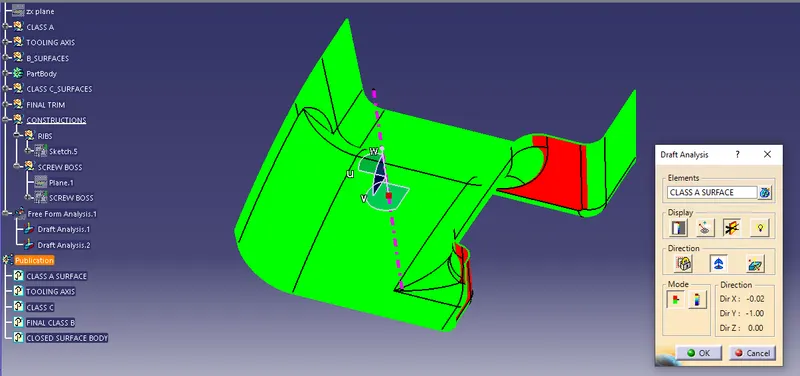
The first step for any component creation from the Class A surface, their is a need to check the class A & creation the tooling axis. We simply check it with green boundry line & the Draft Analysis.
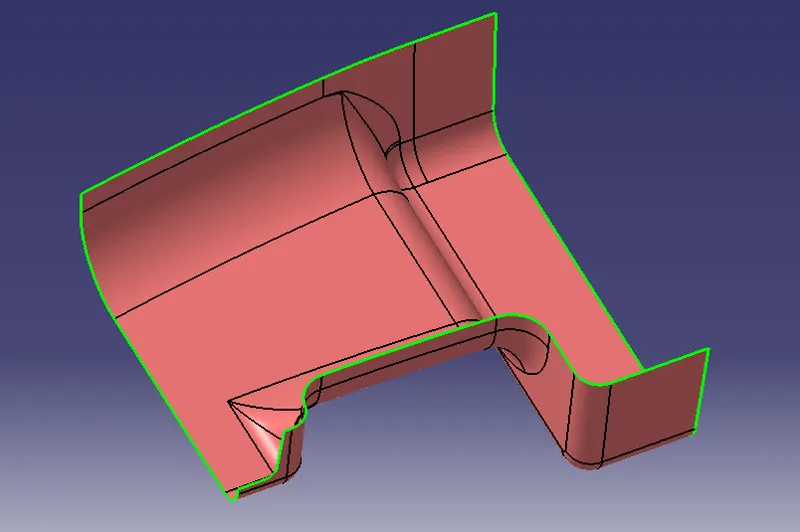
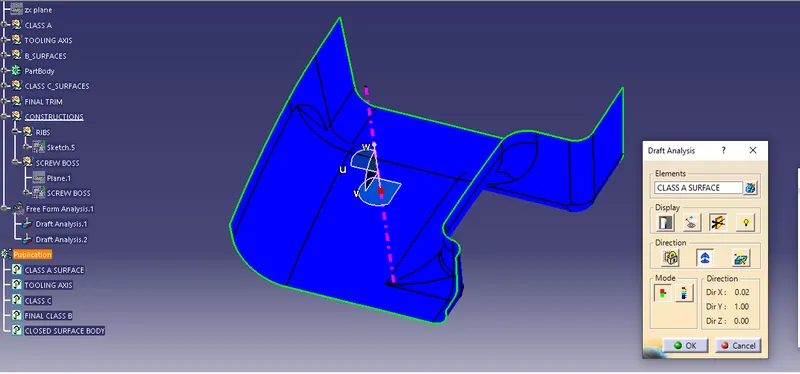
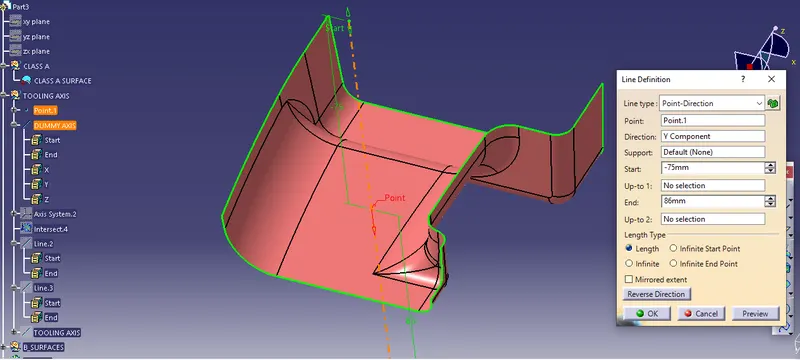
For the creation the tooling axis we need to take a flat surface from the Class A. The selected flat or normal surface there should be provide the point for the creation the tooling axis, but firstly need to create a simple dummy Axis. Axis creation will be point & direction, normal to surface or common is Bisecting method also.
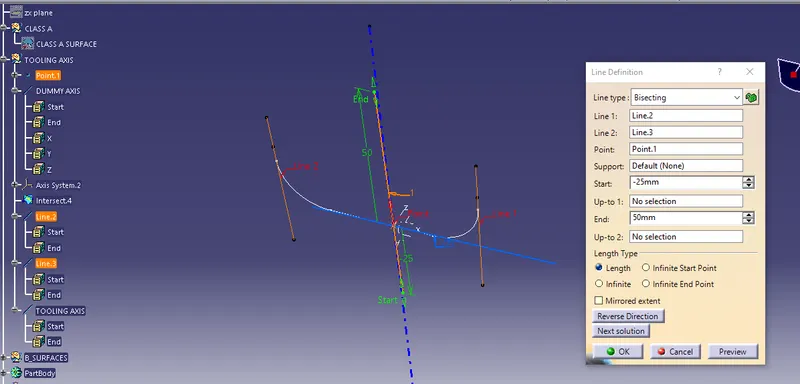
Here we create a Tooling axis by the bisecting method as shown below:
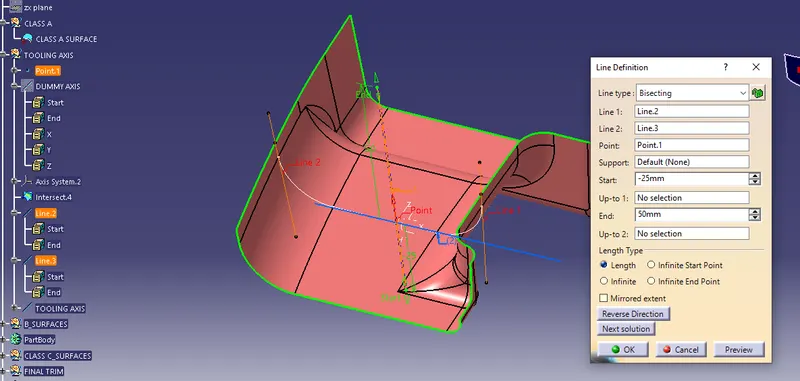
PROCEDURE 2 :- B_surfaces creation/ Class_B
For the creation the Class B surface we need to take a offset from the Class A that is mesion in the guidelines.
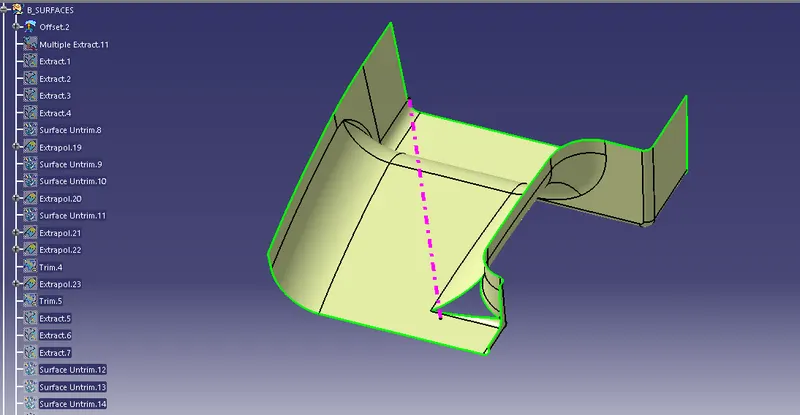
Here we take a offset is 3 mm & after offset we found a patches on the offseted surface.
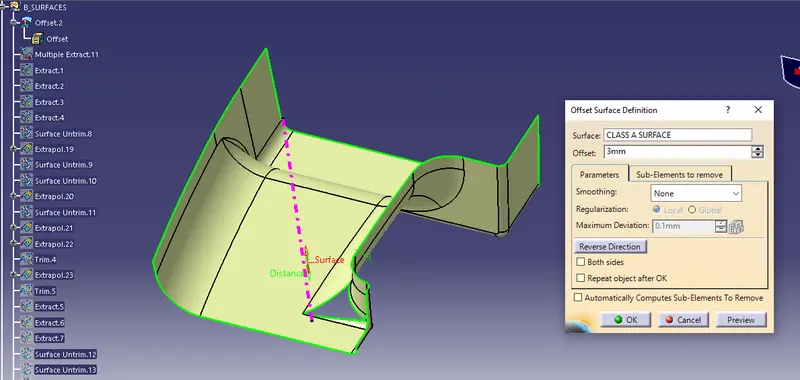
After the multiple patches has got we need to take a seperate_seperate extract and untrim to it. Extrapolate that surfaces and make trim to adjecent corners and provide a fillet radius that is measure from a Class A or Offseted surface of class B.
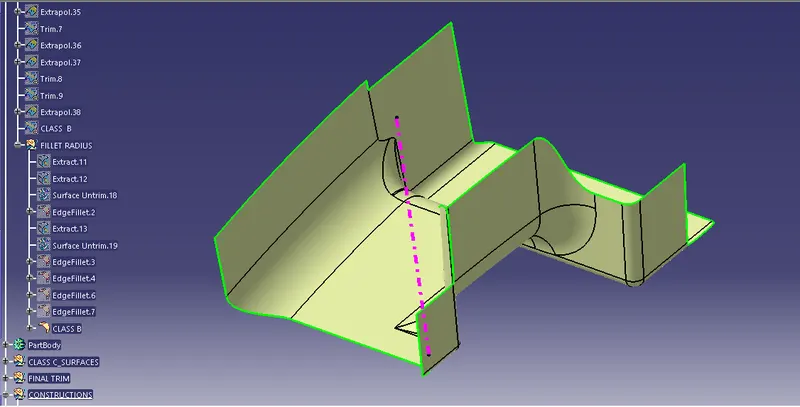
PROCEDURE 3 :- CLASS C_surface creation/ CLASS_C
- In this procedure we need the Class A again to as a referance for creation the Class_C surface.
- Here 2 types of Sweeps are used for the making class_C surfaces.
- The 2 types as 1st is taking a referance surface with an angle of 90 Degree &
- 2nd is with the draft direction with the angle of 3 Degree. In the referance with surfaces we take a referance as a Class_A & in the with the draft direction as a Tooling axis as well.
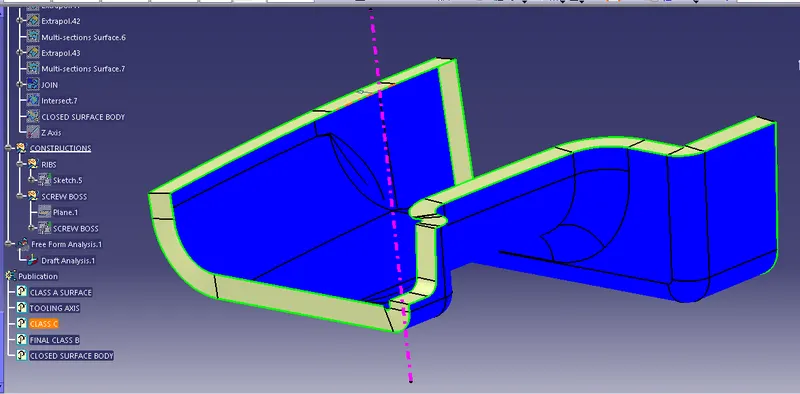
In this way here is a multiple sweeps are created along the corner sides of a Class_A surfaces.
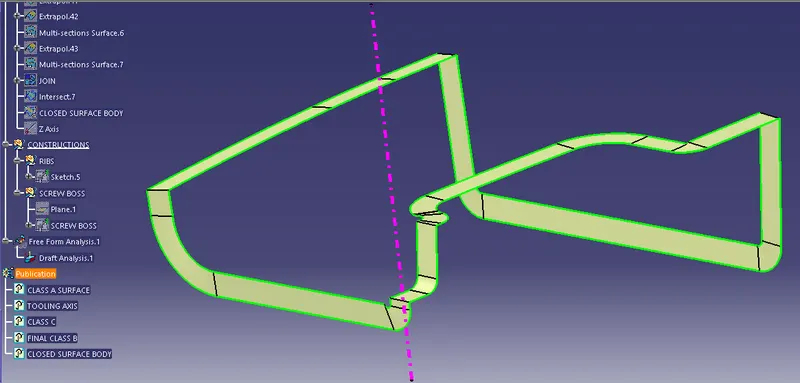
- Added Class_A with Class_C with a merging distance 0.003 mm.
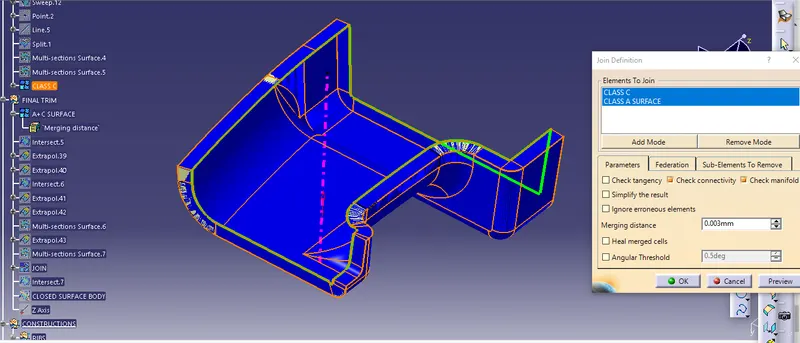
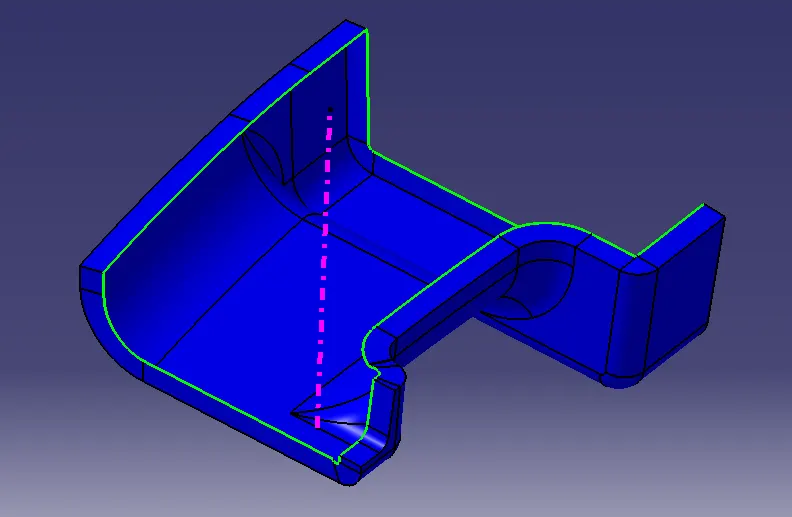
- Final A+C surface
PROCEDURE_4 :- FINAL TRIM / CLOSED SURFACE
After adding the Class_A with Class_C we need to trim the Class_B surface. For getting a final closed surface as shown below:
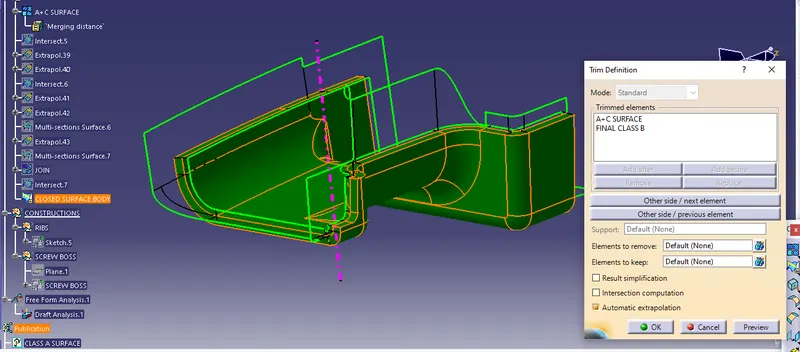
- FINAL CLOSED SURFACE
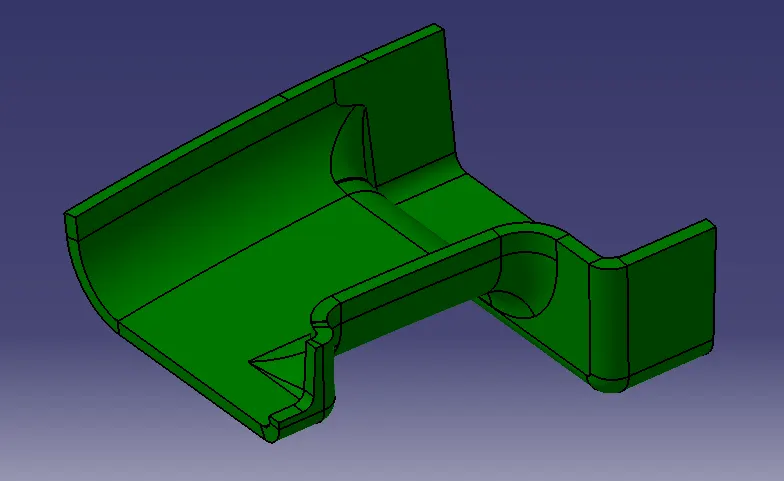
PROCEDURE_5 :- Ribs & Screw boss creation.
1. Rib creation :- In the rib creation we need to get a positioned sketch with getting proper referance plane. The sketch should be the iso constrained.
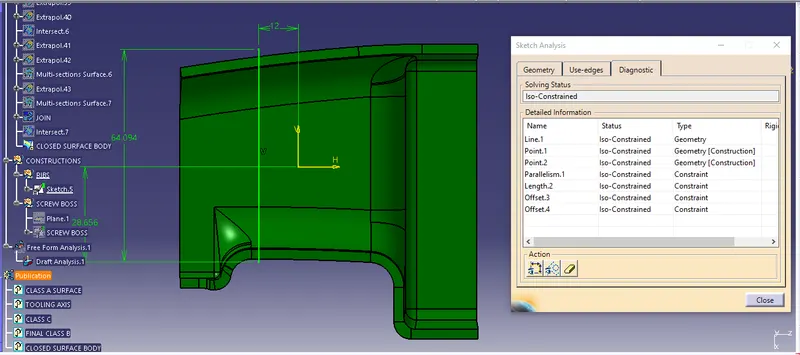
2. Screw Boss creation.
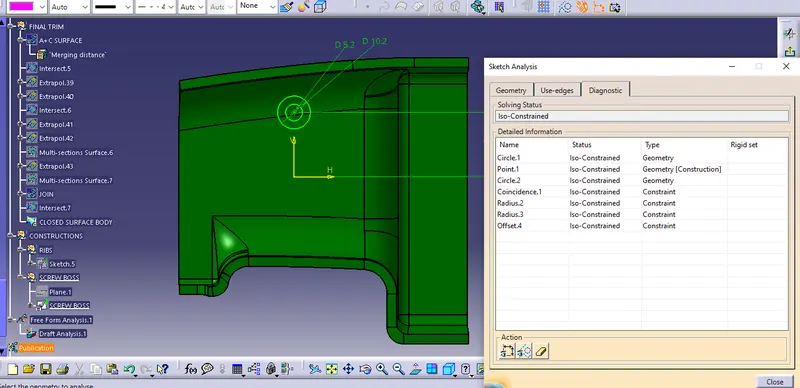
After the sketch has been drawn exit the workbench & pad it with guideline measurement. Provide the draft angle to it & make a Uniun trim to the main body, with removing the unwanted area. After making a Rib & boss make a tranlate to the another side as well.
- TREE STRUCTURE :-
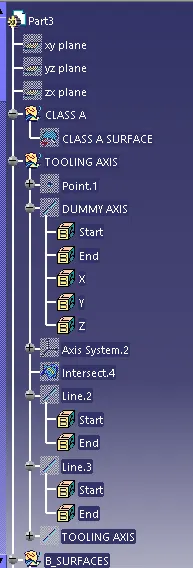
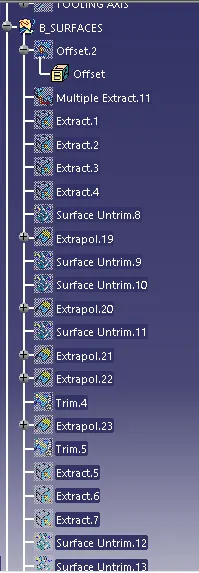
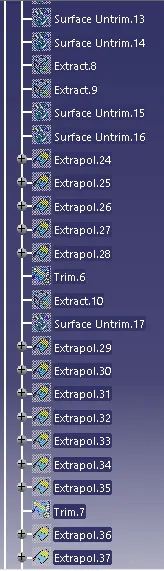
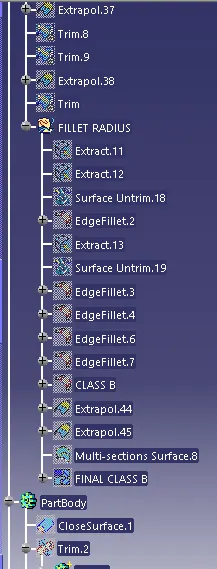
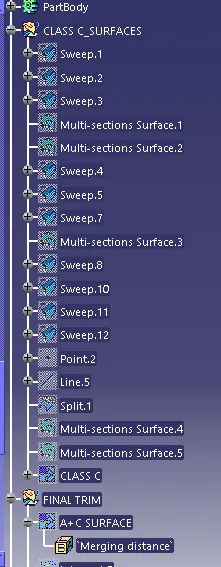
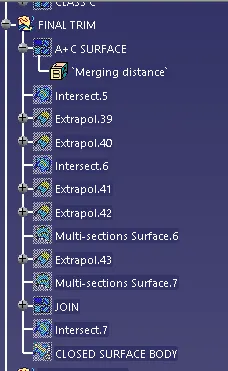
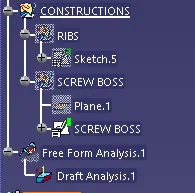
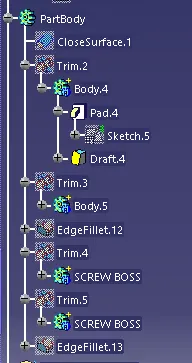
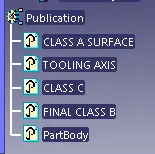
- In this way same procedure followed to the Ribs & Screw Bosses to get a final component.
FINAL COMPONENT
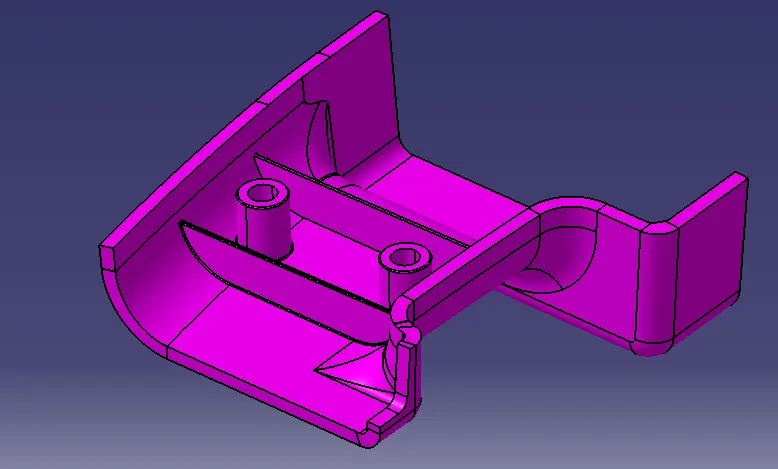
- CONCLUSION :-
In this way we have crreated the Ribs & Screw bosses with provided the Class_A surface & make A final component as well. The required snaps are attached to report & CATIA file has been browse repectively for the final submission.
Thank You.