Usage of Navigation tool , Timeliner and Clash Detection test using Naviswork
Q1
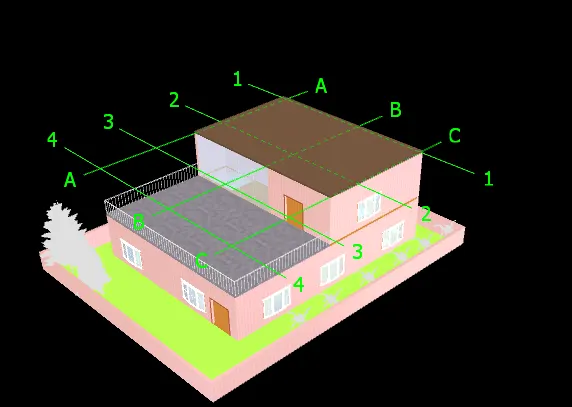
AIM:- to export the architectural model to navis work cache file
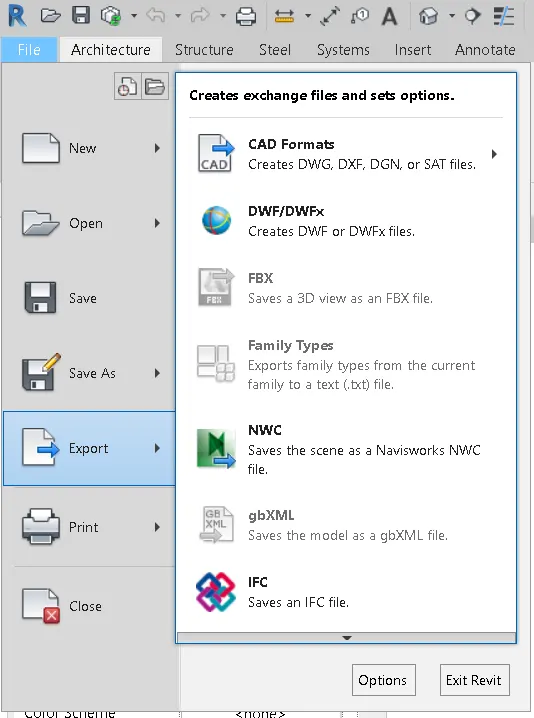
- open architectural model in Revit
- then click on file>export
- select format as nwc
- select the destination file
- check the save type as NWC.format
- then click on save
Q2
AIM:- to walk through the model and create the movement as an animation
- open naviswork
- Click on the file
- open the architecture 3dmodel
- then click on the viewpoint
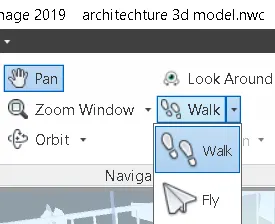
- select walk through>walk
- then go to save view point>record
- using pan and zoom command navigate through the model
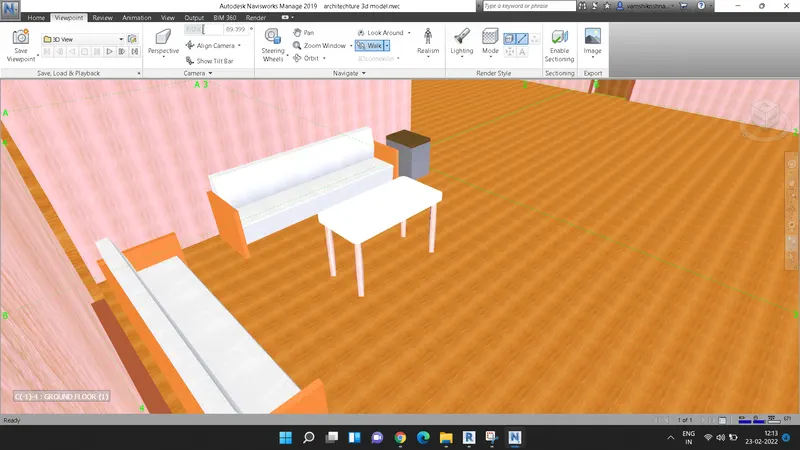
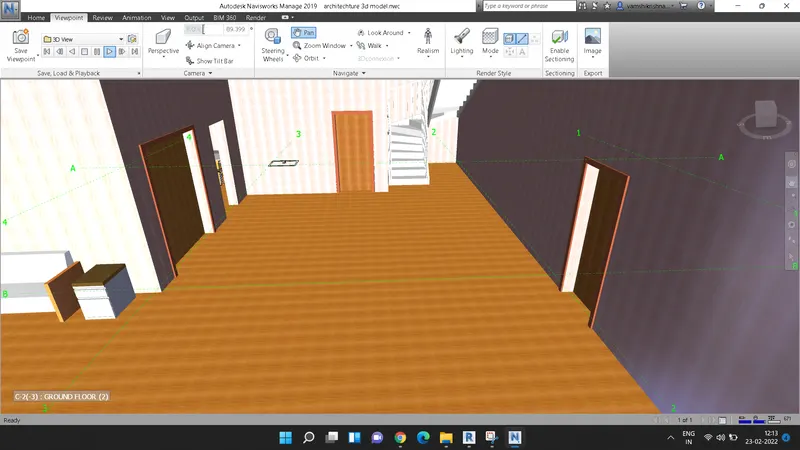
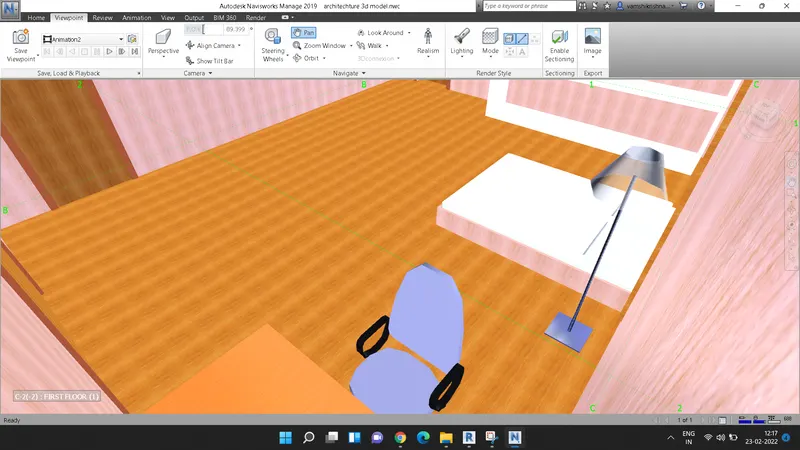
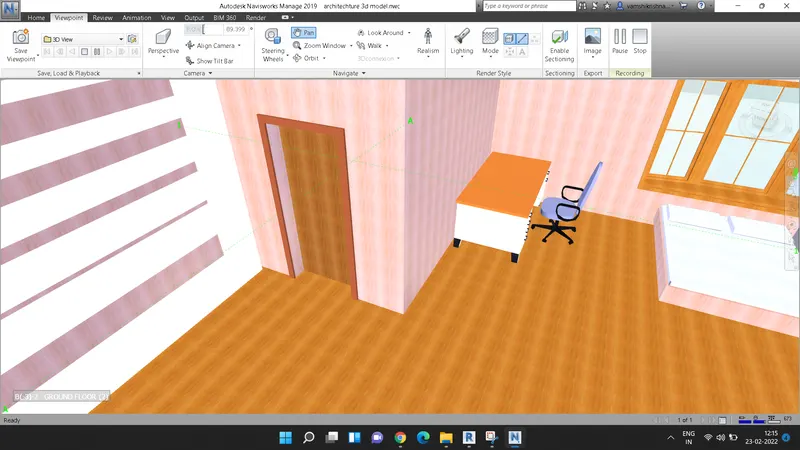
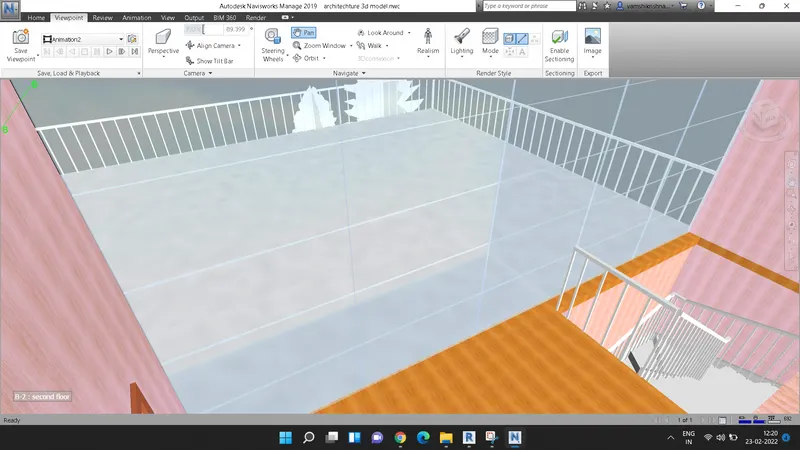
RESULT:- Walkthrough animation video has been created
Q3
aim:- to use the realism feature and record the movement
- open naviswork
- Click on the file
- open the architecture 3dmodel
- then click on the viewpoint
- select realism>third person
- then select save viewpoint
- strat recording
- then select walk through>wall
- navigate through the model using tools
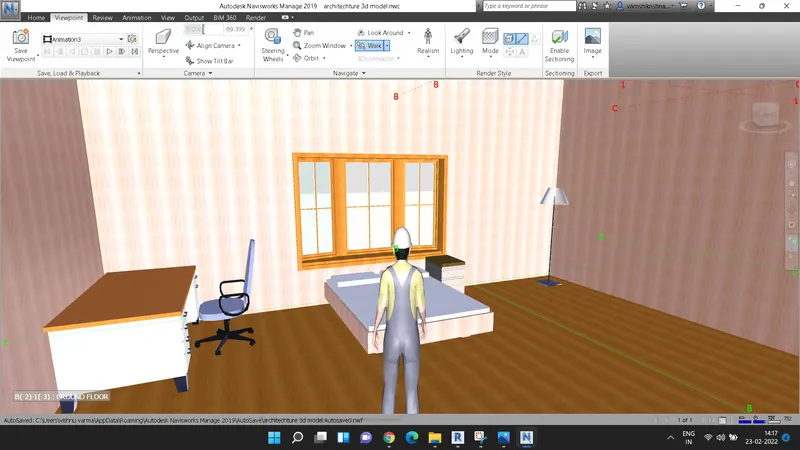
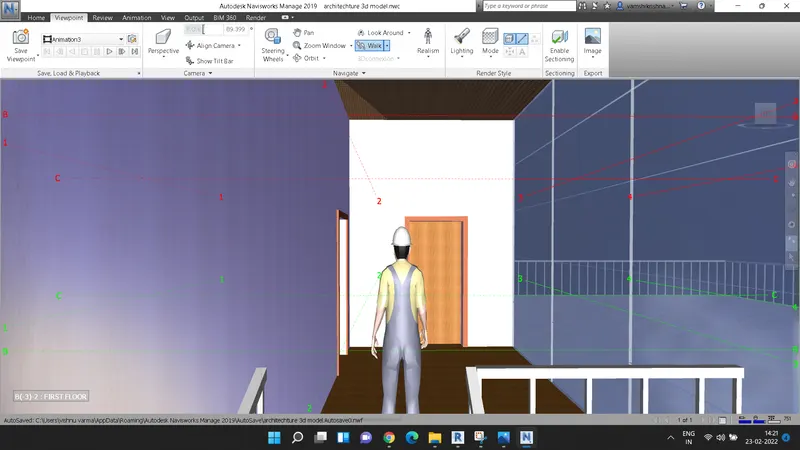
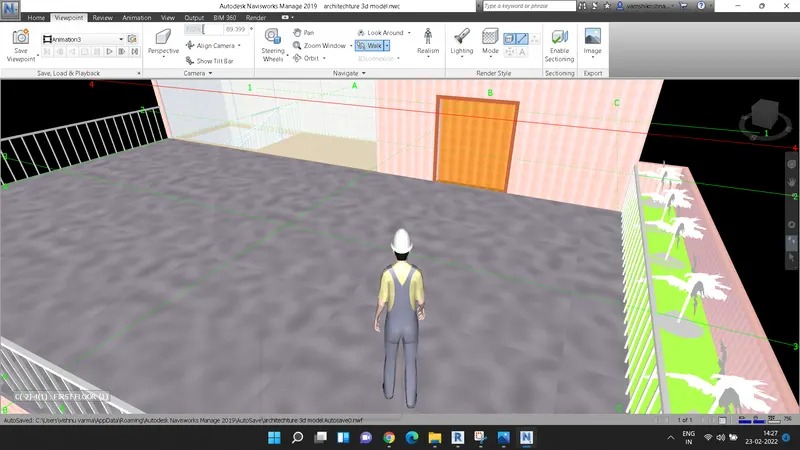
RESULT:- walkthrough is created using realism feature
Q4
Aim:- to run the clash detection test
- open architectural model
- go to home tab>append
- import the structural model
- then go to clash detective
- go to add text
- and add architectural and structural models to the text
- then click on run test
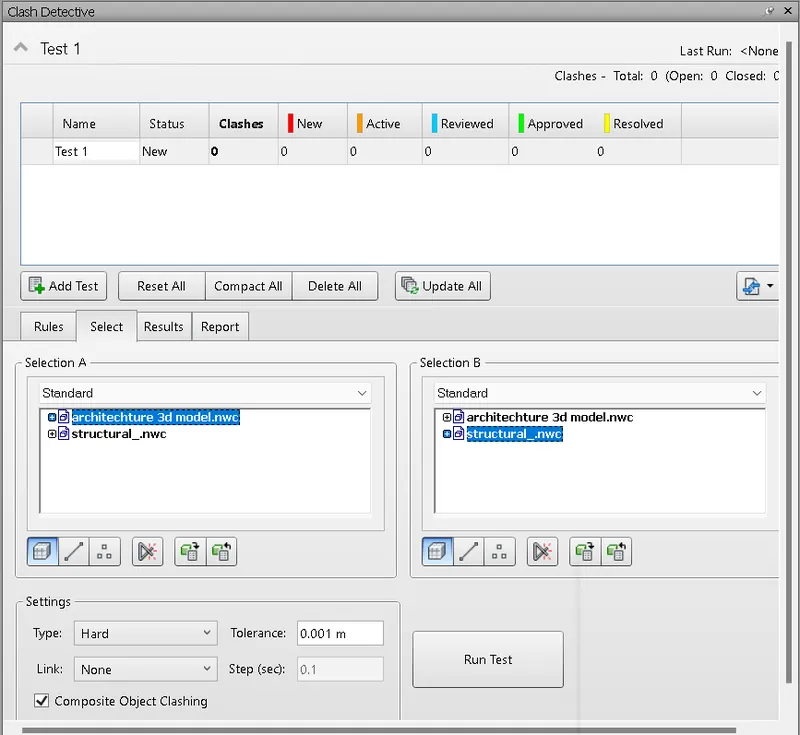
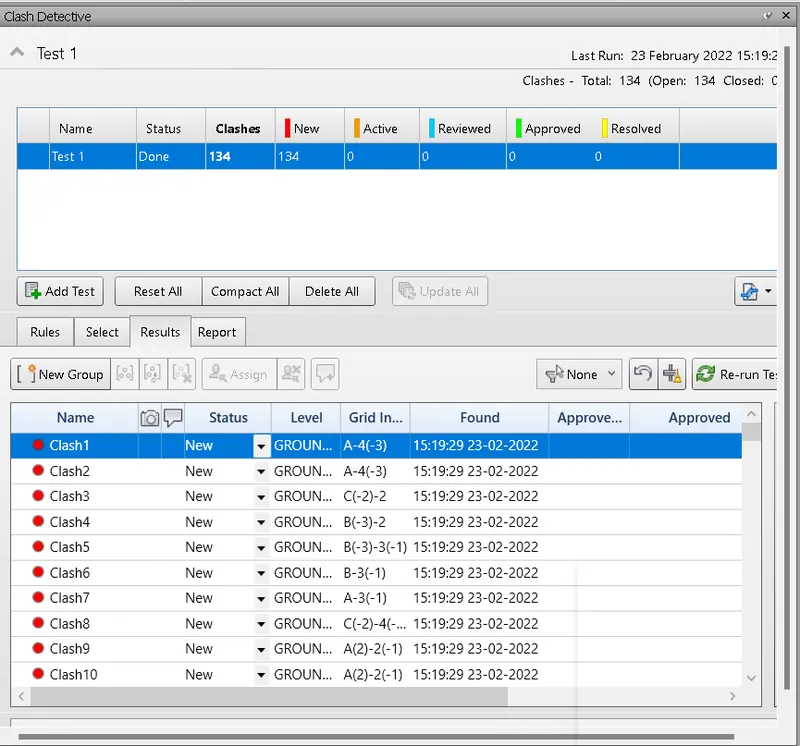
- study the clashes
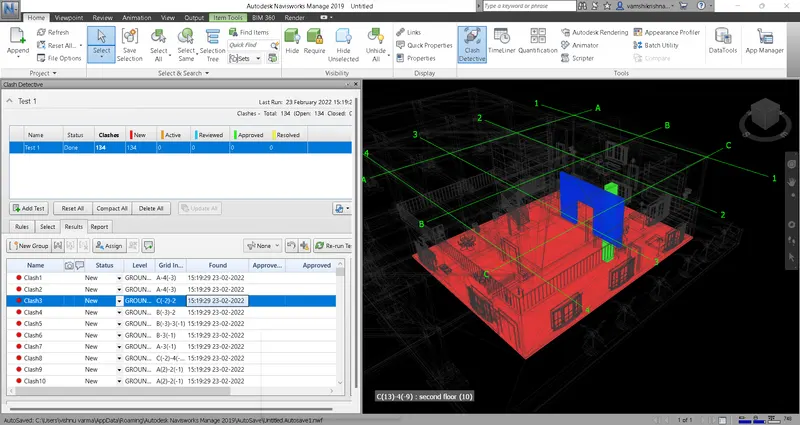
RESULT:- the clash detection test is performed successfully
Q5
Aim:- to create timeline feature using naviswork
- open architectural model
- go to home>timeline
- then click on the selection tree which shows the parts of the construction
- then go to the timeline dialogue box
- add activities and date of progress from the selection tree
- similarly, add the sequences of work to be done

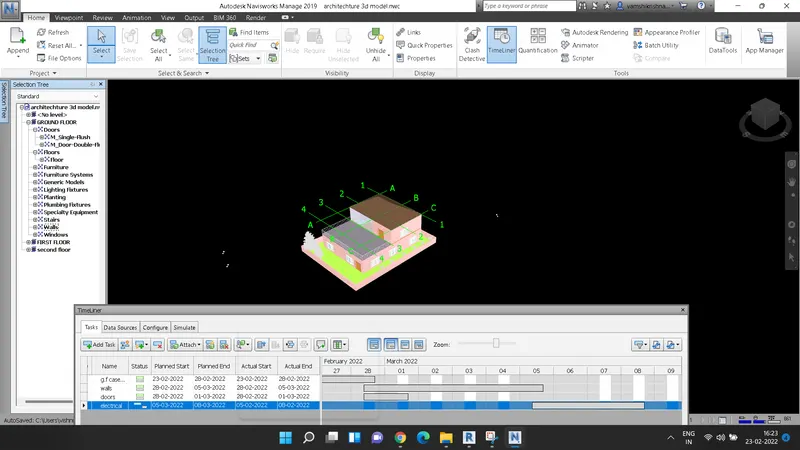
- go to simulate option from the timeline dialogue box to view the animation of the progression of the work and save the file
result:- the timeline animation has been created