Usage of Navigation tool , Timeliner and Clash Detection test using Naviswork
1) Use the Architecture/ Structure Project file developed by you in Week 6 to 8. Export the Revit architecture and structure model to Navisworks Cache file following the export settings discussed in class
A)
EXPORTING FILE TO NAVISWORK
. Go to the Autodesk Website and search for Autodesk Naviswork 3D viewer.
• Install the file and extract it and save the file to the file.
• Open the revit file which we want to Export to Naviswork.
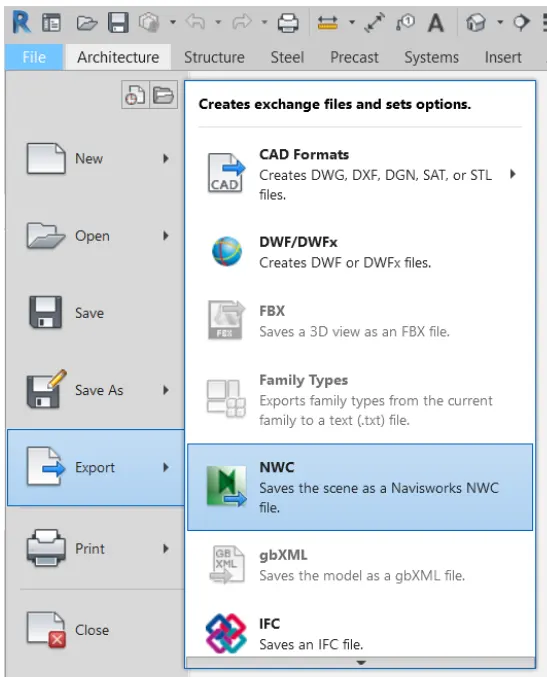
. Go to file and select Export to then the click on the naviswork option.
• In the Export Scene as... dialog box, click on the Navisworks Settings...button to open the Navisworks Options Editor - Revit.
• In the Navisworks Options Editor - Revit dialog box expand and click on settings.
• Then change the Export > Change this to Entire Project.
OPENING FILE TAB AND SELECT EXPORT
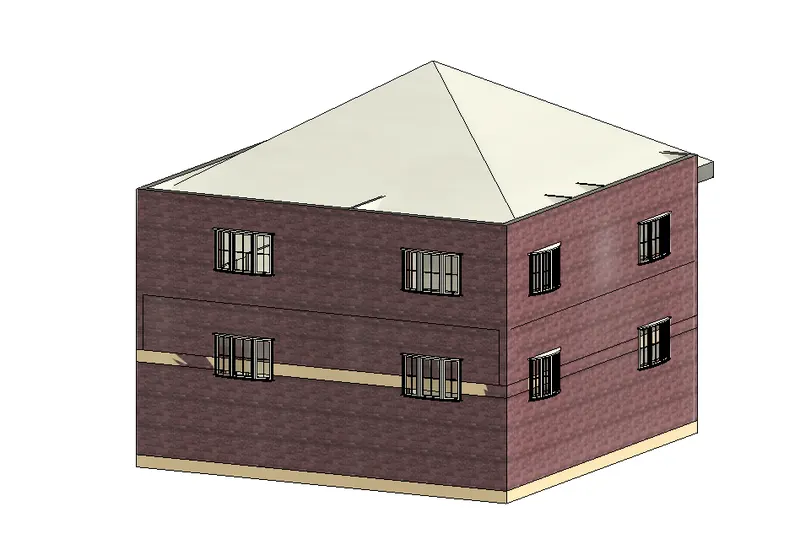
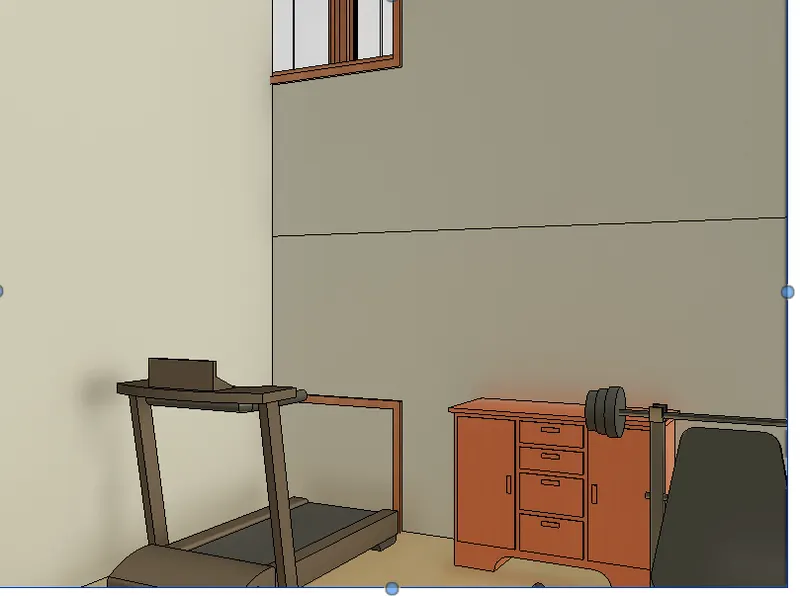
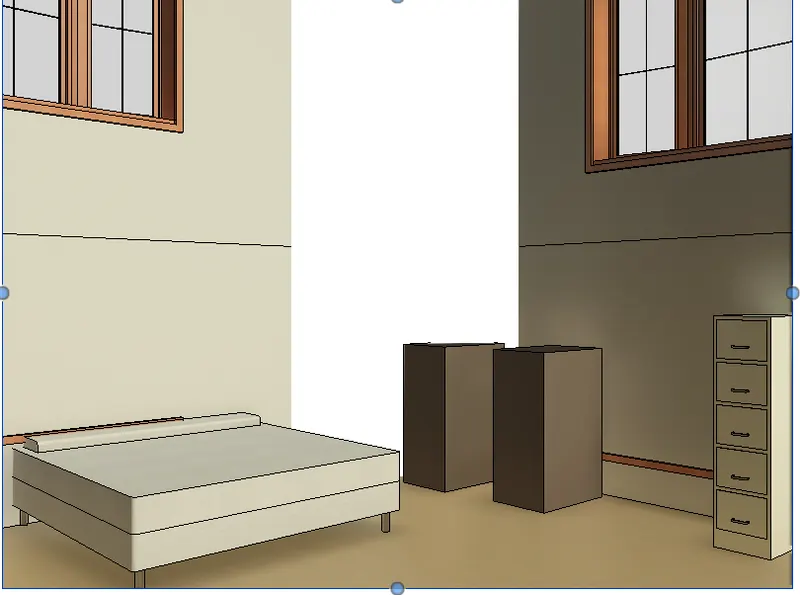
2) Use Navigate Tool to walk around the model and walk through the rooms created and record your moving as animation in your Navisworks file
A)
Open the Architectural model which is already exported to the Naviswork manage file.
• Select the appropriate 3D view which we want to Walkthrough in the model.
• Select the viewpoint tab and click on walk option.
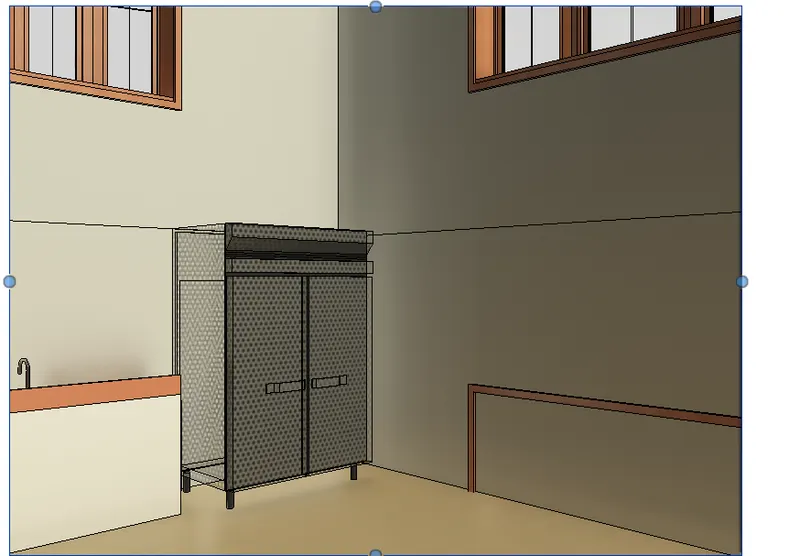
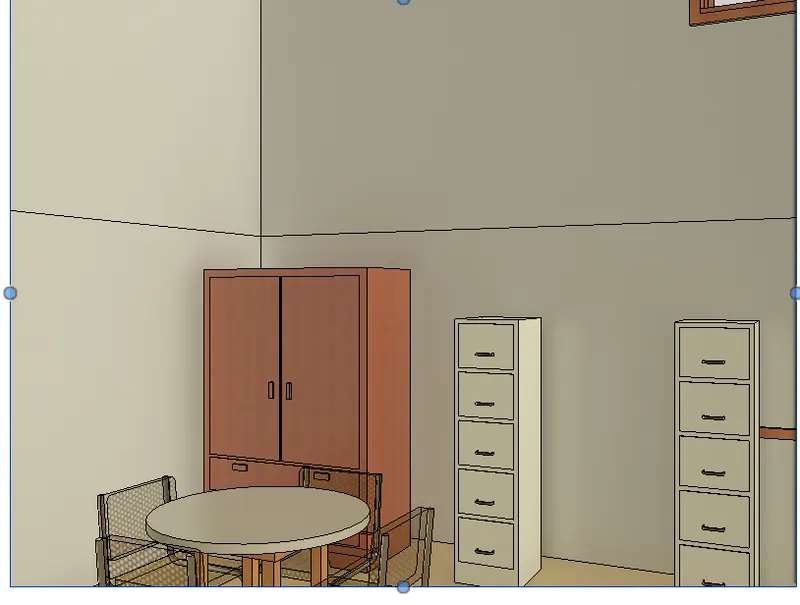
• The walkthrough will be displayed on the screen.
• Use the arrow keys to move back and front and side to control the walk.
• Record the moving and create the different Previews.
3) Use Navigate tool to use Realism feature to walk through the model and record your moving as animation in Navisworks file
A)
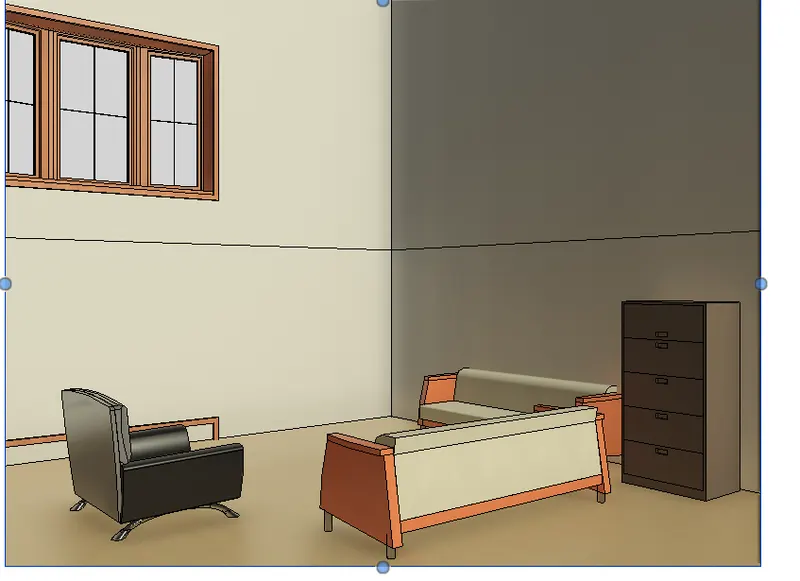
Open the Architectural model which is already exported to the Naviswork manage file.
• Select the appropriate 3D view which we want to Walk in the model.
• Select the viewpoint tab and click on Realism and in that option select 3rd person.
The walkthrough will be displayed on the screen.
• Use the arrow keys to move back and front and side to control the walk.
• Record the moving and create the different Previews.
4) Embed both architecture and structure *.nwc file to your Navisworks file. Create a clash detection test between the two models
a. Run the Clash Detection Test
b. Study the clashes between the two models
c. List which of the clashes could be approved
d. List which of the clashes could be neglected ( will be taken care later)
e. List which of the clashes can be resolved
f. Save the results after color coding the clashes to the Navisworks file
g. In case of resolution annotate the clash and save the view to defined views in Navisworks
CLASH DETECTION
• Clash detection is the method of identifying and inspecting the various building design interferences which frequently occur during the BIM coordination or Construction Gatekeeping process.
• Clash detection is like a review process that endures all building components, assemblies, and trades are in ready-to-be-installed conditions generating no conflicts with other building trades.
• Clash detection will only come into the picture when all the building design trades (Architectural, Structural, Mechanical, Electrical, Plumbing, Fire Protection, and others) are integrated into the BIM model.
RUNNING CLASH DETECTION TEST
• Open the Architectural model already created in Naviswork.
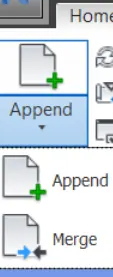
Select append on home tab and append the structural model to the Architectural model.
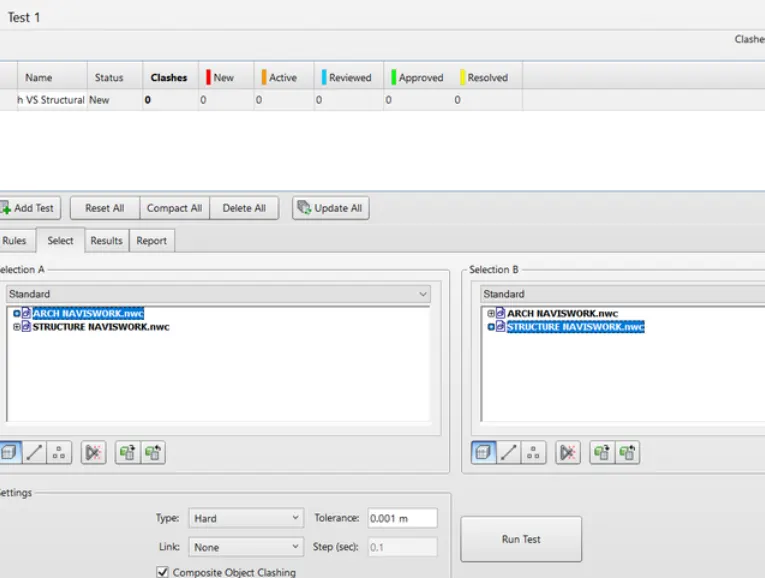
• Run the clash detection select.
. Select add test in the window of clash detectio
. Click on start test.
• Number of clash will be shown on the tab.
• Allocate the clash as active, reviewed and resolved by studying and making the necessary changes in the model..
• Based on the preference the colour coding will be changed as green to approved, red to new clash, yellow to resolved.
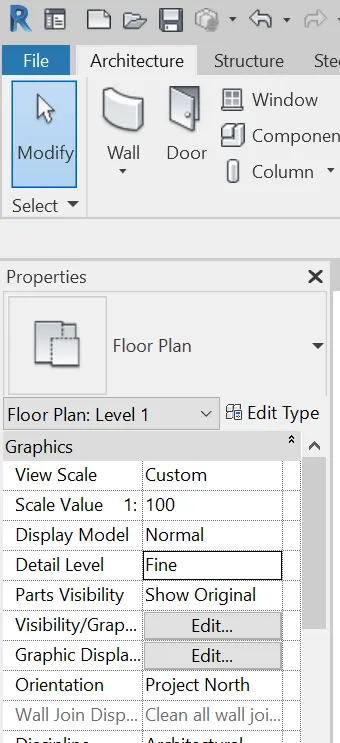
and select Architectura
Standard A and structural in Standard B.
5) Using the Timeliner feature in Navisworks prepare a schedule for the project developed in week 6 to 8 by adding reasonable assumptions for task start date and end date and simulate the task completion as a visual simulation. Record it and save the timeline simulation to Navisworks file
A)
PREPARING SCHEDULE IN NAVISWORK MANAGE
• Load a model into Autodesk Navisworks in the usual way (see Open Files for more information), and then click Home tab Tools panel Time Liner.
• Create some tasks, each having a name, start and end date and a task type. You can add tasks manually. Alternatively, click Auto-Add Tasks on the Tasks tab, or right-click within the Tasks area, and create an initial set of tasks based on layer, item, or selection set names.
• Attach objects in the model to tasks.
• Simulate your schedule. You can visualize your model at any date in your schedule with the currently active tasks highlighted. Run through the entire schedule using familiar VCR controls.
• Keep up to date with changes in your project. Save your project as a Autodesk Navisworks NWF file. Open the NWF and Synchronize Tasks with Project Changes.