REVIT_Usage of Collabrate tool_Week 6
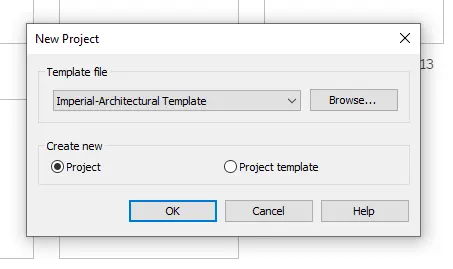
1) Open an architectural template. Using Manage tab set project base point and project shared coordinates for the project
A)
AIM:- Set the base point of the project using manage tab and project shared coordinates for the project
Commands/Tools used:
Architectural
Manage
Grids
Procedure:
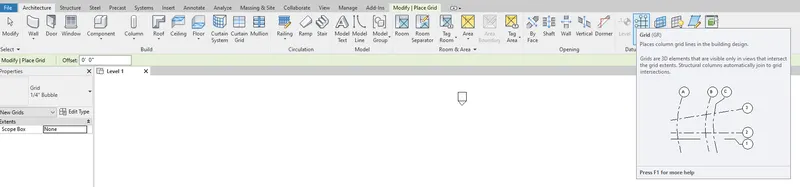
- Select the Architectural tab and in that select grids.
- Draw the grids.
- After drawing the grides rename the grids.
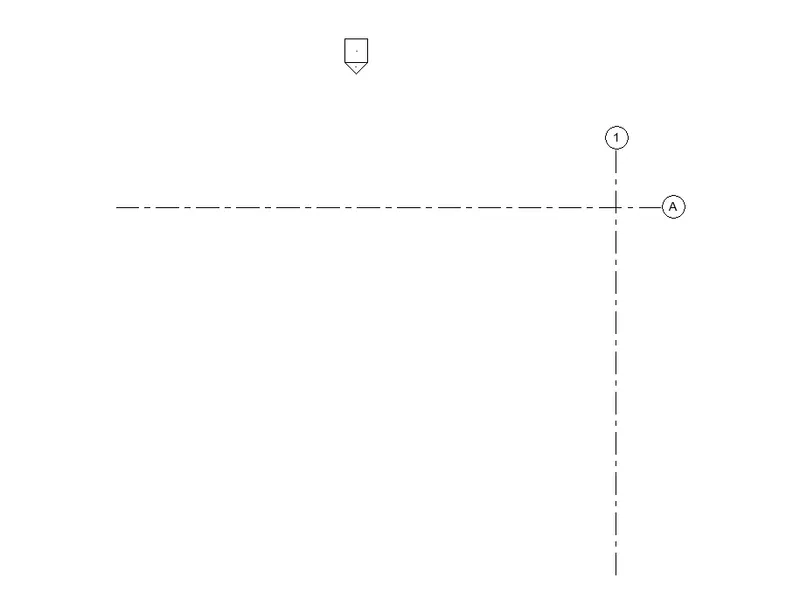
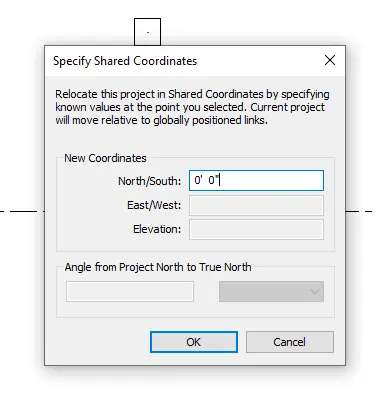
- Now select the manage tab and there under coordinates option select specify coordinate at point and select one grid and specify the parameters as 0'0".
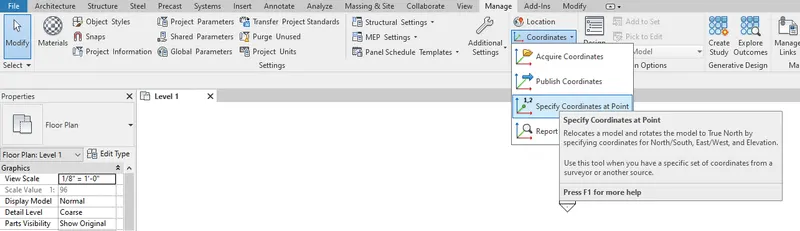
- Select the specify coordinate at a point and select another grid and specify the parameters as 0'0".
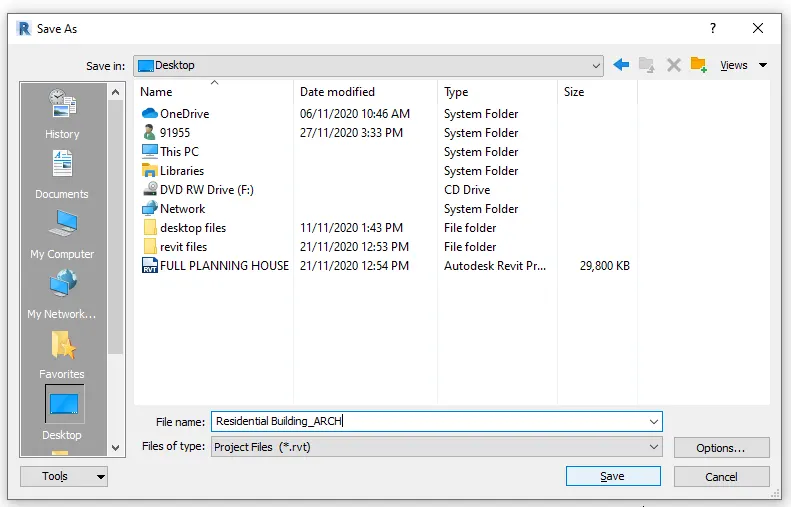
- Select save and save it as Residential building_ARCH.
Result:
The specific parameters of grides for the coordinates have been specified.
2) Open another new file but with a structural template. Using manage tab set project parameters the same as the architectural model. Copy the parameters from the architectural model to the structural template or enter the parameters manually into the structural model.
A)
AIM:- Create a structural template and using manage tab select the parameters same as architectural template.
Commands/Tools Used:
Structural
Grid
Manage
Specify coordinate at a point
Procedure:
- Select the structural template.
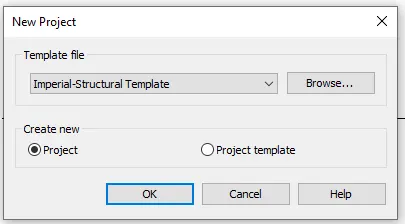
- Now select structural tab and select grid.
- Then draw the grids after drawing the grides Now rename the grids.
- Select the manage tab and select specify coordinate at a point and give the value as 0'0'' for both the grids.
- Select save and save it as Residential building_STRU.
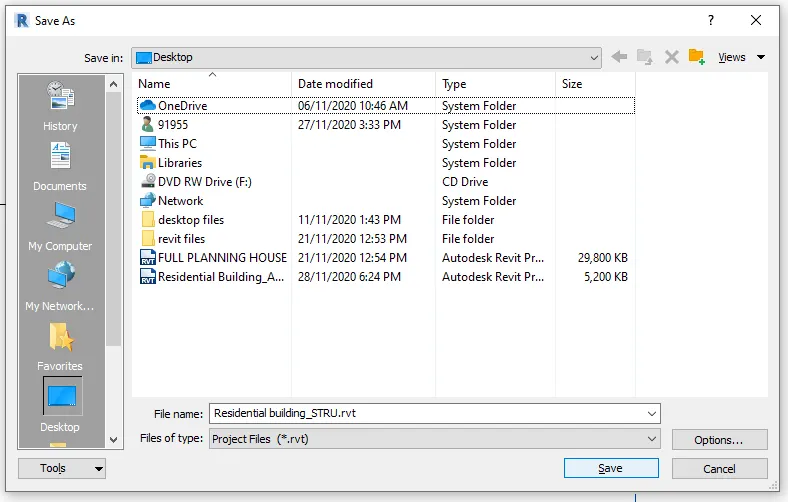
Result:
The specific parameters of grides for the coordinates have been specified.
3) Re-open the architectural model. Using the tools under the Collaborate tab make the architectural model a central model ( enabling simultaneous working on the model )
A)
Aim:- Collaborate the drawing
Commands Used:
Open
Collaborate
Procedure:
- Open the architectural template file in revit.
- select the collaborate tab and select collaborate.
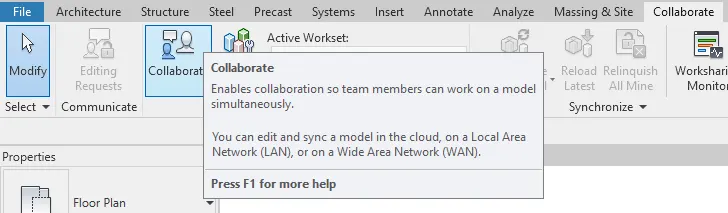
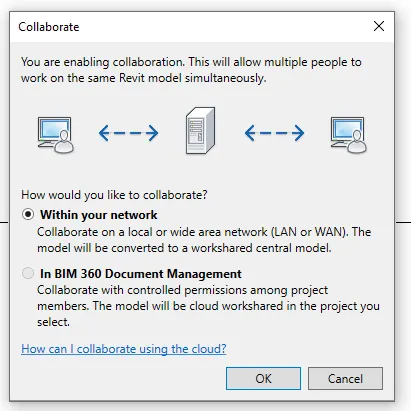
- The option will appear as how to collobarate the file.
- Select the option within the network and press ok.
Result:-
We have collaborated the drawing.
4) Create the Grids Longitudinal and Transverse pattern for the project similar to the task done in Week 2.
A)
AIM: To Create Longitudinal and Transverse pattern using Grids.
Commands/Tools used:
Architectural
Grids
Procedure:-
- Open the architectural template file in revit.
- Select the architectural tab and select grids.
- Draw the grids in equal distance say 20.
- After drawing the first grid by using that as a reference grid draw another grids by spacing them 20 feets distance between each other.
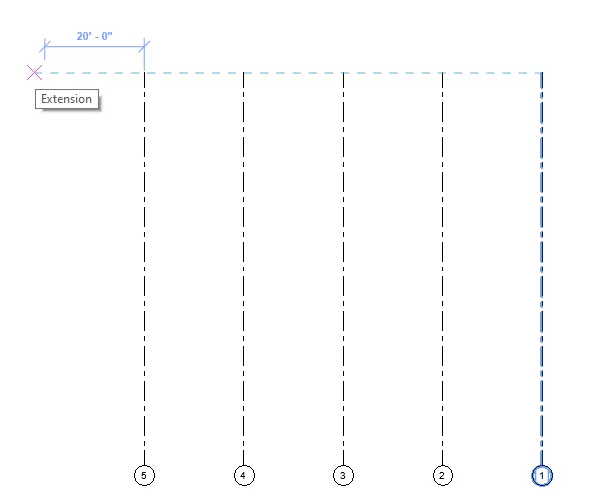
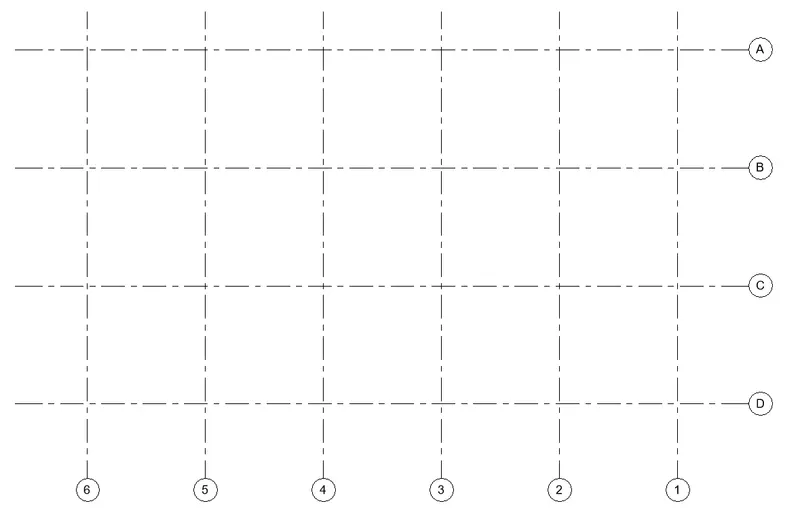
- With the same procedure draw transverse and longitudnal grids.
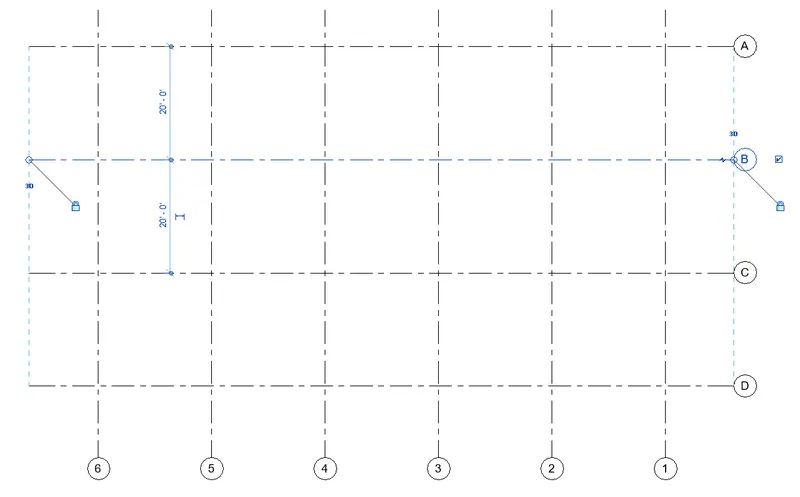
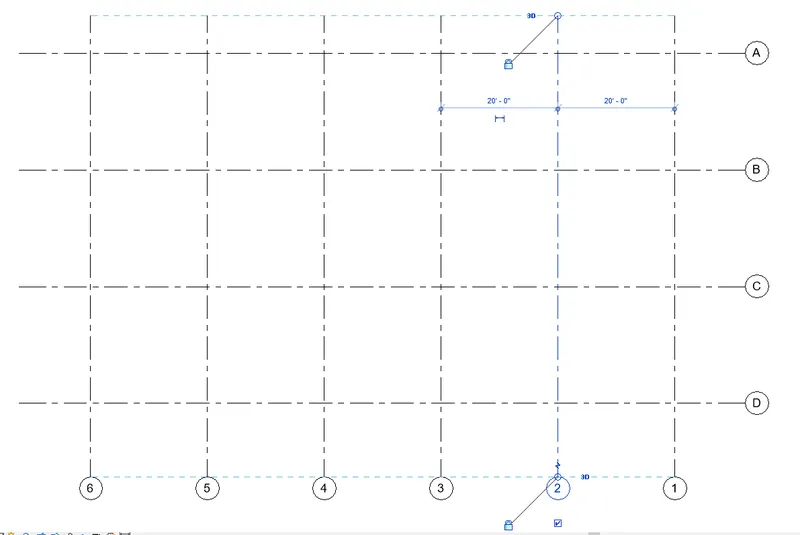
- Rename the grids as per standards.
Results:
Grids are properly drawn as per the convineinces
5) Synchronize the changes from the local copy to the central file of the architectural model.
A)
Aim:- To Synchronize the changes from the local copy to the central file of the architectural model.
Commands/Tools used:
Manage
Collaboration
Synchronize tab
Procedure:
- Open the file which is saved is revit
- Now after opening the file select the collaboration tab
- After selecting collaboration tab select the synchronize with central tab.
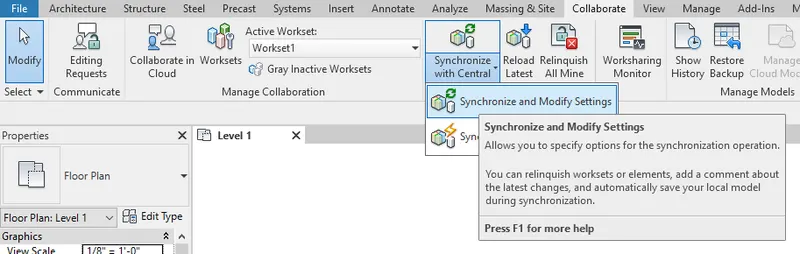
- Now tap on the synchronize and modify settings option and then click OK.
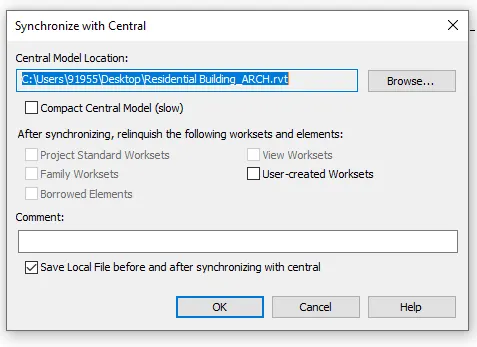
- Now lastly we have synced the architectural model to the central file.
Result:-
We have synchronized the changes from the local copy to the central file of the architectural model.
6) Open the structural model and using the collaborate tools to save the model as a central file.
A)
AIM:- Collaborate Structural model as a central file
Commands/Tools used:
Open.
Collaborate.
Procedure:
- Open the structural template in the revit.
- Select the collaborate tab and select collaborate.
- Select the collaborate within your network and save it as saving for the first time it will make a central file
Result:-
We have collaborated the drawing.
7) Under the Collaborate tab, select the grids and levels from the architectural model, and using Copy Monitor try to copy the grids to the structural model. See what happens when the copy monitored grid is moved around in the structural model.
A)
AIM:- Using collaborate tab, select grids and levels from architectural model and copy it to structural model using copy monitor
Commands/Tools used:
Collaborate
copy monitor
select link
copy
Procedure:
- open the architectural tab and select collaborate tab select copy monitor and select link so my structural drawing is linked.
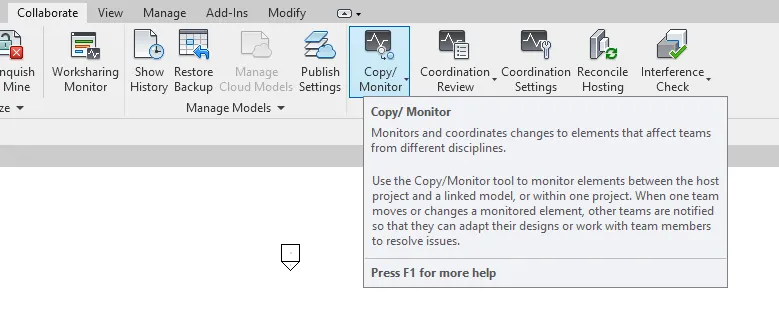
- select the all the grids.
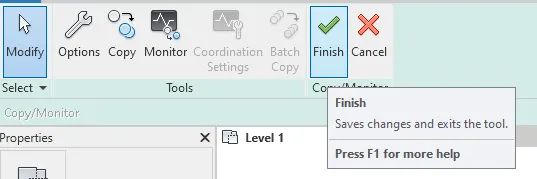
- select the finish command.
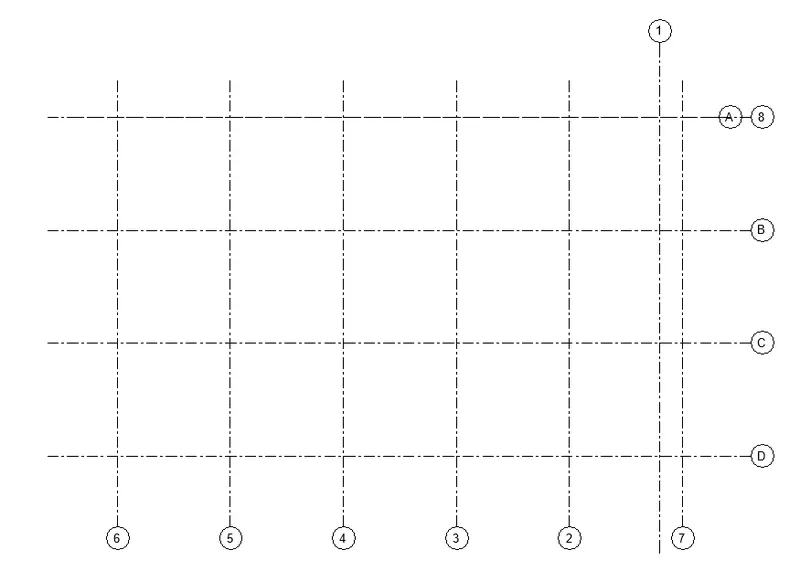
- open the structural template file and all the grids will be found in structural template.
Result:
Copying of grids from architectural model to the structural model using copy monitor is done successfully.
8) Create another new file with a construction template. Save the new file as a central model. This file will include both architectural and structural model. Under the manage tab, Click manage links to link both architectural and structural files. Save the file and close all the files.
A)
AIM:- Create Construction template and save it as central model and link both architectural and structural files
Commands/Tools used:
Manage
Manage links
Procedure:
- Open the new construction template file.
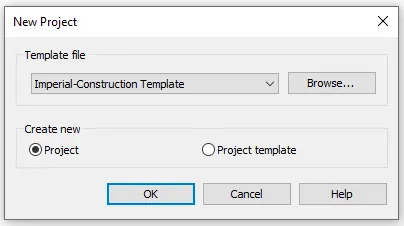
- Select the collaborate tab and collaborate the file as central file.
- Select the manage tab and select manage link in that.
- Now to this construction template add Architectural and Structural templates using the manage link option.
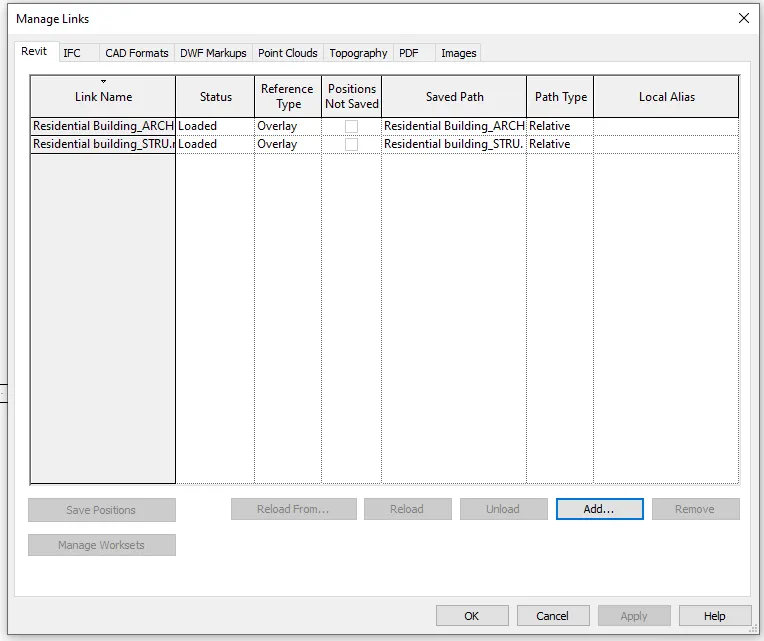
Results:
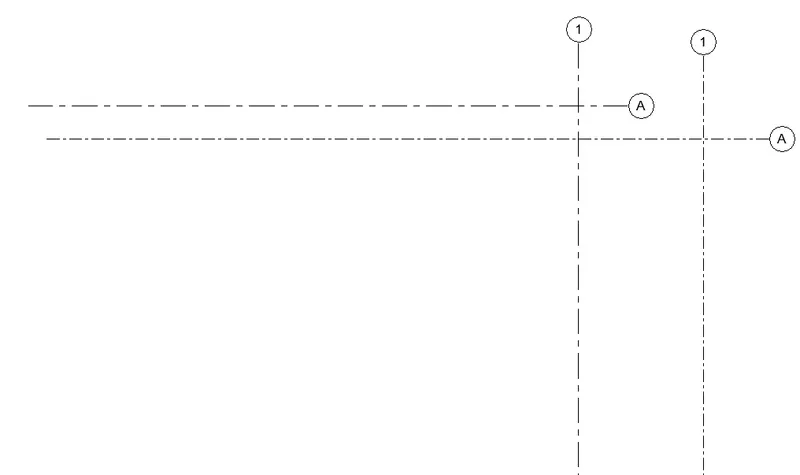
Created Construction template and saved it as central model and linked both architectural and structural files to the same constructural template.
9) Are the grids from structural and architectural model matching in the construction template created? If yes the model is set up for project 2. If not work on the shared parameters and linking options under Manage links
( Hint: origin to origin, by shared coordinates or by project base point to base point ) to link the models in an appropriate manner
A)
AIM:- Insert the grids from struc template to arch template and check whether it is considing with eech other
Commands/Tools used:
Manage
manage links
acquire coordinates
position
relocate position
Procedure:
- open the construction template and select manage tab.
- select the structural and architectural template drawing Both the grids which are present in the same construction template is not coinsiding.
- Now to coinside both the grides we have to select the positioning option in manage tab.
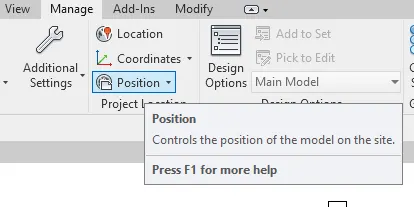
- Now select the relocate position option under positioning option.
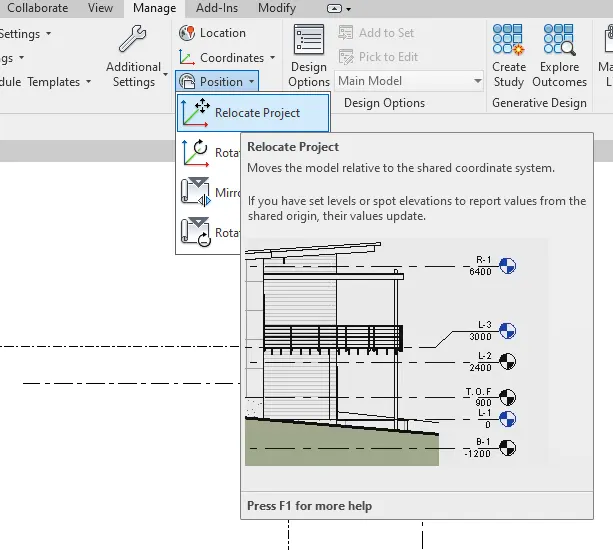
- Now select the intersection point of architecture grid and the click on the intersection point of structural grid.
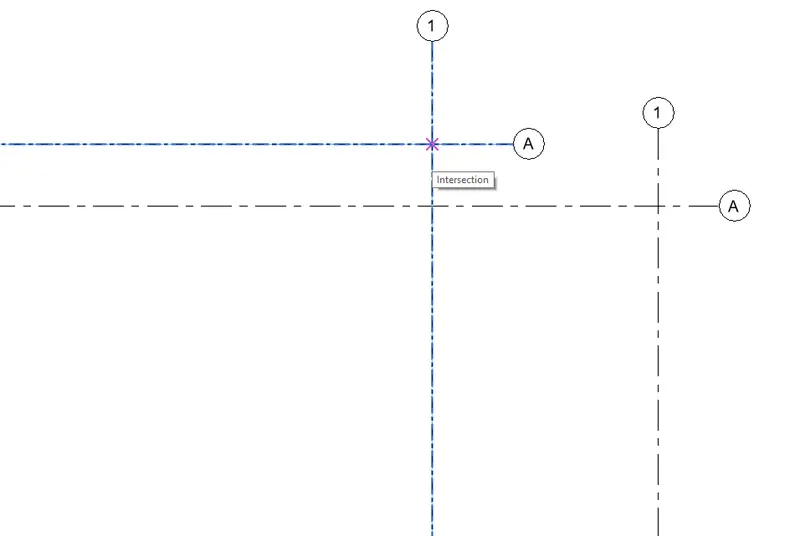
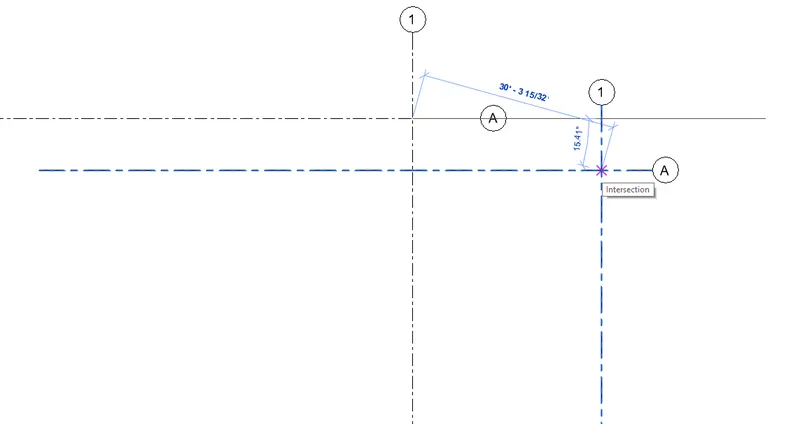
- Now we can see that the grids will be positioned.
Result:
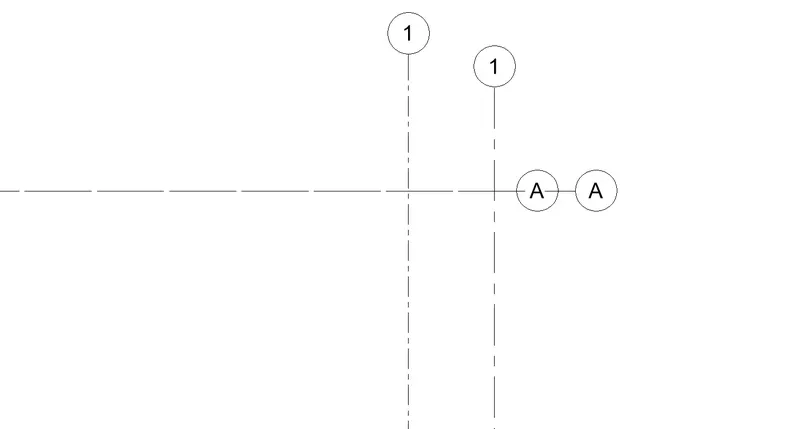
The inserted grides from achitectural grid to the structural grid are positioned properly.
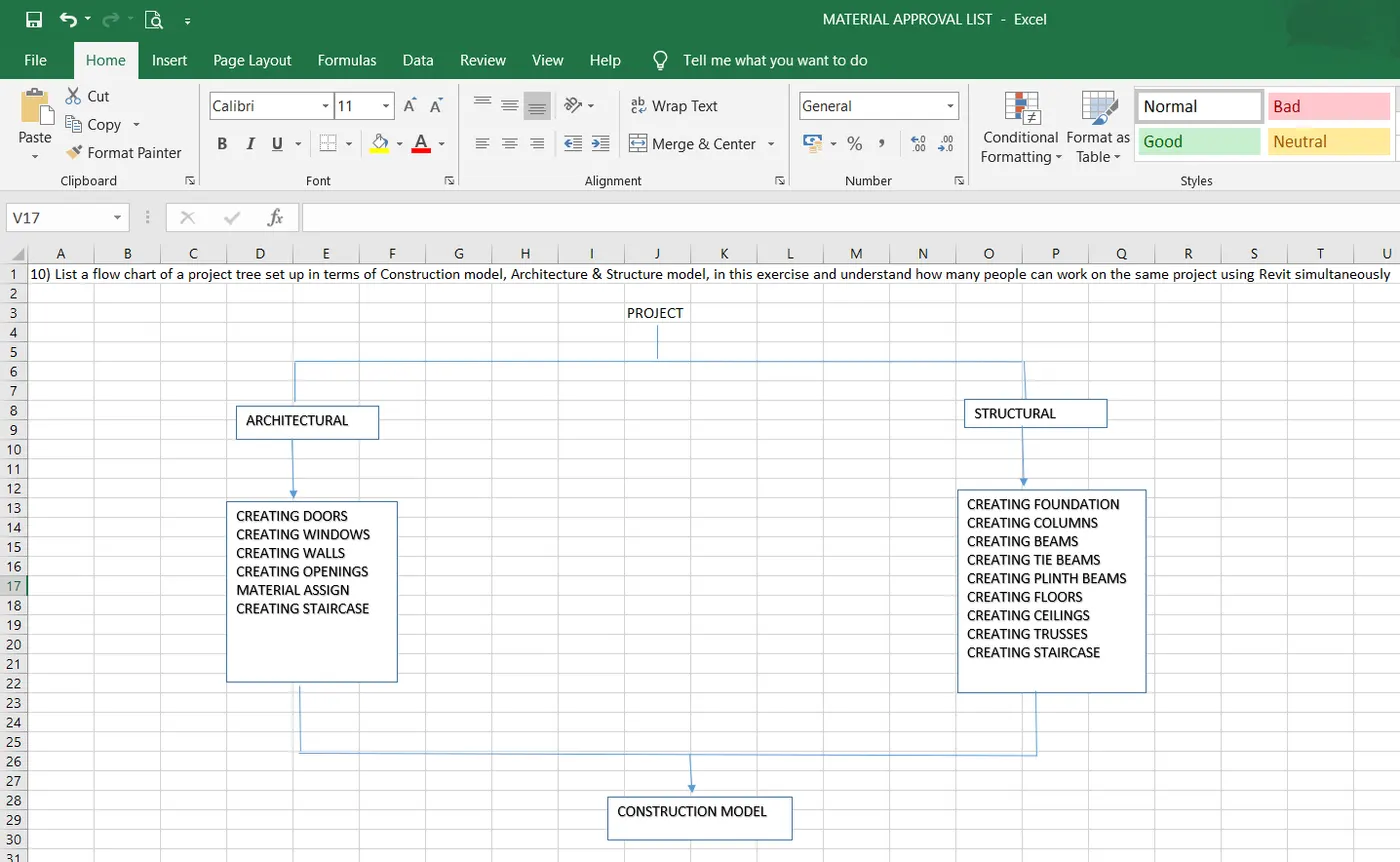
10) List a flow chart of a project tree set up in terms of Construction model, Architecture & Structure model, in this exercise and understand how many people can work on the same project using Revit simultaneously.
A)