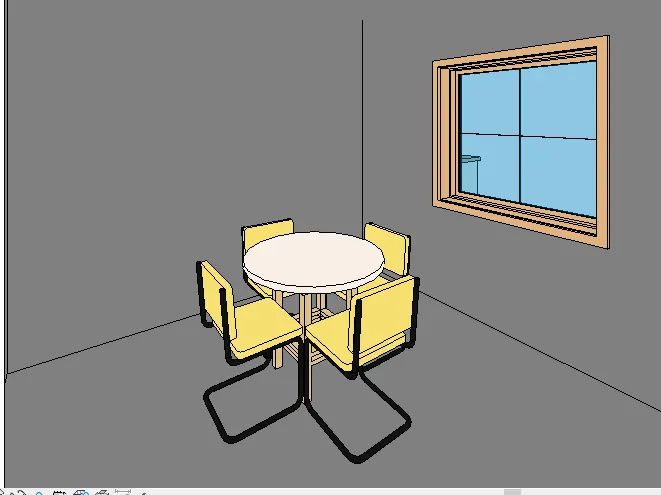
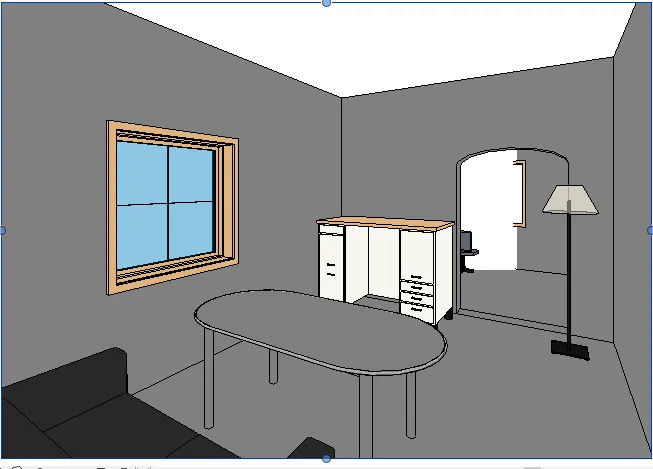
REVIT_ Plan, 3D View & Structural Drawings_Project 2
1) Select the type of structure you want to build from one of the three below
a. Multi Unit Residential Apartment
b. Office Buildings
c. School
Answer:
In this challenge am choosing Multi Unit Residential Apartment
2) Assume reasonable assumptions for geographic and location details for your project modeling. Based on assumptions and type of structure selected identify the modeling requirements from NBC
Answer:
In this challenge am planning to design my residential area in Plain area. The road width of my house layout is 60'
3) Column, Beam, Foundation, Roof and Stairs:
Aim:
To creating the Column, beam, foundation, roof and stairs in my residential unit.
Tools used:
* Collaborate
* Stairs
* Column
* Shaft
Procedure:
Step 1:
1) Open Structural template and draw horizontal and vertical grids
2) Save the file into your local computer with proper name
3) Click manage tab and choose colloborate
4) Make the file as central model
Step 2:
) Open Architectural template and draw horizontal and vertical grids
2) Save the file into your local computer with proper name
3) Click manage tab and choose colloborate
4) Make the file as central model
Step 3:
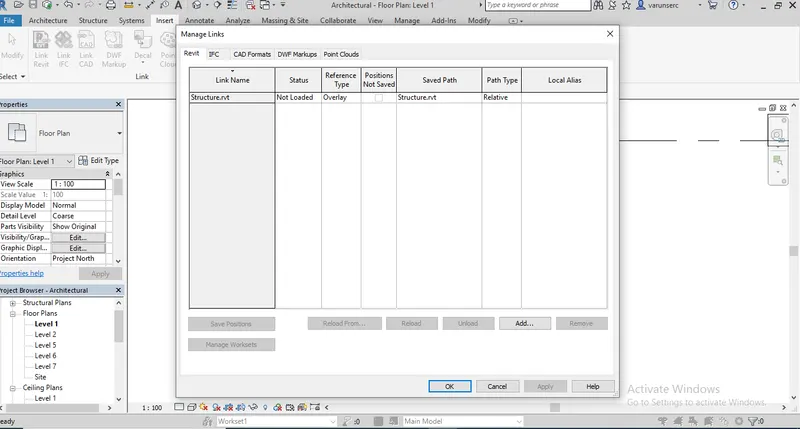
1) Open a saved architectural model and click insert tab
2) Click insert revit link and choose structural template in architectural model
3) Choose manage tab click shared coordinates then click 0' and pin point the grids
4) Now both the architectural and structural template are linked successfully
Step 4:
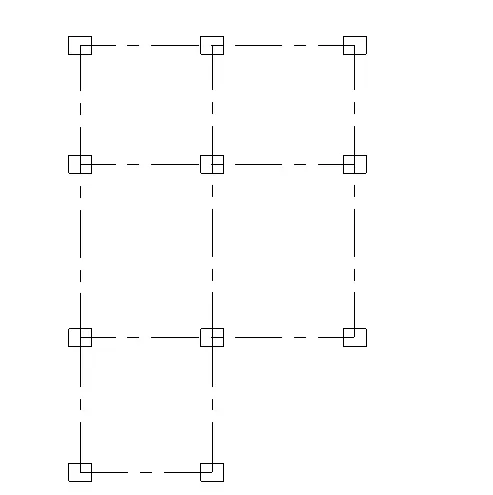
1) Click structure tab and select coloumn
2) Place the coloumn in the horizontal and vertical grids which we drew.
3) Similarly select footings and place it in the grids
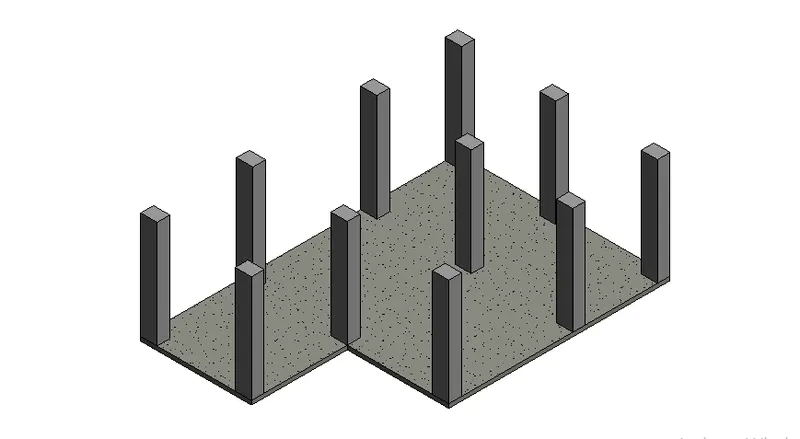
Step 6:
1) Click the coloumns and footings and choose copy in modify tab
2) Select paste and select alligned levels
3) Choose Upto roof and paste it
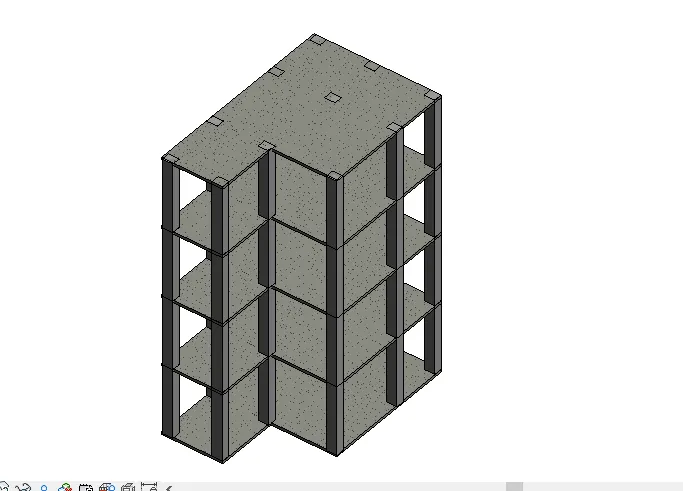
Step 7:
1) Click Architectural tab and choose stairs
2) Click Run and choose the Runwidth length
3) Draw the stair wherever you want
4) After drawing the stair click copy and paste it into the alligned levels
5) Click Architectural tab and choose Shaft tool
6) Choose draw line option and draw the shaft area around the stair which we drew
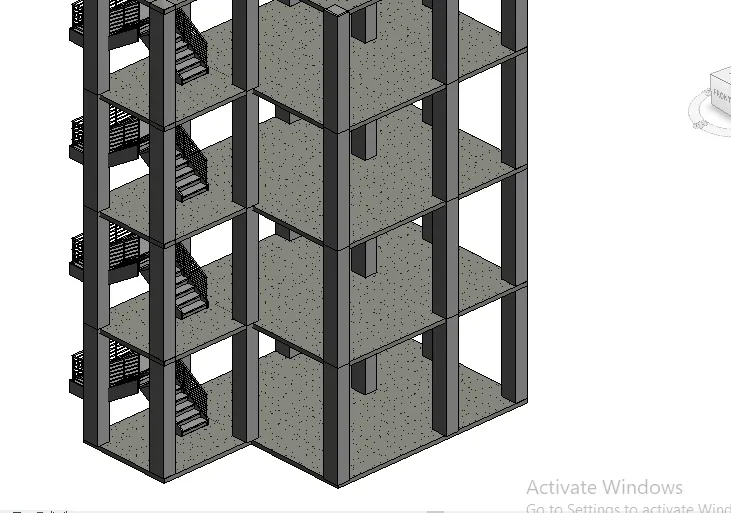
Since shaft is automatically changes in all levels we need not use copy paste options for shaft tool
Step 9:
1) Select Architectural tab and choose Roof
2) Choose Roof by footprint option
3) Select Roof level and draw the roof
4) Put 0 in slope degree value
Architectural:
Aim:
To creating a Architectural components, Sheets and make exterior finishings
Step 1:
1) Click architectural component and choose component option
2) Choose Place a component option and click load family
3) Import the necessary architectural components in revit file
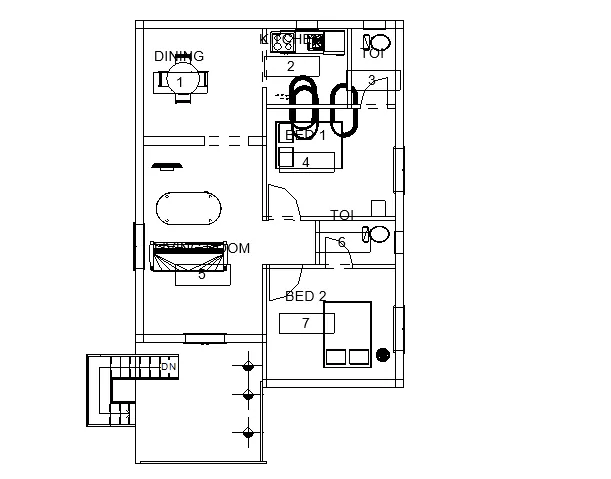
Step 2:
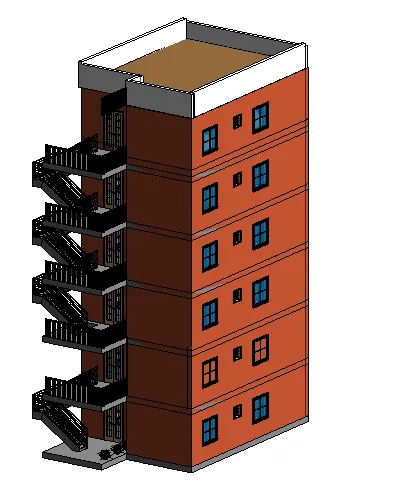
1) Select Exterior walls and choose material type
2) Choose the fancy finish type and apply on the wall layer
3) And also glass facade for our residential unit
3) Click ok
Step 3:
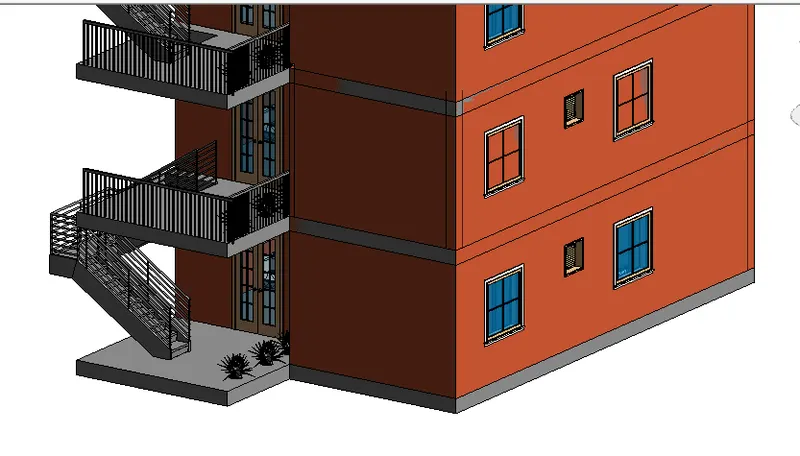
1) Place the topographical components like plants wherever necessary
2) Import it from local library and place it
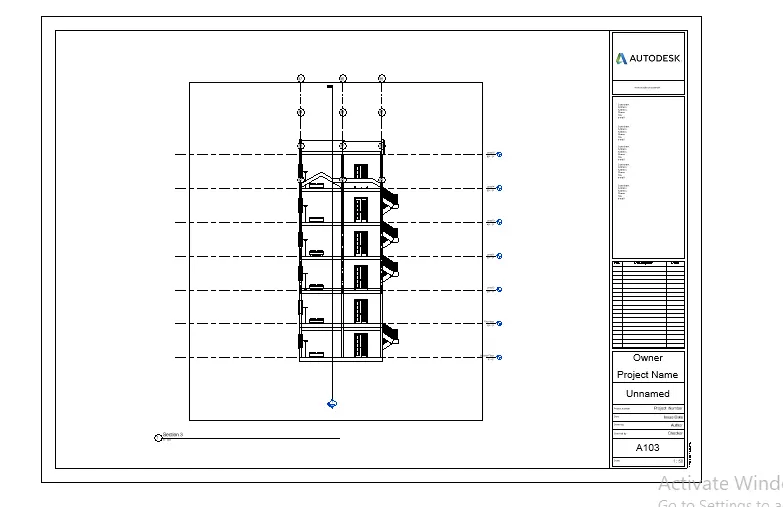
Sheets:
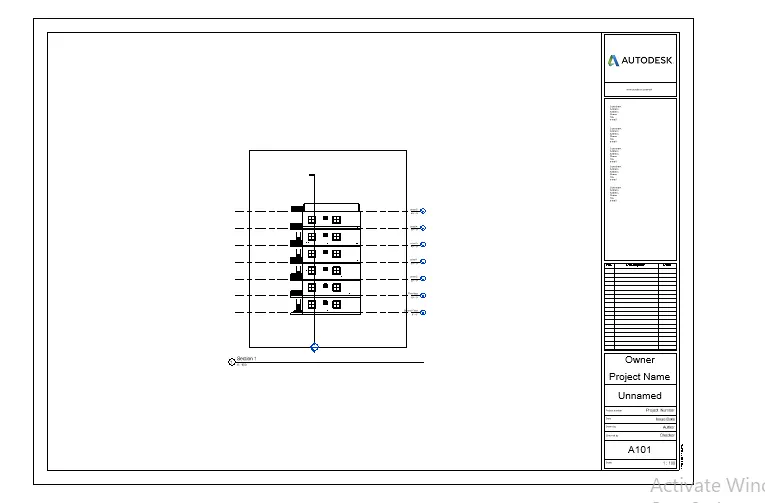
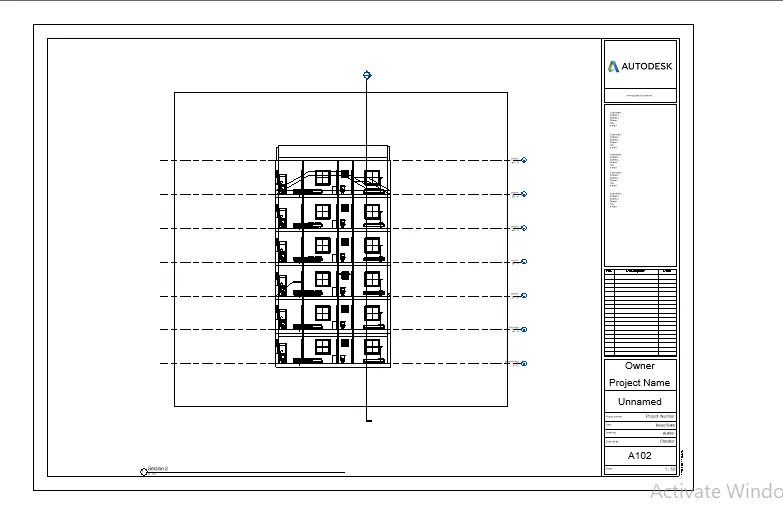
1) Go to view tab click Sheets
2) Choose the views which we want to make sheet
Render:
1) Type RR for rendering
2) Select the views you want to be render
3) Make visual settings of your interior rooms and start rendering