REVIT_Naviswork_Project- 4
1.Question:Use the Architecture/ Structure Project file developed by you in Week 6 to 8. Export the Revit architecture and structure model to Navisworks Cache file following the export settings discussed in class.
Ans) AIM: To export the Revit architecture and structure model to Navisworks Cache file.
TOOLS REQUIRED:
-> REVIT FILE -> File -> Export -> Navisworks Cache File.
-> Stimulate
PROCEDURE:
- Firstly open the structural revit file and now open the file option.
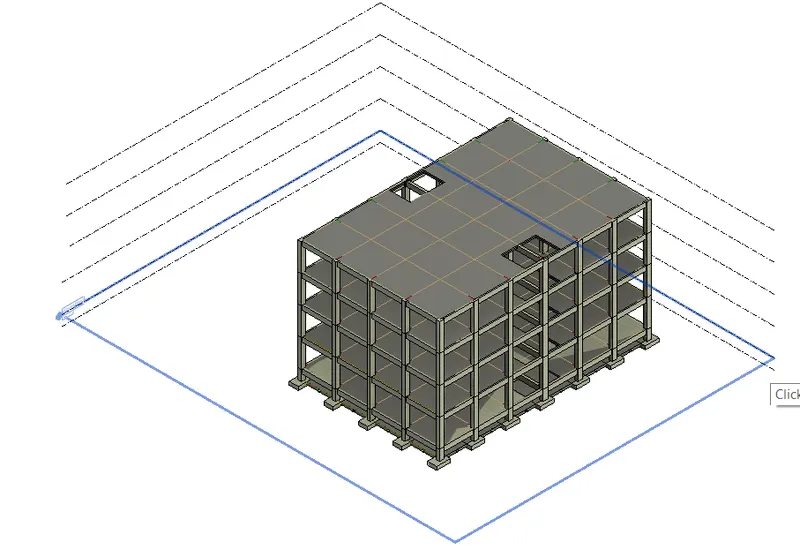
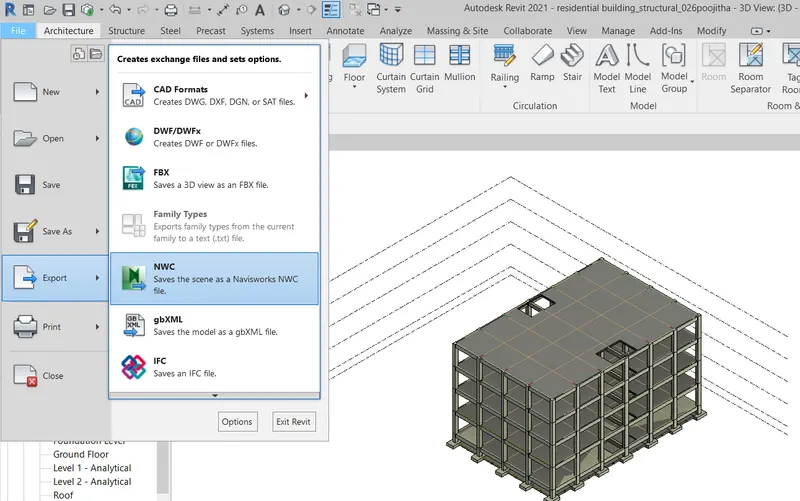
- Now select the export option there and click on it and you will be directed to another dialog box.
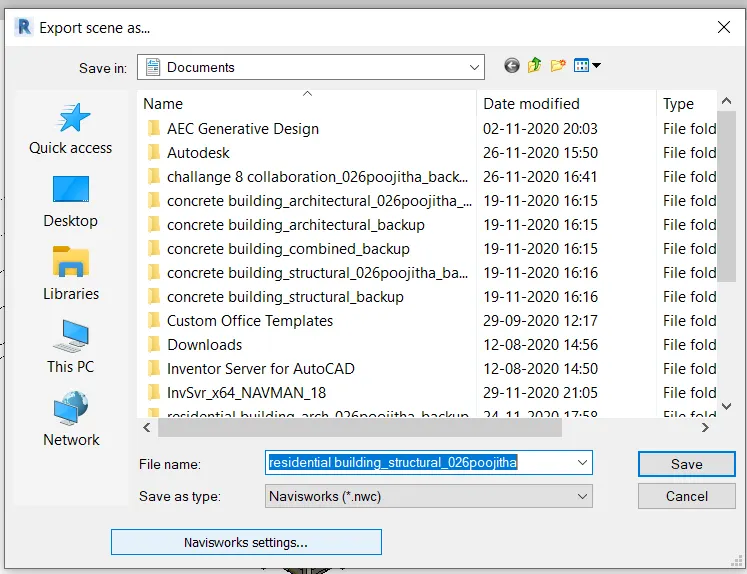
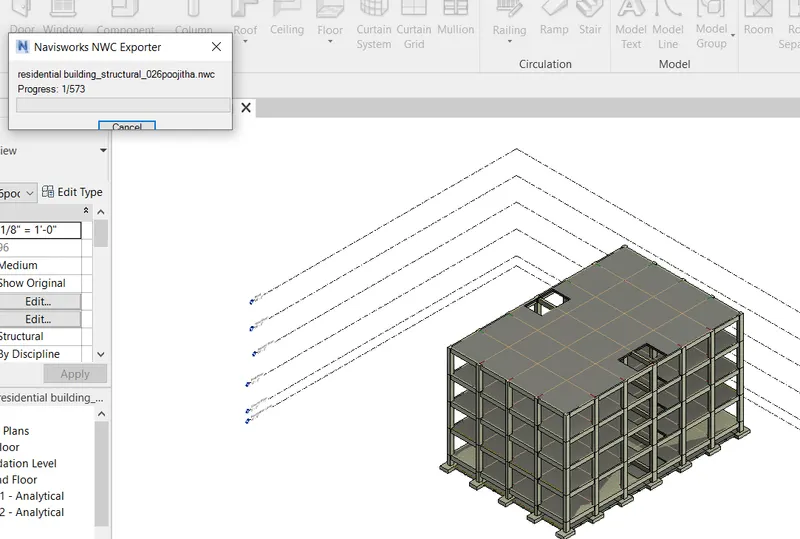
- Now select Navisworks Cache file and we will be again directed to a dialog box.
- There you need to save the file with the Navisworks Cache file extention.
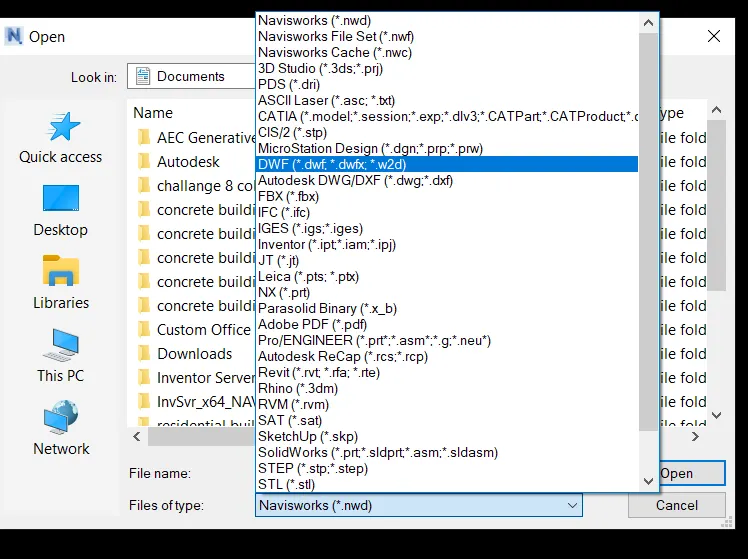
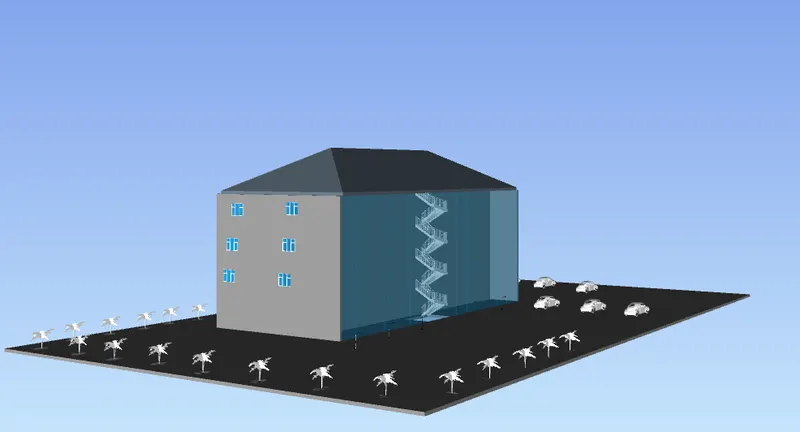
- Do the same for exporting the architectural file and record it.
- Now open the Navisworks Cache file there open the extention file that you have previously saved.
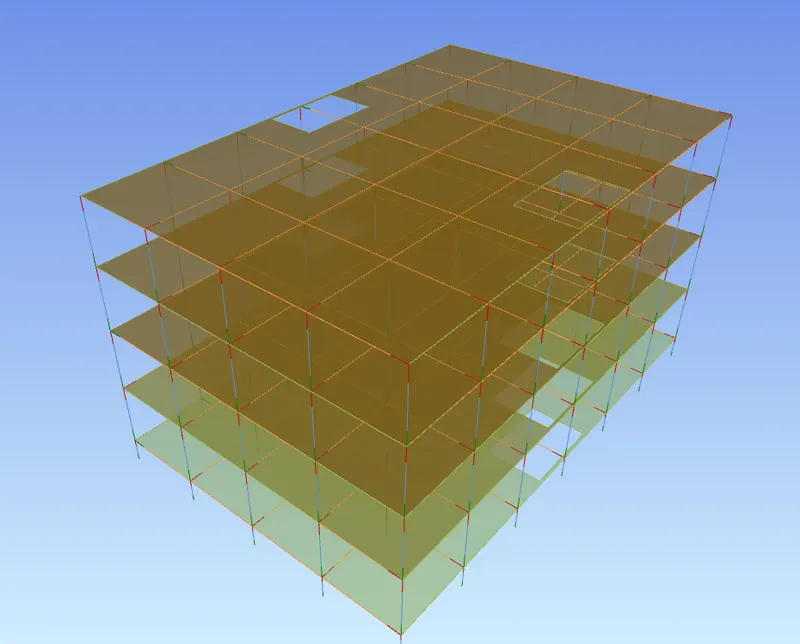
RESULT:
Henece exported the Revit architecture and structure model to Navisworks Cache file.
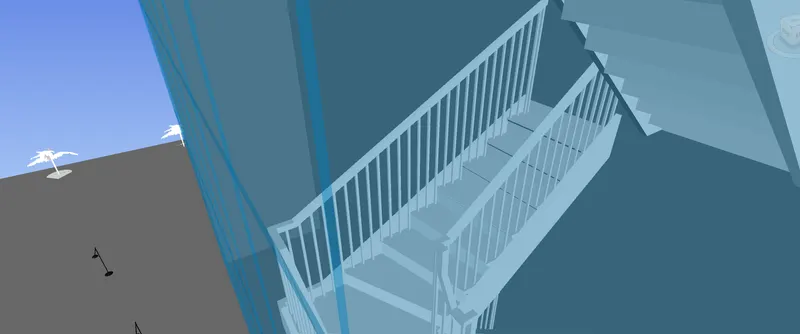
2.Question: Use Navigate Tool to walk around the model and walk through the rooms created and record your moving as animation in your Navisworks file.
Ans) AIM: To walk around the model and walk through the rooms created and record the moving as animation in Navisworks file using navigate tool.
TOOLS REQUIRED:
-> View point tool bar -> navigation Tool -> walk
-> Stimulate
PROCEDURE:
- Firstly open the architectural revit file and now open the file option.
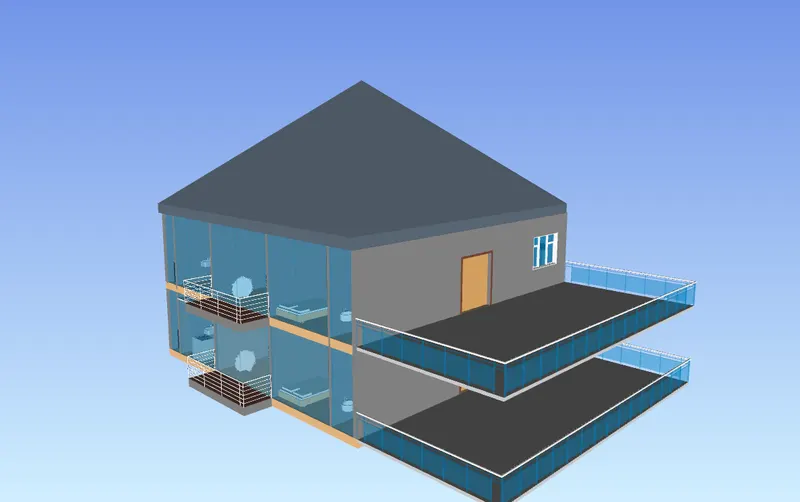
- Now select the export option there and click on it and you will be directed to another dialog box.
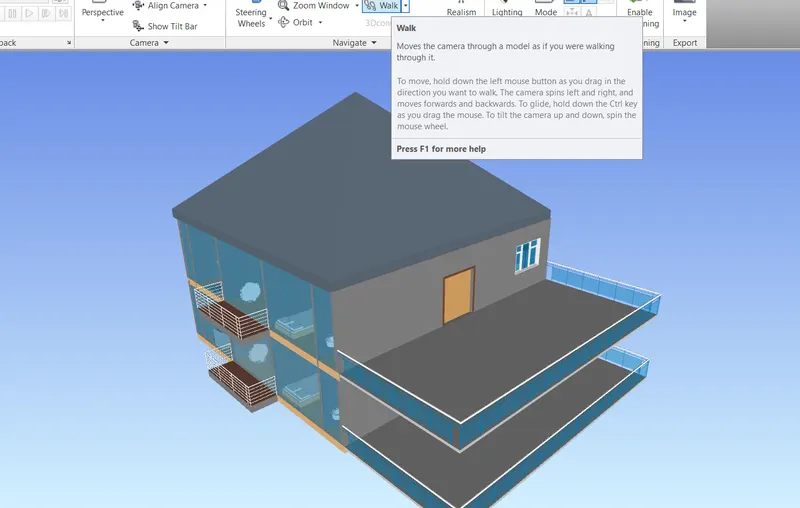
- Now select Navisworks Cache file and we will be again directed to a dialog box.
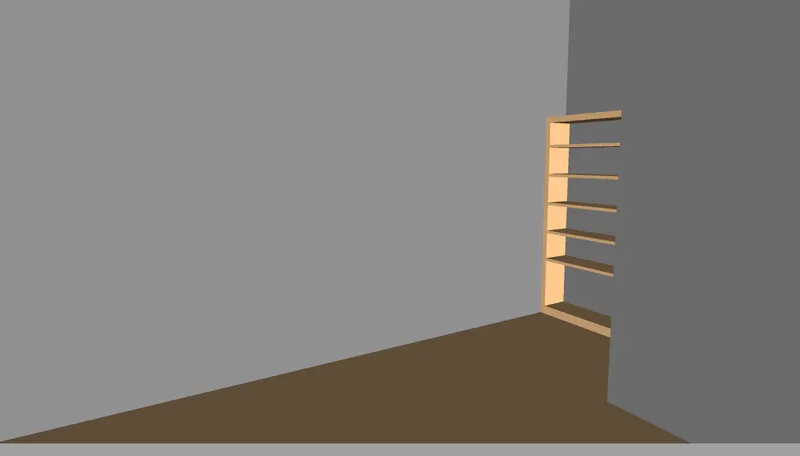
- There you need to save the file with the Navisworks Cache file extention.
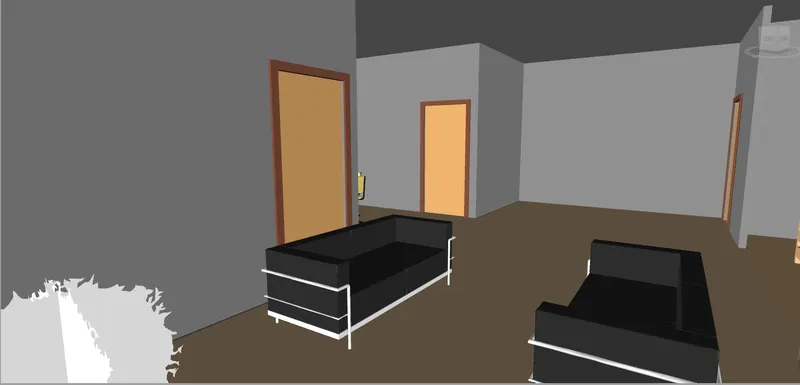
- Now open the view point tool bar and under the navegate tool box select the walk icon.
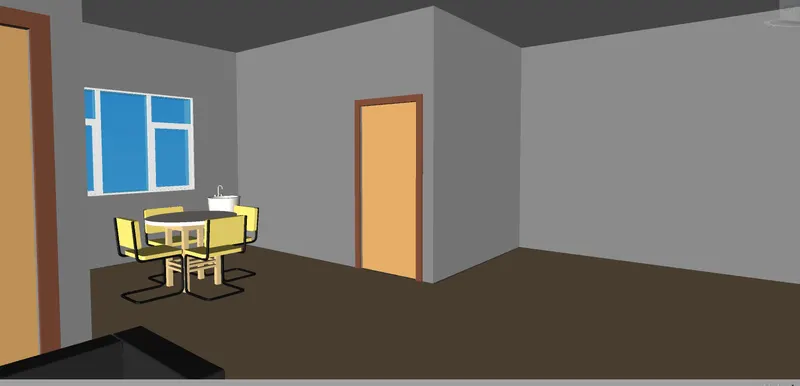
- Now with the help of that icon you can walk through the place and view it.
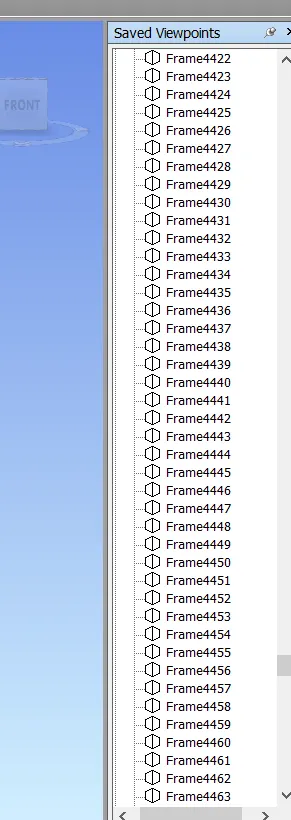
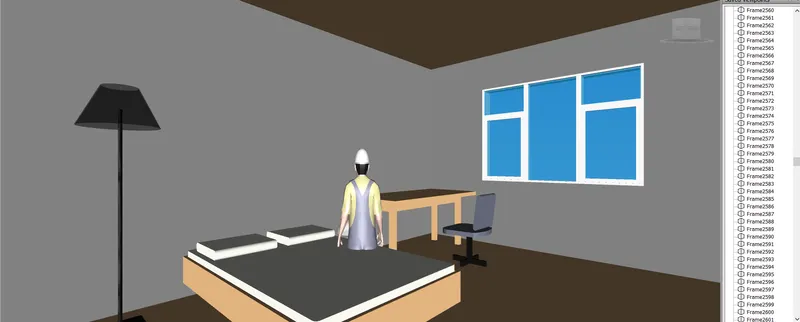
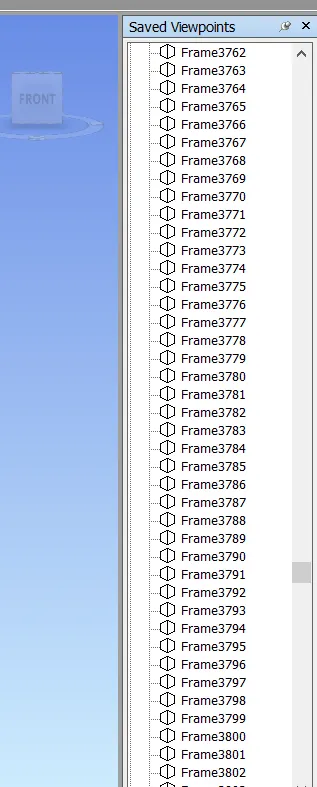
- While moving record it with the record option and on the left side of the screen we can view the recording in multiple frames.
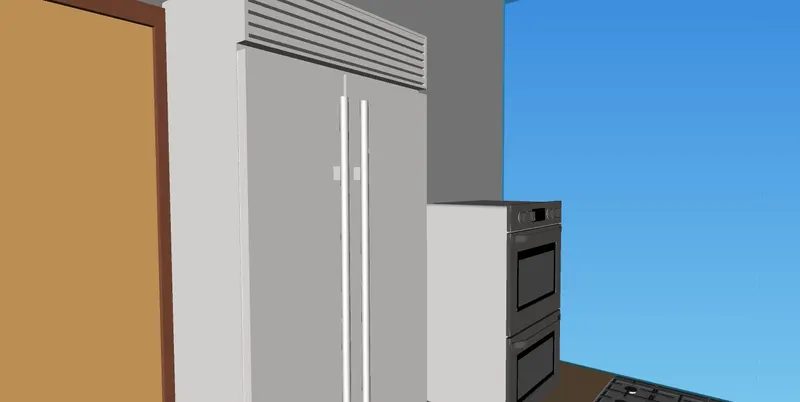
RESULT:
Hence walking around the model and recording it into frames is done successfully.
3.Question:Use Navigate tool to use Realism feature to walk through the model and record your moving as animation in Navisworks file.
Ans)AIM:To use Realism feature to walk through the model and record the moving as animation in Navisworks file.
TOOLS REQUIRED:
-> View point tool bar -> navigation Tool -> Realism
-> Stimulate
PROCEDURE:
- Firstly open the architectural revit file and now open the file option.
- Now select the export option there and click on it and you will be directed to another dialog box.
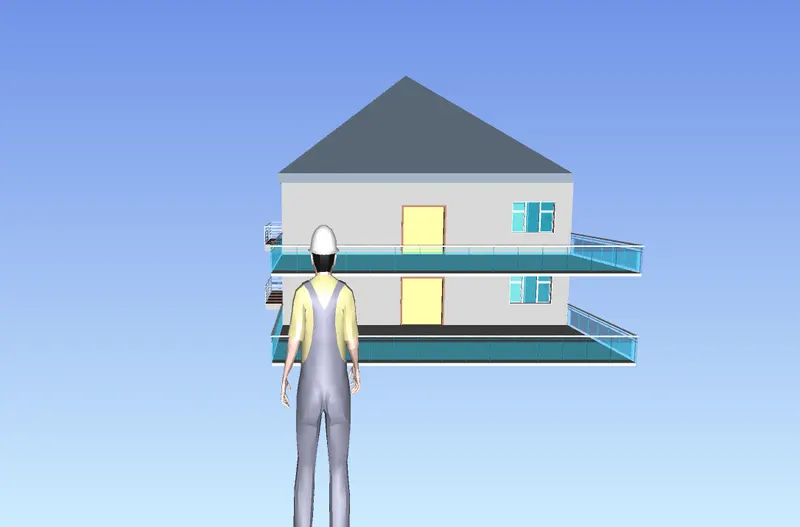
- Now select Navisworks Cache file and we will be again directed to a dialog box.
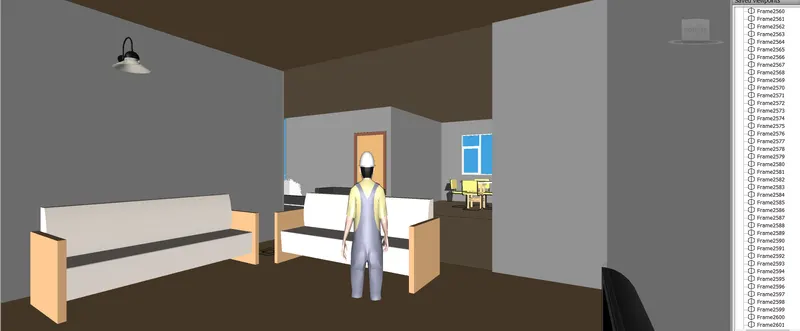
- There you need to save the file with the Navisworks Cache file extention.
- Now open the view point tool bar and under the navegate tool box select the realism icon.
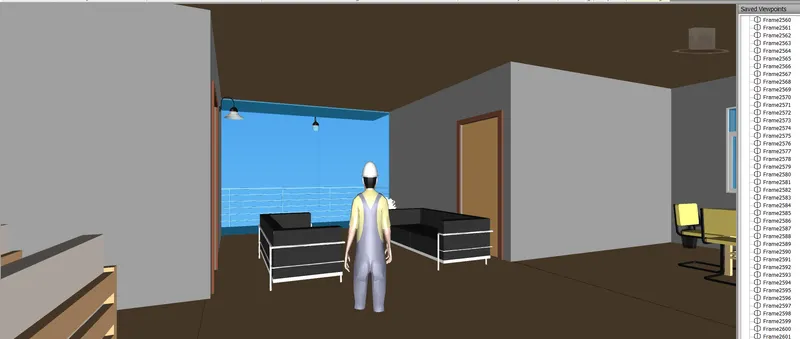
- The best part of this icon is that we can see a third person moving in the direction we move aqnd view a place as if a real time person is moving around the place.
- Now with the help of that icon you can walk through the place and view it.
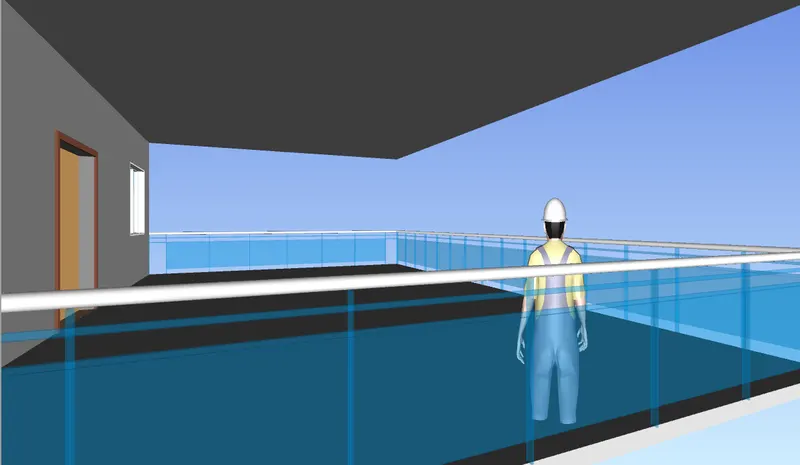
- While moving record it with the record option and on the left side of the screen we can view the recording in multiple frames.
RESULT:
Hence by using Realism feature to walk through the model and recorded the moving as animation in Navisworks file.
4.Question: Embed both architecture and structure *.nwc file to your Navisworks file. Create a clash detection test between the two models
a. Run the Clash Detection Test
b. Study the clashes between the two models
c. List which of the clashes could be approved
d. List which of the clashes could be neglected ( will be taken care later)
e. List which of the clashes can be resolved
f. Save the results after color coding the clashes to the Navisworks file
g. In case of resolution annotate the clash and save the view to defined views in Navisworks
Ans)AIM: To create a clash detection test between the two models and studying it.
TOOLS REQUIRED:
-> Clash Detection
-> Run test
PROCEDURE:
- Firstly open the architectural revit file and now open the file option.
- Now select the export option there and click on it and you will be directed to another dialog box.
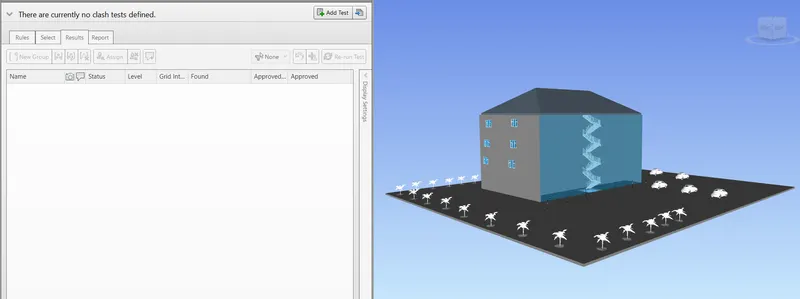
- Now select Navisworks Cache file and we will be again directed to a dialog box.
- There you need to save the file with the Navisworks Cache file extention.
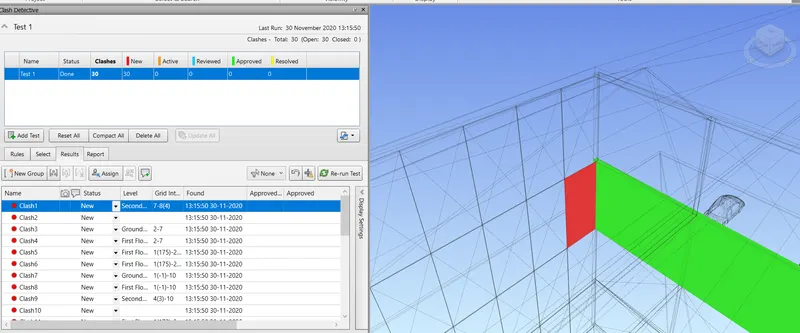
- Now select the Clash Detection option in the home tab.
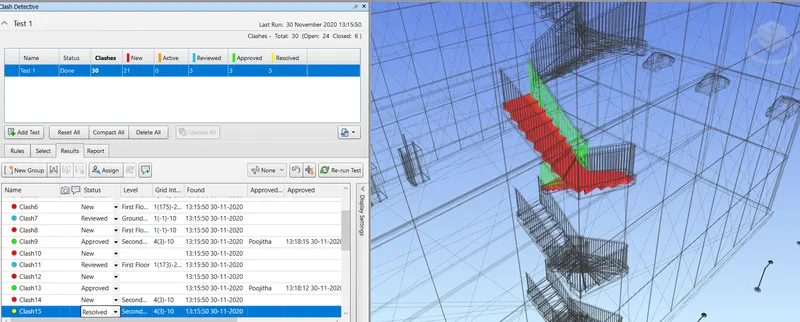
- Now you will be directed to a dialog box containing many features.
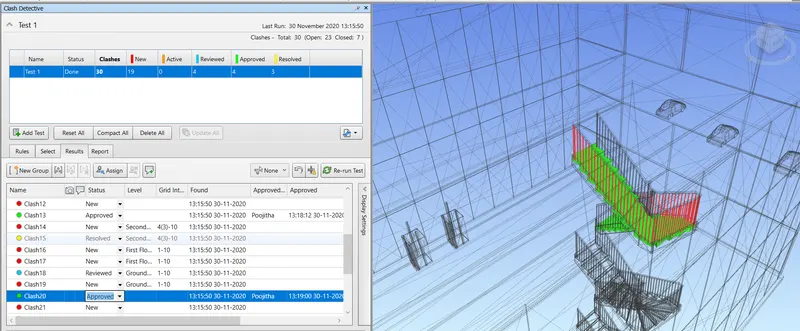
- Now under the clash detection dialog box we can find the options like add test,run test,status.
- You need to clcik the run test option to find the clashes.
- After the test you can study the clashes.
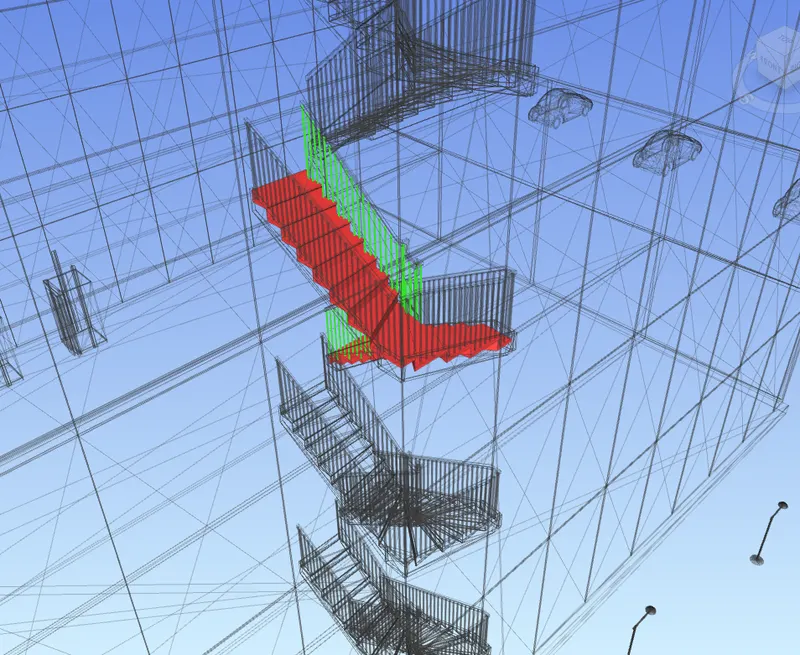
c. Clashes that could be approved are:
- At the time of the construction this clash will not be appared.
- The clash colour turns into green when it is approved.
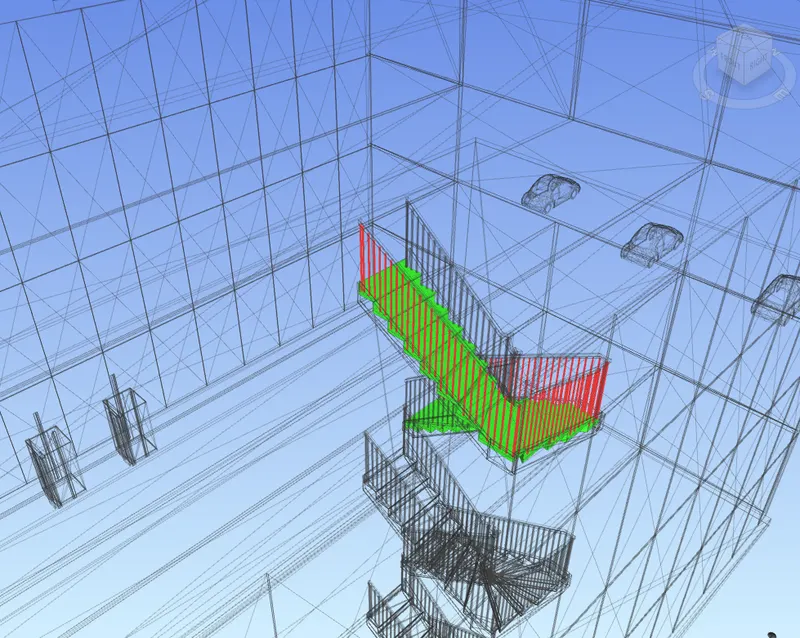
d.Clashes that could be reviewed:
- By changing the position we can avoid the clashes.
- The clash colour turns into blue when it is reviewed.
e. Clashes that can be resolved:
- Changing the model boundary conditions we can exclude these from clash detection test.
- The clash colour turns into yellow when it is resloved.
f. The result has been saved after color coding the clashes to the Navisworks file.
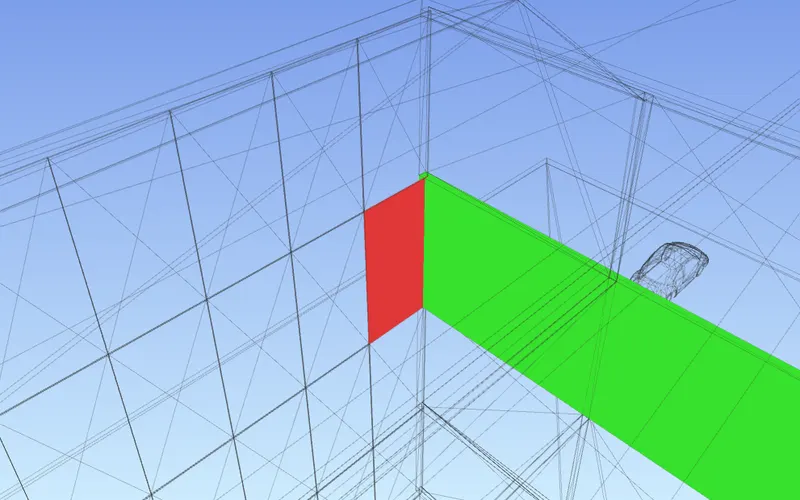
g. The clashes have been annotated and saved the view to defined the views in Navisworks.
RESULT:
Hence the clash detection test between the two models has been done successfully.
5.Question:Using the Timeliner feature in Navisworks prepare a schedule for the project developed in week 6 to 8 by adding reasonable assumptions for task start date and end date and simulate the task completion as a visual simulation. Record it and save the timeline simulation to Navisworks file
Ans) AIM: To Use Timeliner feature in Navisworks and prepare a schedule for the project developed.
TOOLS REQUIRED:
-> Timeliner
-> Section Tree
-> Stimulate
PROCEDURE:
- Firstly open the architectural revit file and now open the file option.
- Now select the export option there and click on it and you will be directed to another dialog box.
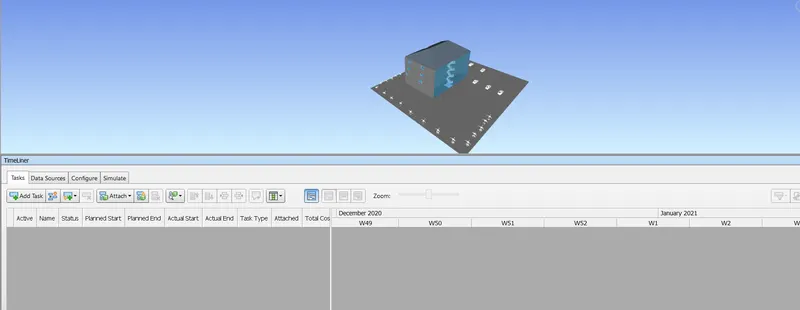
- Now select Navisworks Cache file and we will be again directed to a dialog box.
- There you need to save the file with the Navisworks Cache file extention.
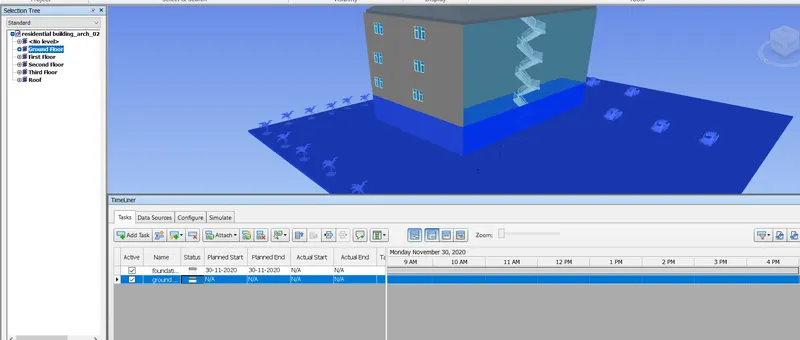
- Now select the Timeliner option in the home tab.
- Now you will be directed to a dialog box containing many features.
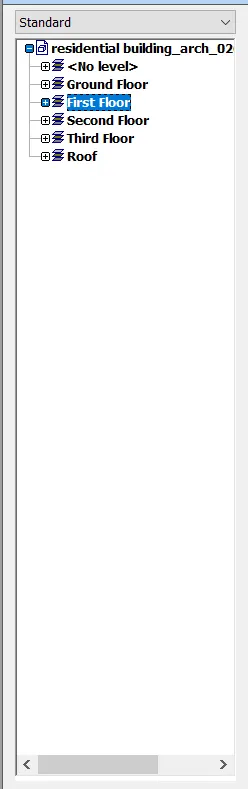
- Now simultaneously open the section tree in the same home tab.
- Now you can see the file name that you have brought into now open that and you can see the categories such as first floor,second floor etc.
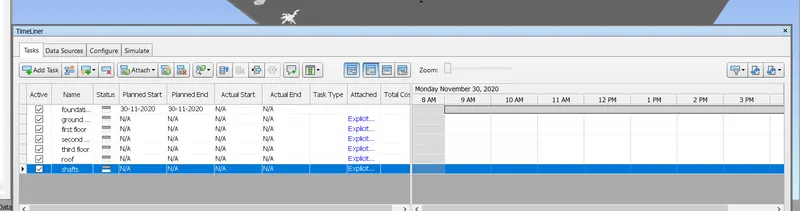
- Now you can see the file name that you have brought into now open that and you can see the categories such as first floor,second floor etc.
- Now under the clash detection dialog box we can find the options like add task,attach,planned start,planned end,actual start and actual end.
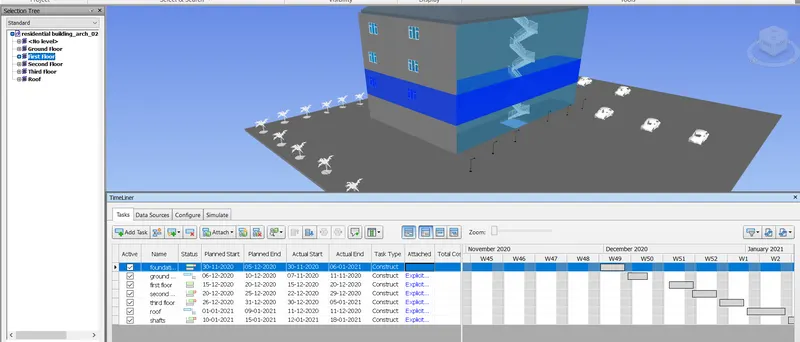
- You need to modify the dates accordingly and now with the help of attach,attach the files to the task and update the original dates.
- Now click on stimulate to record the task.
- Now SAVE the project.
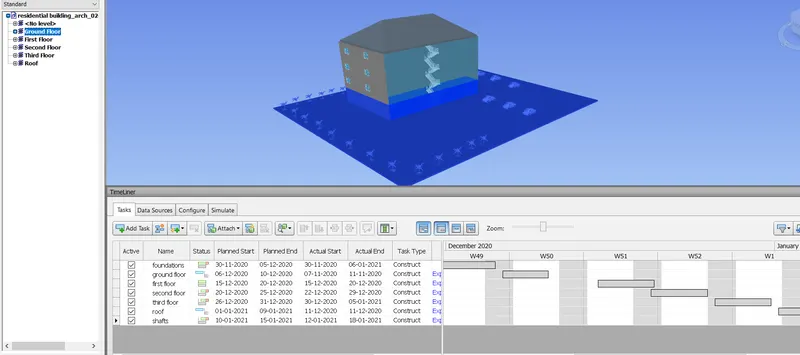
RESULT:
Hence the Timeliner feature in Navisworks was used in preparing the schedule for the project developed.