REVIT_Introduction to REVIT_WEEK1
1.AIM:To create a project using a architectural template.
TOOLS REQUIRED:
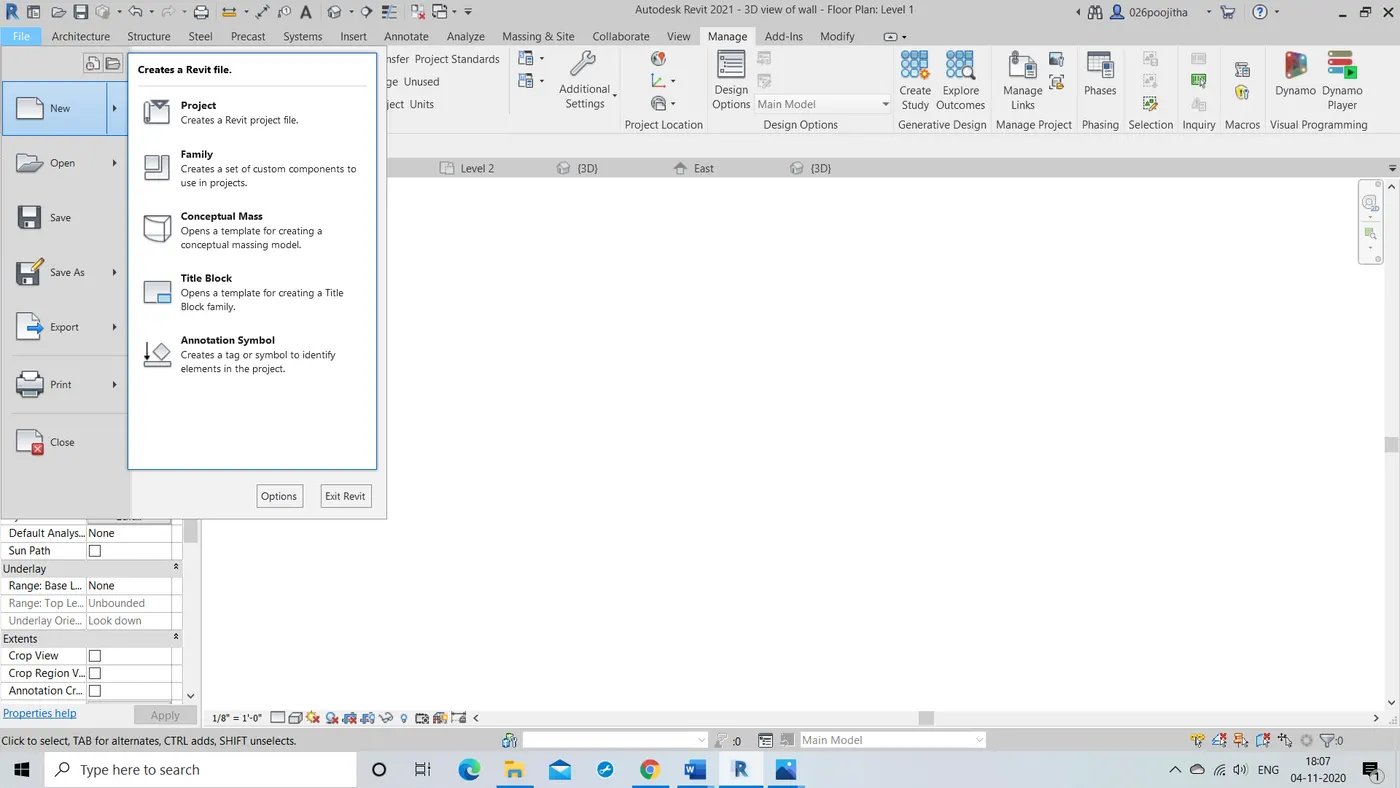
click Revit --> New -->Project icon
PROCEDURE:
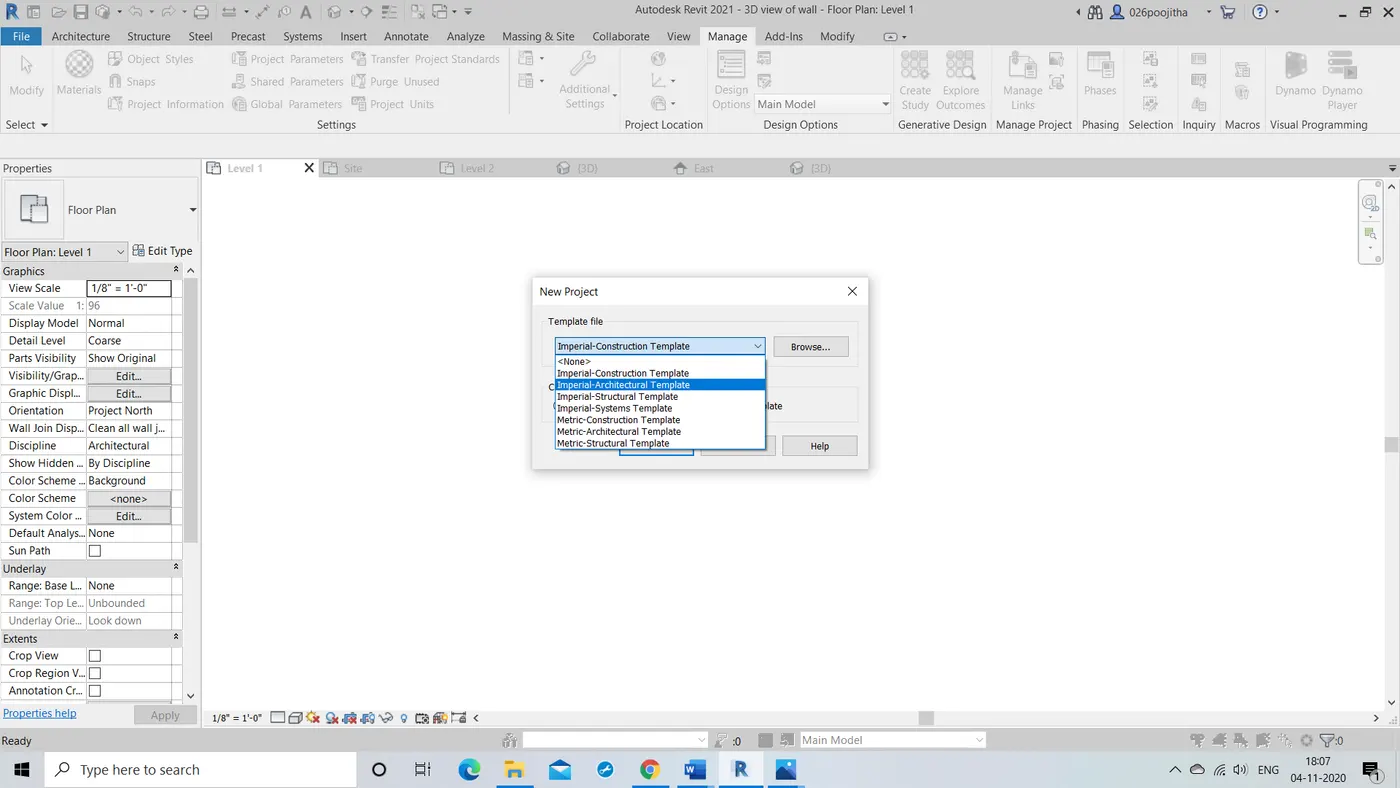
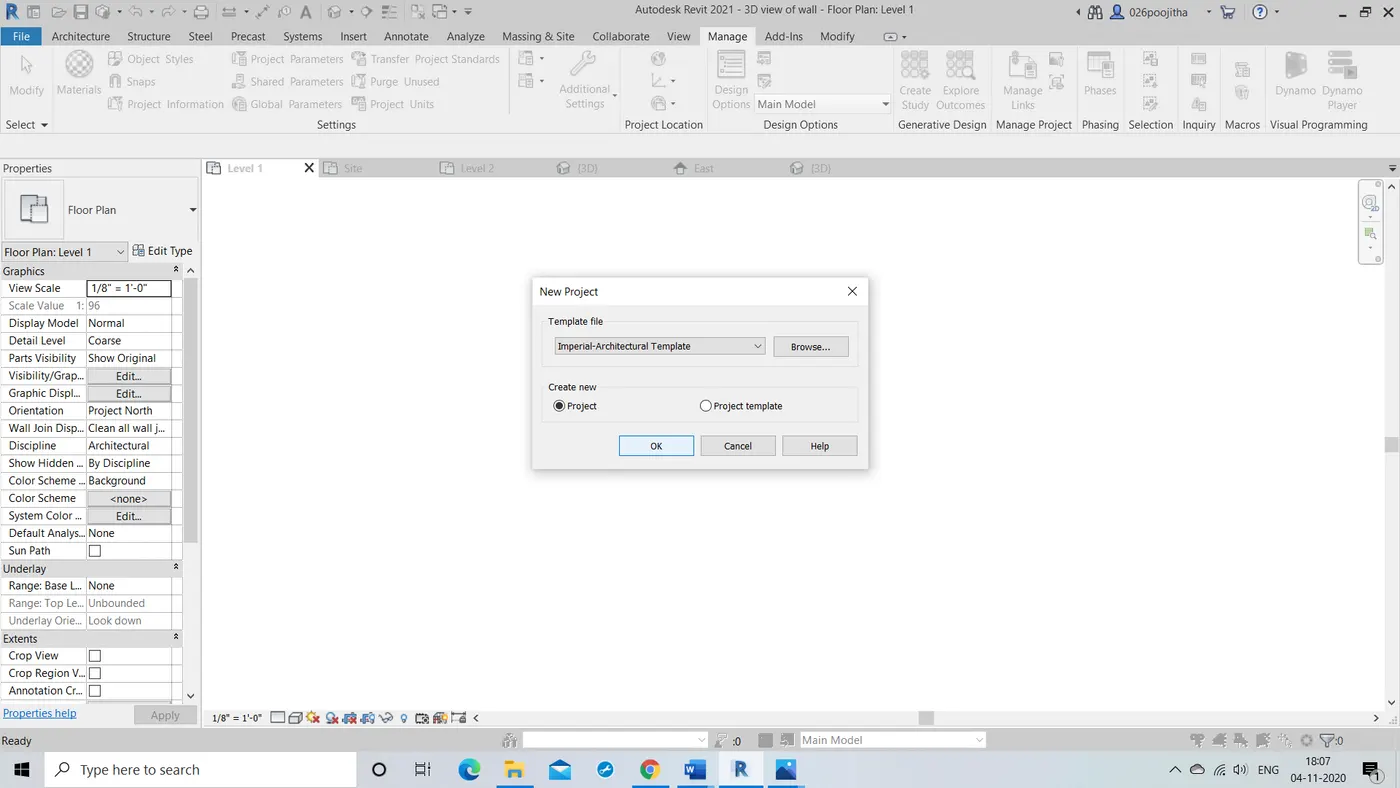
- In the new project dialog, under architectural template file, we need to do the following:
- Select the architectural template from the list.
- Click browse and navigate to the desired template and open it.
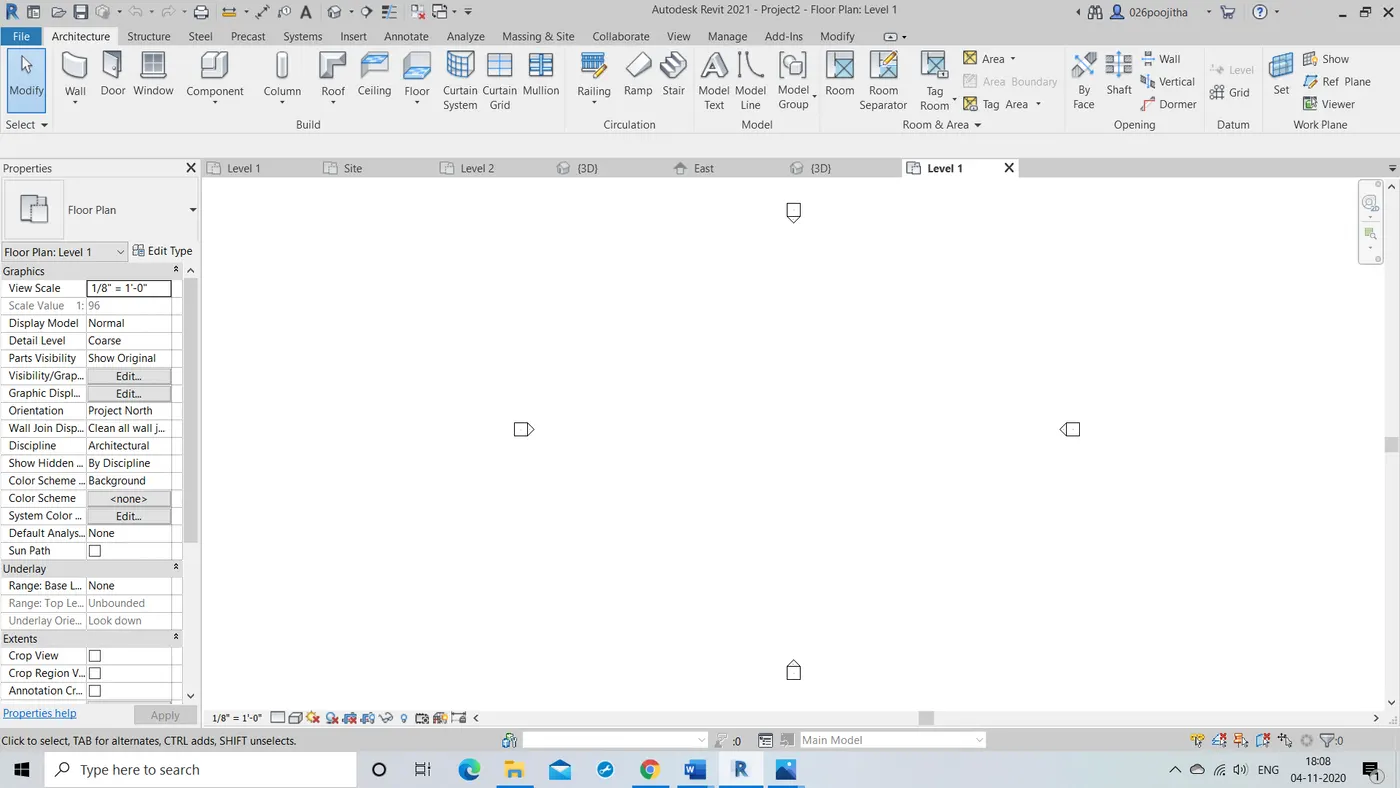
- For creating new project, click project and name the project accordingly click OK.
2.AIM:To save a new project file in the revit
TOOLS REQUIRED: file and save icons.
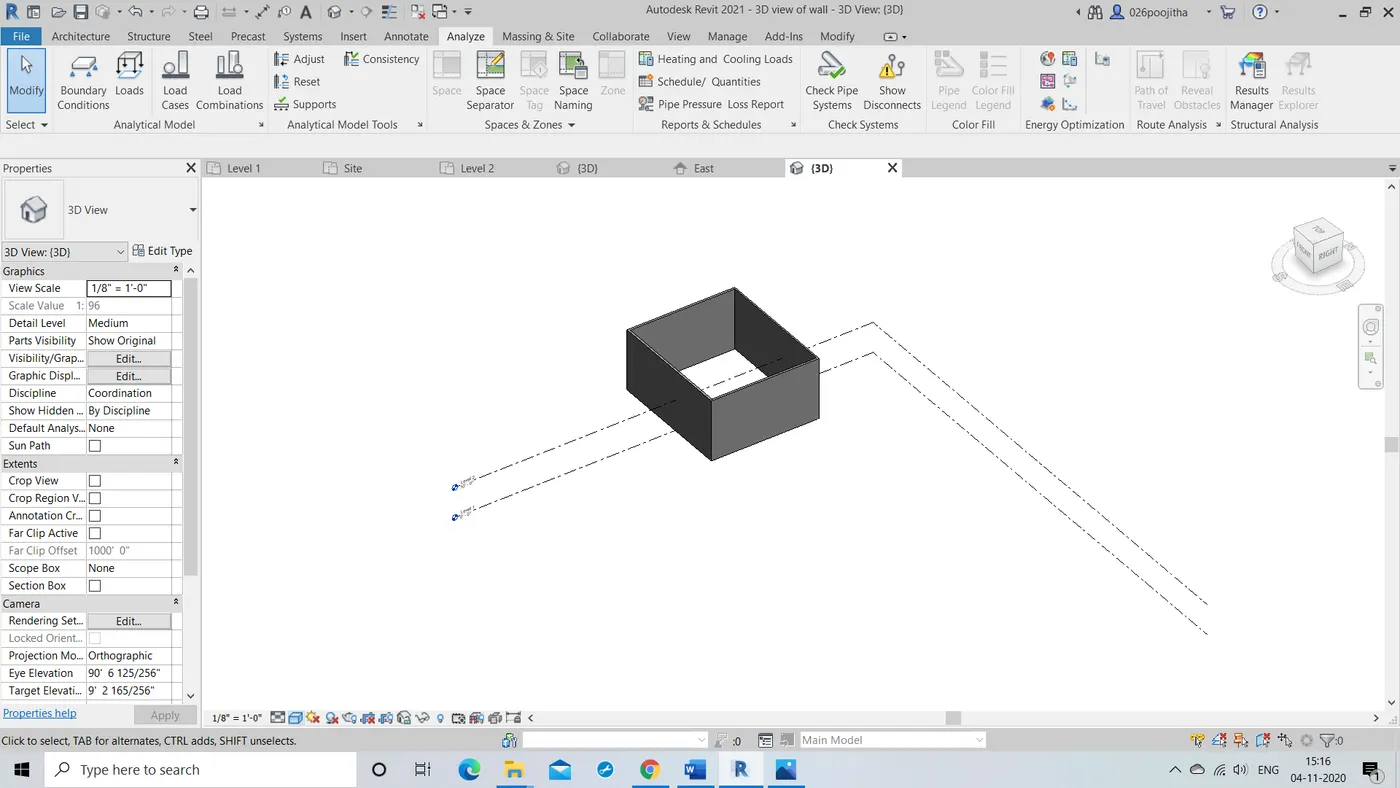
PROCEDURE:
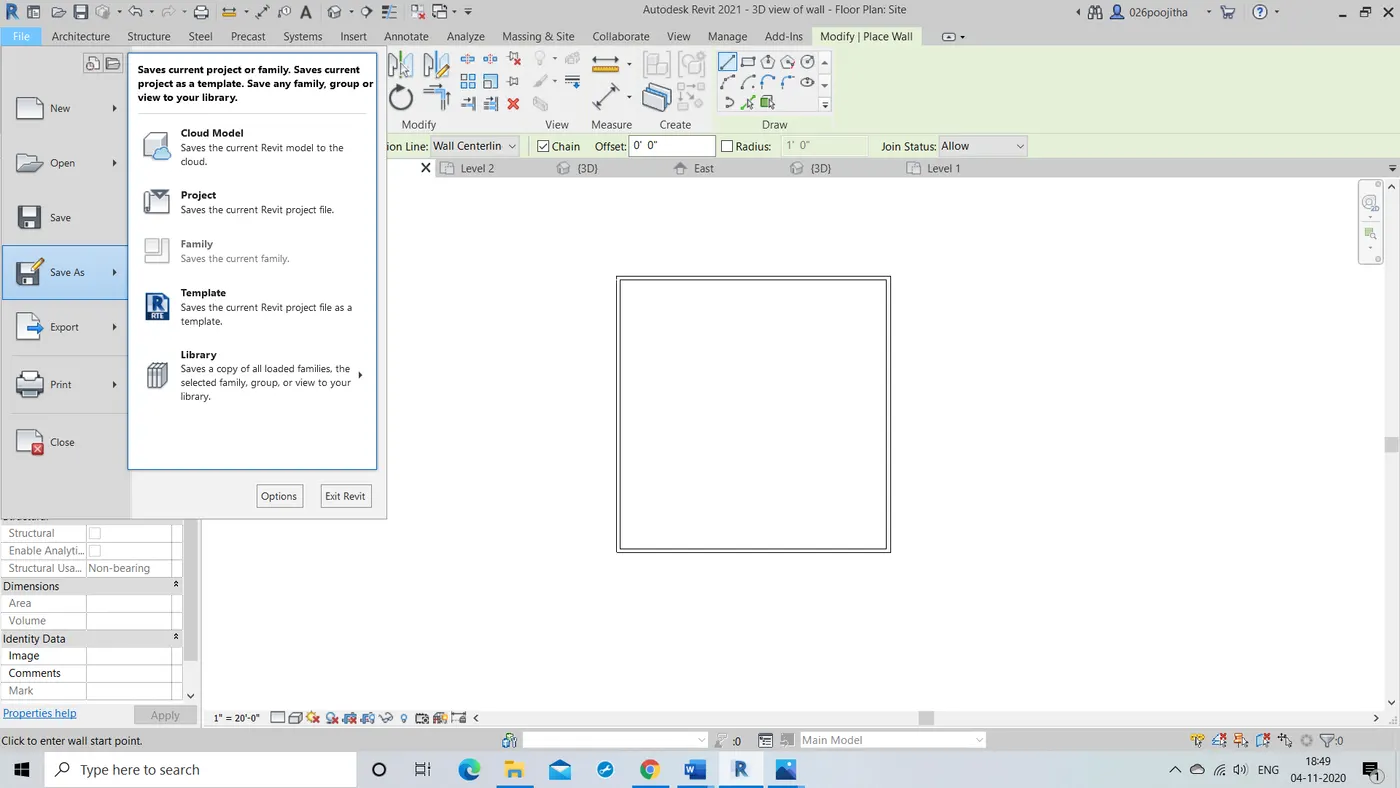
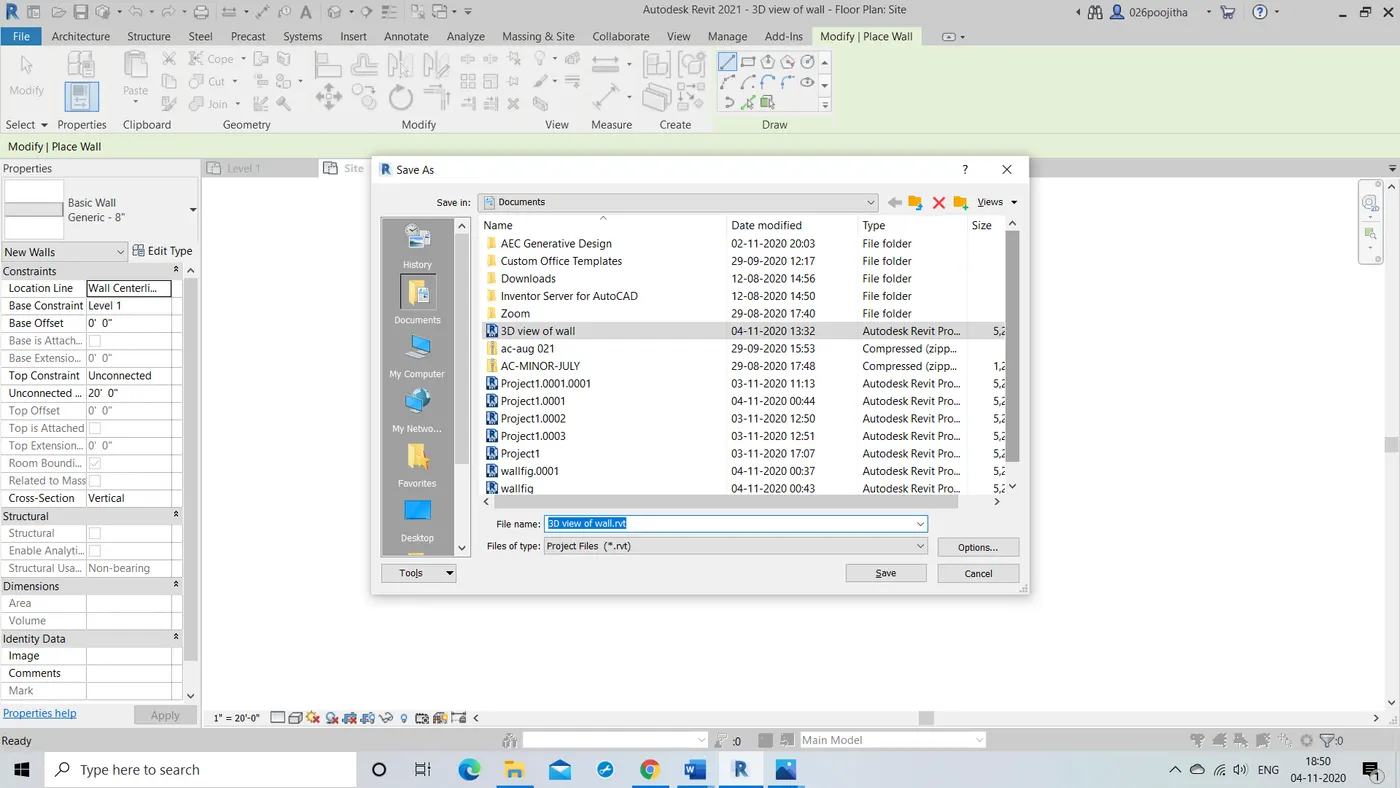
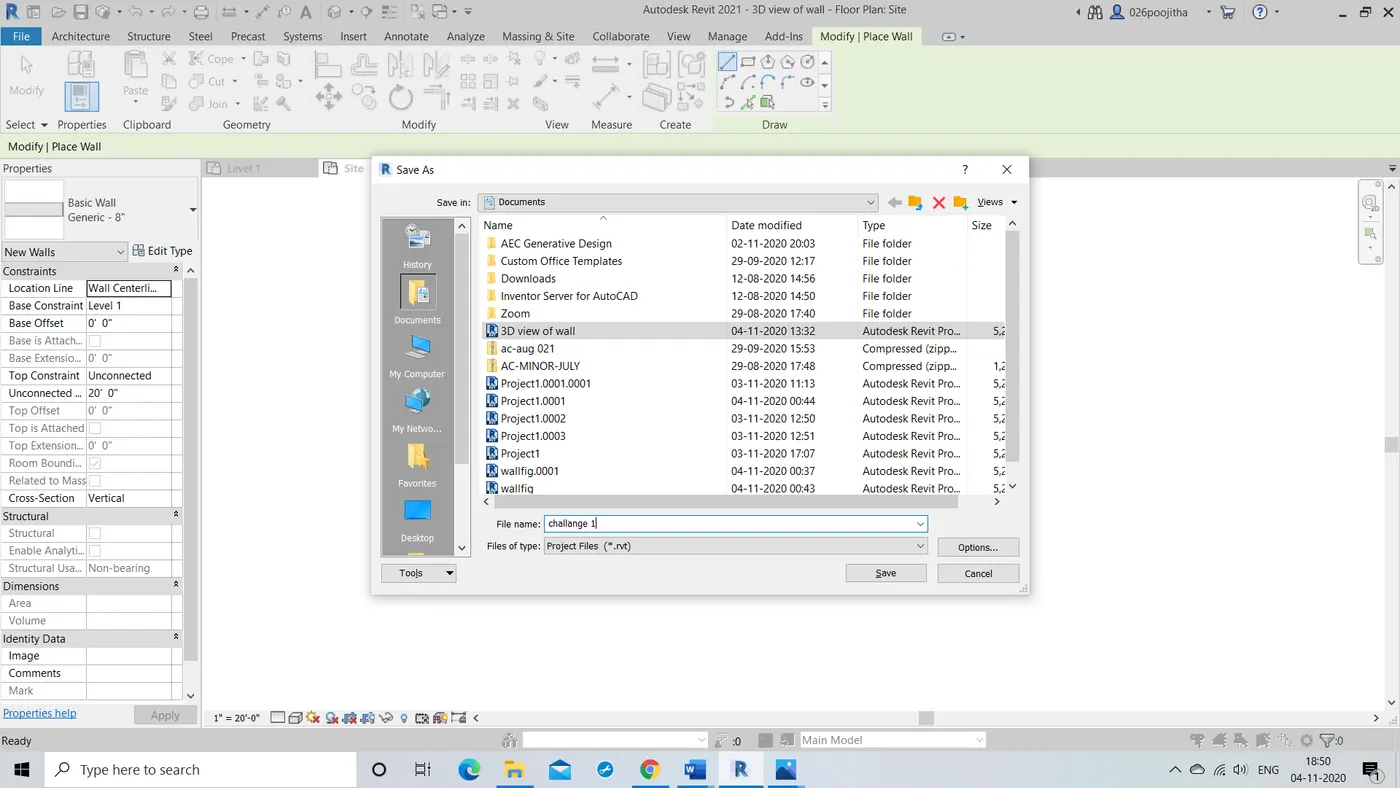
- In the file tab, place the cursor on the new and select the desired project that you wanted to save and click on save as and select the location that you wanted to place.
- Either by the above step we can save the file or simply ctrl+s is enough to save .
3.AIM:To draw a wall
TOOLS REQUIRED: Architecture tool,Wall tool
PROCEDURE:
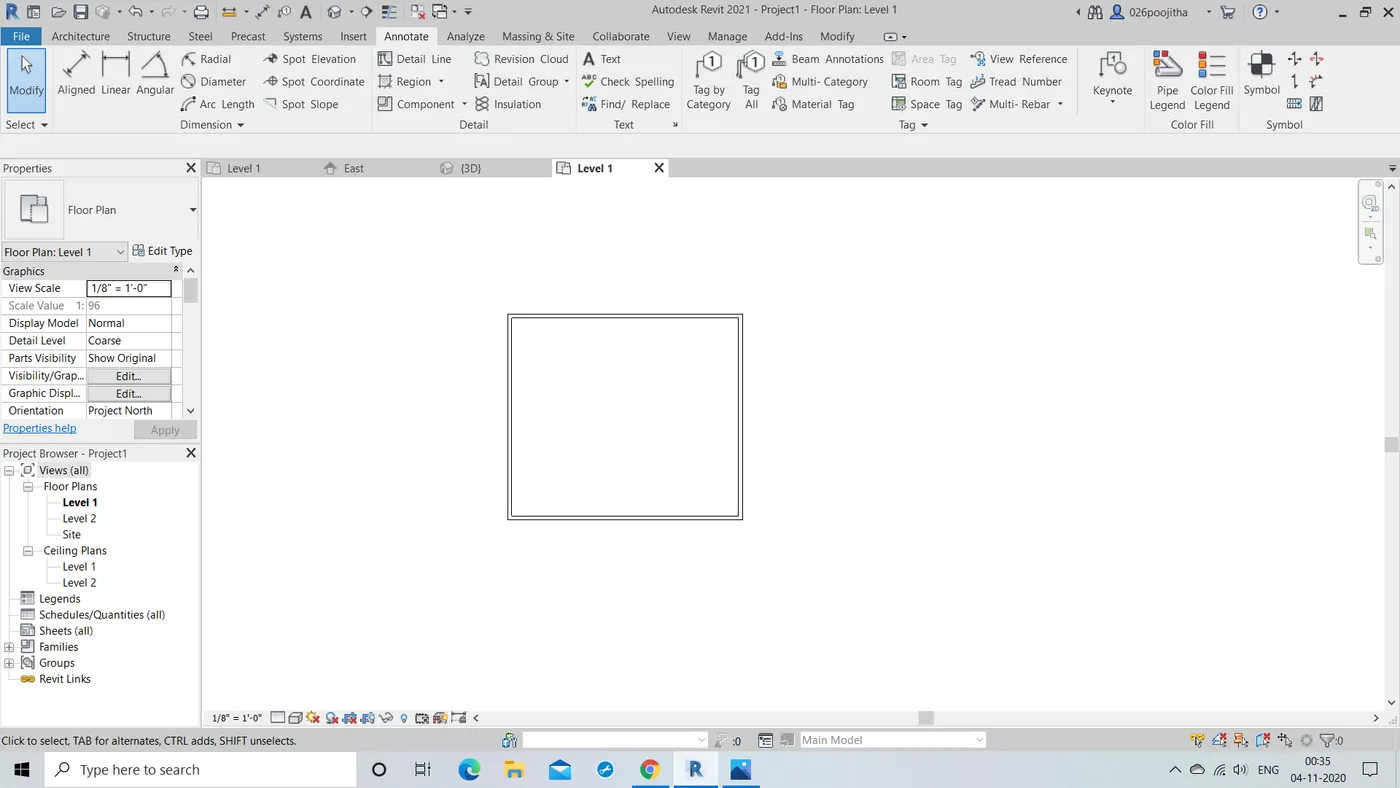
- In the file tool bar we find the architecture in that we find the wall option click on that and we can now start to draw a wall with desired dimensions.
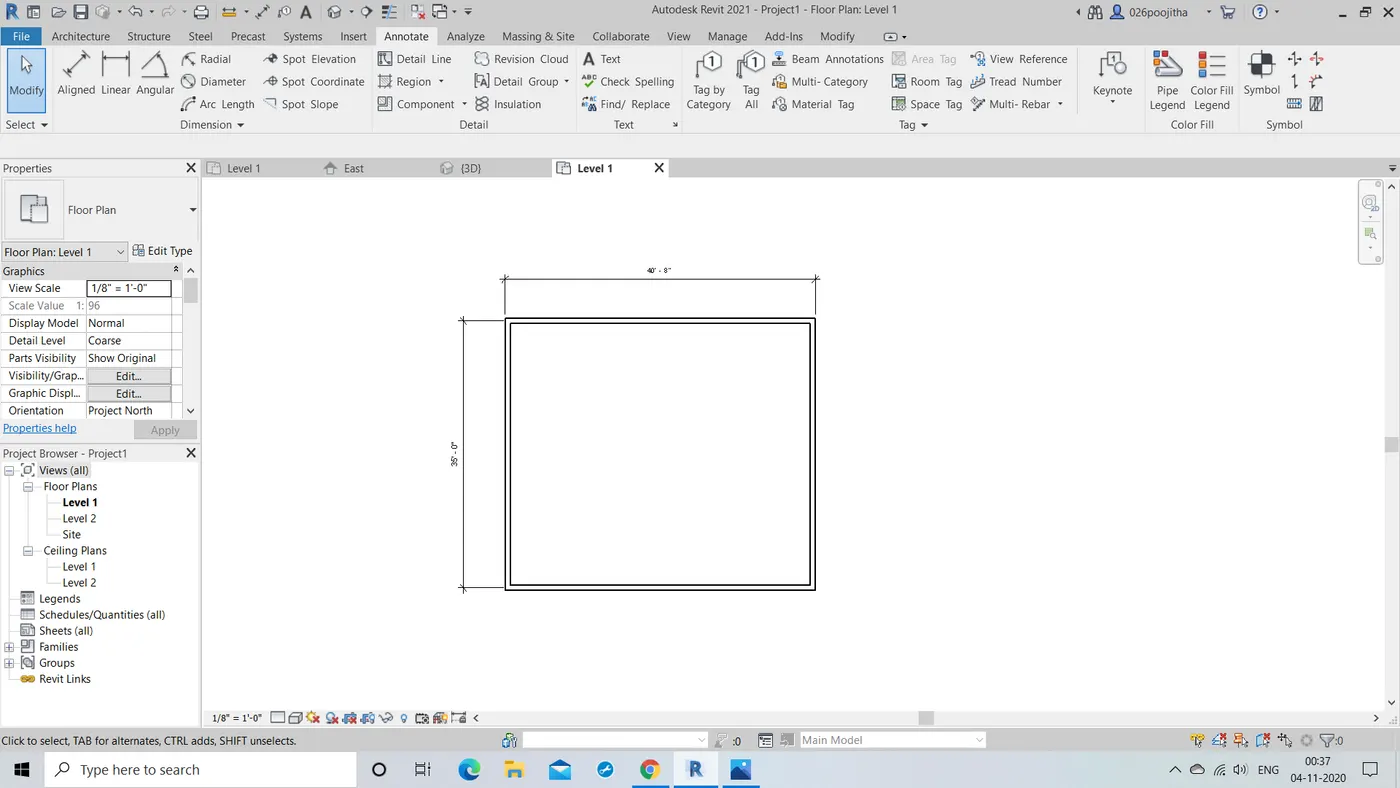
4.AIM: To get the dimensions of the wall:
TOOLS USED: annotate tool, aligined option.
PROCEDURE:To get the wall with the dimensions we need to go to the annotate tool and click on the aligned option, now we will be able to get the dimensions.
5.AIM: Properties browser to switch to different wall types.
TOOLS USED:
properties tool,edit type tool.
PROCEDURE:
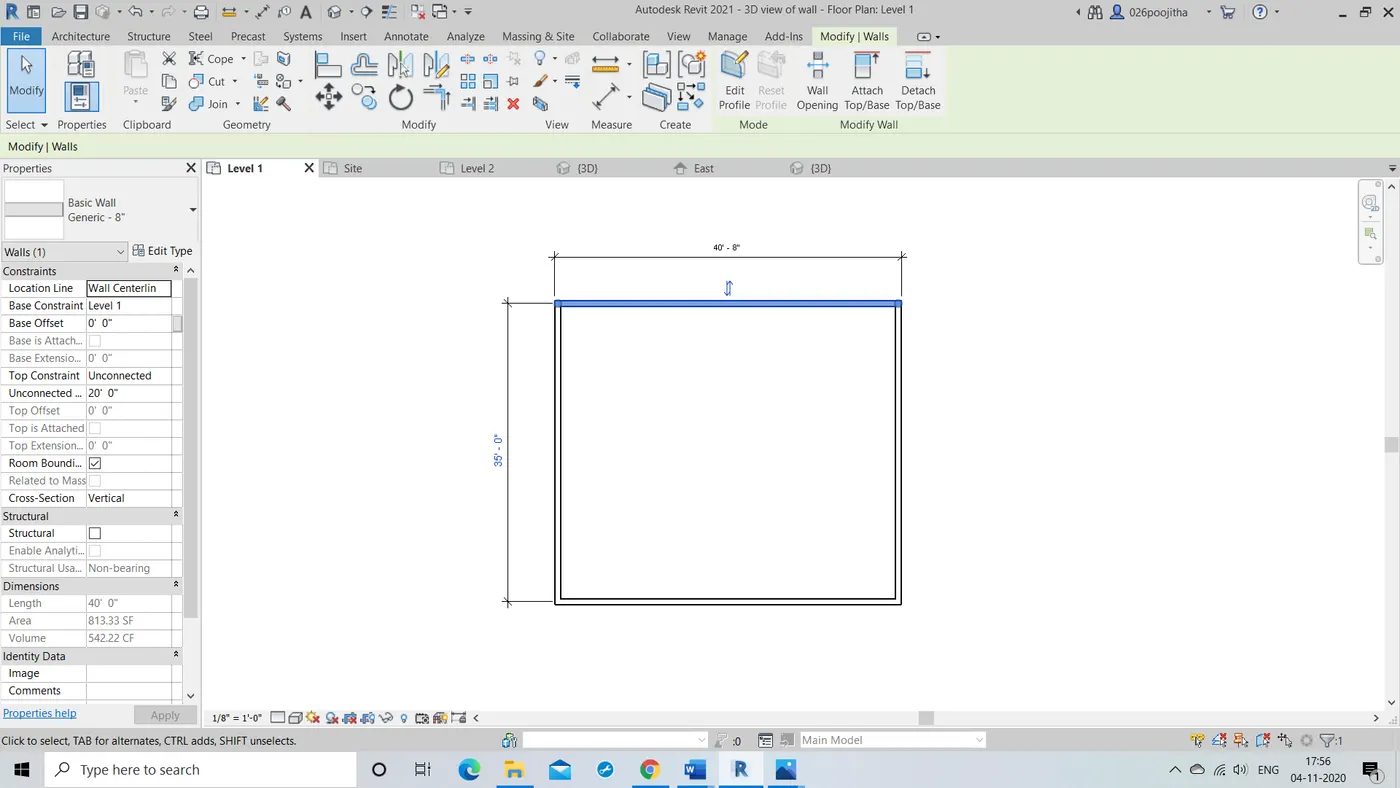
- Firstly we need to draw a wall.
- Now click any one side of the wall automatically you will be directed to the modify walls tool.
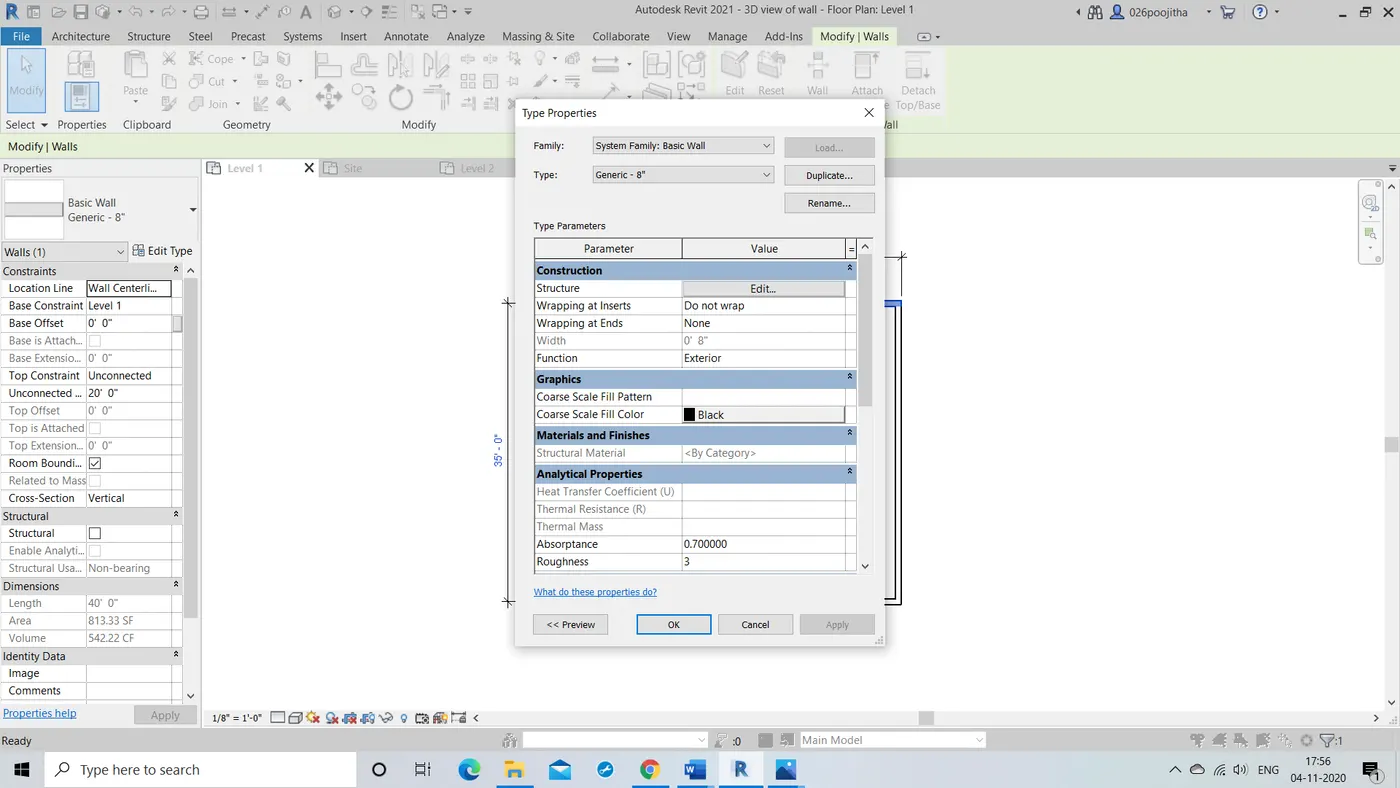
- Now click edit type and there you are again directed to a dialog box.
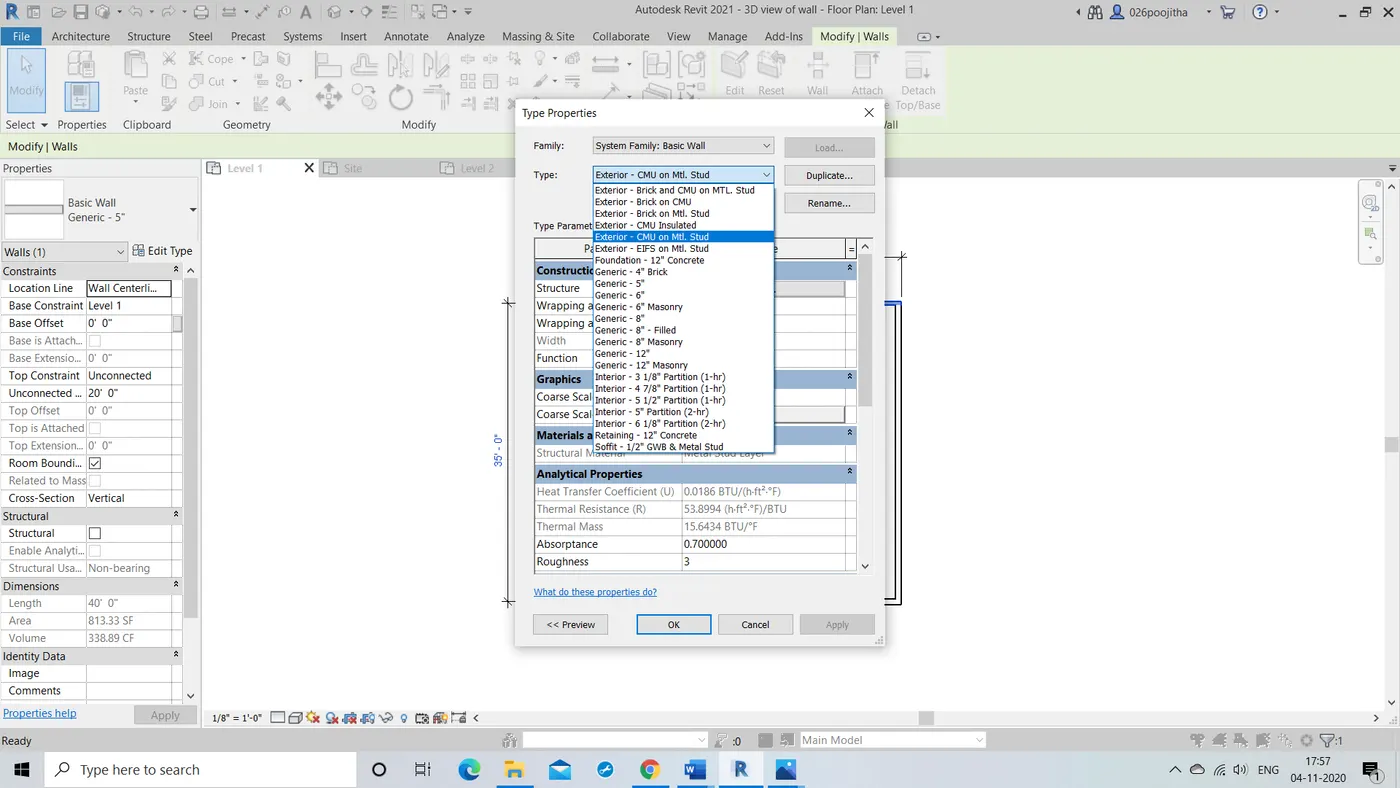
- Now in the type tool box select any of the desired wall type.
- Click OK.
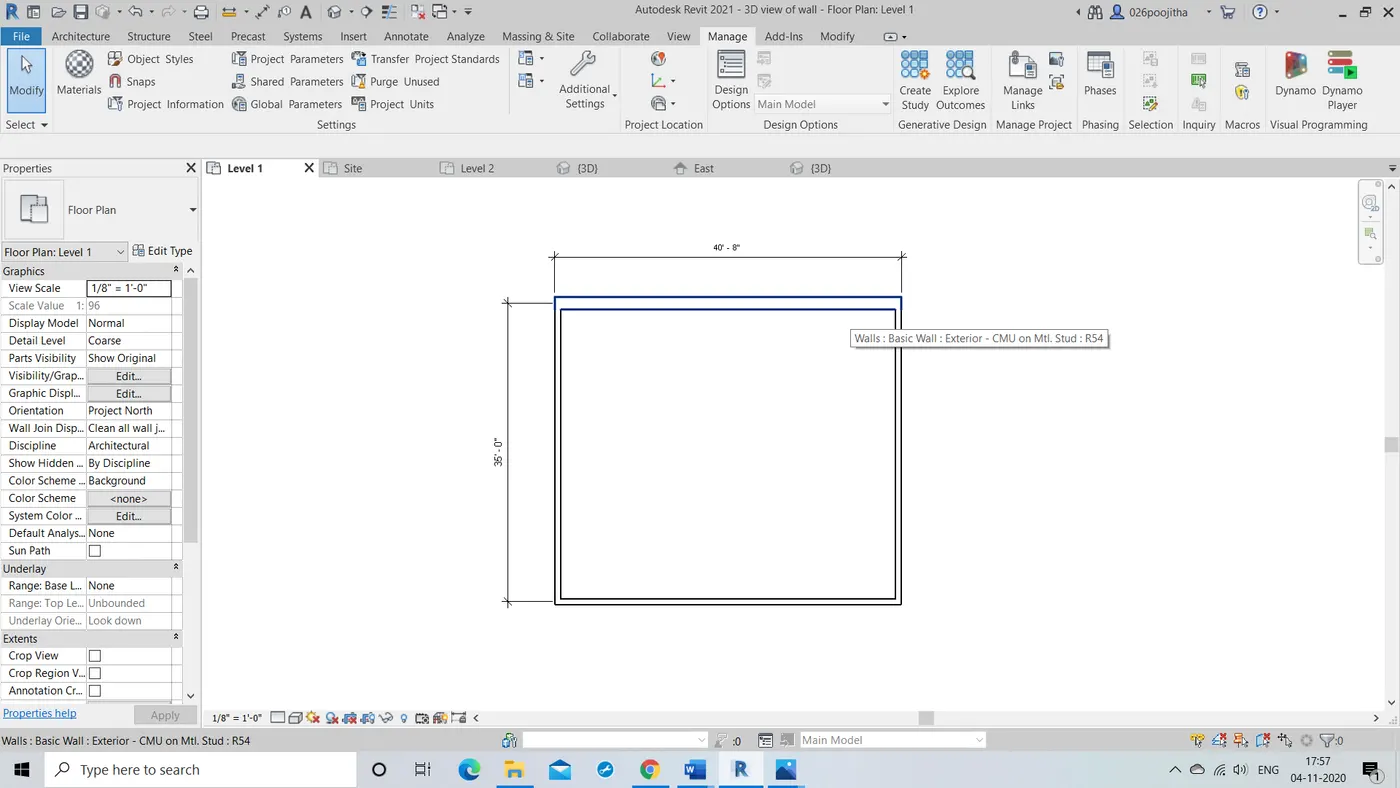
- In the below pictures i have changed a Generic 8" wall to Exterior -CMU on Mtl.stud.
6.AIM: To create a 3D view from the view tool bar and save the view with appropriate name.
TOOLS USED:
wall tool, default 3D view tool
PROCEDURE:
- Firstly draw a wall of desired dimensions
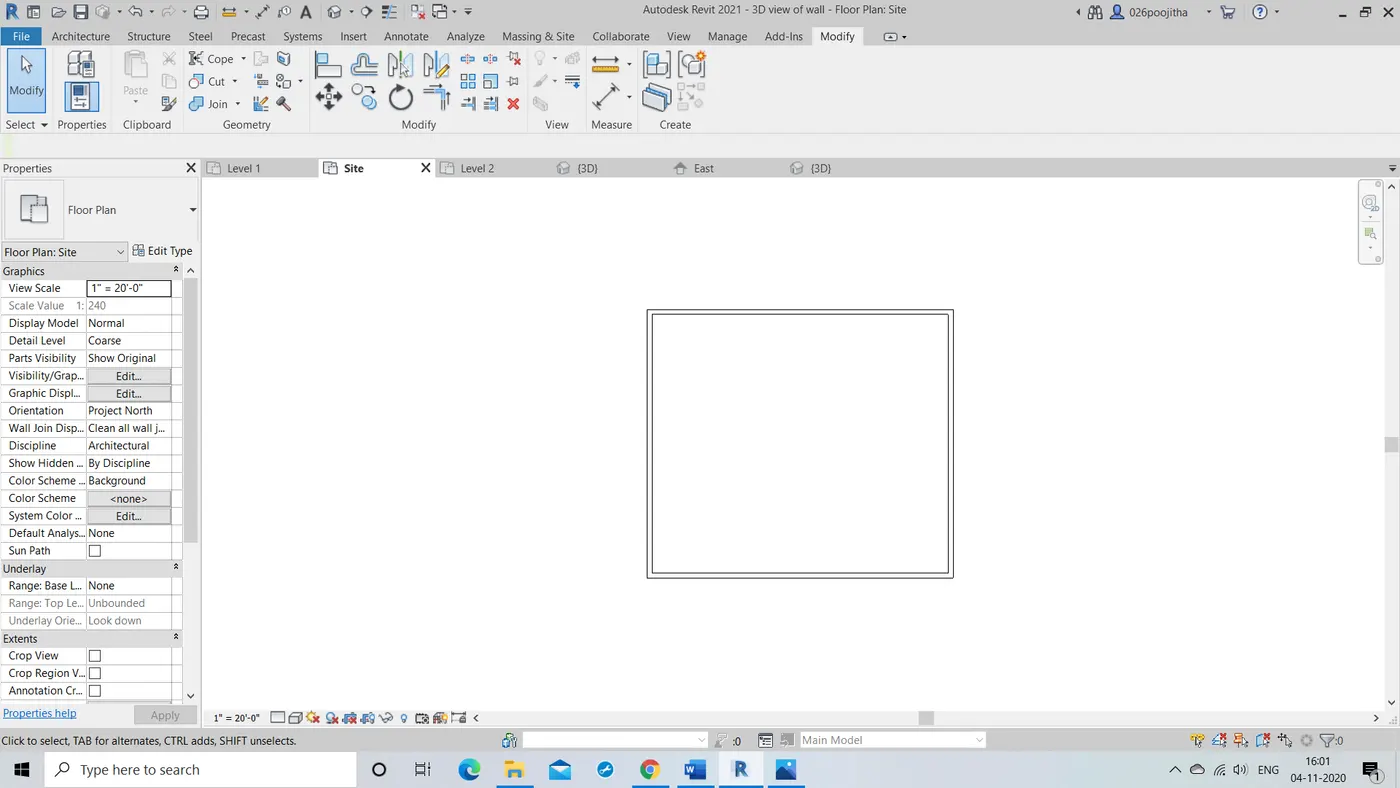
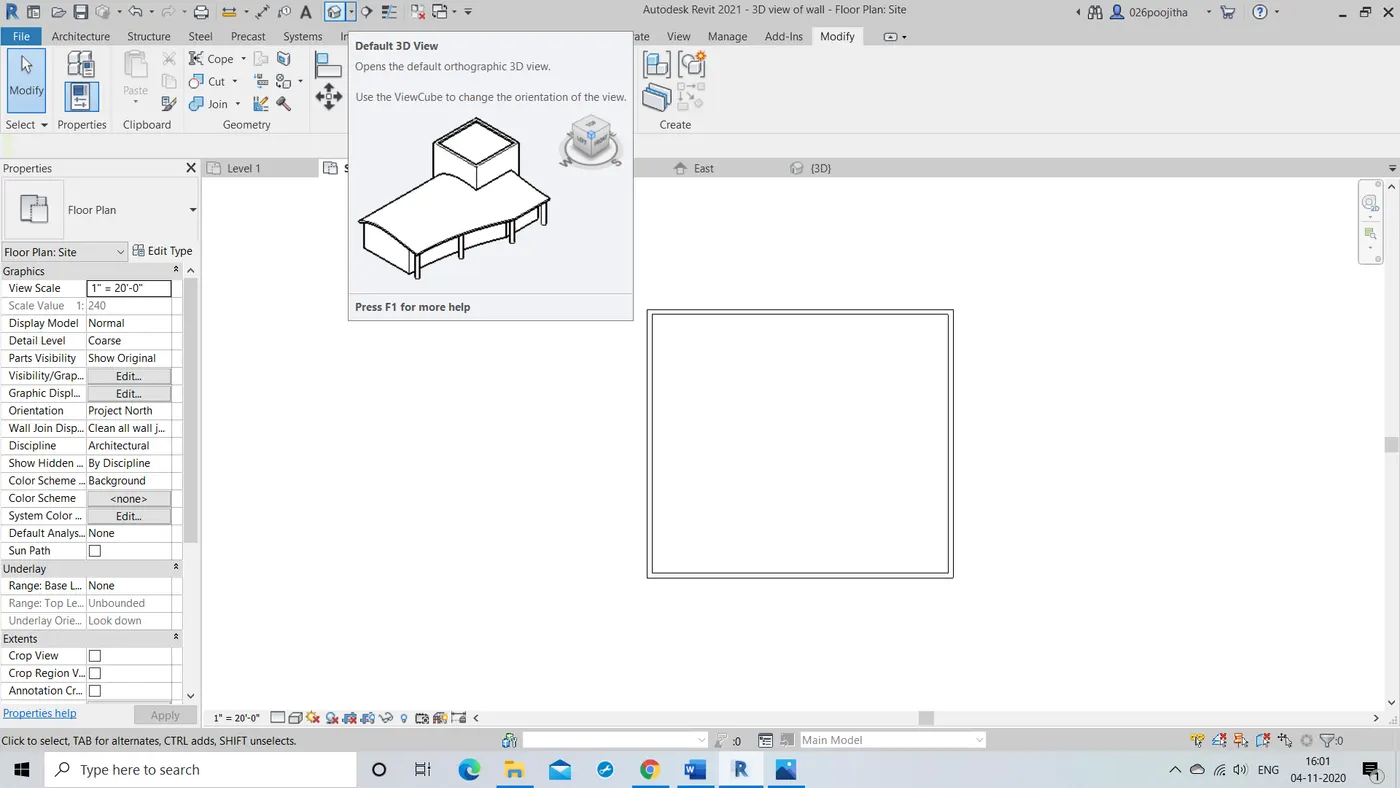
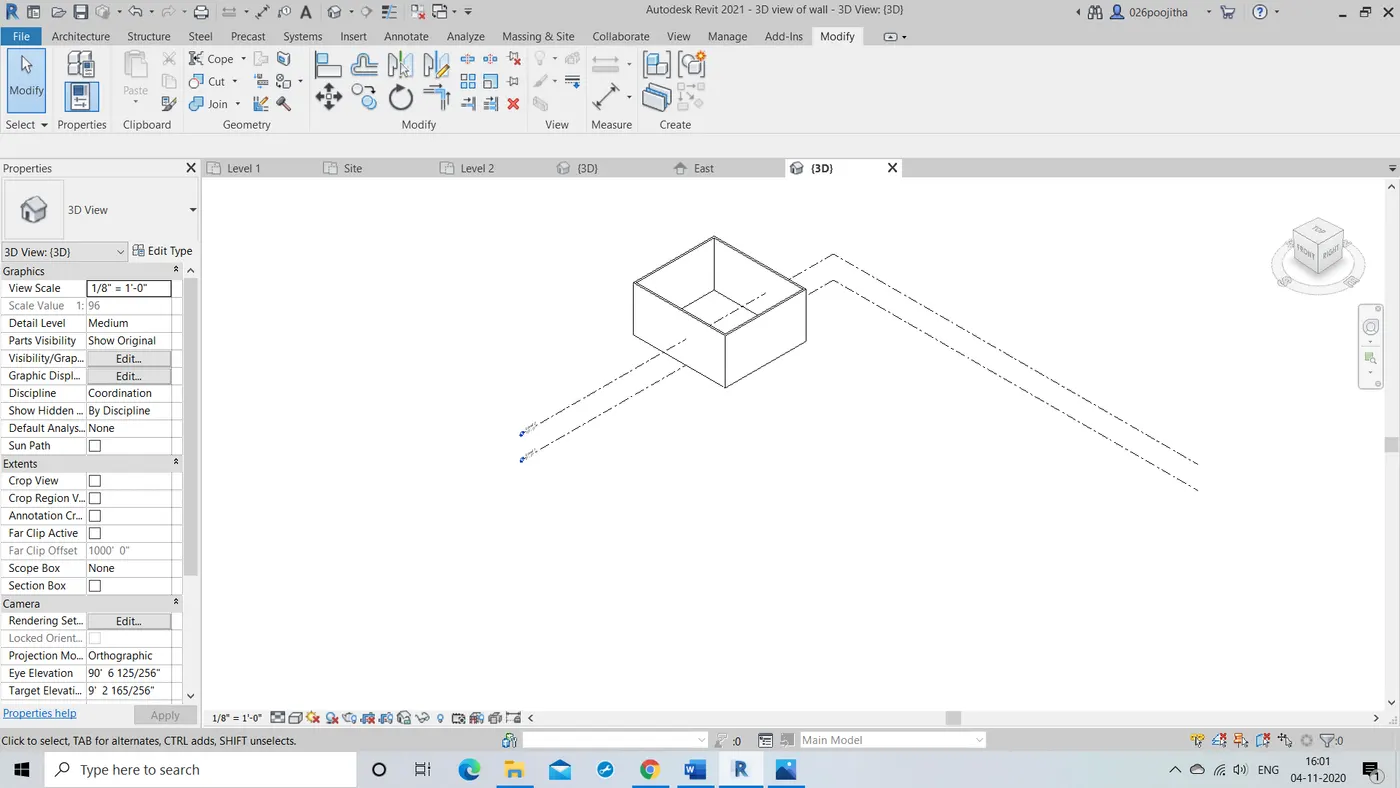
- Now click the 3D view tool then our 2D wall automatically changes into a 3D model.
- Now to save the file we need to go to the file option.
- Click save as option and click on the project options.
- A dialog box is appeared, now name the file accordingly.
- Click on SAVE.
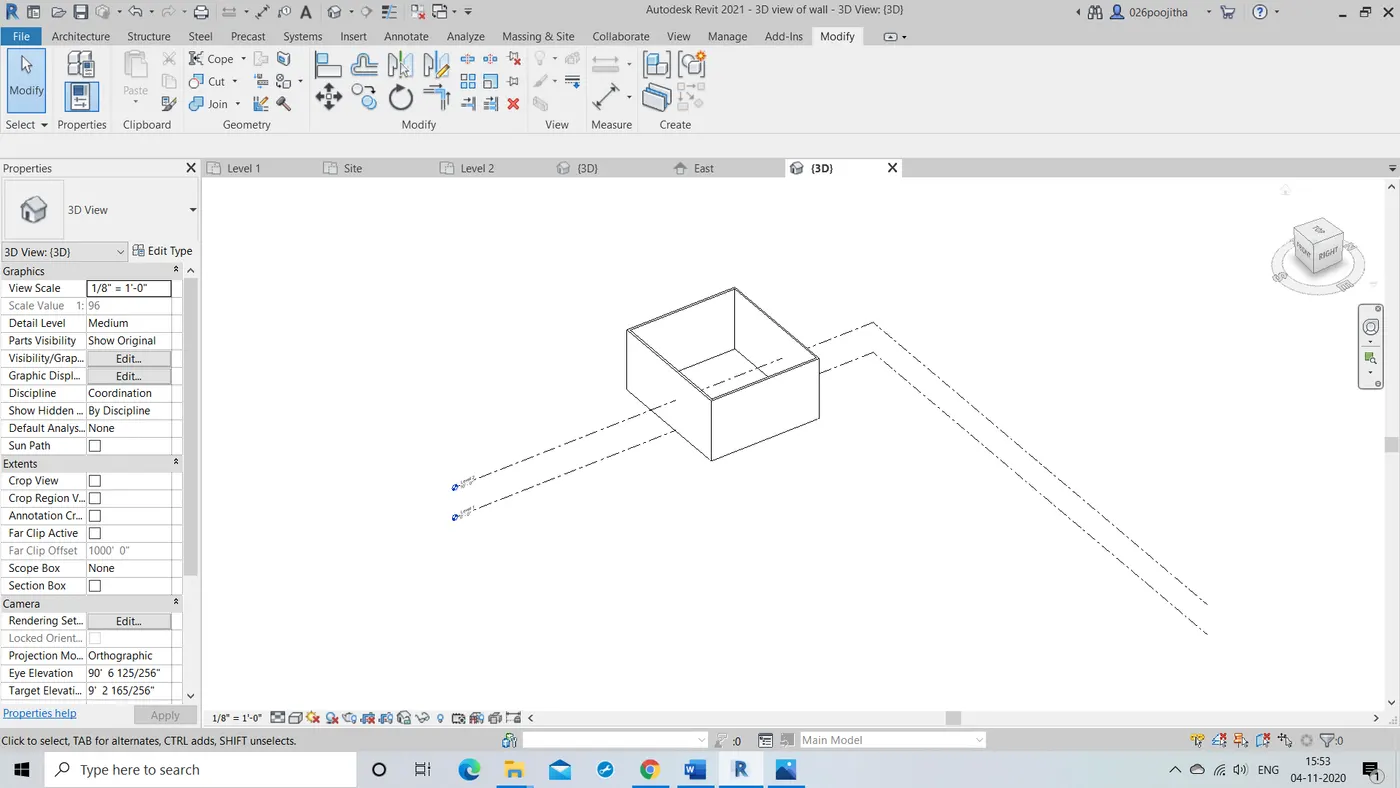
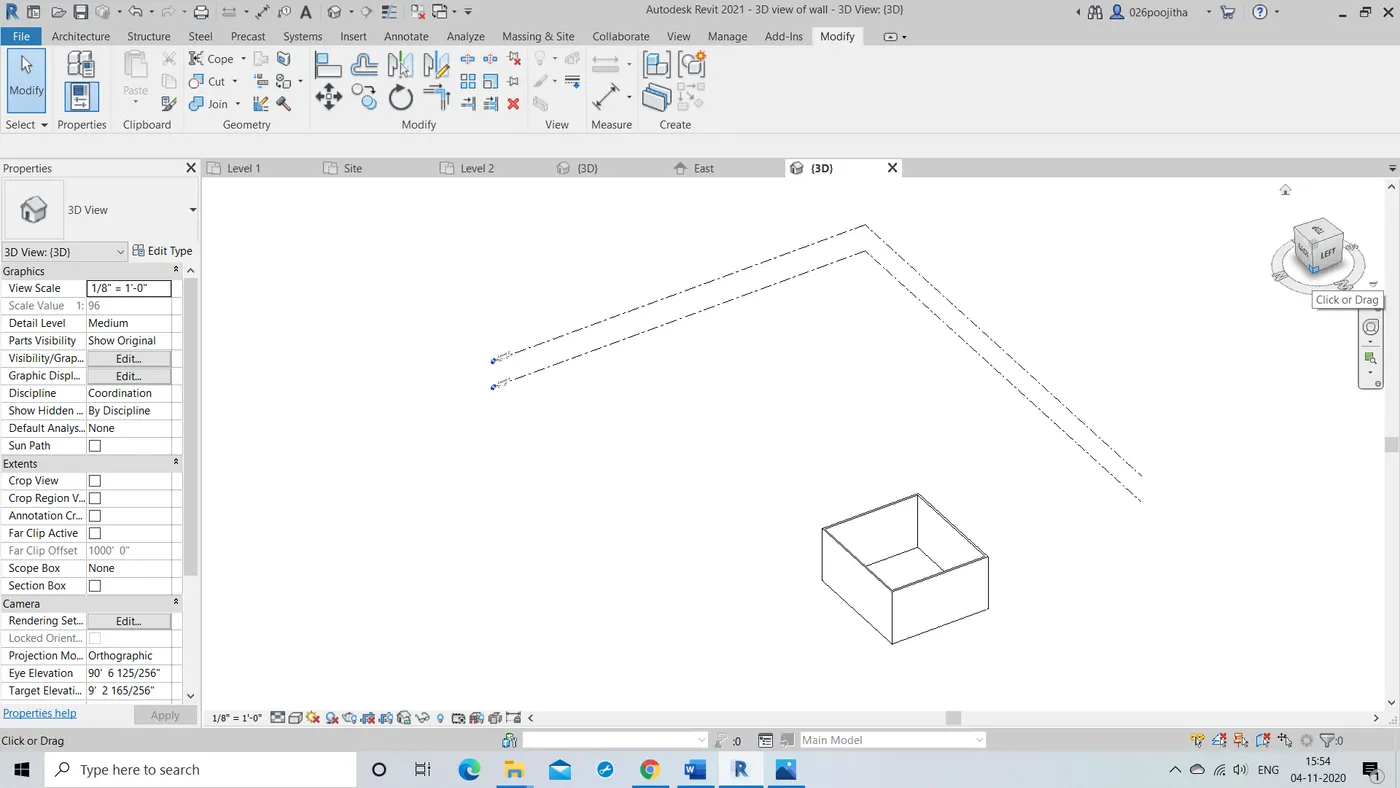
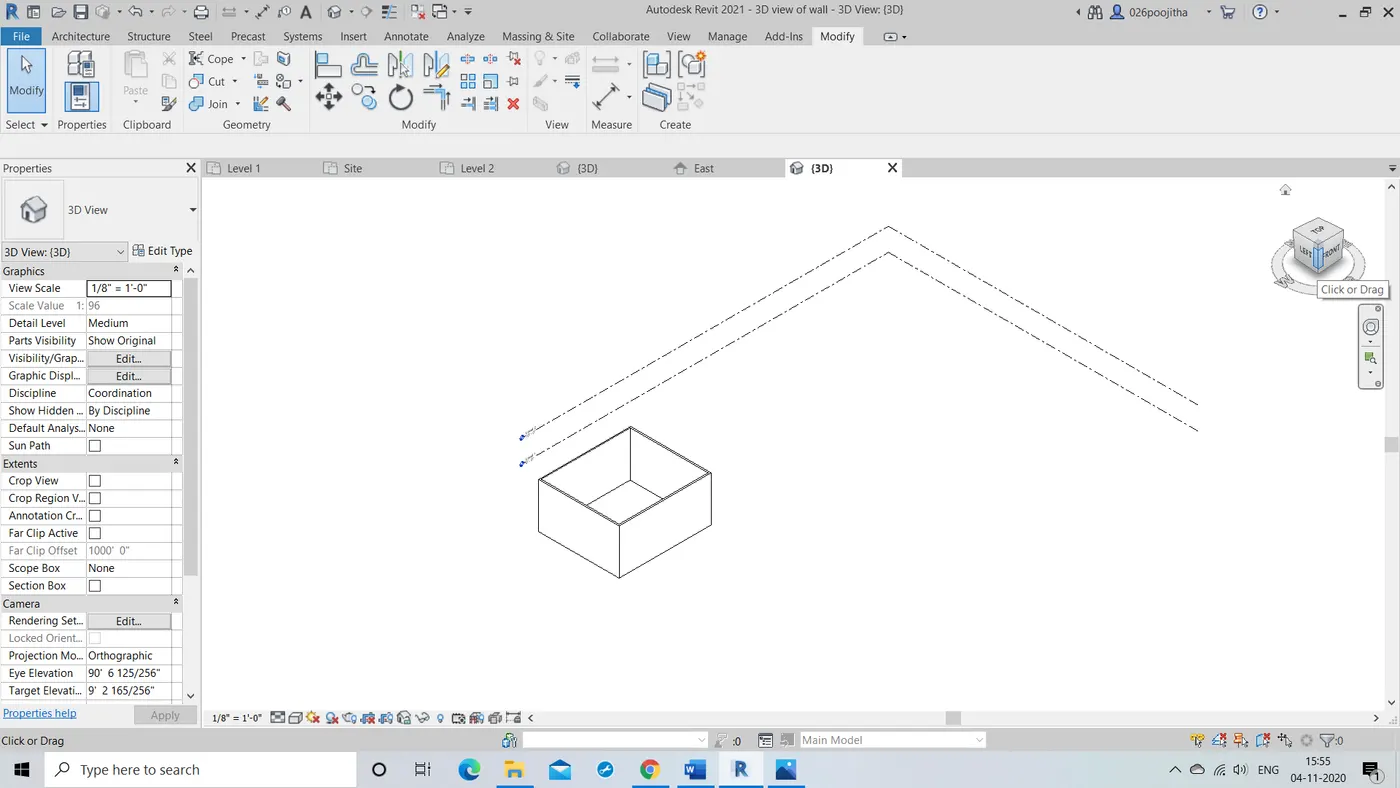
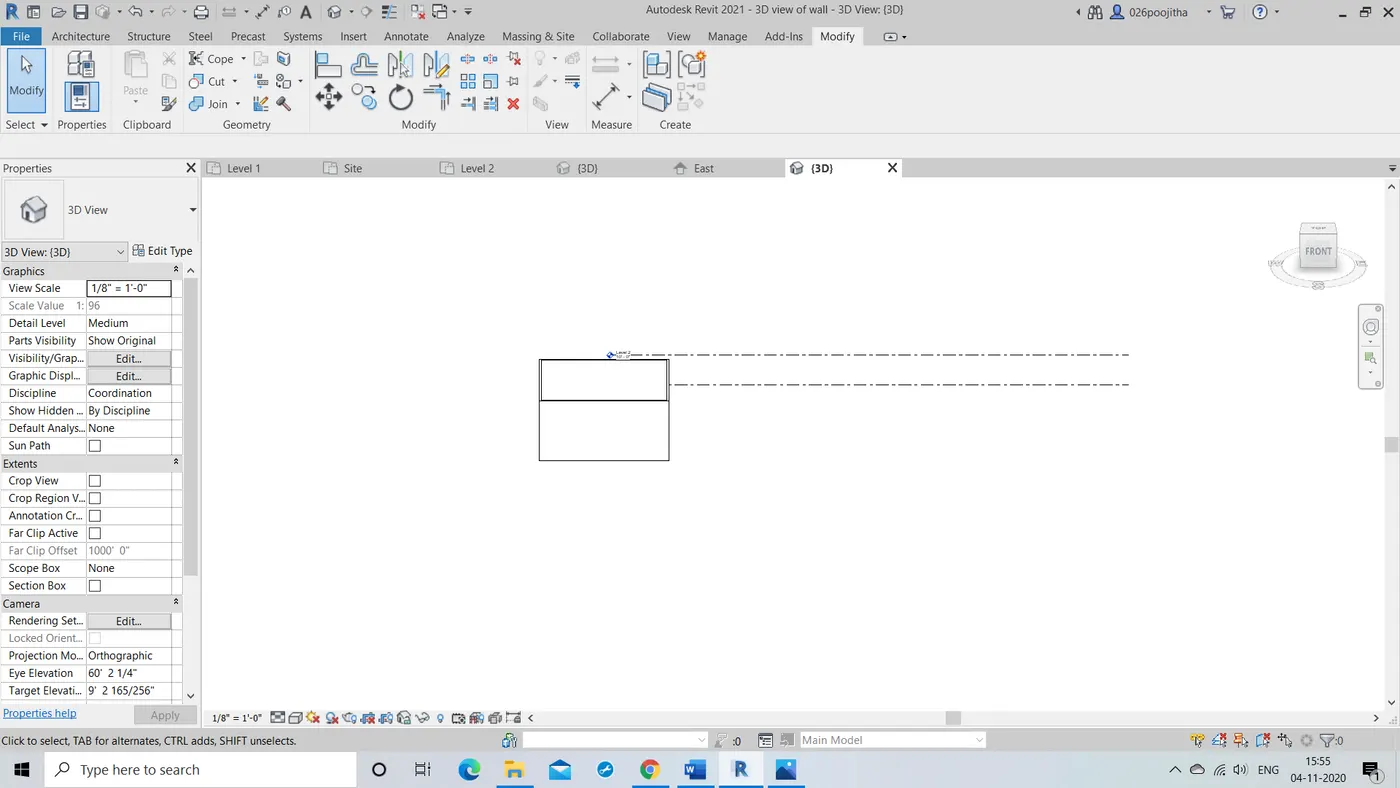
7.AIM: To navigate the 3D model using view cube.
TOOLS USED:
view cube
PROCEDURE:
After completion of the drawing of the desired model, we need to click on the view cube and rotate it according for the desired view that is if i wanted to view my drawing facing North,rotate the cube accordingly.
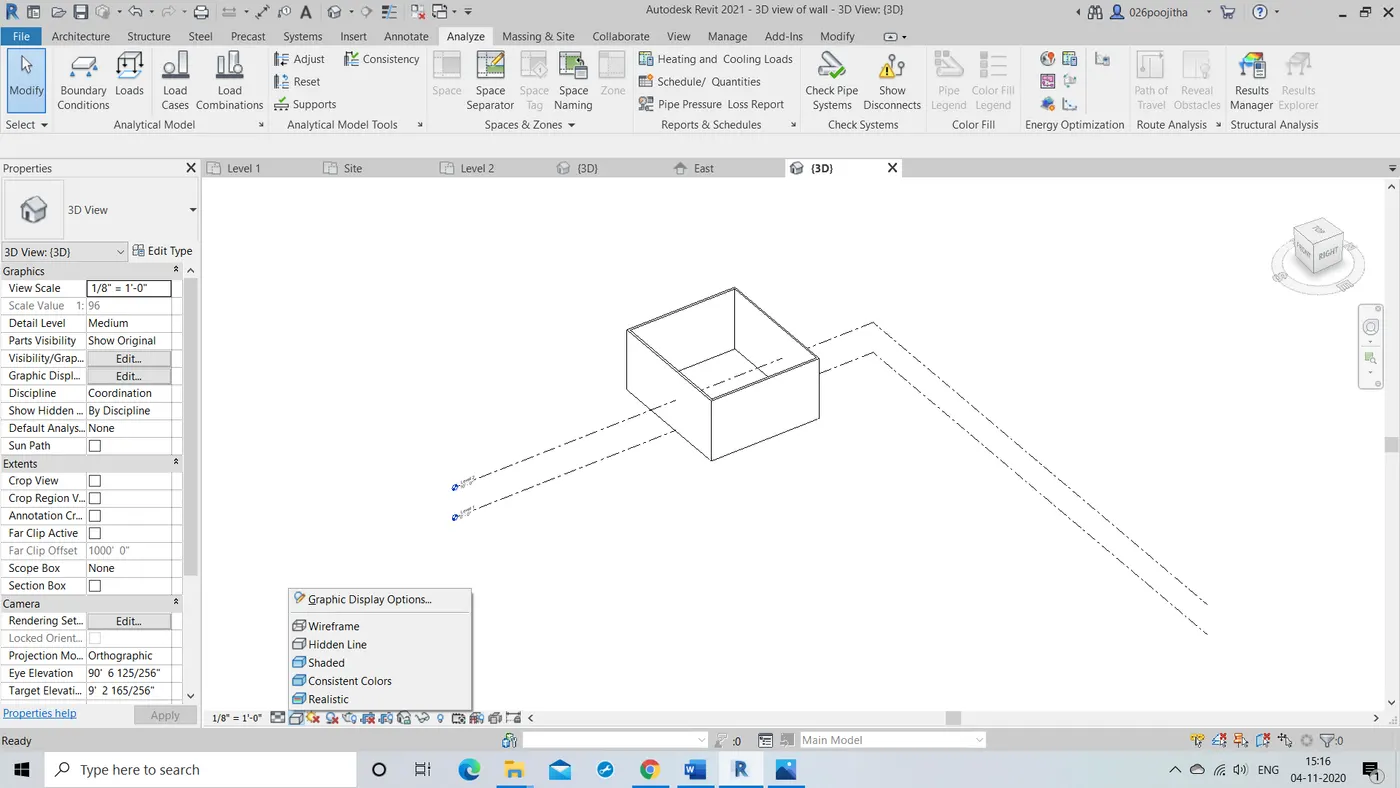
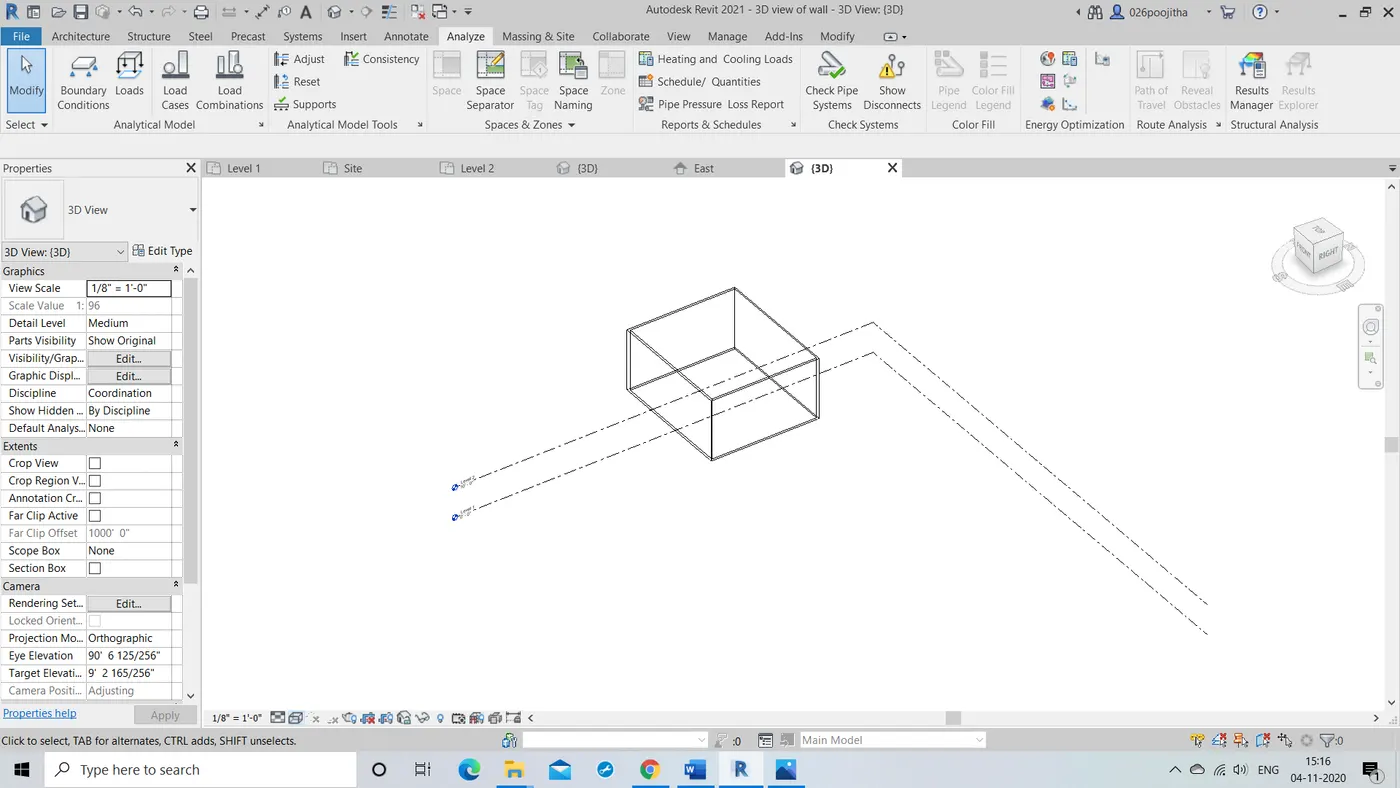
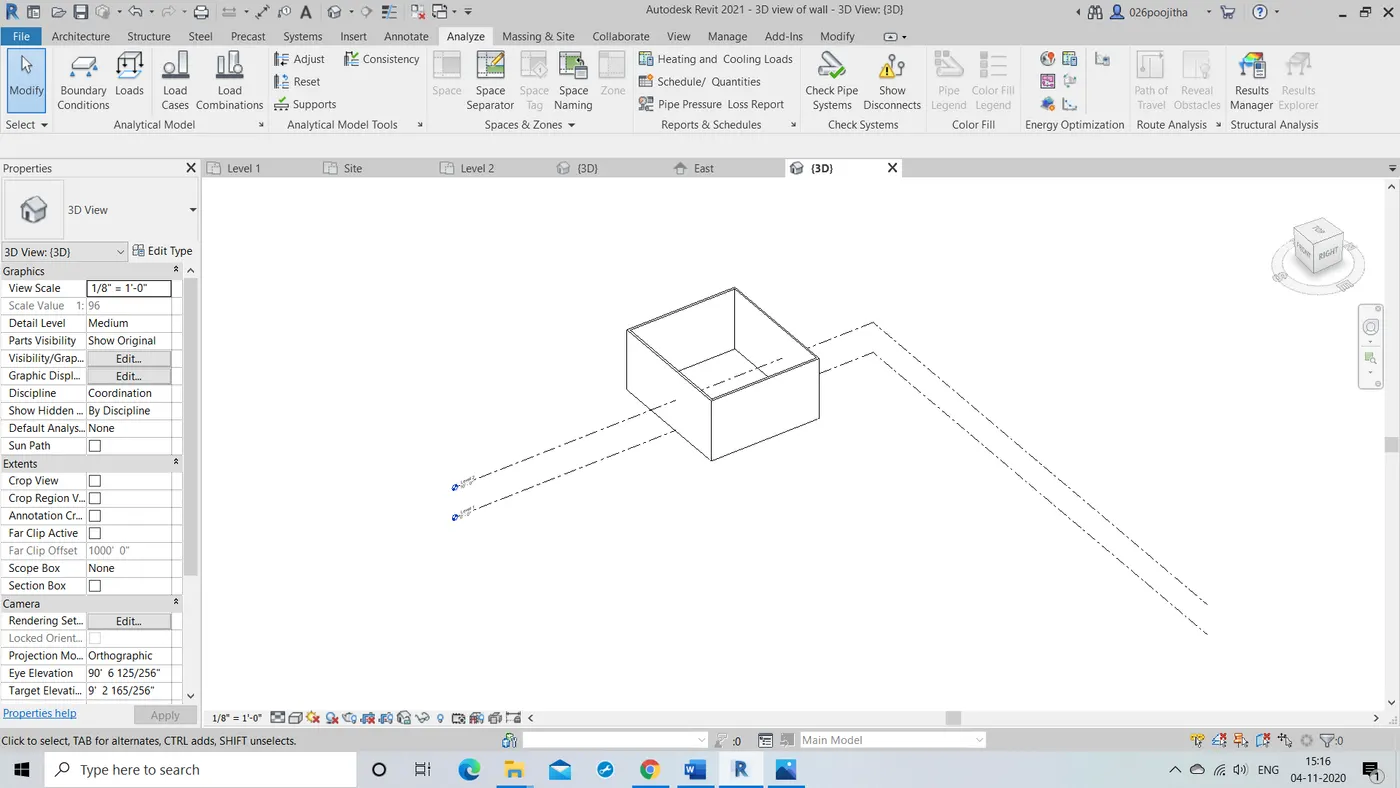
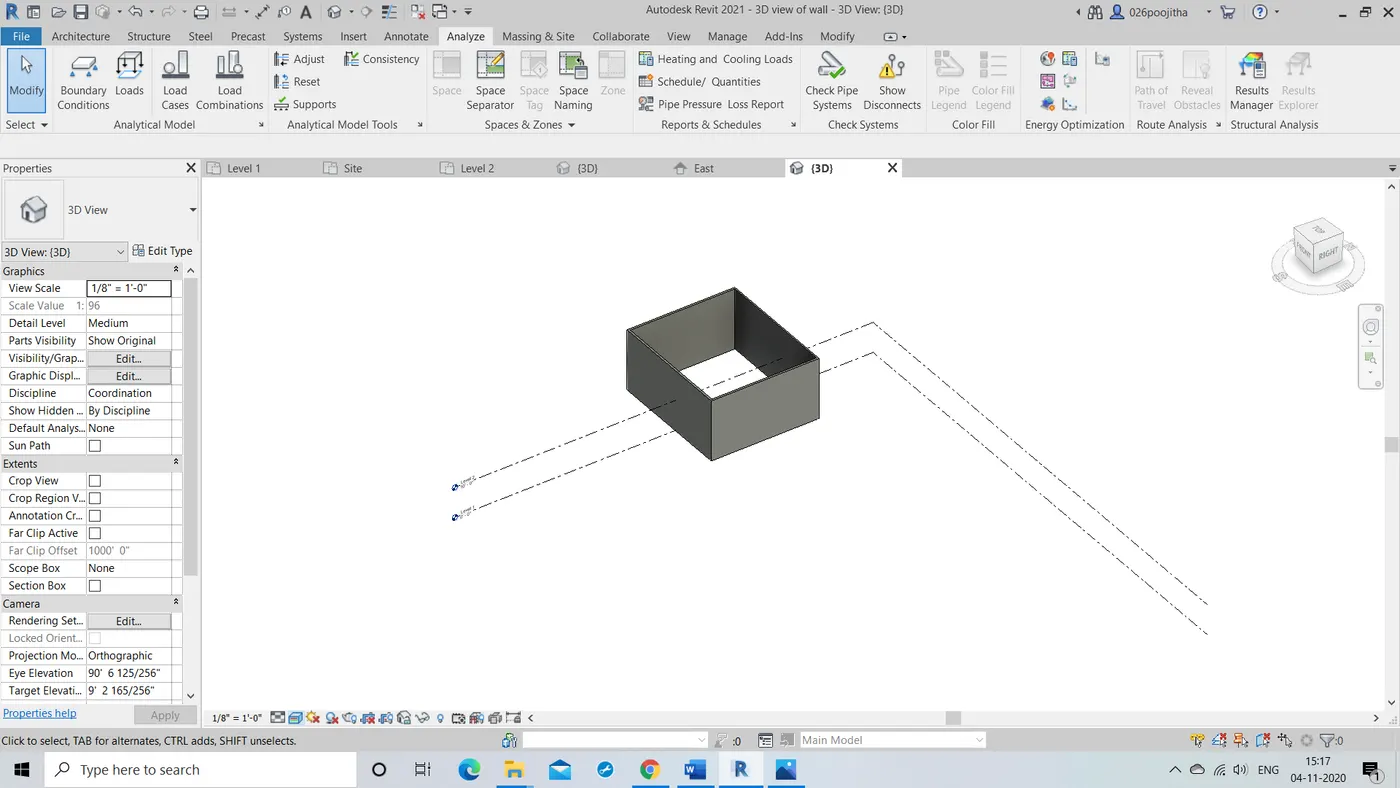
8.AIM:Using the visibility settings option below to switch model to shaded, realistic, hidden lines options.
TOOLS USED: visual style tool
PROCEDURE:
- Firstly consider a desired drawing.
- Click on the visual style tool,then we can see a dialog box consisting of wireframe,hidden lines,shaded,consistent colors,realistic.
- Now as we desire to switch the model from hidden lines to shaded click on the option that you wish to convert.
- Below are the pictures showing initial picture, wireframe,hidden lines,realistic and shaded respectively.
9.AIM: To view shadings in the layout created when sunlight is on and off.
TOOLS USED:
sun settings tool
PROCEDURE:
- Click on the sun settings tool which is available at the left bottom.
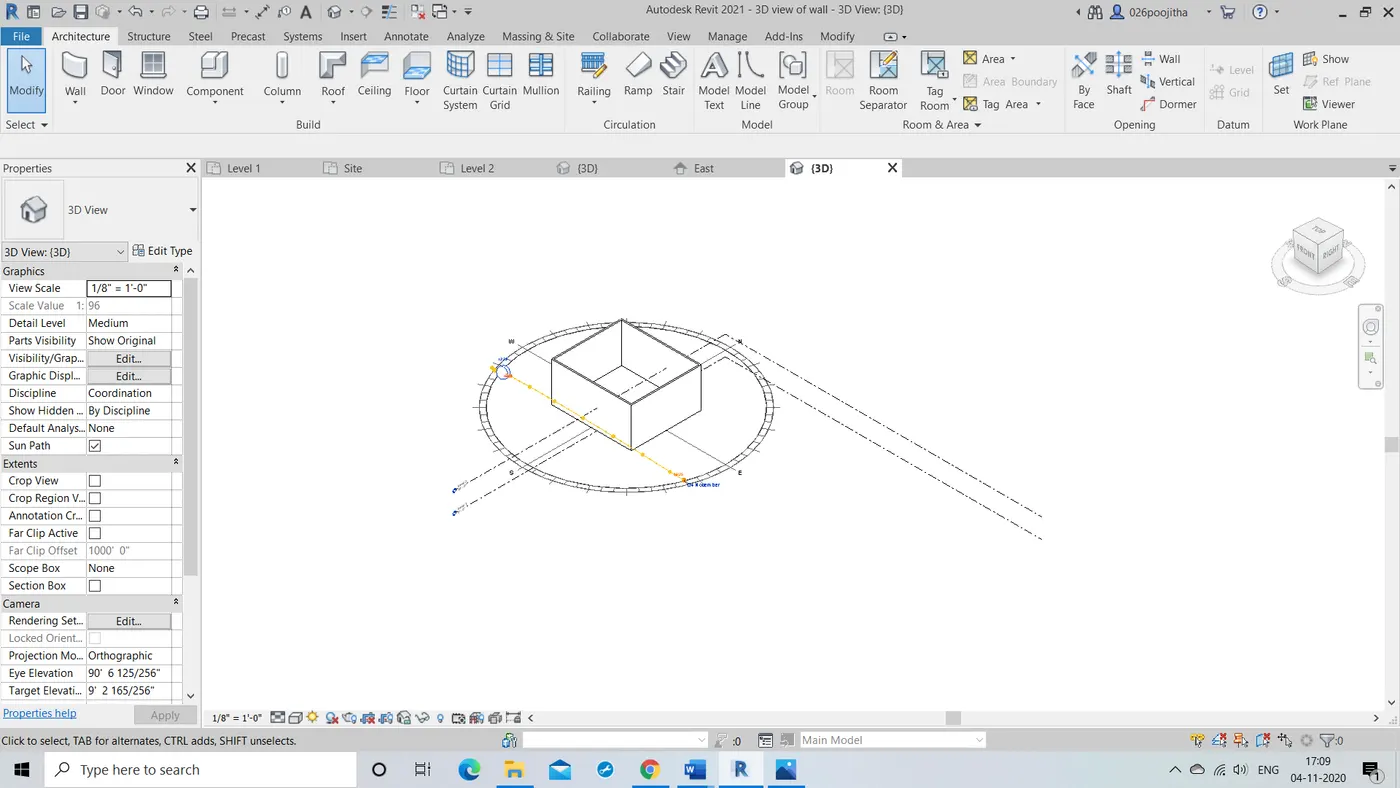
- There we can find 2 options one is sun path on and other is sun path off.
- In the below attached pictures we can find the view of sun path ON and OFF.
10.AIM:To enter project name ,project settings and project issues date.
TOOLS USED:
manage tool bar, project information tool.
PROCEDURE:
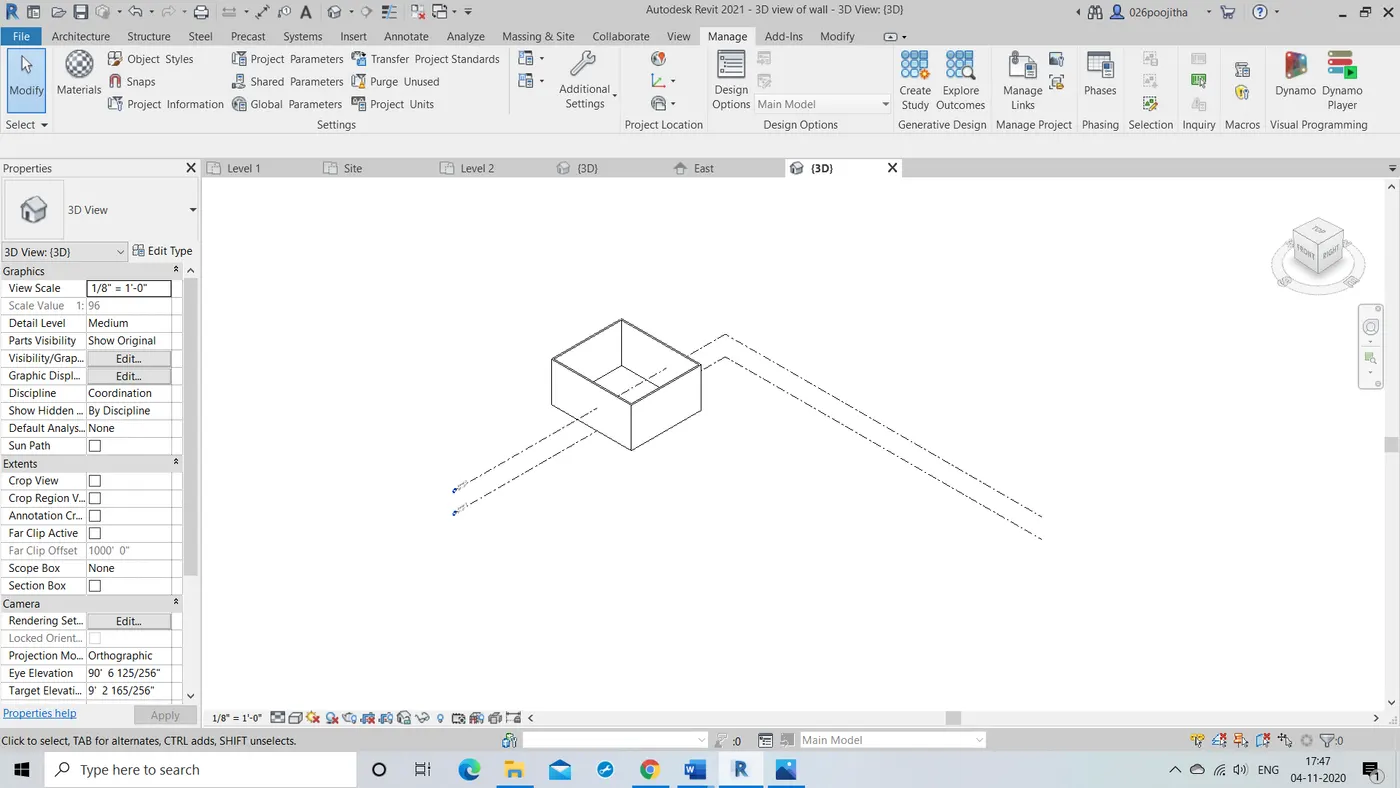
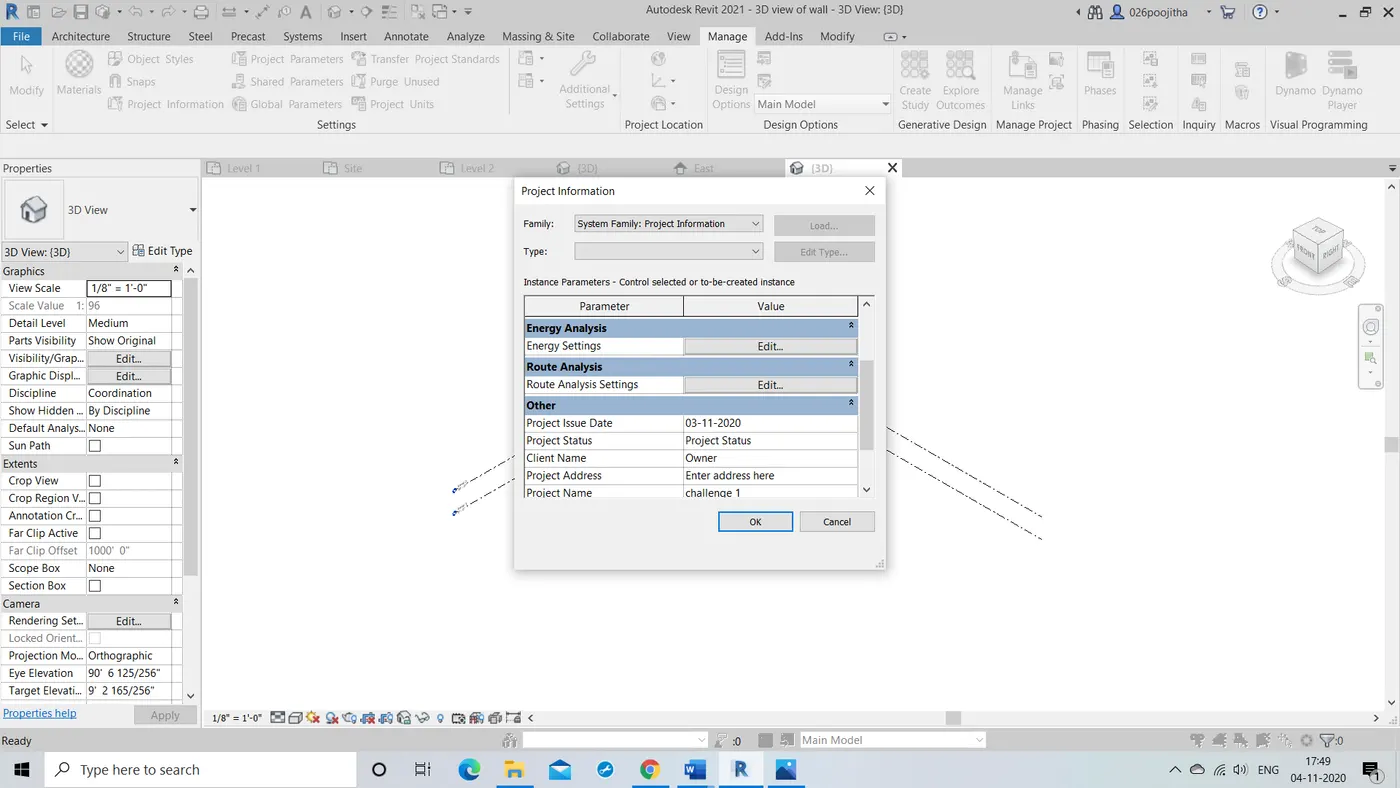
- Firstly click on the manage tool to open the manage tool bar.
- Now we will find the project information icon under the settings section in manage tool bar
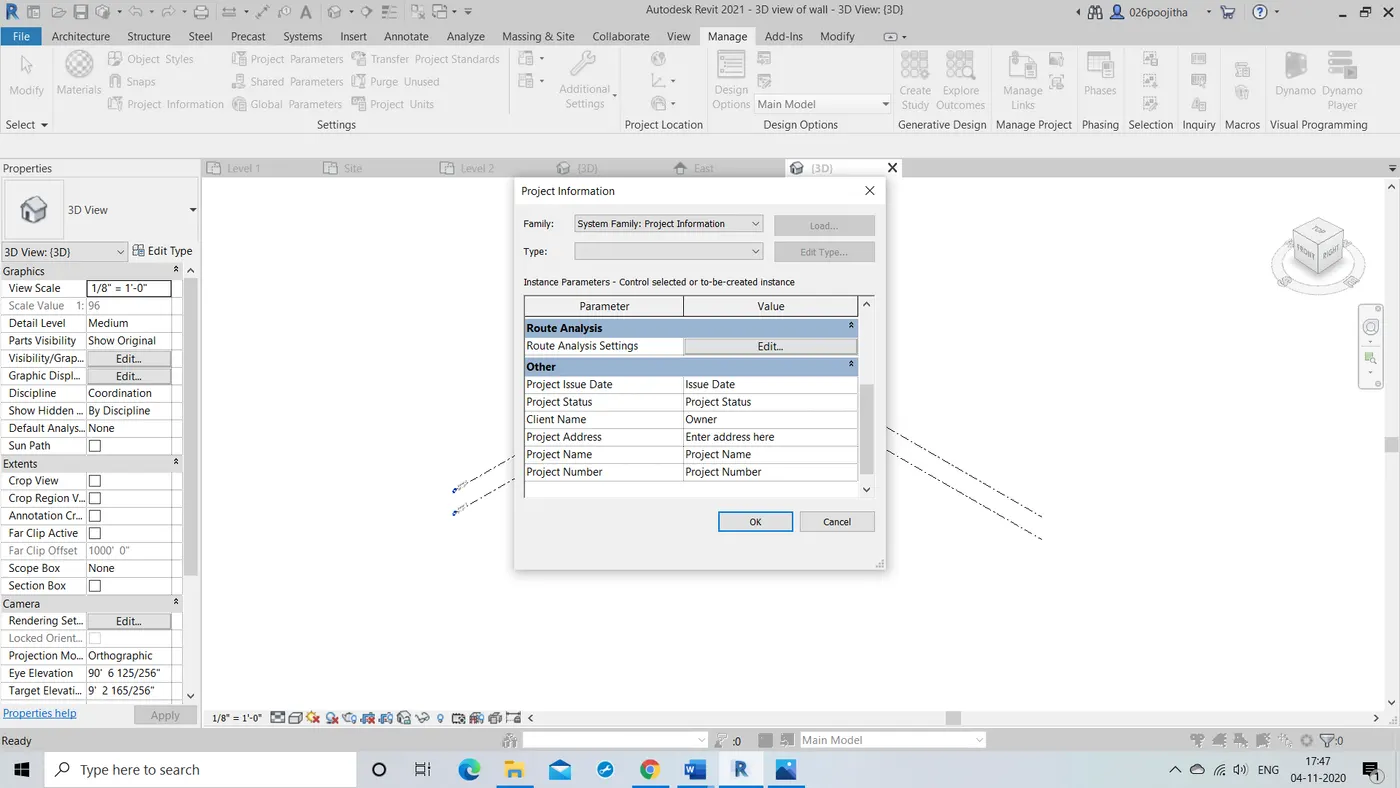
- By clicking the project information tool,a dialog box is opened we can enter the name, issues date, and can also change the project settings.
- I named the project name as challenge1 and issue date as 04-11-2020 and changed the energy settings and route analysis settings.
11.Analyze tool bar helps in creating revit models,this tool bar consist of many other options which help in load combinations, boundary conditions, loads and load cases adjustment and support systems are one among the tools under this analyze tool bar where in we get to adjust the model and add aditional supports to the present model, it also verifies the analytical and physical model for the consistency. Space seperation , space naming and space tagging are also the options available assigning the names and numbers to the architectural rooms.Colour fill and energy optimizations are the tools which help to know how far the present model is eco-friendly and economical.
12.Links that support Revit to link models are:
- Link Revit: Links one revit model to the other or the current revit project.
- Link IFC: Links an IFC file to the current project for the information that is required for additional design work.
- Link CAD: Links a CAD file to the present revit project.
- Link Topography: It links the existing topography to the present revit model.
- DWF Markup:It links the marked-up DWF files into the present revit project so that we can see mark-ups in the corresponding sheets.
- Point Cloud: It links a point cloud file to the current revit project.
- Coordination Model:It links up a NWD or NWC file to extract content for the revit model.
- Link PDF: It allows us to link the PDF file to the current project.
- Link Image : It allows us to link an image for the progressing revit model.
- Manage links: It manages the links such as CAD, mark-up the DWF files and all the BIM works that are related to the present file.
13.To link up multiple rivet models together we use Collaborate Tab that is any member among a particular team can have access to do change required that is very much useful when a team consist different cader of people working around that is for a steel designer to a mechanical engineer. This helps people there to works with higher accuracy which increases the efficiency. This Tab supports modelling. We can also change the communicate requirements accordingly.