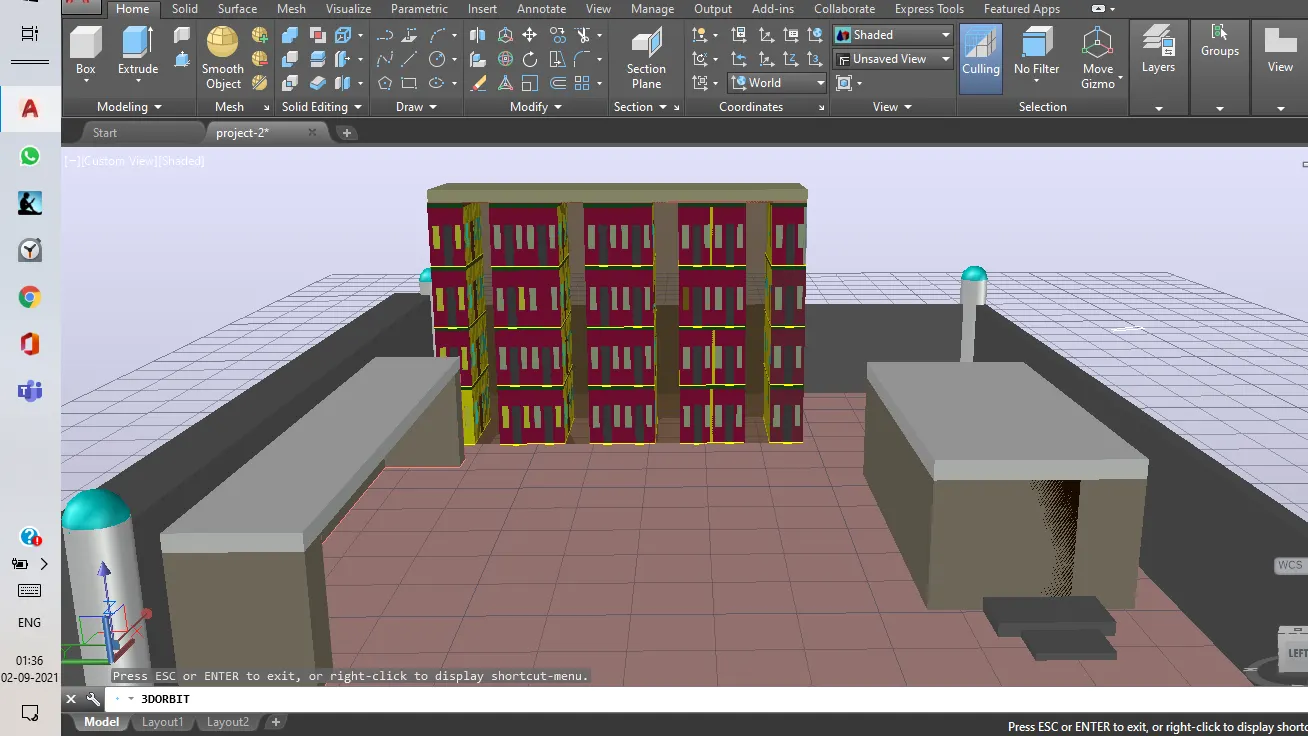
Project 2_Creating a 3D rendered model for a Residential Building in AutoCad
INTRODUCTION-Creating a 3D rendered model for a Residential Building in AutoCad.
AIM-To create 3-d rendered model of G+3 floor multi storey apartments with proper boundary specified.
COMMANDS USED
- UNITS,LIMITS,DIMENSIONS,CAMERA,CLOUD RENDERING,MATERIALS,3-D ORBIT,PAN,LAYERS.
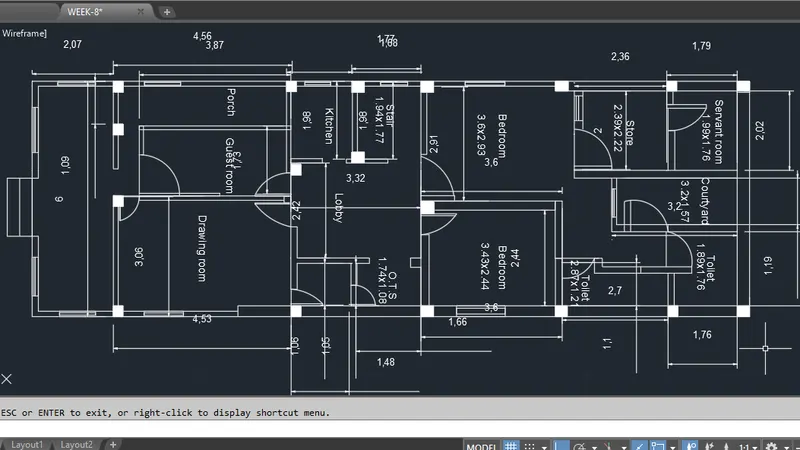
STEPS FOR CREATING 2-D PLAN
- Drawing the plan of size 32'-10(1/2)" and length of 77'-9",drawing the walls by offset command with windows in it,create stairs at the outside ,from right corner start making inner layouts
- Servant room=1.99x1.76
- Courtyard=3.2x1.57
- Toilet1=1.89x1.76
- Toilet2=2.87x1.2
- Bedroom(1)=3.6x2.93
- Bedroom(2)=3.43X2.93
- O.T.S=1.74x1.08
- Drawing room=4.53x3.06
- Verandah=1.09x2.07.
TRANSFORMING 2-D MODEL INTO 3-D RENDERED MODEL
- Delete the unecessary parts from the plan and joing the sides,after using boundary command,select the walls and columns of the plan and specify the region using extrude command,extrude the selected part of 10".
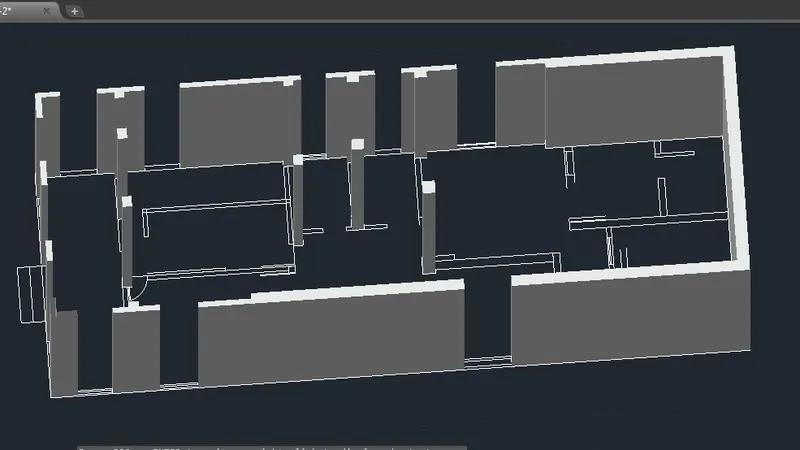
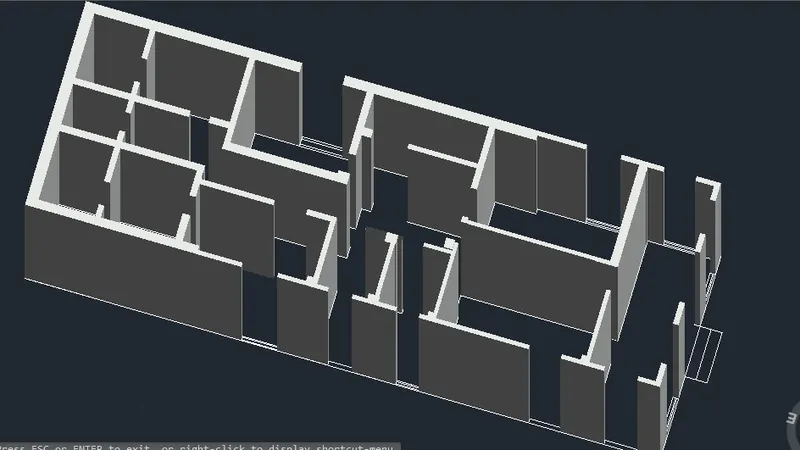
- Using 3-d orbit command,view the layout in s-w manner,draw windows in the wallsby 3" from top and bottom distances.
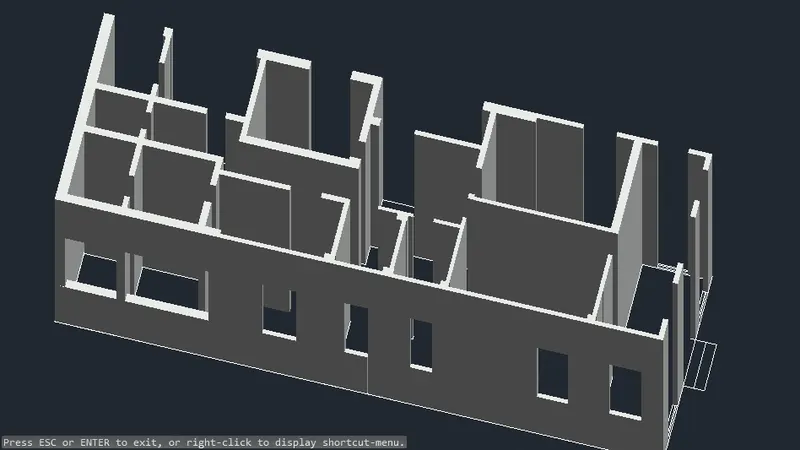
- Drawing doors and windows in the house,specify the colour in the house.
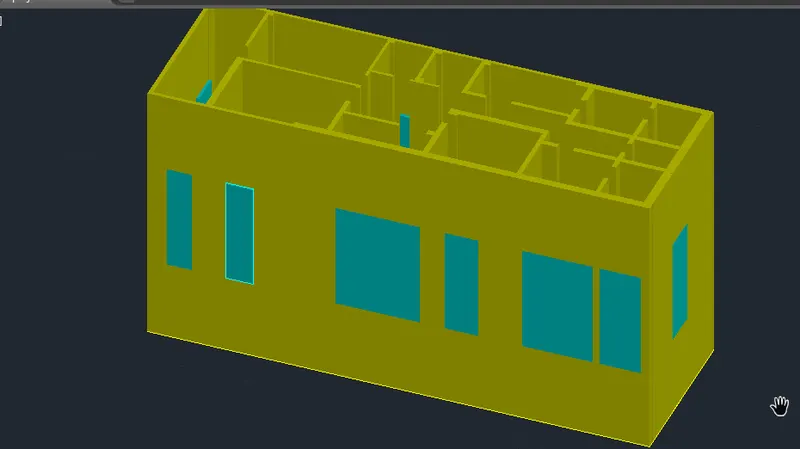
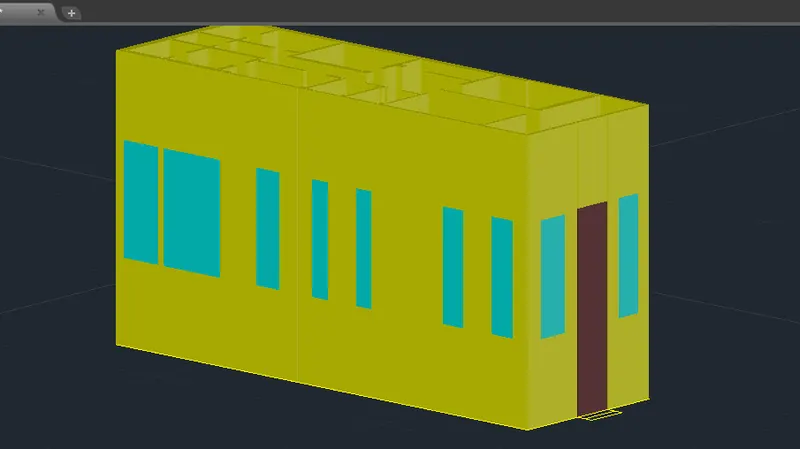
- Drawing slab of (1/4)" of green colour.
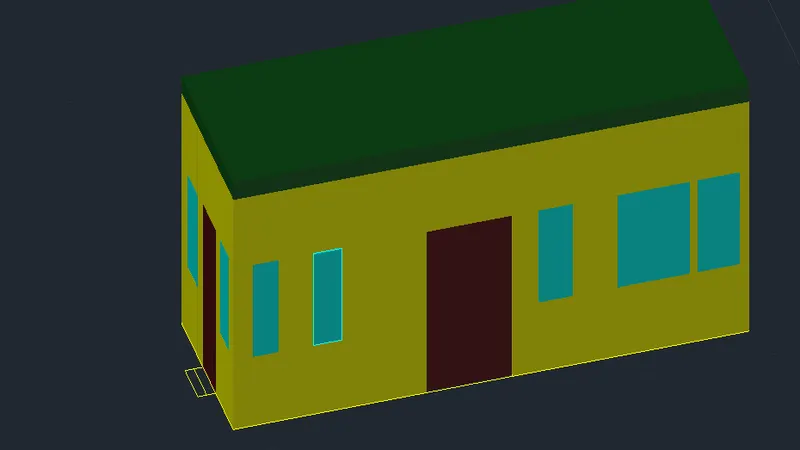
- By copy-selection,copy the house till 3-floors to form a building,now copy this full building 9 more times in horizontal direcgion,draw gaps for lift purpose in the intervals and draw one more slab of (1/4)" at the top.
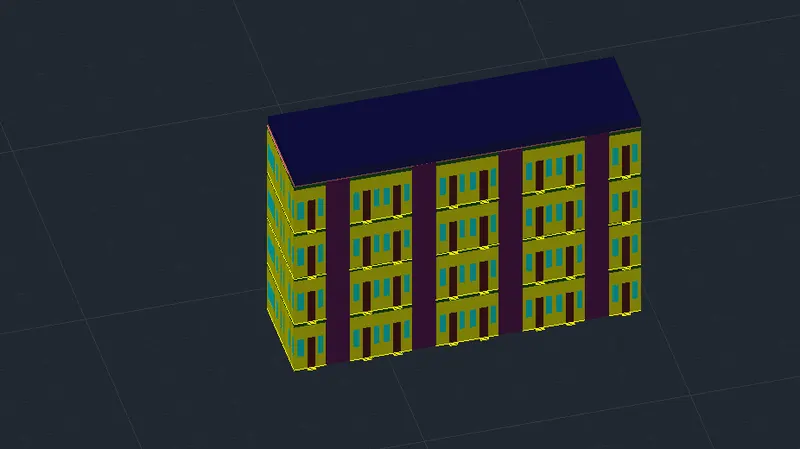
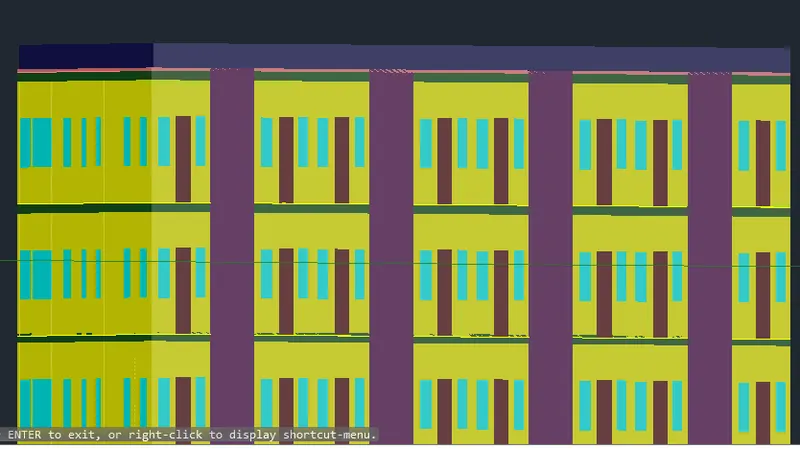
- Draw 4 vertical poles by cylinder command and draw spheres over them and connect these by drawing rectangles in them to create the boundary,draw the structure for parking space also.
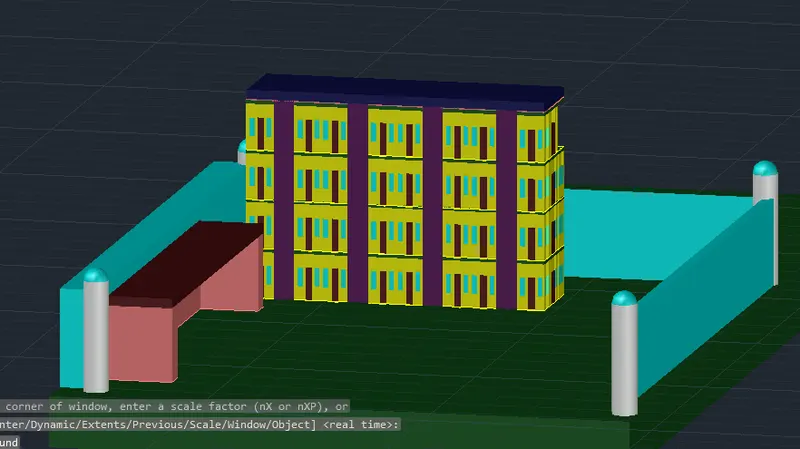
- Now,by materials command property,start selecting materials from the library,for glass choose glaze,doors-wood,walls-maroon wall paint,ground-concrete,boundary-brick mosanory.
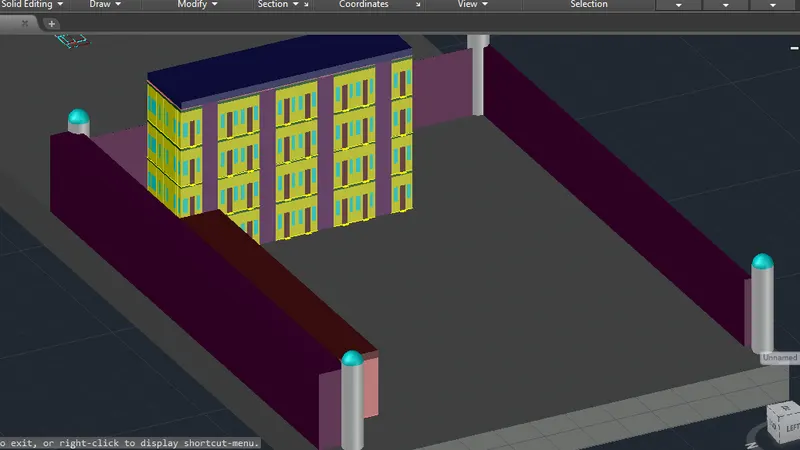
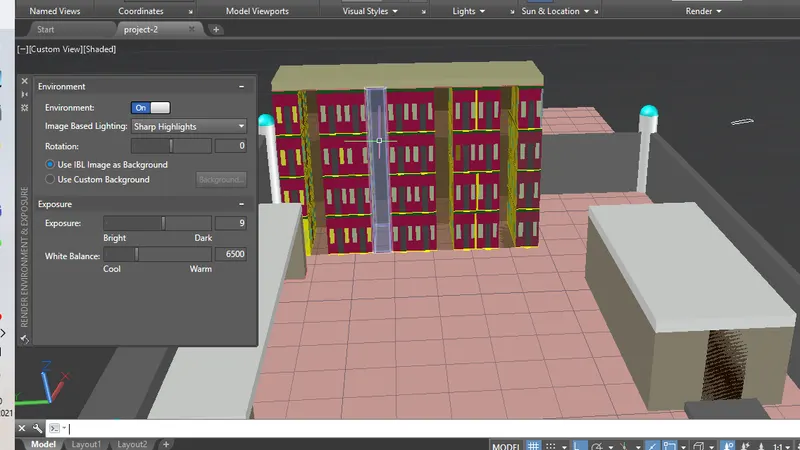
- Use the camera command to select the region till which we want the view,select yes,to get the actual view.
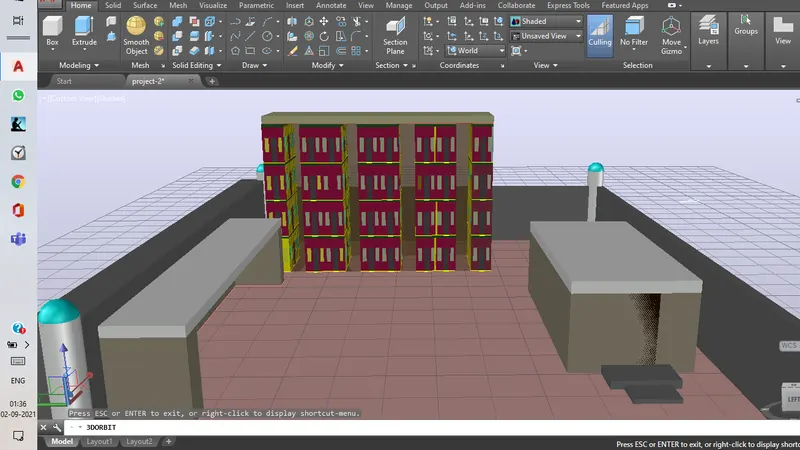
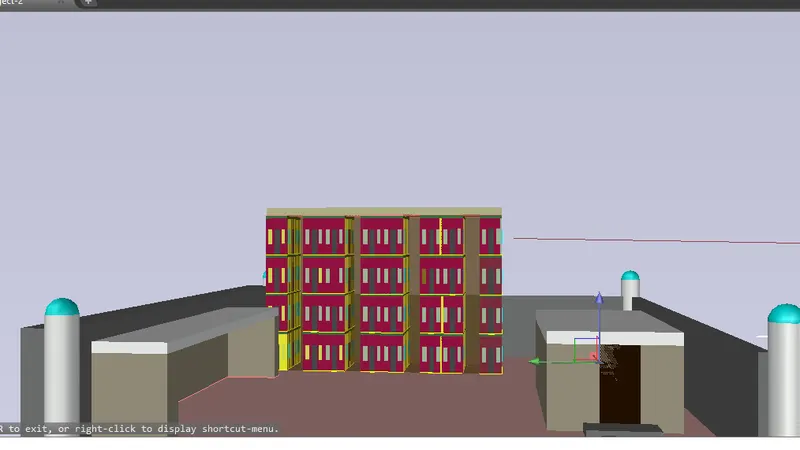
- Select the top right option-Render in cloud from visualize tab,justclick it,and check the internet connectivity to get start our online rendering process ,it will show it wait for 10 min as drawing is in que,after the 10 minutes,we can acess our rendered drawing.
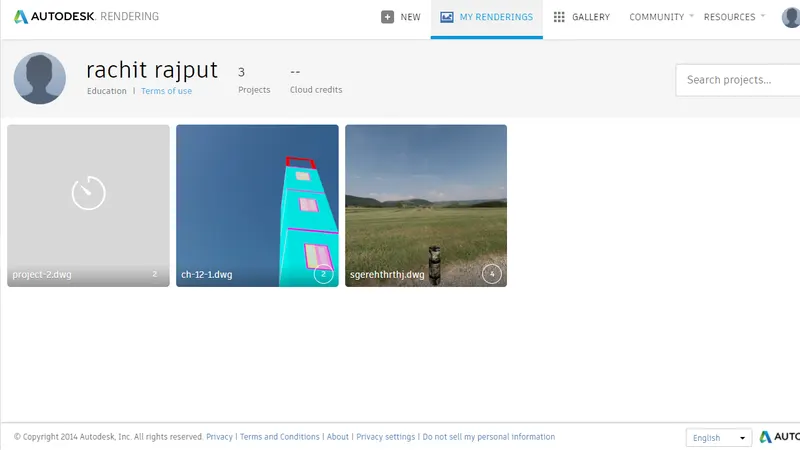
- Finally,go to Autodesk rendering select the project and download the file(rendered).
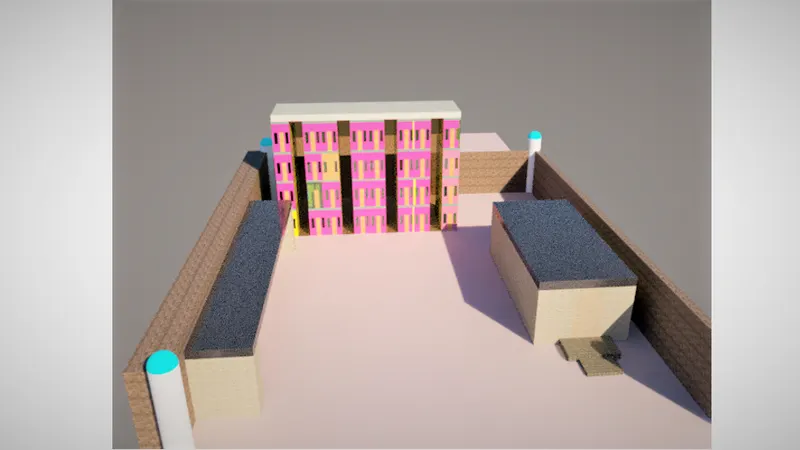
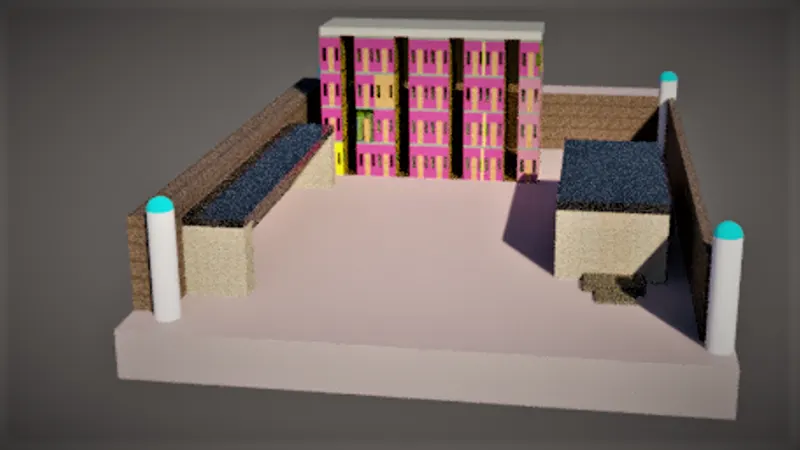
RESULT
We have sucessfully completed our project-2 in AutoCAD 2019 version using rendering process in Autodesk.