Project 2 - 2D meshing on the instrumental Panel
Aim:- Aim of this challenge is to 2D meshing of the instrument pannel of car by taking proper mid surface.
Procedure:- We will start by importing the 3D file of car instrument pannel into ANSA by open command.
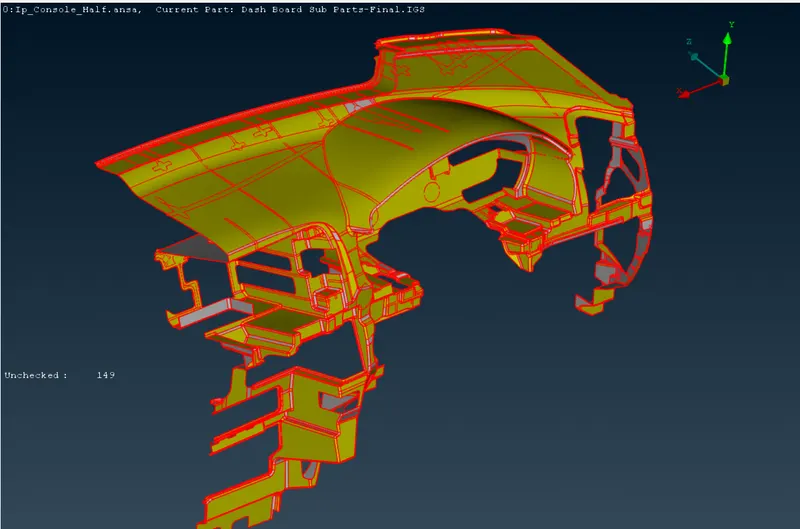
Fig 1: Showing the Instrument pannel in ANSA
Now we will check the model for geometrical errors. First we will perform the topo operation to join the adjecent faces.
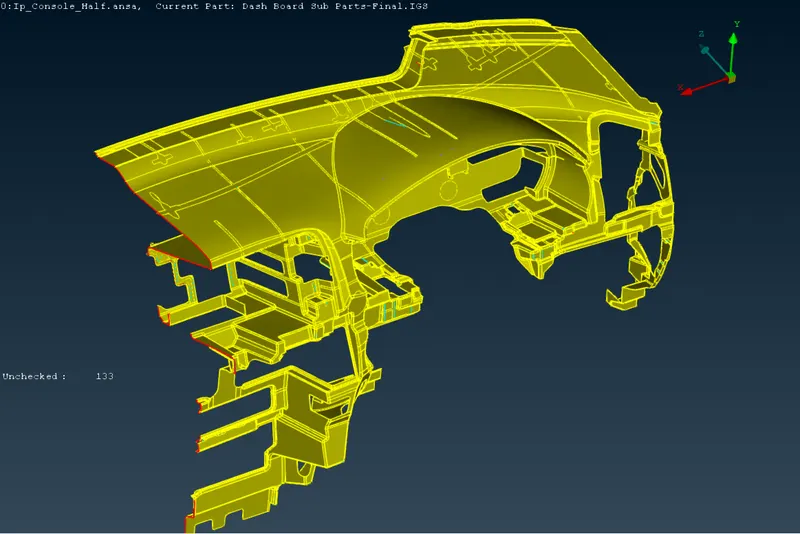
Fig 2: Showing model after performing TOPO operation.
Now we will check for the errors in gemetry using in-built geometry check command in ANSA.
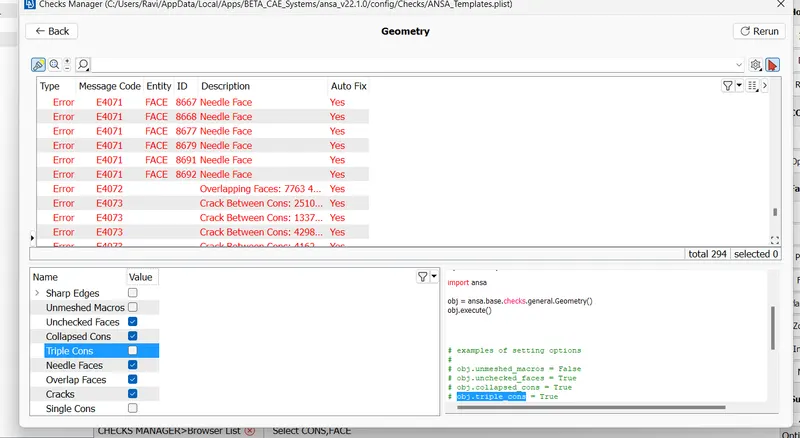
Fig 3: Showing errors detected by geometry check command.
we got some errors due to cracks between faces and some very thin needle faces. ANSA can fix most of the errors automatically using auto-fix command. If some erros left,, we have to fix them manually.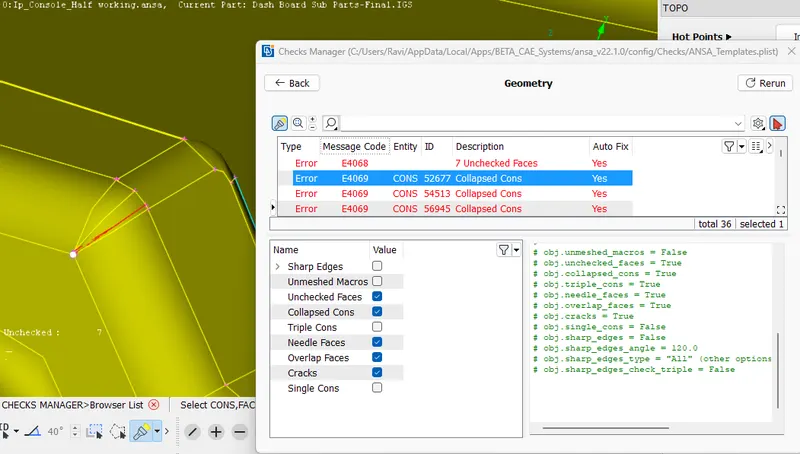
Fig 4: Showing Collapsed cons
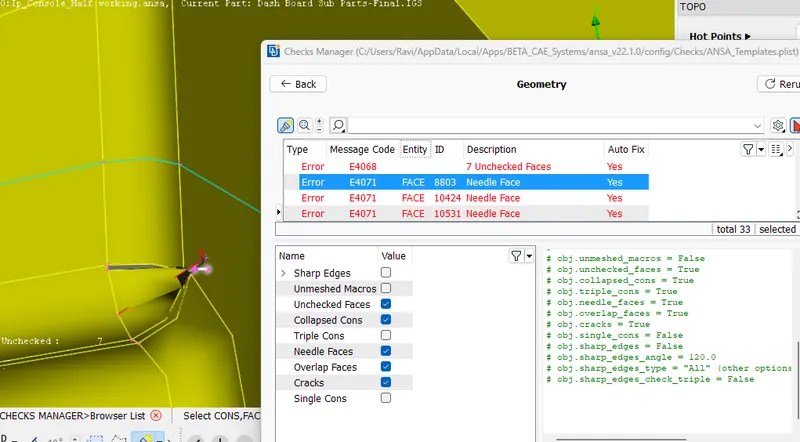
Fig 5: Showing Needle face
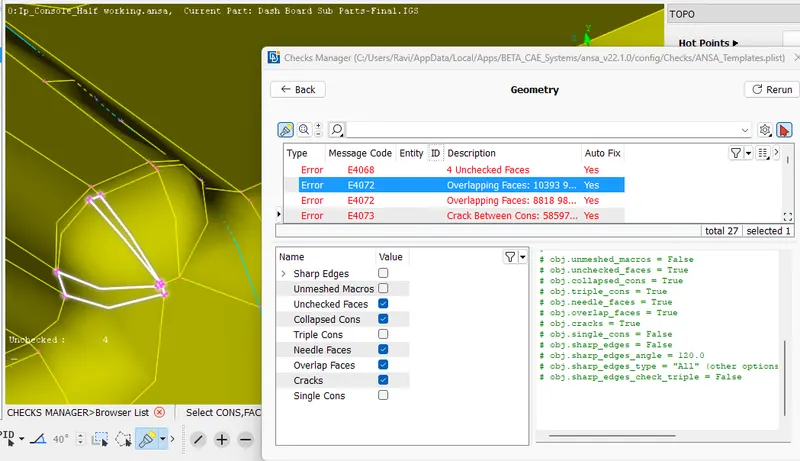
Fig 6: Showing Overlaping faces
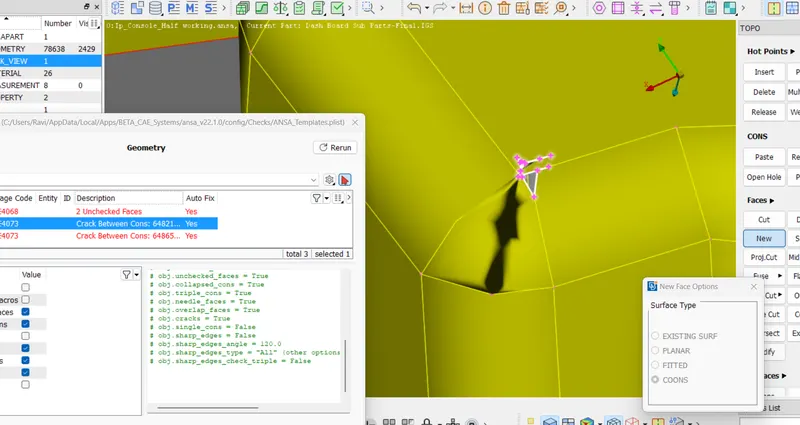
Fig 7: Showing crack between faces
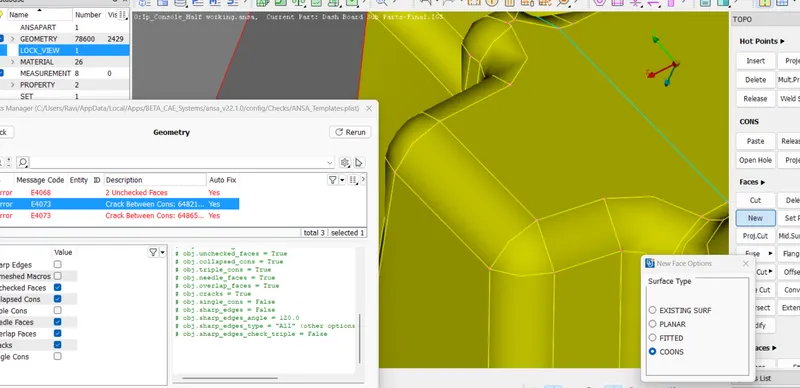
Fig 8: Showing fixed crack between faces
After fixing all the geometrical errors, we will proceed towards extracting mid surface of model.
Since, the thickness of model is non uniform across the dog house guide, the normal skin and casting extraction options are giving irregular mid surfaces. So, in this model we will use the offset command and middle surface command to extract the mid surfaces of main instrumental pannel and its ribs respectively.
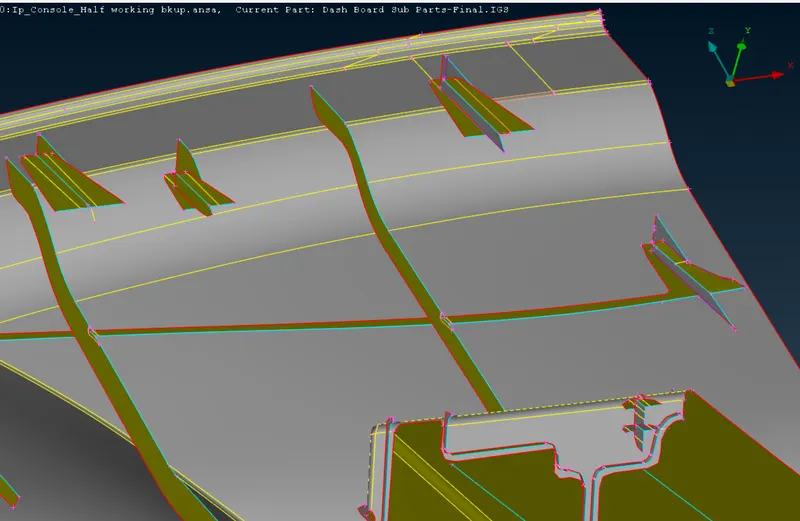
Fig 9: Showing portion of extracted mid surface after proper processing and fixing all errors.
After completing the mid surface extarction and joining all relevant ribs with main pannel, we will start the meshing procedure. First we will load the mesh parameters and quality parameters of mesh in ANSA.
After this we will starts the meshing all the surafces using best command, and then improving the mesh flow using re-construct, smooth, move, split, etc command.
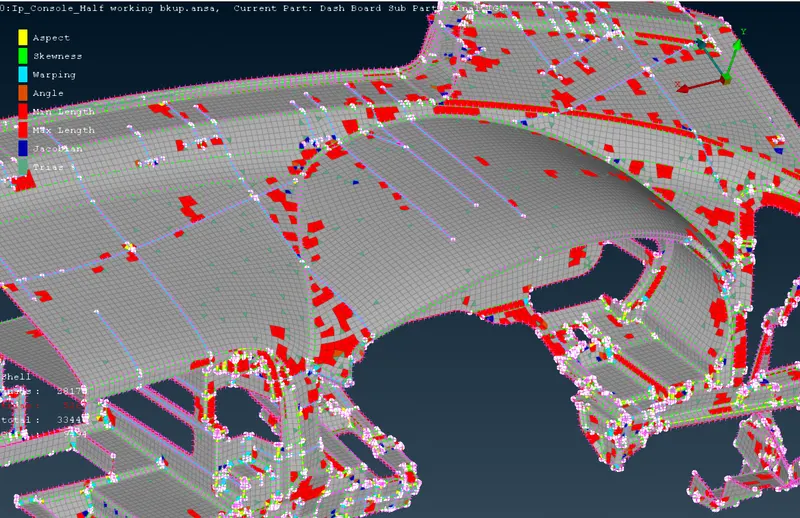
Fig 10. Showing initial mesh results
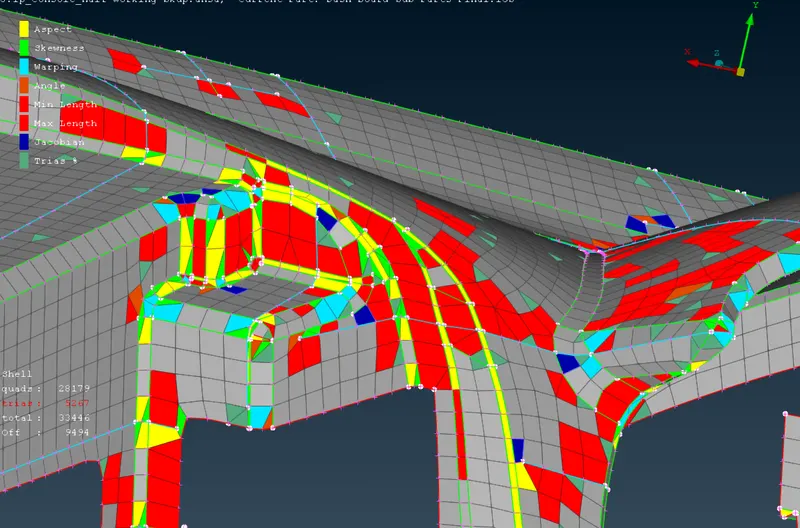
Fig 11. Showing deformed elements with initial mesh results
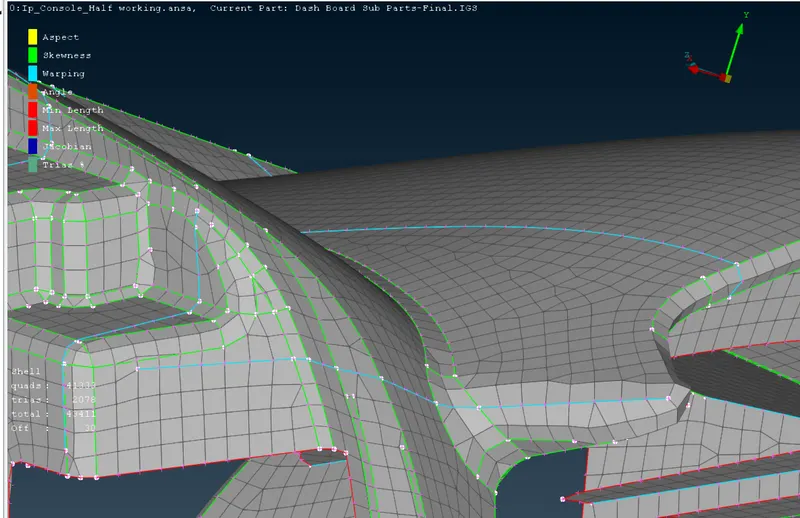
Fig 12: Showing mesh after fixing quality issues.
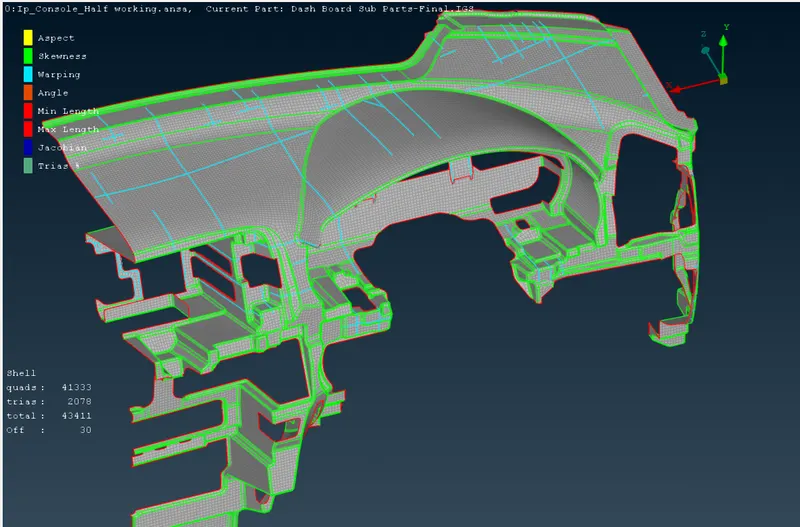
Fig 13. Showing mesh of instrumental panel after fixing quality issues.
In this model there are some regions, where quality of elements are not as per the required quality criteria. This is due to very small surface to mesh or due to in corners with intersecting surfaces.
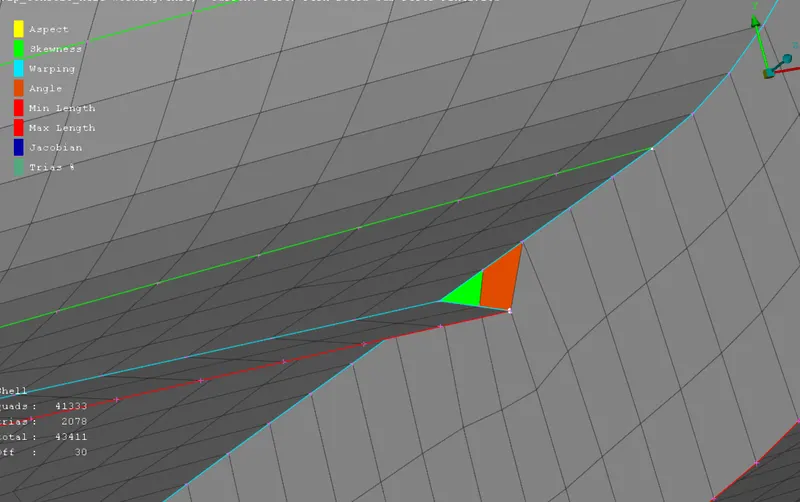
Fig 14: Showing one of the region in model, where mesh can't be formed as per quality criteria, due to gemetry limitations
Learning Outcomes:- There are many things which i have learnt from this challenege. Some of the important things are as follow-
- Use of middle surface, offset, skin and casting commands to extract the mid surface of model.
- Use of project curves to get edge of mid surface over nearby surface through projection.
- Use of set PID command to set the thickness of mid surface.
- Use of cut and join command to improve surface features for mesh generation.
- Use of move nodes, improve command having smooth,, reconstruct features and split element edges to improve the mesh elements and mesh flow over the surface.
This challenege has also improved my meshing skills in terms of time and quality.
Conclusion:- In this challenge I have constructed the FEA model of car instrument panel from the provided 3D file. The FEA model is constructed on the mid surface of the given 3D file. The constructed mesh is improved using various commands provided in the ANSA software to get smooth mesh flow. The constructed model can be used for various types of stress tests such as crash test, nominal load strength test etc.