Week 6 - Creating connection for Rear door
Aim:- Aim of this challenge is to perform suitable connections between the various components of rear door assembly.
Procedure:-
To start working with the model, first we will open the provided model in ANSA workbench using File > Open command. Now we will check the provided FE model for any errors or missing meshed parts. As the PSHELL are missing in the provided model, so we will first create the PSHELLS for the various componets in the assembly using set PID command in the TOPO tab.
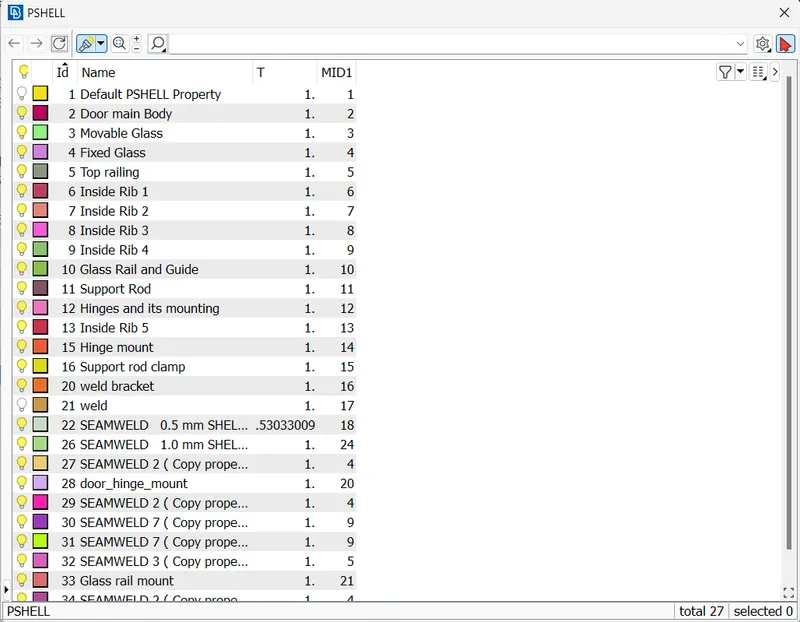
Image showing different PIDs given to the components in the assembly.
After confirming the model to be suitable for the connections, we will proceed with defining the connections one by one. Starting with defining the Bolts connection first, we will generate the 3D points on the centeroid of the bolt holes using Point on COG command. If bolt is joining more than 2 components, then we will generate point on the middle part hole CG.
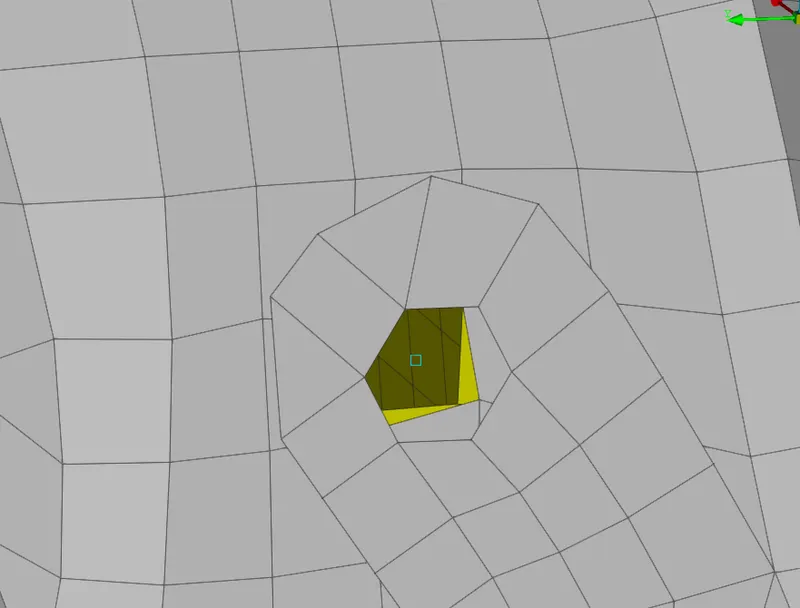
Image showing created hole on COG
Then we will convert this point to Bolt connection using convert command, by selecting connection type to be Bolt.
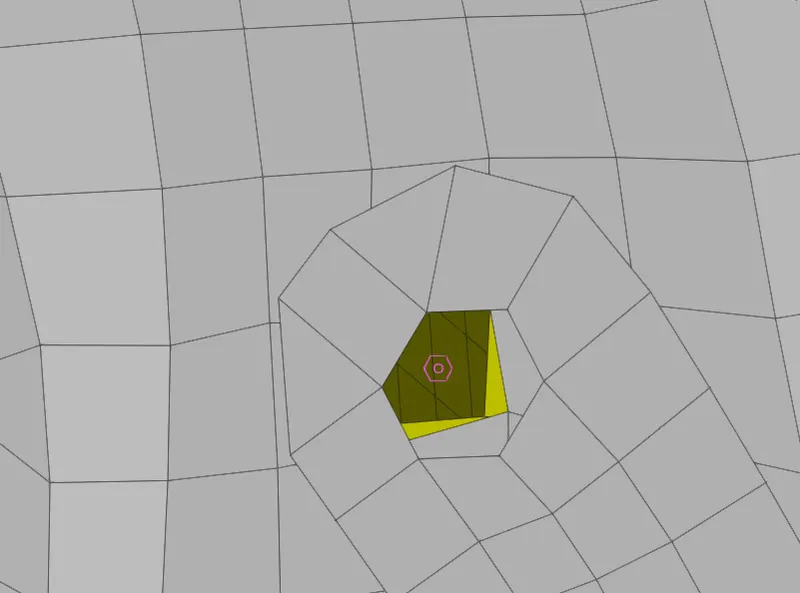
Image showing point converted to Bolt type connection
Now we will convert this connection to FE bolt representation using Connection Manager, and selecting FE type to be Bolt.
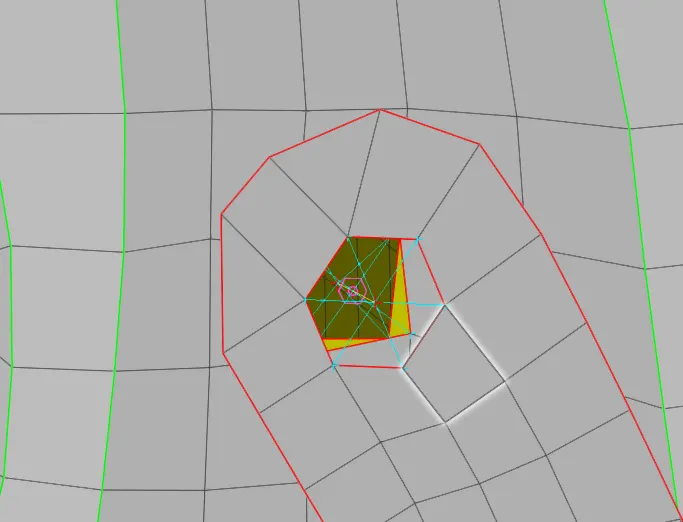
Image showing converted point to Bolt connection
We will do this for defining all the bolt connections.
In some regions we have to define the seam weld connection.
To do this first we need the seam weld line. we can get this by generating a curve using Feat2Curve command and then converting that curve to seam line. For defining the seam weld connection we use the OVERLAP SHELL FE type or RBE3-SHELL-RBE3
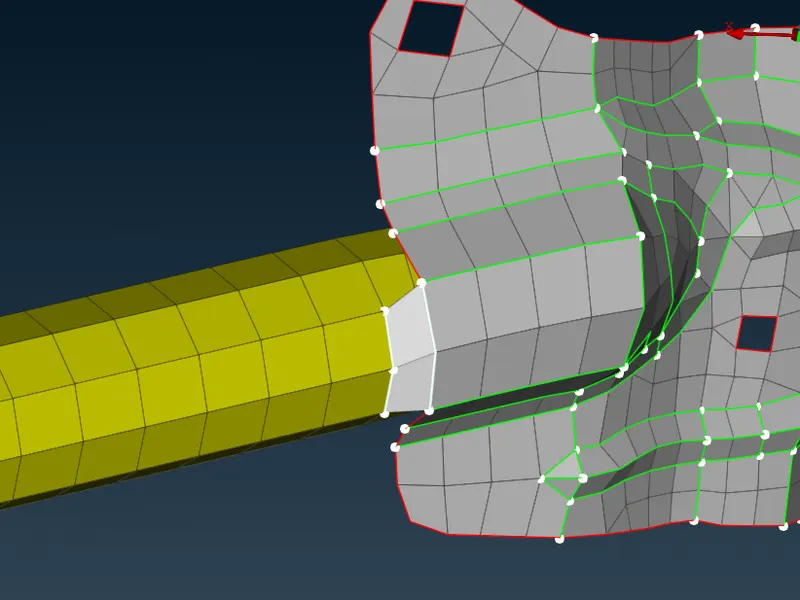
Image showing seam weld connection in highlighted elements
There are also some places where we have to define the spot weld connection. Spot weld connection definition is also starts with defining the 3D point first and then converting that point to spot weld connection type. In defining the FE type for the spot weld we use RBE3-HEXA-RBE3.
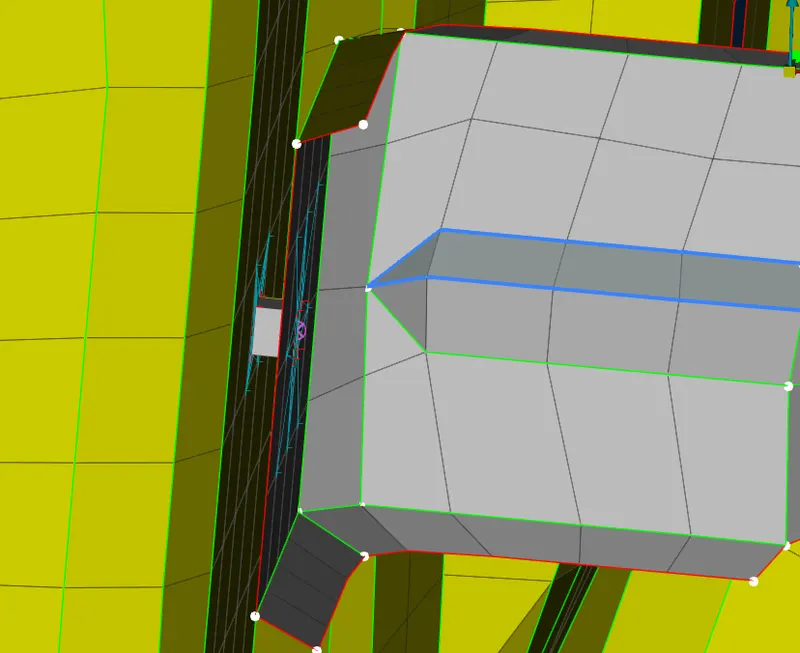
Image showing spot weld defined between two objects.
Now there is also need to define the connection between the glass and the door. But the connection between the glass and door is not rigid. To define this kind of connection we use the RBE3-CBUSH-RBE3 FE type. The main advantage of defining this element is, by using this element we can give the different damping values for all the three directions in single element.
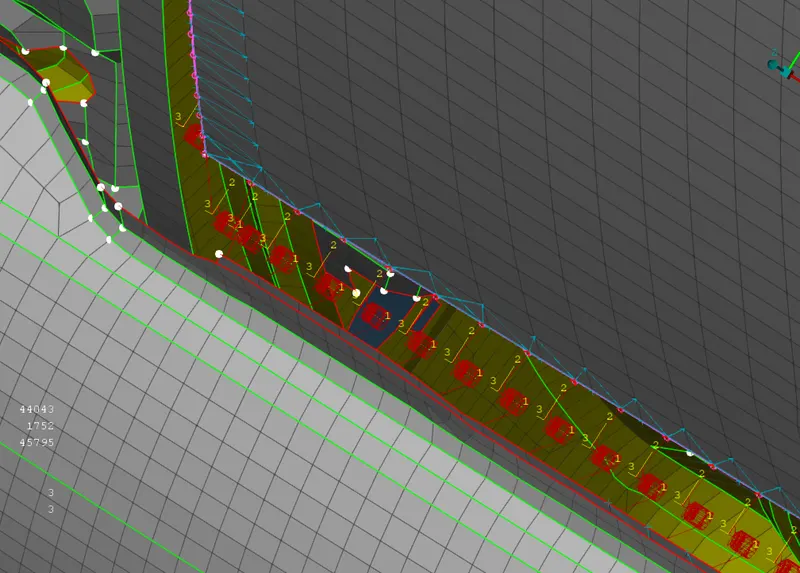
Image showing CBUSH elements deployed between glass and door body.
There is also requirenment of aligning the CBUSH elements to the global Co-ordinate system to get better results. This can be done in single shot by selecting all and the using modify command and then changing the orient property to CID 0, which is a global co-ordinate system.
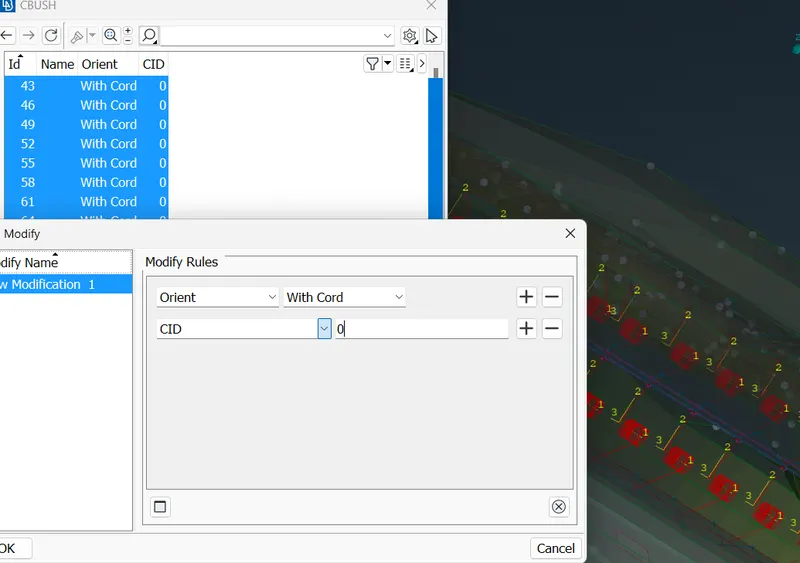
Image showing aligning the CBUSH elements with the global co-ordinate system.
We can also define the remote mass of elements which are not in the analysis, but it is important to consider their mass. This can be done by using CONMi element. The units for defining mass are in Tons.
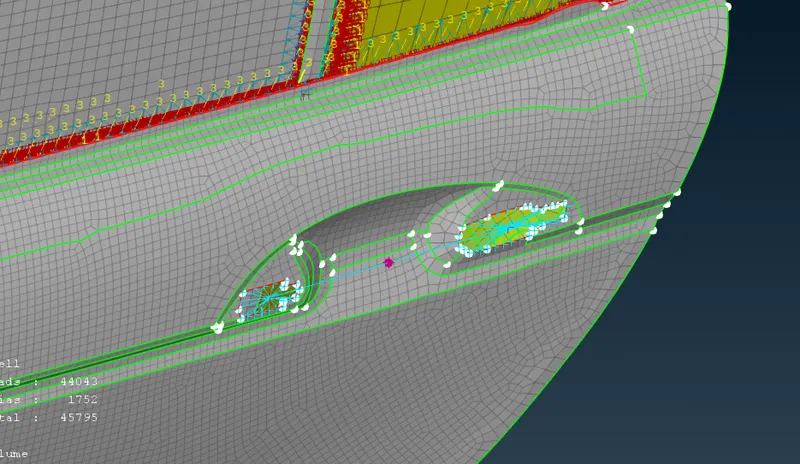
Image showing representation of remote mass of Handle using CONMi element.
Learning Outcomes:-
There are various types of learning from this challenge. Main learning are-
- Defining the Bolts connection using Connection manager
- Defining the Seam weld connections
- Defing the Spot weld connections
- Defining the soft connection using CBUSh elements
- Defining the remote mass at nodes
Conclusion:-
After defining all the connections a FE model of rear door assembly is ready for solving after applying the boundary conditions. While defining the connections the connection type is choosen best as possible to match the connection type with real world conditions. This challenge will help me improve my connection defining skill in ANSA workbench.