Project 2
Aim - To define and create a wiring harness for a given car backdoor, as well as preparing a flattened representation of the harness design and drafting the wiring harness design.
Methodology -
Introduction:
In the automotive industry, electrical wiring harnesses are used to provide power and communication between different electrical components in a vehicle. A wiring harness is essentially a bundle of wires, connectors, and other components that are organized and secured together to transmit electrical signals from one location to another.CATIA is a software tool that can be used to design electrical wiring harnesses for car back doors. It provides a range of tools and features to create accurate and detailed harness designs.Using the harness design tools in CATIA, users can create the wiring harness design along the defined routing path. They can select wires, terminals, and other components and arrange them as necessary. The harness design can be adjusted and modified to ensure that it fits and functions properly.
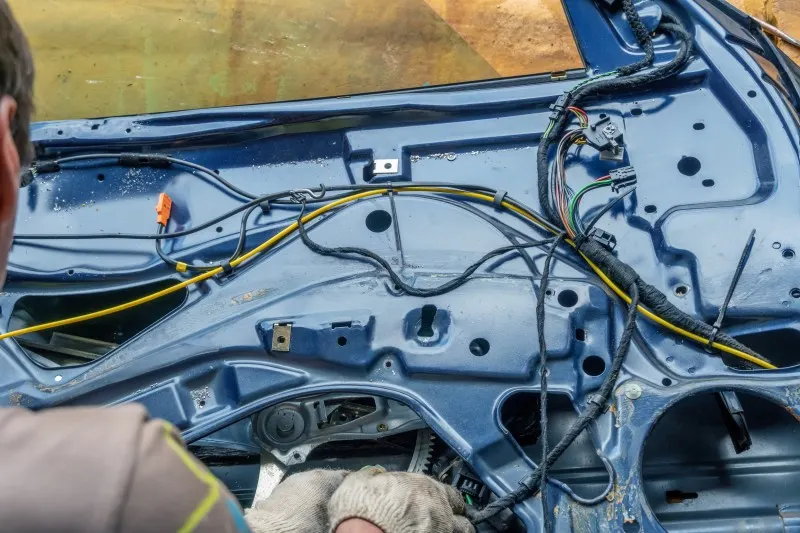
Designing an electrical wiring harness using CATIA for a car back door involves following packaging rules and industry best practices. Packaging rules dictate how the wiring harness should be arranged within the car back door to avoid interference with other components and to optimize space utilization.Industry best practices for wiring harness design include selecting connectors and terminals that are suitable for the intended application, and ensuring that the harness is properly secured and protected from environmental hazards such as heat, moisture, and vibration. Designing an electrical wiring harness using CATIA for a car back door requires adherence to packaging rules and industry best practices, as well as the use of powerful software tools to optimize the design for manufacturing and assembly. By following these guidelines and using CATIA effectively, automotive design and engineering teams can create wiring harnesses that are reliable, efficient, and easy to manufacture and assemble
Procedure -
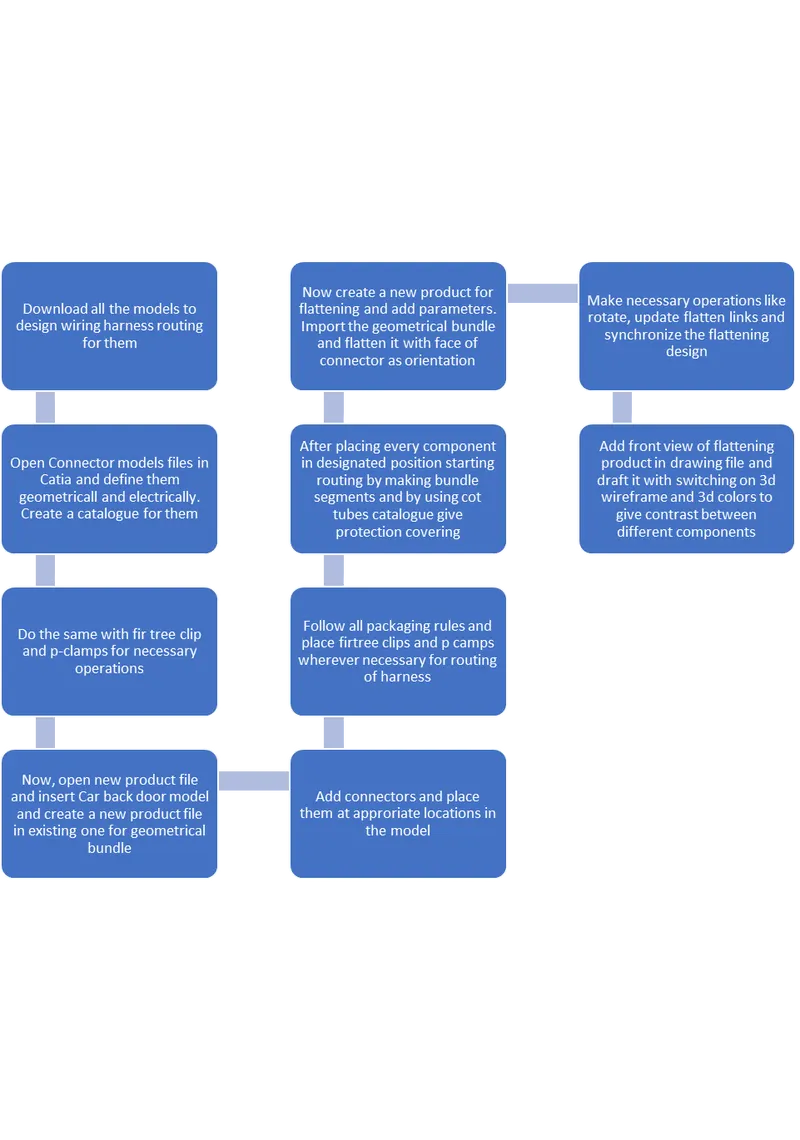
- Download all the given catia model files required for wiring harness design
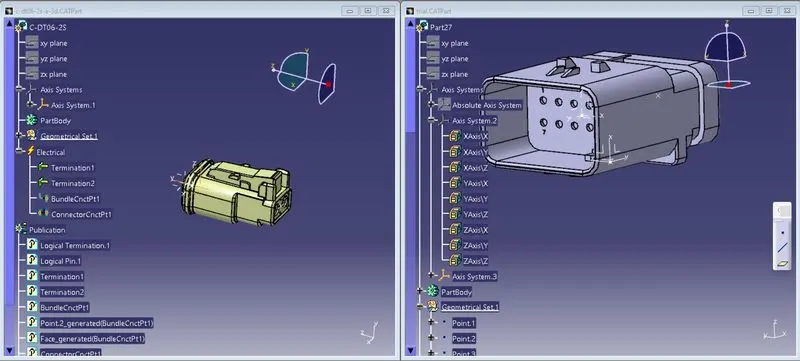
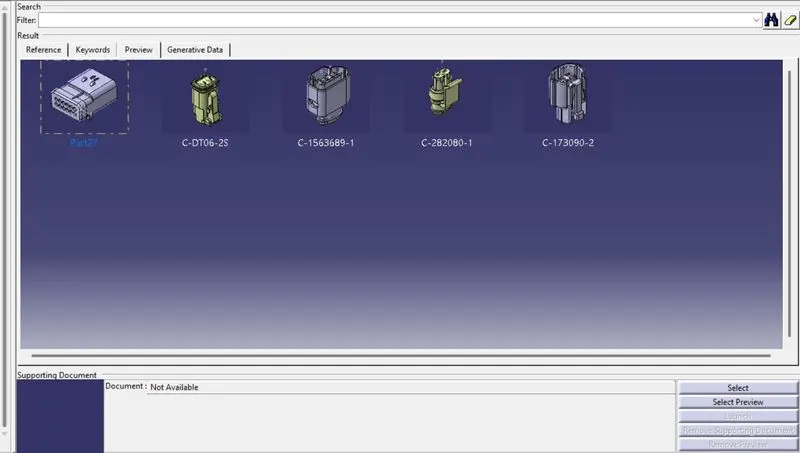
- Now import the connectors, fir tree clips, pl clamps and other required individual components for further operations and define them both geometrically and electrically.
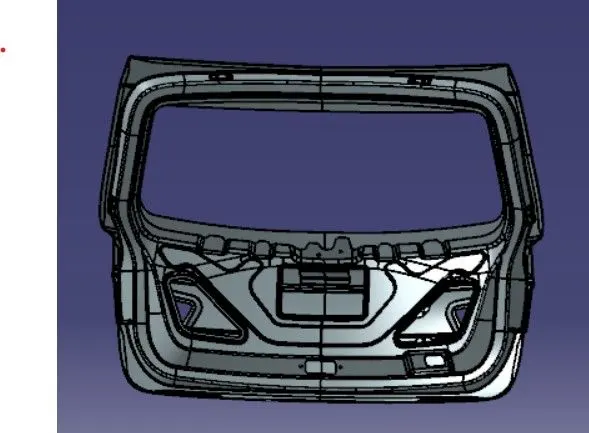
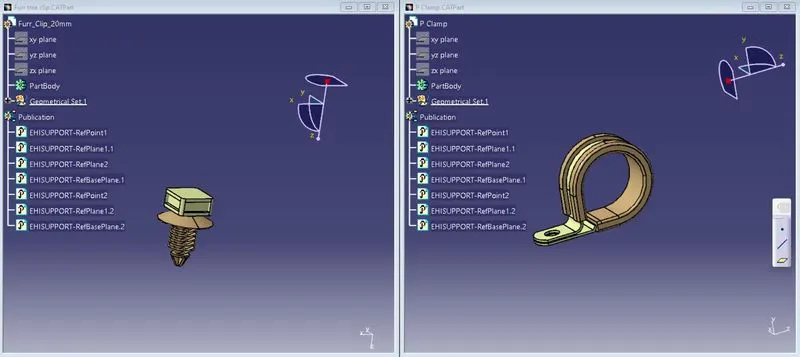
- Create a new product file and insert the Back door assembly cad model in the new product file. Then create a new product file for geometricle bundle in the existing product file itself and electriclly define that as geometrical bundle in electrical harness assembly workbench.
- The electrical wiring harness for a car back door typically includes multiple components that need to be connected through the use of appropriate connectors. One commonly used connector is the 2 pole DT06-2S connector. In the harness, this connector is used for a variety of purposes, such as connecting two lights, a number plate, a wiper motor, a rear camera, and a rear sensor.
- The specific bundle connection points and connector connection points for each of these components can be defined and organized according to industry standards. Once the connections are properly organized, the connectors can be positioned in the appropriate places on the harness.
- Some of the key connectors that are used in the back door harness include the wiper motor connector, the number plate light connector, the back camera connector, the tail lamp connector, the back sensor connector, and the locking mechanism connector. By following best practices for electrical wiring harness design and using appropriate connectors, designers can ensure that the back door wiring is reliable and efficient, with all necessary connections functioning properly.
- Place the mentioned connectors at desired location
- Add Fir tree clip at multiple locations for smooth transition of bundle harness routing
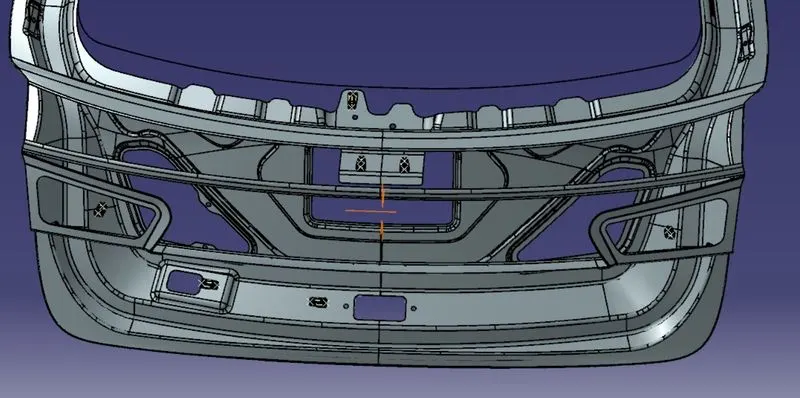
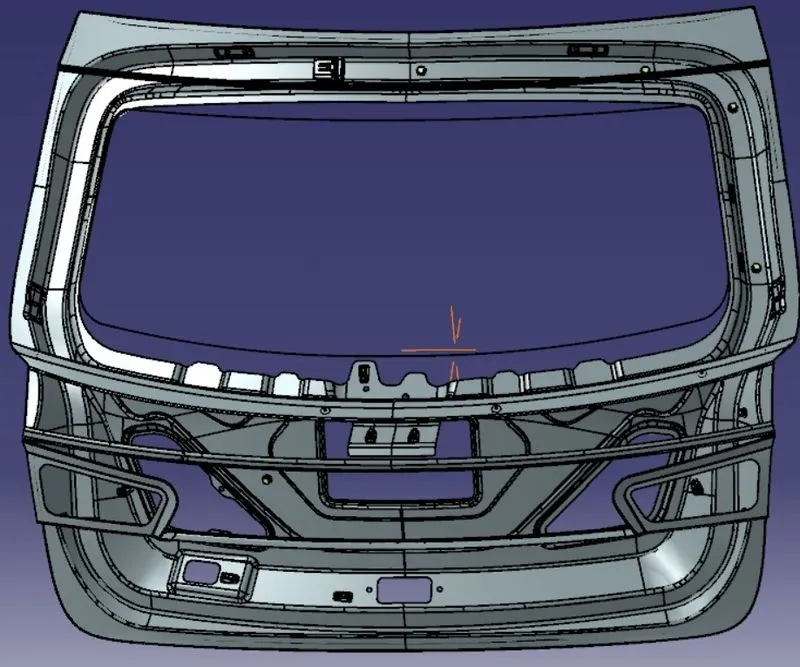
- Now start routing the bundle segments. Open Electrical harness workbench and start with multi segment bundle and choose appropriate diameter and bend radius of bundle for routing. Route the wiring harness with the helps of provided clips as support. To protect the wiring harness from high temperatures, protective coverings were added using the Define Protection Part command in the Electrical Part Design workbench.
- After that by using Cot Tubes catalogue give protection covering to harness. Protective coverings play a crucial role in maintaining the long-term reliability and safety of electrical wiring harnesses, particularly in harsh environments. They not only provide protection to the harness against wear and tear but also contribute towards enhancing the harness's overall aesthetics. By concealing the wires and creating a uniform appearance, protective coverings can make the harness look more streamlined and visually appealing.
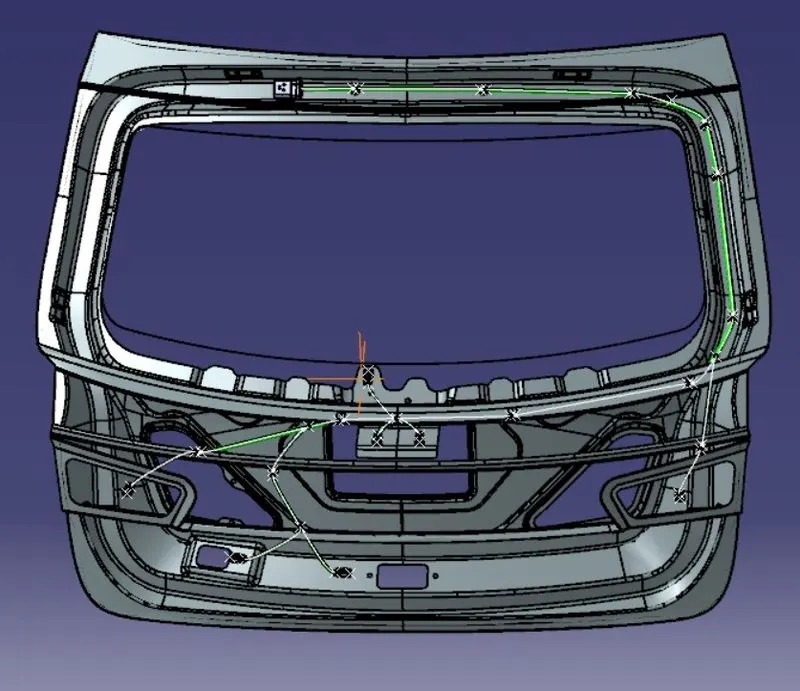
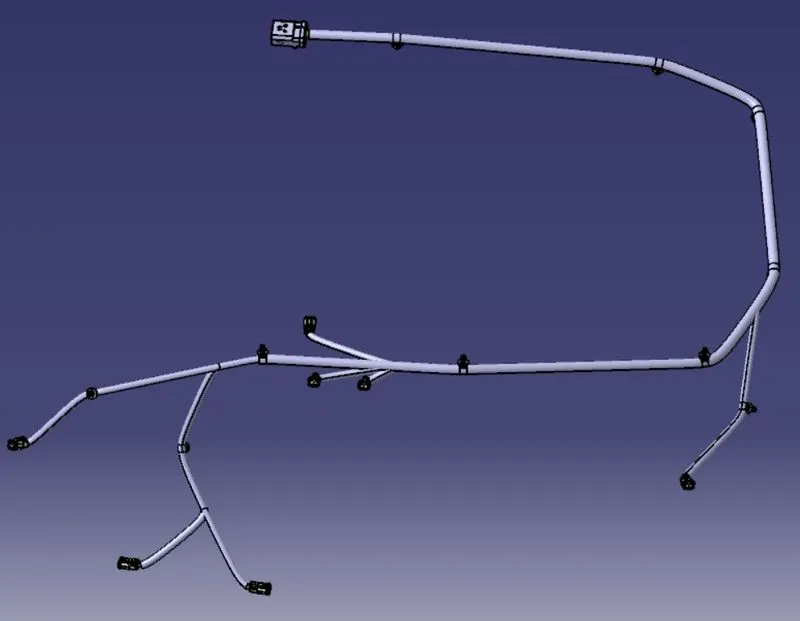
- Now we have to check bundle connectivity. During this specific step, it is crucial to ensure that the 'multi-branchable' option is selected before proceeding to Edit > Search > Advanced > Workbench-Electrical > Type-Bundle Segment > Attribute-Fully Connected. Choosing the 'True' option will display all connected bundle segments, while choosing 'False' will display all non-connected bundle segments. For this particular task, we have selected the 'True' option to obtain our search results. The figure below demonstrates that all the bundle segments are highlighted, indicating their electrical connection.
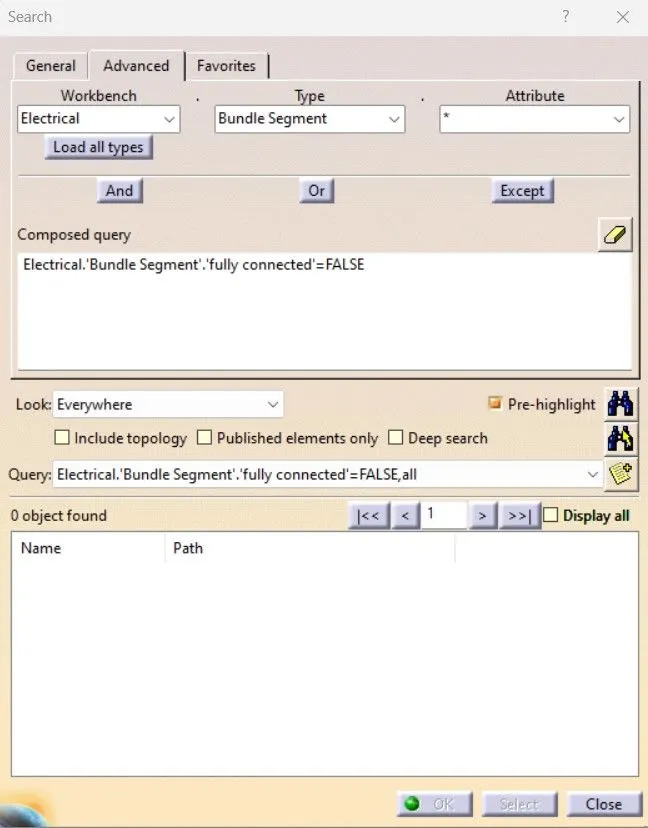
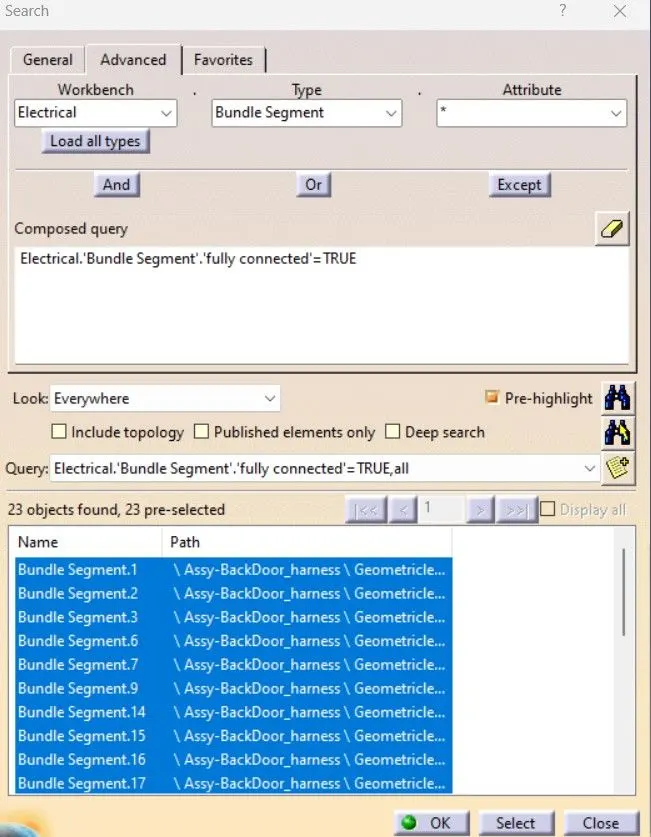
- Create a new product file and save it in the same folder with all other files of the back door harness project.
- Open both the harness flattening workbench and the main assembly in parallel.
- In the harness flattening workbench, add the flattening parameters such as orientations, scaling, drawing, and others.
- Extract the geometric bundle from the wiring harness context product file.
- Use the flatten command to flatten the extracted bundle.
- Use the rotate, bend, and other features to adjust the flattened bundle to fit the drawing sheet.
- Auto update for any flatten links and synchronize.
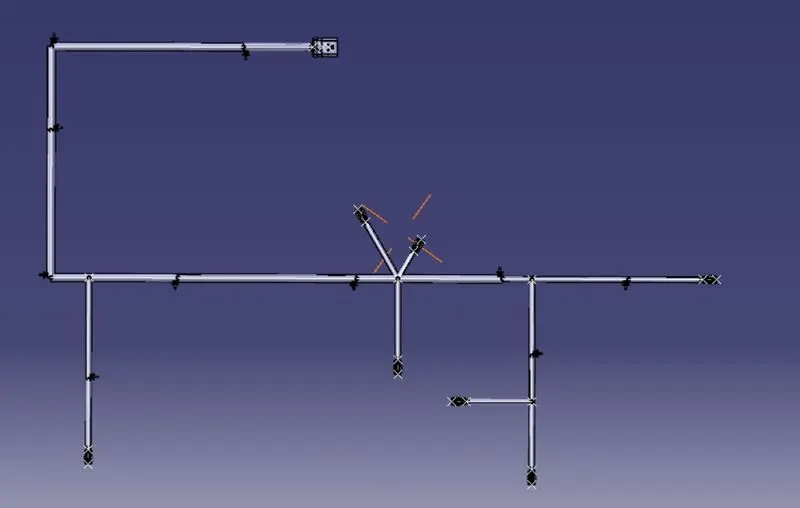
- Create a new drawing file in the Drafting Workbench. Ensure that the sheet size is A0 ISO sheet.
- In the Sheet Background, add a frame and a title box.
- In the Working View, add the front view of the flattened harness assembly by selecting a plane for reference.
- In the Properties, change the scale to 2:3 to ensure that the draft fits the frame.
- Enable 3D Wireframe and switch on colors for differentiating the components in the draft.
- Apply colors to the bundle segments and protective coverings as per the company standards.
- Adjust the view as per the requirement, and add necessary dimensions, annotations, and notes.
- Verify that the draft meets the company standards and is ready for production release.
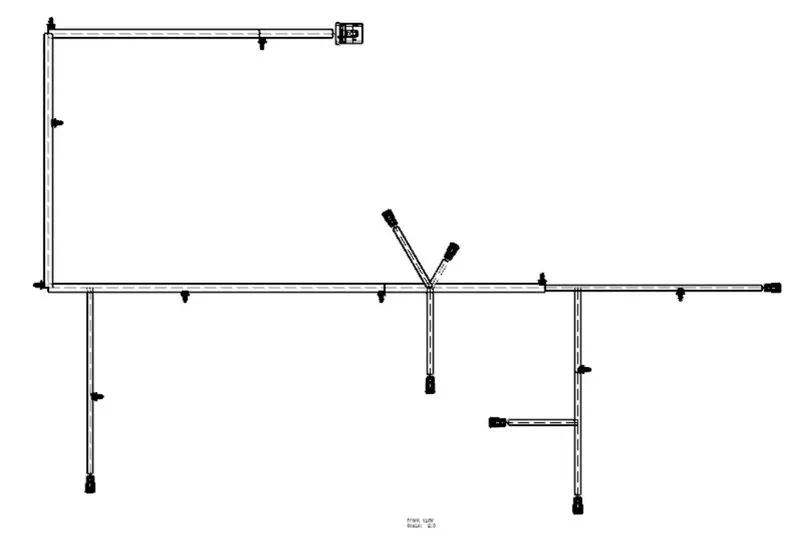
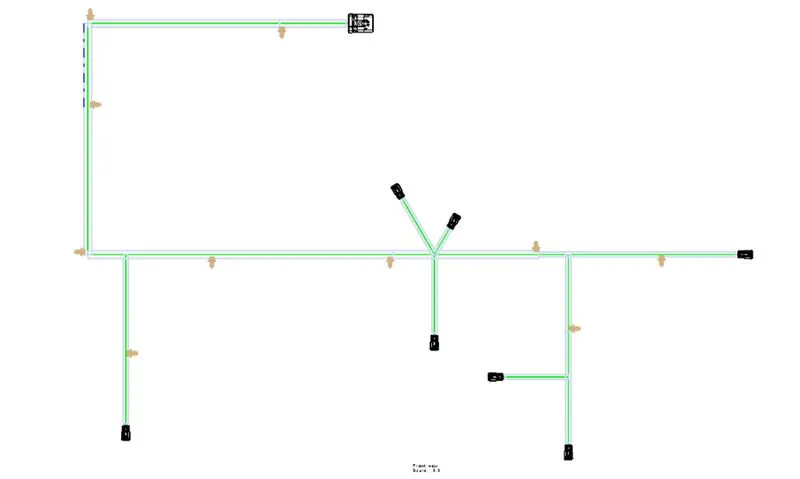
Conclusion -
The defining and designing the wiring harness for given Car Backdoor model has been successfully completed by using Catia software. All the rules for packaging and routing for wiring harness have been followed while designing the routing.