Project 1 : CFD Meshing for Tesla Cyber Truck
PROJECT - 1 : CFD Meshing for Tesla Cyber Truck
AIM:
To perform volumetric meshing (CFD Meshing) on the given Tesla Cyber Truck geometry.
OBJECTIVE:
- To open the given geometry in ANSA and to cleanup the geometry appropriately.
- To carry out triangular meshing on the surface of geometry with different target lengths.
- To create a wind tunnel with appropriate geometry and to do surface meshing of the same.
- To perform the volumetric meshing (CFD Meshing) of both wind tunnel and car geometry.
PROCEDURE:
1. Open the geometry in the ANSA software and increase the resolution of the geometry by providing Length and Macros from Meshing session.
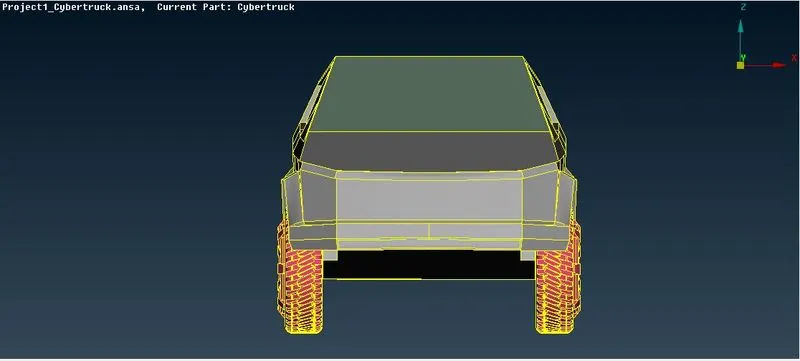
2. As the geometry being symmetric with centre it is advised to delete half the geometry and work on the remaining part as shown below and finally do symmetric approach.
3. Isolate each and every part of the geometry such as Wheel and Rim, Window and body. Then perform surface cleanup of each parts by deleting overlapped, unwanted surfaces and penetrated surfaces by using universal delete option, fill the gaps present by creating new surface from New option on the left tabular column followed by selecting either Existing Surf or COONS or FITTED option. After cleanup check whether any triple cone or single cone exist if any single or double cones are there so necessary step to eliminate those. (NB: Sinlge cone will be present on the central axis as the remaining surface is deleted as per symmetry.)
4. Use Cons2Curve or Create curve option to get the traces of deleted faces which help to recreate those faces in future.
5. Remove small faces, unwanted hot points and delete unwanted cuts on the surface of each part.
6. After completing the cleanups provide each part with suitable PID name by selecting the Property from top tabular column and creating new PIDs and by renaming existing PIDs. Then assign each PIDs appropriately.
7. After the geometry cleanup check the geometry for any crack, single cone, overlap faces, penetration etc.. by using check manager. If any error encounterd resolve those.
8. Now move to the meshing tab. On the meshing tab set the perimeter and macro length. For this project the considered target length for each part is
a. Body - Target Length = 4, Min and Max Target lengths are 2 and 6 respectively.
b. Window - Target Length = 4, Min and Max Target lengths are 2 and 6 respectively.
b. Rim and Tyres - Target Length = 2, Min and Max Target lengths are 1 and 3 respectively.
9. From the Mesh parameter drop down set meshing type as triangular and target length, Minimum and Maximum Target length. Set minimum and maximum target length in quality criteria also.
10. On the left tabular column click on spot mesh under Mesh generation section and select each PIDs and do meshing enable hidden mode and verify any OFF elements are present if so reconstruct mesh by using Reconstruct option under Shell Mesh. Again if any off elements are present check the geometry and do the necessary cleanup.
11. Repeat steps 8, 9, 10 with appropriate traget size, minimum and maximum target size for each PID. The surface meshing of each PIDs are shown in Result session.
Note: Perform meshing of body PID at last. While meshing body deselect the common cons of body with other PIDs.
12. After completing the surface meshing of one half click Tranform > Copy > Select the entities > Symmetry > Mirror 3 Point Plane > Select 3 points check the preview and click Finish. Remove if any single cons present and do geometry check. The figure shown below is the final meshed car geometry.
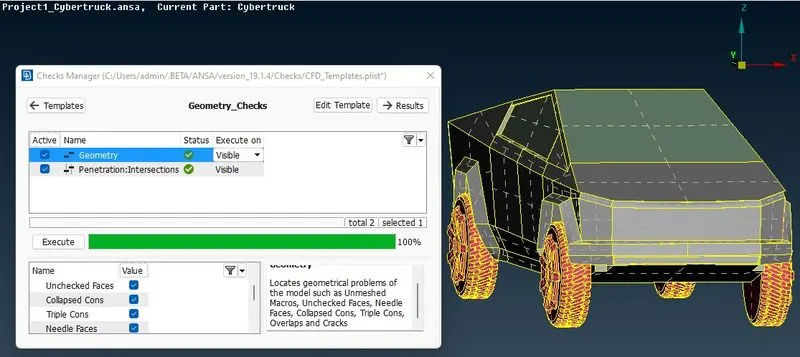
13. Now create the wind tunnel by using creating points, curves and by creating different faces of wind tunnel using those curves in such a way that front face of the tunnel should be at a distance of 4X, rear face of the tunnel should be at a distance of 6X, top face of the tunnel should be at a distance of 3X, bottom face of the tunnel should be very close to the wheel, Side face of the tunnel should be at X distance from the car geoemtry. Where X represents the total length of the truck geometry.
14. Mesh all the faces of tunnel creat fine mesh at bottom and course mesh at top using Spacing option. which helps to enable to save time as our main focus is geometry.
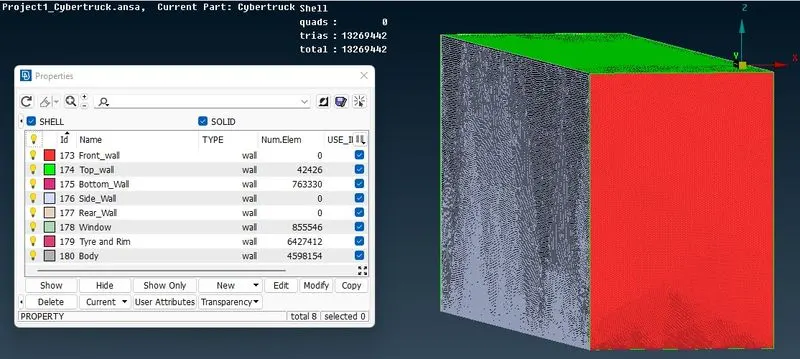
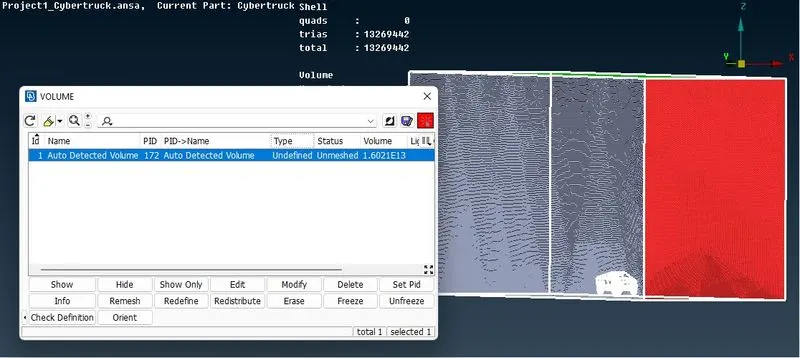
9. After completing the surface meshing move to volume meshing tab, select Define and select auto detection. Here delete the unwanted volumes like car inside volume, wheel volume, silencer volume . Maintain the volume between the car geoemtry and wind tunnel as shown in the figure shown in the Result session. Then remesh the selected volume with Tetra CFD option.
Note: As number of elements for this case is more than 1crore, volumetric meshing of the same can't be performed with the available system properties. So the volumetric meshing of the same is ignored for this project.
RESULTS:
The figure shown below represent the surface meshing of different PIDs
a. Tyres and Rims
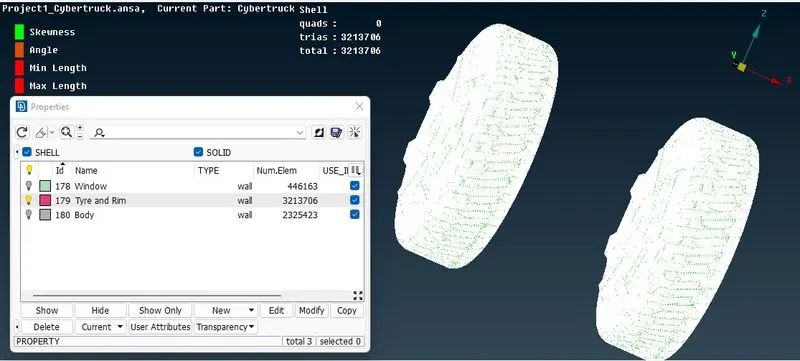
b. Windows
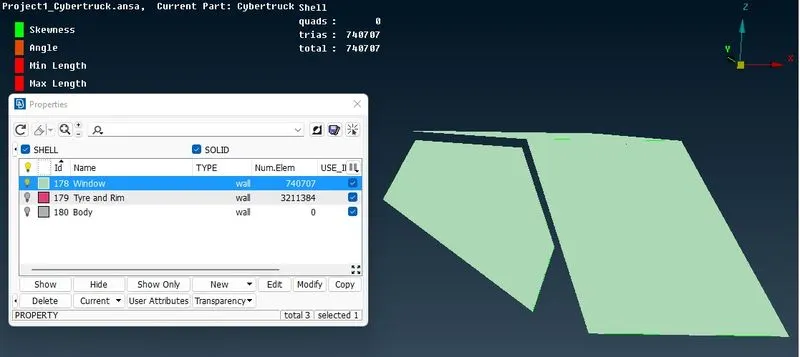
c. Body
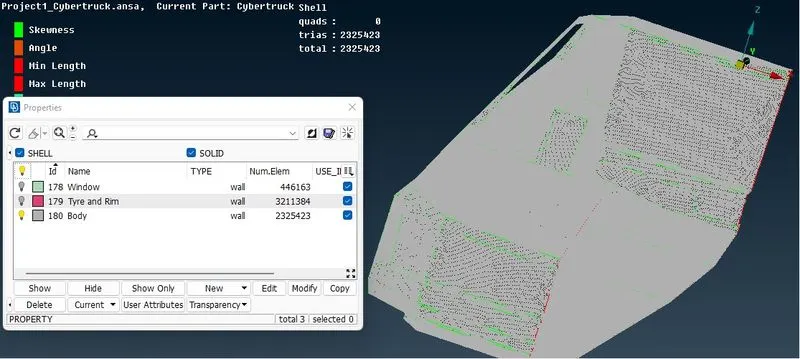
Note: Off elemenst of each PIDs are eliminated.
d. Final meshed geometry before applying symmetry
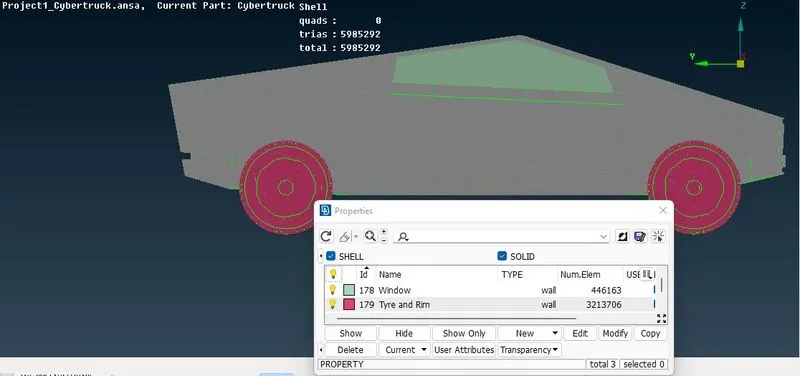
e. Final meshed geometry after applying symmetry
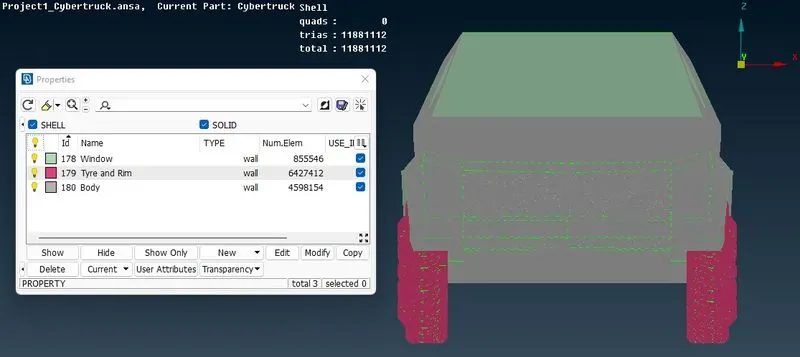
f. Volume selected to perform volumetric meshing
CONCLUSION:
The given geometry is studied and a topological cleanup and surface meshing of the same is carried out. A wind tunnel is constructed and surface of meshing is also done on it. As volumetric meshing will require an advanced system, as number of elements are very large volumetric meshing is neglected for this project.
By doing this project it helps to gain more about topological cleanup, constructing new surfaces, surface meshing and volumetric meshing by using different sets of tools in ANSA software.
Link to download file: https://drive.google.com/file/d/1VjHnPQRjZuUJbWLnLBFL2xF_4ZggC-IA/view?usp=sharing