Project 1 - 2D meshing on the instrumental Panel
AIM:--
2D Meshing of Car Dashboard using ANSA
ABOUT THE MODEL:--
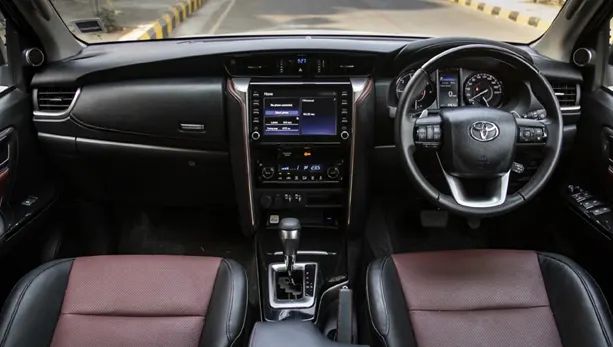
A dashboard (also called dash, instrument panel (IP), or fascia) is a control panel set within the central console of a vehicle or small aircraft. Usually located directly ahead of the driver (or pilot), it displays instrumentation and controls for the vehicle's operation.
Your instrument panel contains the following:
- Speedometer tells you the speed of your vehicle in MPH and KPH.
- Tachometer shows how many rotations your engine is making per minute.
- Odometer shows how many miles your car has traveled in its lifetime.
- Fuel Gauge shows how much fuel remains in your car's tank.
- Gear Display shows which gear your car is currently in.
- Turn Signal Indicators flash when your turn signals are on; both will flash if you turn on your hazard lights.
- Active System Lights alert you to parts of the vehicle that are activated, such as an open trunk or door.
PROCEDURE:--
- First Import the model and do the topo on it to stitch the surface properly.
- After topo, Model should be in YELLOW color.
- Cleanup the geometry properly.
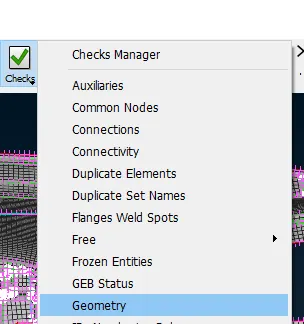
- Check--Geometry. This option helps us to fix many Geometrical errors using the AUTO FIX option.
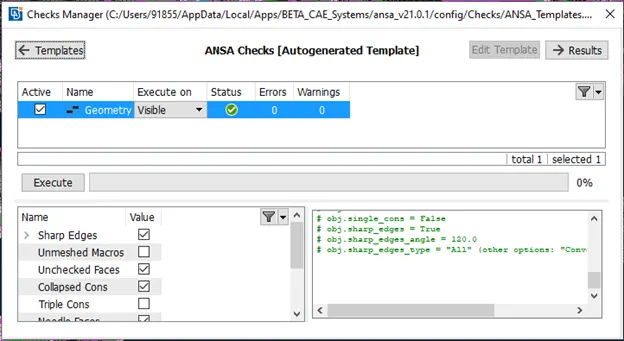
- Now we are good to for MID SURFACE extraction.
- We will Extract the MID SURFACE by OFFSET option.
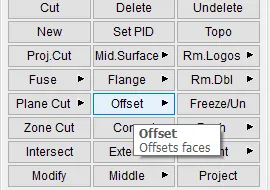
- To use this option, first measure the thickness of the PID region so that we can offset that surface extactly in the middle of two extreme surfaces.
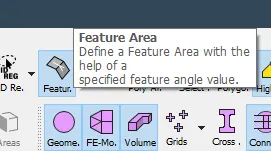
- We have to select the face which is having less number of features. And select the surface using FEATURE LINE.
- This is the mid surface of the IP model without feature.
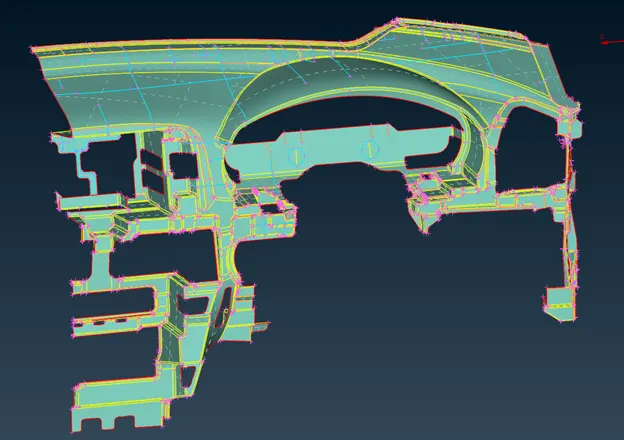
- Now we have to extract the Feature, Ribs, Dog house & Locators which is at the opposite side of model.
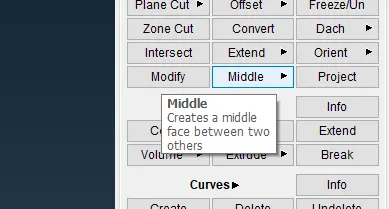
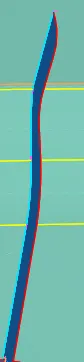
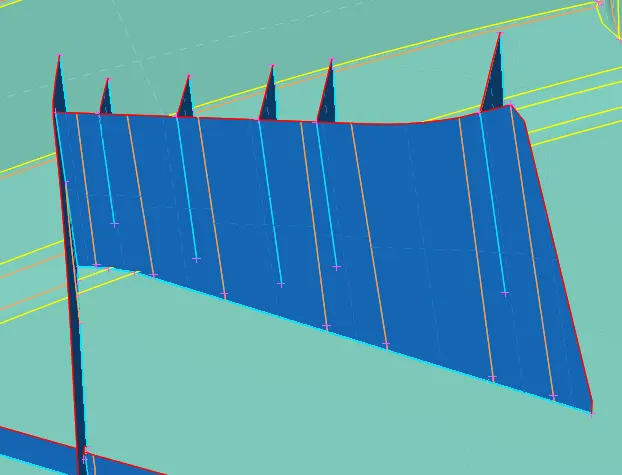
- For extraction of Ribs, we will use MIDDLE option to extract because it is very Accurate and it is very easy to use.
- After using Middle option extracted ribs are
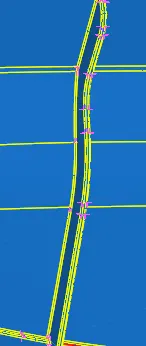 →→→
→→→ 
- In this way we have to extract all the ribs in the model.
- Now after ribs, we will go with DOG HOUSE.
WHAT IS DOG HOUSE?
→ Dog house is an engineering feature used in plastic trim design. Dog houses are used as supporting feature. Sometimes other engineering features like snaps; locators etc. are mounded on them to increase their strength. Dog houses are subjected to draft analysis to prevent breakage of the component during ejection from mould cavity. Dog house and other engineering components are built on B-surface.
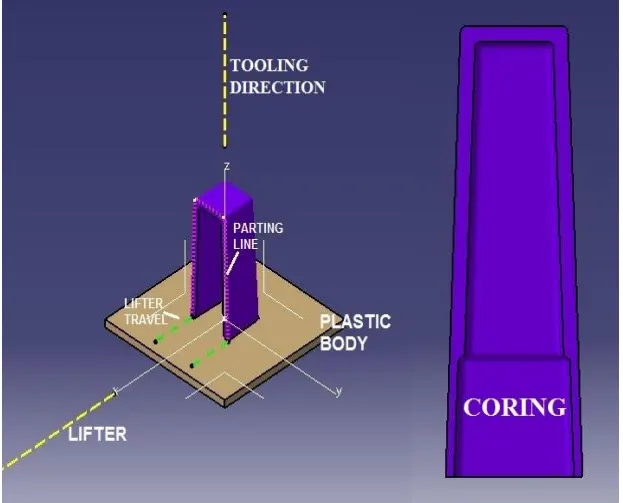
- In this IP model, DOG HOUSE are captured as CROSS PATTERN in mid surface since dog house are solid (hollow from inside) and is not having any thickness.
- First use the MIDDLE option to extract the ribs and then EXTEND the surface or INTERSECT the two surface or creat NEW surface between the two surface
- All of these option will be proper.
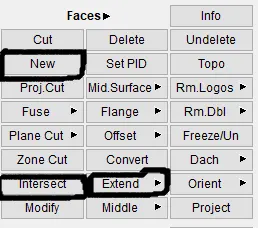
In this way we have to extract these DOG house.
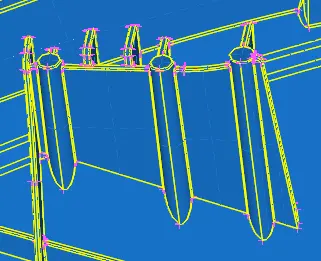
- In some DOG HOUSE, we are not able to extract cross pattern. So in that situation we will be using (CREATE—CURVE) for cylindrical surface of dog house and then projecting those curves to the surface where it is attached and then create a NEW surface over there.
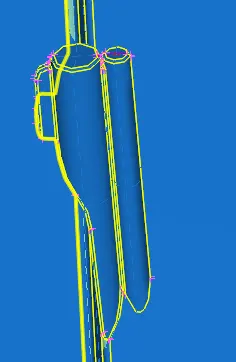
→→→→→
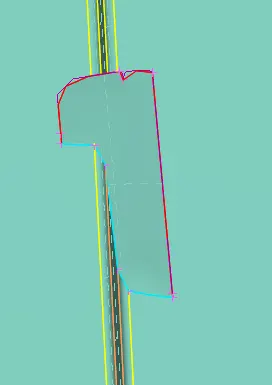
This is the corrrect way for these type of DOG HOUSE.
- This is the final mid surface of the IP model wiith all the Features, Dog House & Locators.
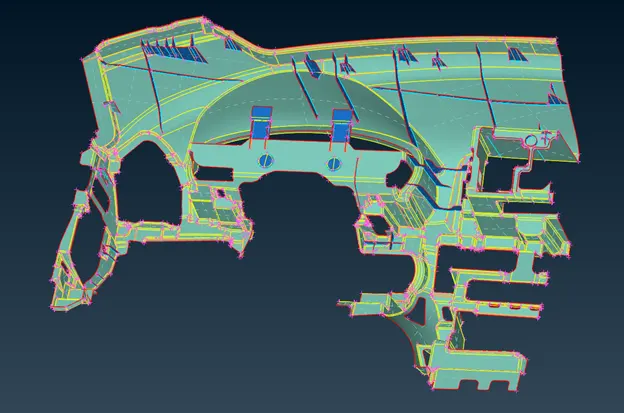
- Now we can go for MESHING part.
- First assign the Quality Criteria & Mesh Parameter as per the Industry Standard. After assign use SPOT or BEST option to MESH.
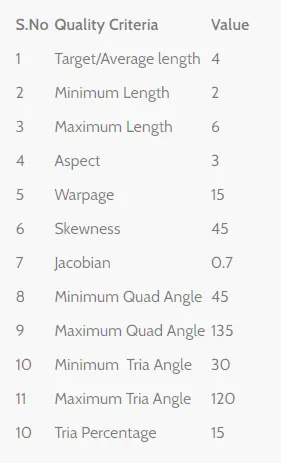
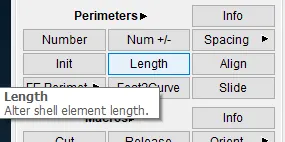
- Then assign the LENGTH as the TARGET ELEMENT SIZE. This function defines the element length on selected perimeter segments or macro areas. The element length may be explicitly declared or may be declared as a factor to be multiplied by the existing element length.
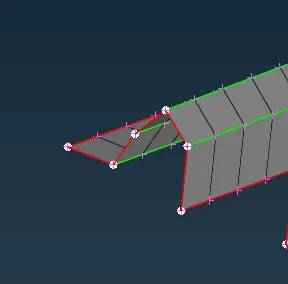
- Because of extending ribs and dog house, there will be so many CYAN color Lines or TRIPLE CONS in the model.
- So there might be possibilty of elements failure near TRIPLE CONS or at the smaller regions which are bounded by two TRIPLE CONS. Keep those OFF elements as it is not possible to solve.
- Now start meshing Macros by Macros
- No rotating quads and Opposite trias should present in the model. Trias near to free edge or holes or on the fillets should be eliminated.
- To eliminate the trias use these option
→ SPLIT
→ SMOOTH
→ PASTE
→ SWAP
→ RECONSTRCUT
→ REDEFINE
- Bits should be meshed in picked one.
- While removing trias keep these points in mind.
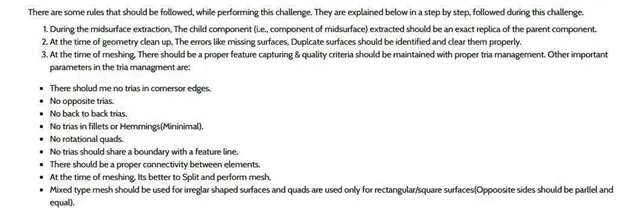
- In area like where there is more feature you will face little problem and those problems will be solved by these methods
→ Defeature the feature line, if that is not so much important
→ Split the surface in such a way that minimum elements will fail there.
→ If feature is your preference let the element fail there.
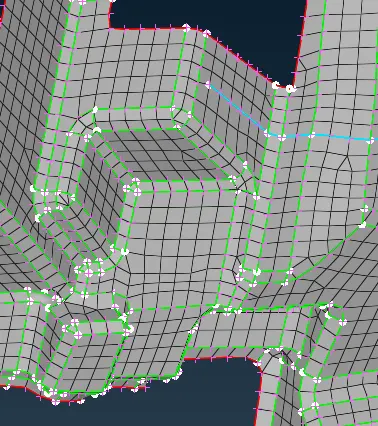
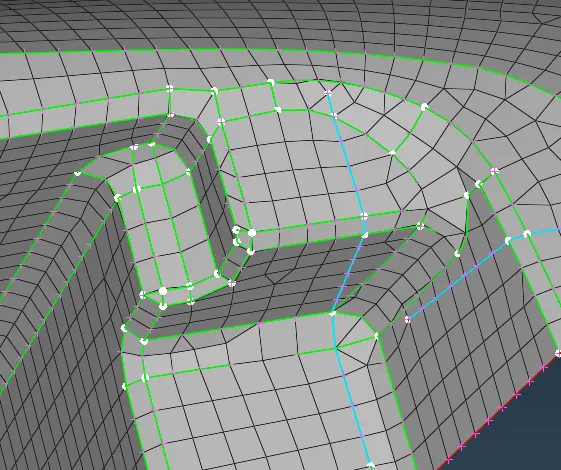
- But in this area my priority was feature line. So, I kept the failing elements because in this area something will mount so feature is very important in those area.
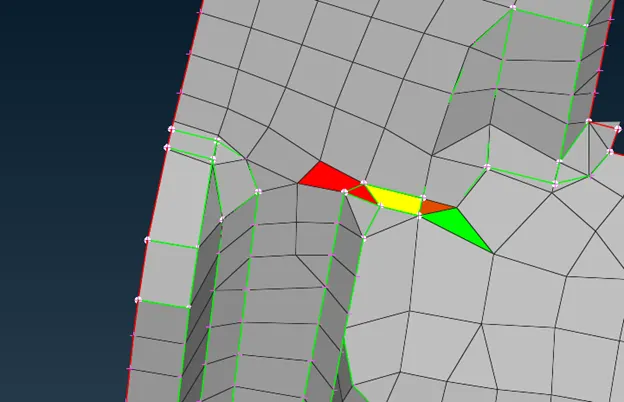
So you can say that it depends person to person and it depends on priority also.
- Try to capture critical area properly also by following above mentioned ways.
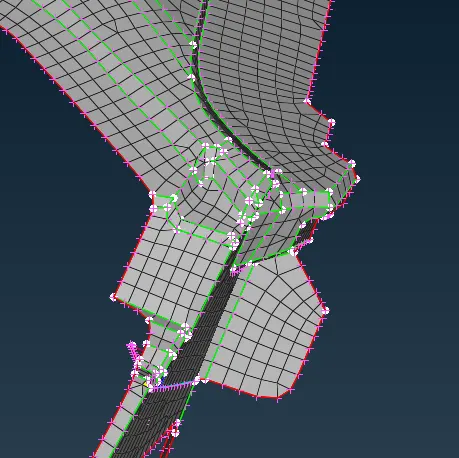
- After meshing, Final model is
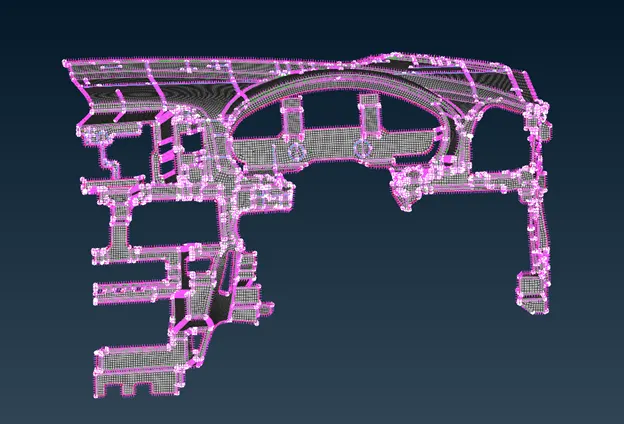
Meshing of features.
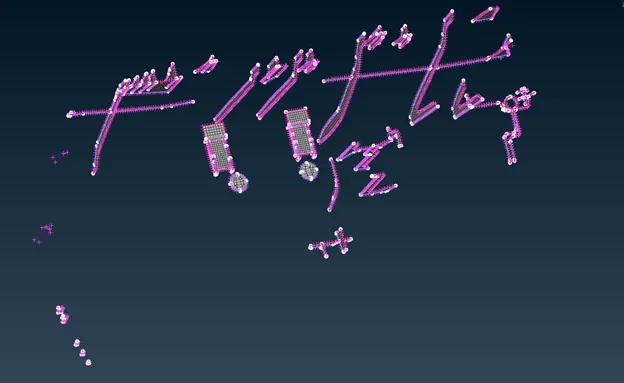
- After Meshing there should not be any unmeshed regions, unchecked faces.
- After meshing, assign the thickness to each and every ribs and check for DRAW shells as Solids.
CONCLUSION:--
- Handling and meshing of huge models.
- Mid surface extraction of complicated ribs and features.
- Learnt how to capture the mid surface as it is hollow from inside.
- Enhanced my quality of the mesh.
- How to capture the small features.
Drive link :-- https://drive.google.com/file/d/1T-t0f0WfW1L14vPNSpO6L6QKXO1WDNjn/view?usp=sharing