Project 1 - 2D meshing on the instrumental Panel
AIM
2D meshing on instrumental panel of a car dash board.
PROCEDURE
In pre-processing we need to check all the geometry issues like crack, needle faces and overlapping faces. In this model we need to check for the all the issues before doing the mid surface for the part.
In the below 2 images i shown that difference between parent and mid surfaces achived.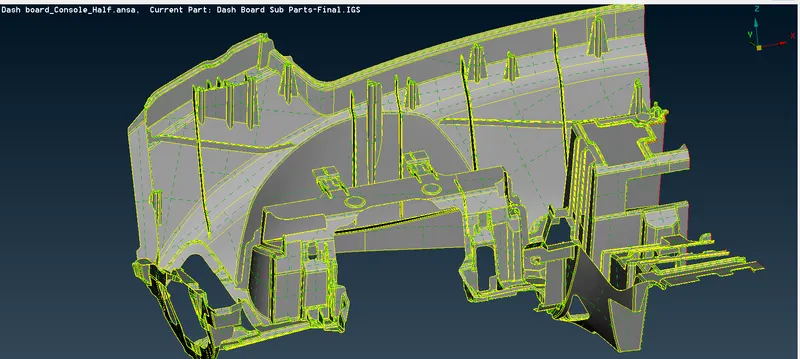
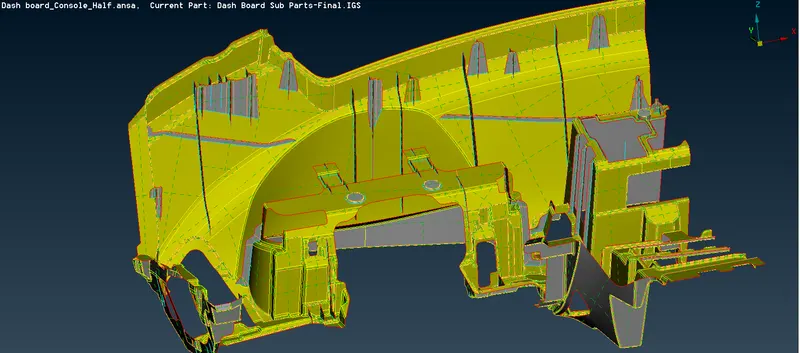
After doing all the checks and fixing all the issues, check all the thickness of the part and decide how to take the mid in al the surfaces. Here I done mid surface in except the dog houses and ribs in a single click. Here I uses feature option to select the surfaces.
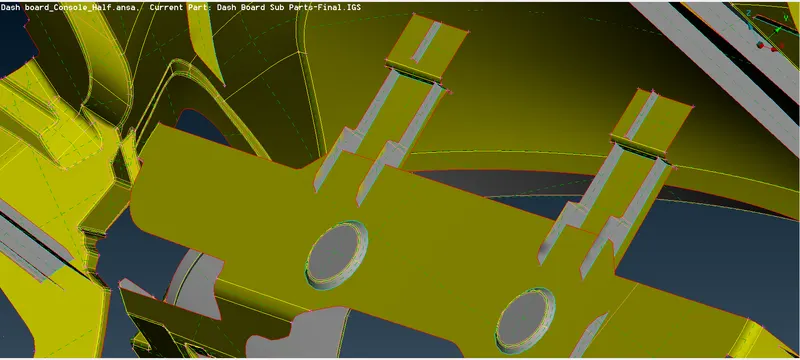
Now after taking mid for every surfaces try to check the geometry issues again and check it.
Taking mid in dog houses and ribs are another method. Here we use curve as cons2curve and cutting the middle of the cylindrical surfaces.
1st we need to select the cons which ever we need to create a new surface. And after in some places create a curve. These 2 tools will give a mid for every dog houses.
While creating a mid , create a PID for every mid surfaces you’re creating, so it is better than creating a PID at last.
After creating a mid for every faces, extend the bottom of the dog houses to the plain surfaces it will generate a triple con here.
Now we go to the mesh deck.
Give the length for mesh parameters, and give quality criteria for all the quality considerations. Here the average of mesh length is 4 and max& min length is 2&6 respectively.
Now give the perimeter and macros length as the average of mesh.
So it will give a good mesh without fail. I tried with 2& 6 as the perimeter length, it is failed in some featured while meshing. It Is good to choose the average length.
Before this defeature all the fillet using the tool; faces
This part has more fillets so I divided these all fillet areas and suppressed the unnecessary cons.
Cons should be concentrated on the corners where three or four faces meeting.
I’ve shown you in the images that how I defeatured the surfaces. Mesh every surface by one by one without fail and try reconstruct and smooth option for the better mesh.
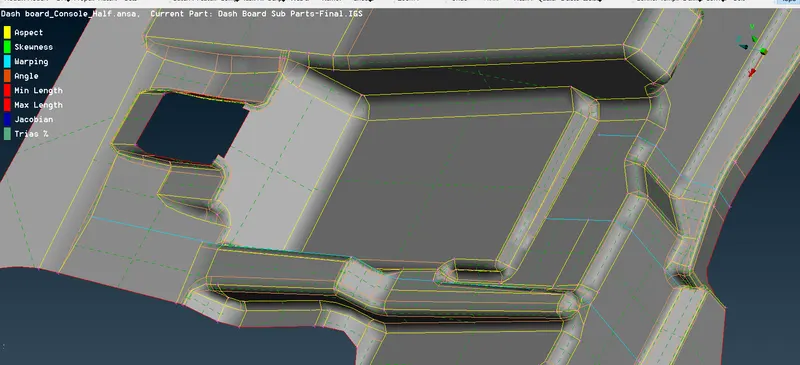
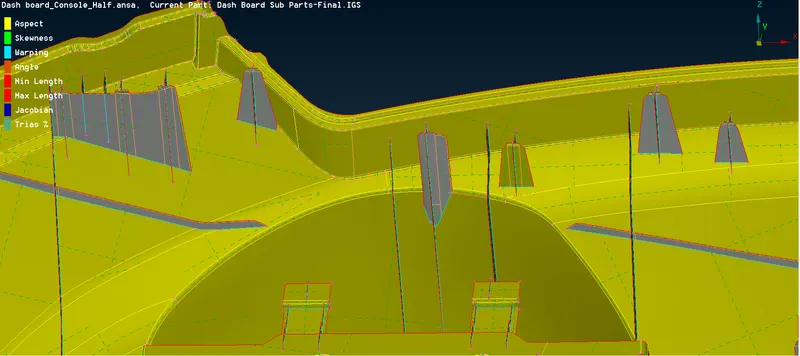
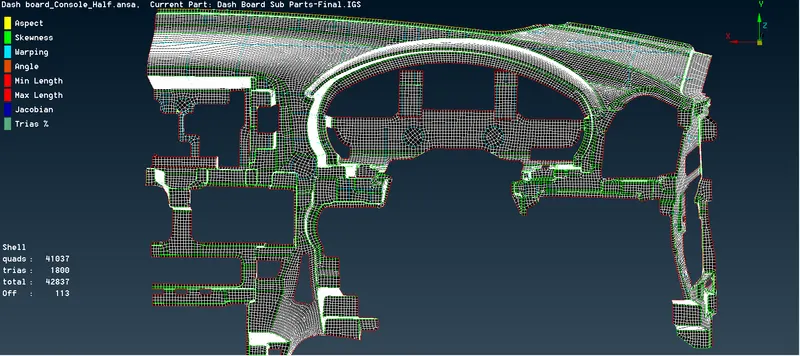
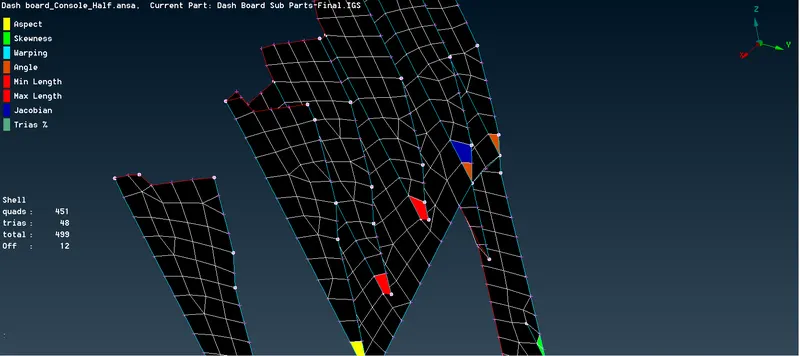
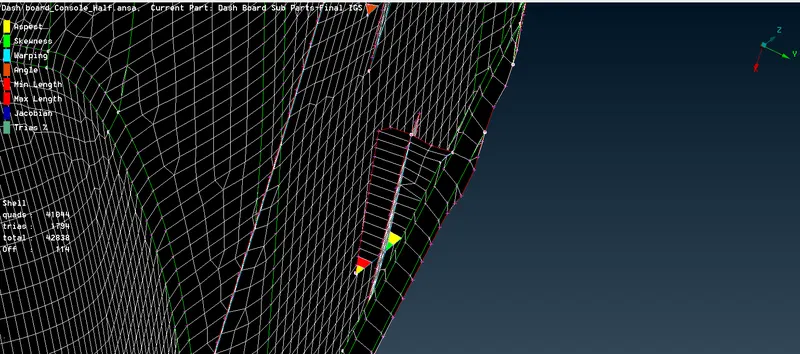
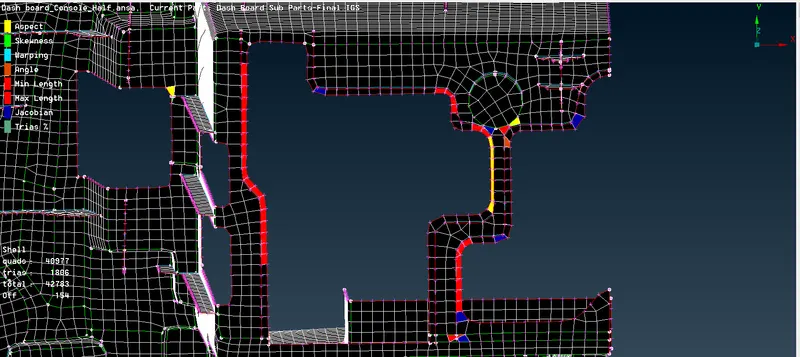
FAILED ELEMENT ON THESE RIBS COULD BE IGNORED BECAUSE THE PARENT ALSO HAVING THESE SAME DIMENSIONS, SO WE NO NEED TO CHANGE THE DIMENSION PARAMETERS.
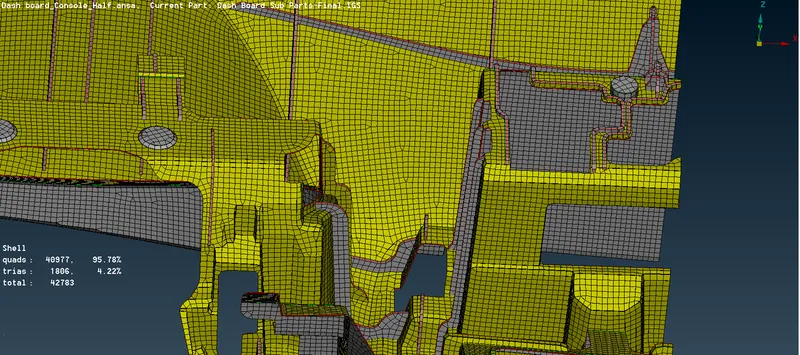
AFTER DOING ALL THE MESH GIVE SHELL AS SOLID ON THE QUALITY PARAMETERS.
Note: Trias on the free edges should be reconstructed and avoided.
If we trias on the nonlinear surfaces, those trias should flow on the direction of con travelling to the corners.
Opposite cons on the flat surfaces should be reconstructed and splited.
Here I used shell mesh
Shell mesh
Shell mesh
These are all the tools I used to get better mesh.
Element
Elemets
Element
Grids
These optins are used to avoid the tiras in the mesh.
Here I shown all the images that some featurea are failing under the minimum length
LEARNING OUTCOMES
- Mid surface on the big part is very complicated and I studied all the areas and it took small time to construct.
- Mid on the dog houses and ribs are taking much more time, and this is new method of taking the mid surfaces.
- In the model I have learned how ton divide the fillets and rearranging the cons.
- This give us a good mesh with capturing the features.
- Connecting the dog houses and flat surface area gives a triple con and it gives a mesh fail and I try to rearrange the cons and mesh it again and again until I get a good mesh.
CONCLUSION
In this model we need to concentrate on capturing a feature areas on fillets and dog houses and ribs so this gives a better FEA elements.