Project 1 - 2D meshing on the instrumental Panel
AIM:
To check the geometry errors and extract mid surface for the given cad component and then mesh the entire component with 2d elements which should satisfies the given quality criteria with good mesh flow.
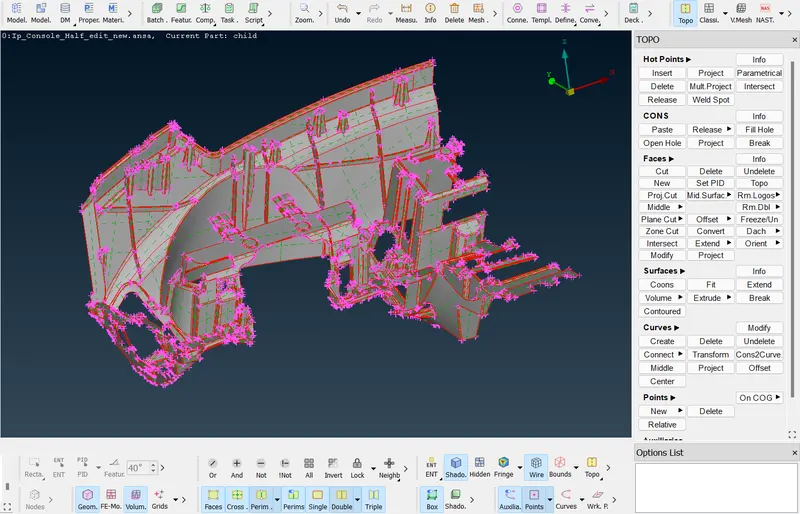
GIVEN CAD MODEL:
PROCEDURE:
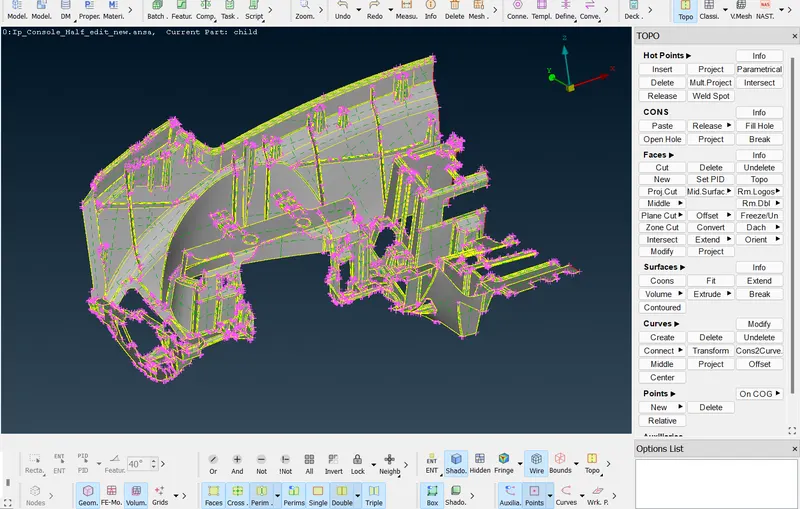
- Open Ansa and then open the given model. As you see the extension of the given cad model is .igs so there are no connections between the surfaces. First, we need to make the connections between the surfaces for that go to topo module, under faces click on topo and box select the entire surfaces and give middle mouse click. Now the single cons are converted into double cons this means that the surfaces intersect and there is connections between the surfaces.
- Now we need to check for geometry for that go to check>geometry>select visible and select all the check boxes except sharp points and click run. If there are errors in the geometry Ansa will show all the errors and its location once the geometry check is done. Some of the errors can be auto fixed by Ansa and errors like collapsed faces cannot be auto fixed for that we need to delete those collapsed faces and then we need to create a new one.
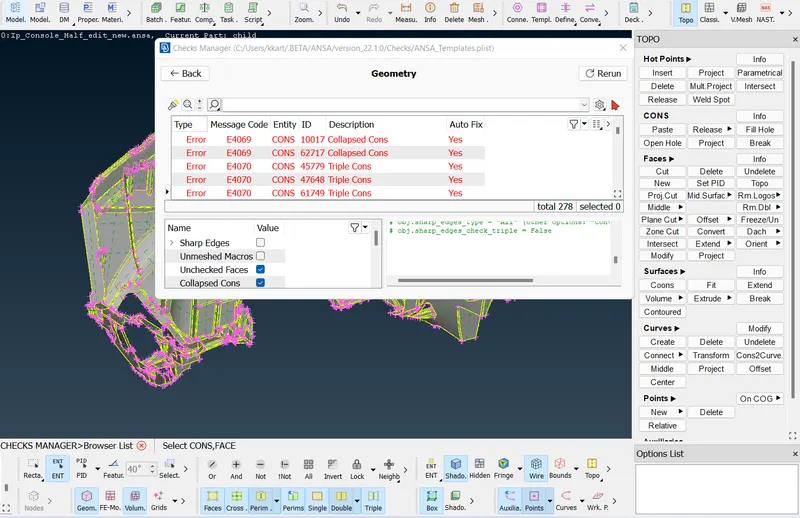
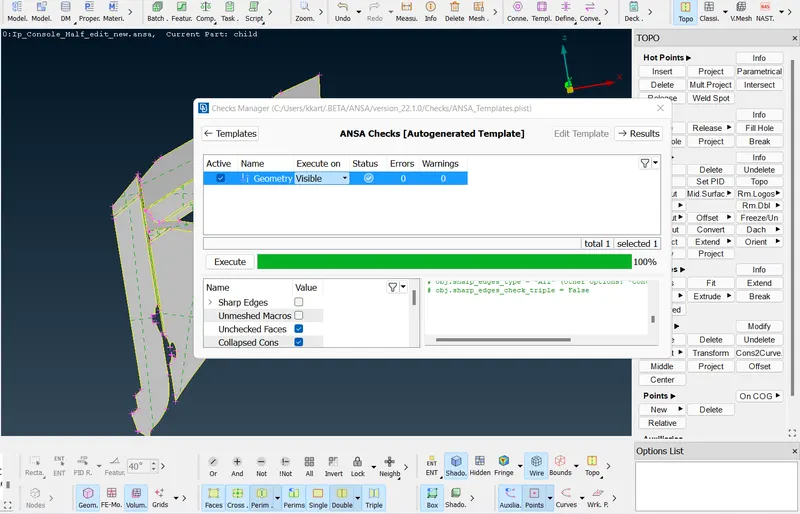
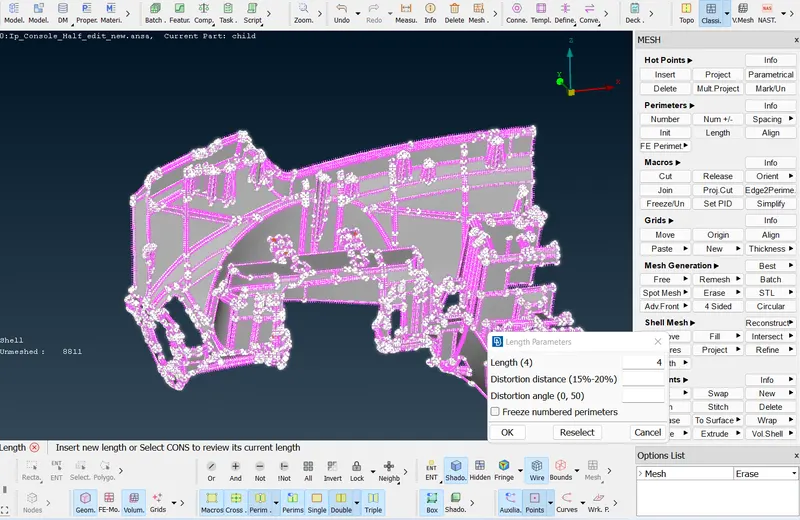
- Once you clear all the geometric errors Ansa will show green tick in the status column. Now we need to set the resolution as the target mesh elements size then only while we creating 2d mesh elements every element will have nearer to target element size and it has pass the quality criteria. For that go to mesh module>perimeters>length>perimeter>box select the entire component>enter the target mesh element size> ok. Similarly for macros .
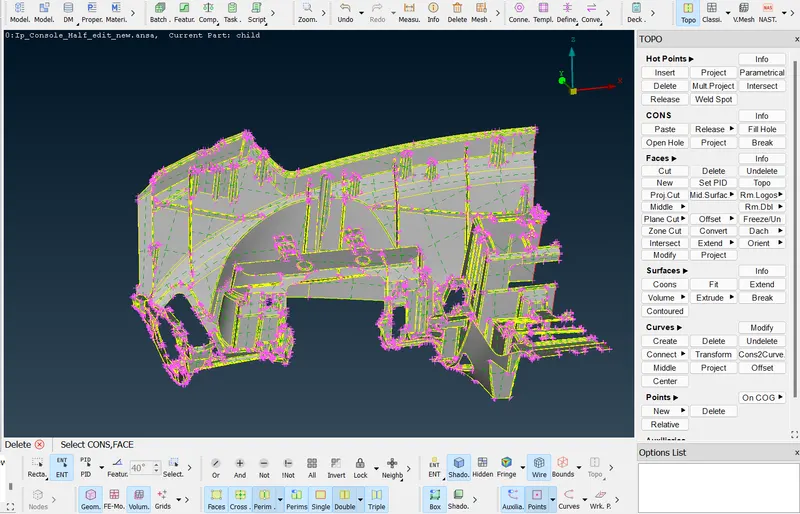
- Now we need to extract the mid surface for the given component. By measuring the thickness over several places in the component we can say that the component has uniform thickness throughout with thickness of 6mm. So, we can use the offset option to offset the entire surface for that go to topo module>mid surface>offset>select the feature selection option in order to select the one entire side of the surface and then give the middle mouse click. Ansa will take a few minutes to process the offsetting of entire surface.
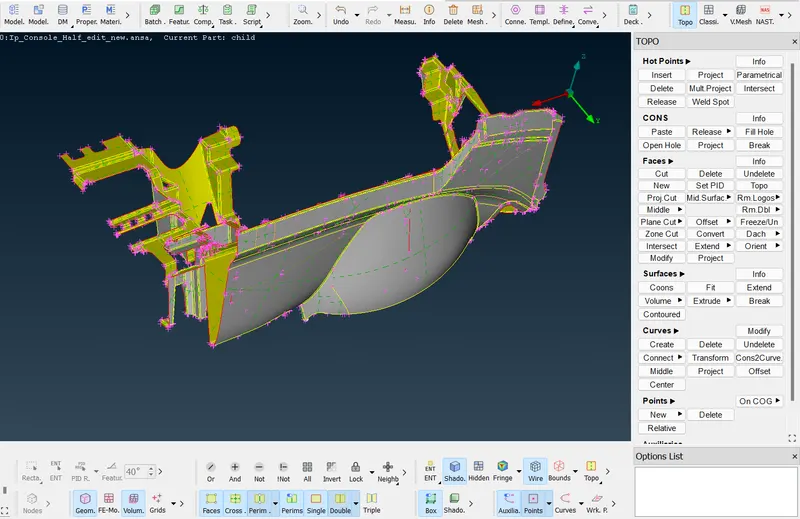
- Now start with complex parts like dog hoses and ribs. First for extracting mid surface of dog hoses we consider only the projection of that in the middle as a mid-surface. Because our analysis is like an approximation method, so we consider the cylinder as two intersecting sheets.
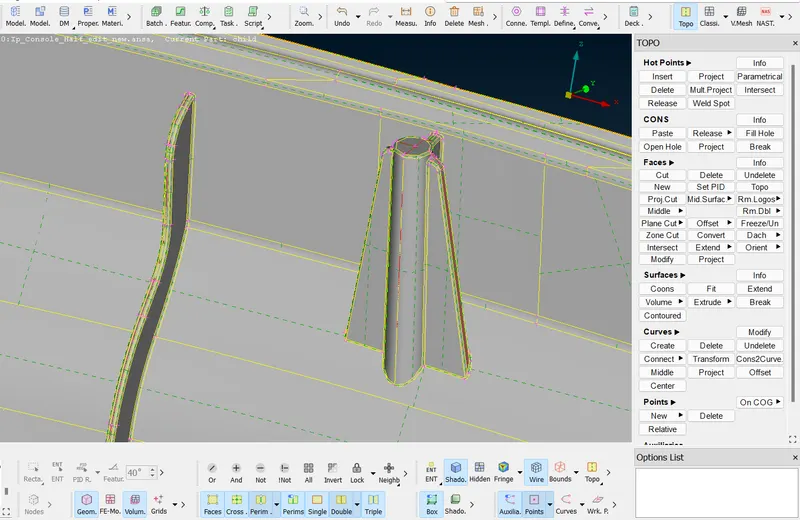
- First use faces>cut option under topo module to cut the part into half or we can use face cut by separating the part first and then we use plane cut. What i have used is i cut the part into half and i use cons2curve option to extract curves from the cons and for the ribs we use curves>middle to create middle curve and use new>coons>to create the surface between the middle curves.
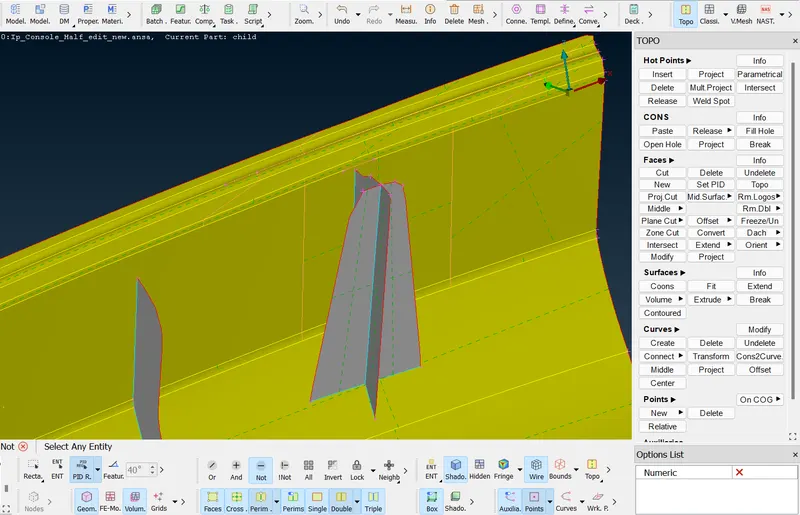
- Similarly for all the dog hoses use curve>middle to extract the middle curve and use new>coons to create surface and after creating the surface obviously it does not have any contact with the mid surface for that we have to extend the dog hoses surface up to the mid surface for that go to topo module under faces>extend>target>select the cons to be extended and surface up to which the cons need to extend and give middle mouse click. It forms a triple coon when you extend then you can understand that the extended surface is proper.
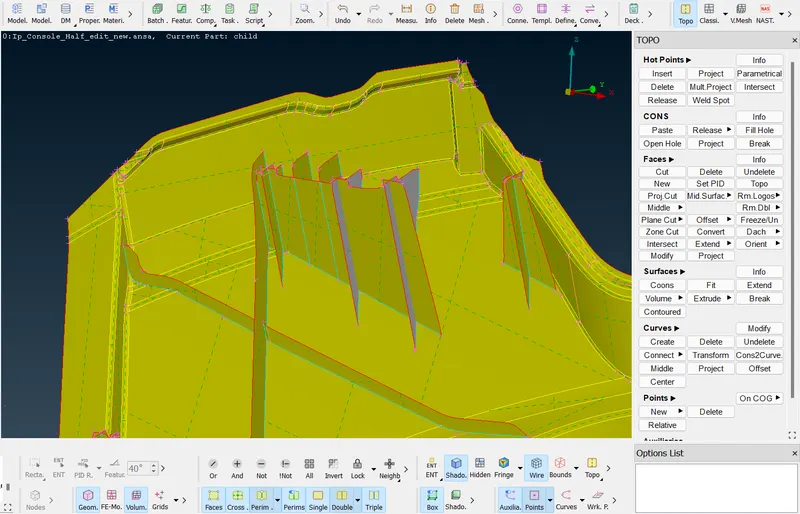
- For extracting mid surface for the ribs you can use faces>middle>single and then we entend it up to top and bottom surface because the rib has a fillet area over the top so we need to extend it up to the top surface. Once you extract the middle surface of the rib using middle>single option now go to faces>extend>target to extend it up to the top and bottom surface.
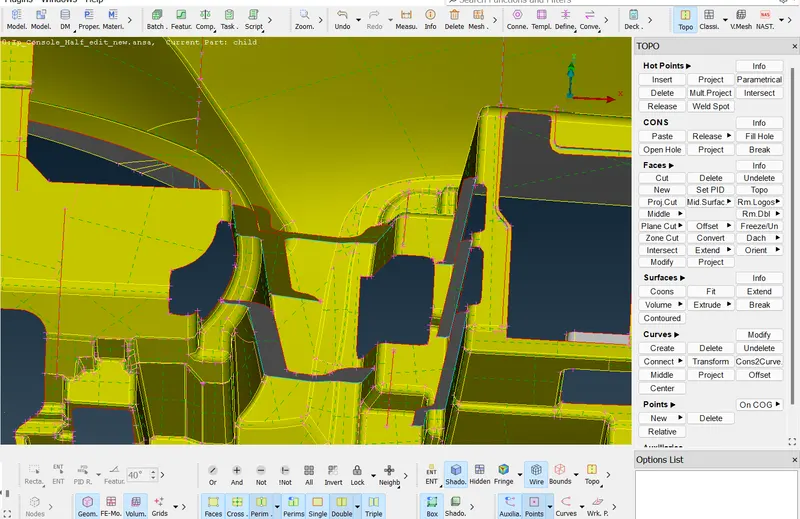
- If the extension of the surface goes far beyond the parent surface you can use intersect option to cut the surface up to the parent surface and the remaining surface can be deleted. For that go to faces>intersect>select the first and second group (face need to be cut and faces used as cutting edge) and give middle mouse click. Once the cut is made you can use faces>delete option to delete the extra or unwanted surface.
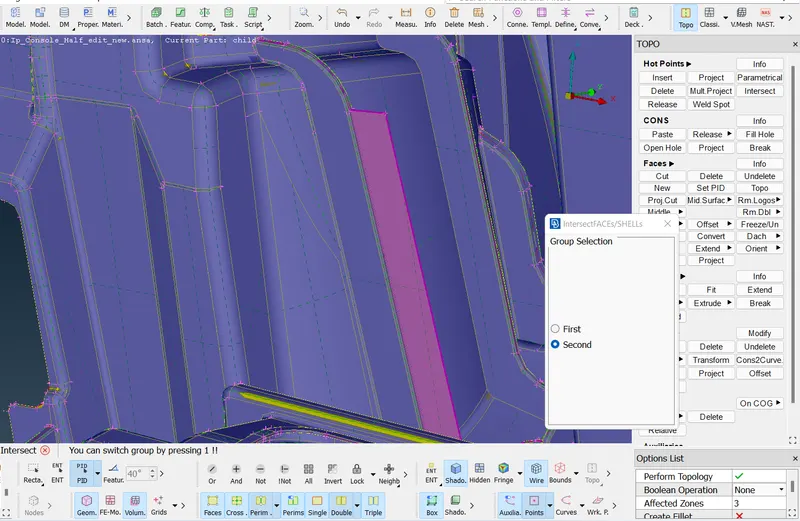
- Similarly, extract the mid surface for all the ribs and dog hoses.
- FULLY EXTRACTED MID SURFACE
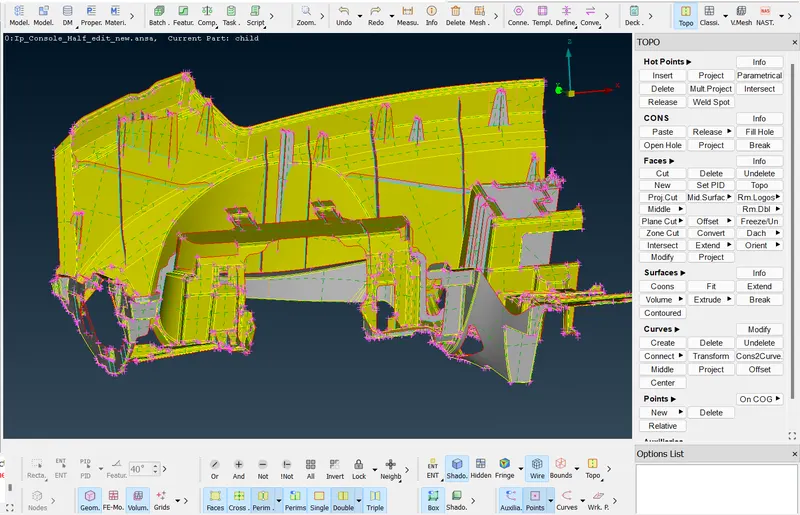
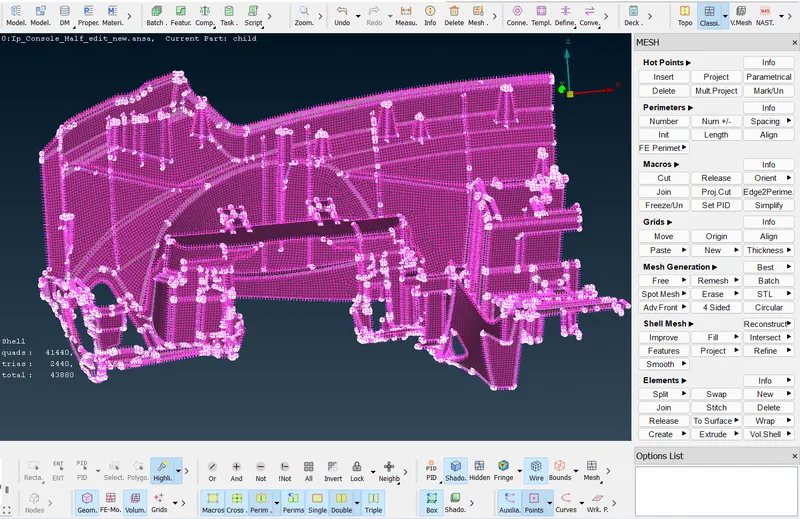
- Now the component is ready for meshing. I have chosen the batch mesh option to mesh the entire mid surface with the 2D elements. Because manual approach gives better result but it consumes so much time. But in batch mesh Ansa will automatically defeature the unwanted feature that reduces the quality.
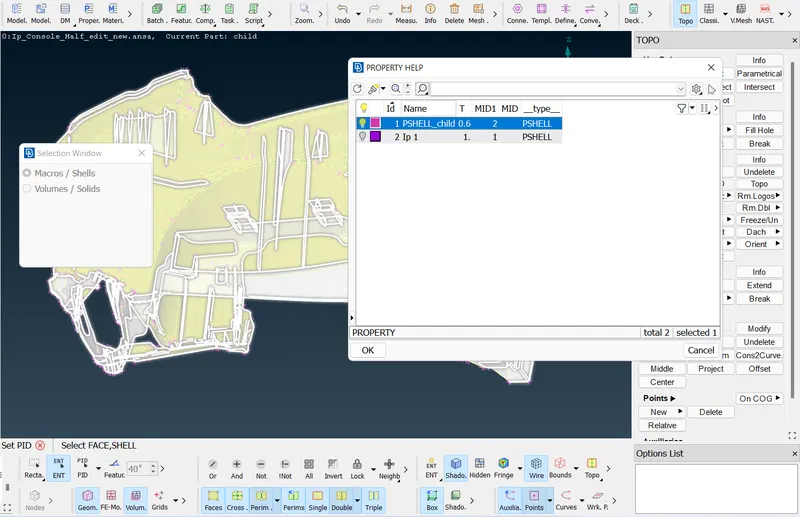
- For implementing batch mesh, first set pid for the created mid surface as child. for that go to topo module>faces>set PID select the entire mid surface and do not specify thickness as the thickness is variable and name it as child.
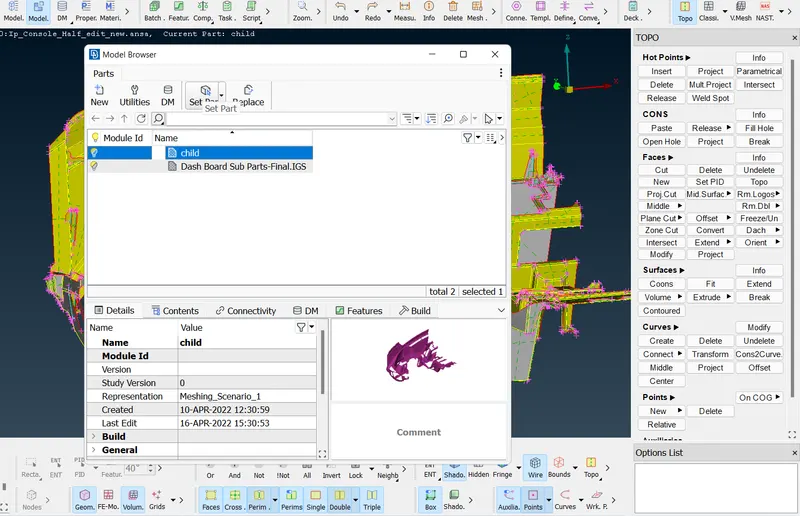
- Now go to model browser and create a new part and assign the entire mid surface as a new part then only we can use that part in the batch mesh.
- Now enter the mesh parameters and quality criteria as given for that click on mesh parameters and enter the target element size and minimum and maximum element size. In the quality criteria enter all the given quality criteria and click apply and click ok.
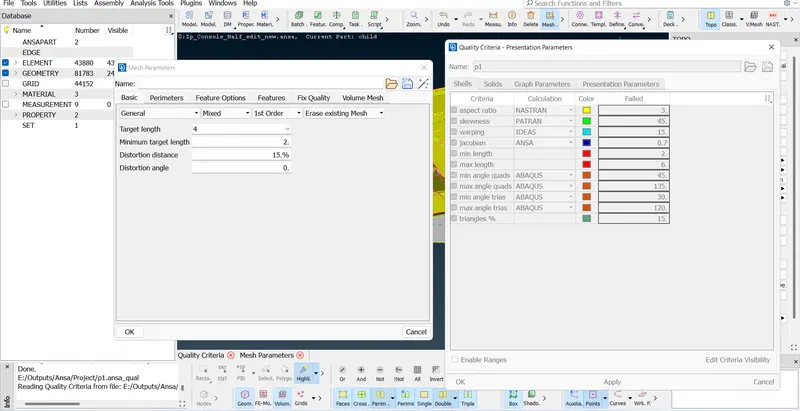
- Now go to batch mesh manager create a new mesh scenario, right click on content and add the mid surface that we have assigned in the model browser, right click on mesh parameters and quality criteria to check whether all the criteria are correct as per the given. Now click run. Once it is completed you can see the status as completed.
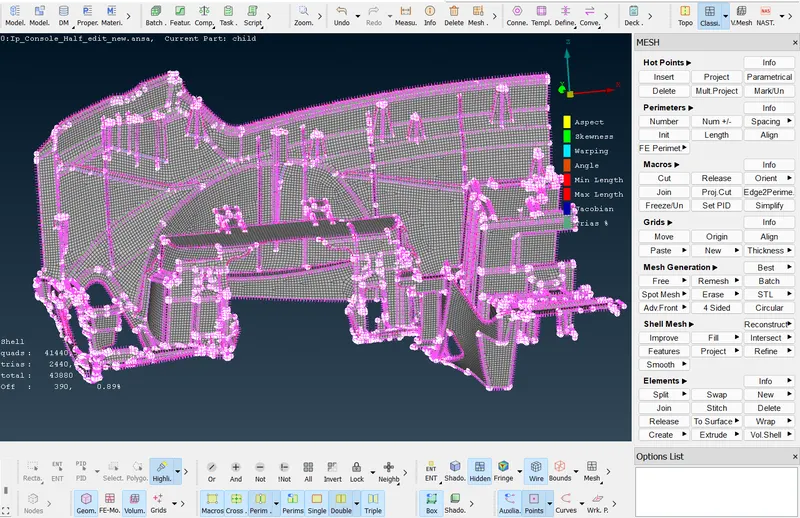
- Now enter into the hidden model to see the off elements. As you see we have a more extended surface, it forms more triple cons and, in those areas, we cannot clear the quality. That can be totally neglected and in other areas we can clear quality using split, swap or join option to avoid keeping trias on the perimeters.
RESULT:
Thus, for the given cad model the mid surface had been extracted and meshing is done based on the given quality criteria.
FINAL FEA MODEL: