Project 1 - 2D meshing on the instrumental Panel
The aim of this challenge /project is to, check for the geometrical errors and mesh with the given element Quality criteria. After meshing the component the thickness has to be assigned.
Step 1. Import the model (File > open > selct the file > ok)
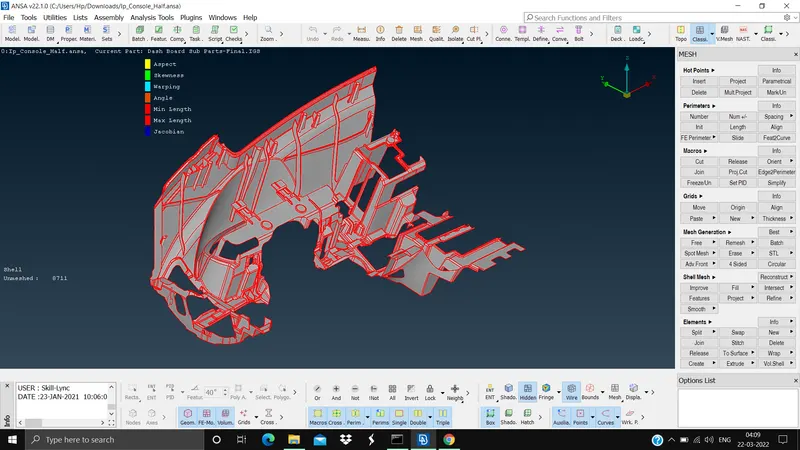
Step 2. Assign the length to do the cons resolution (Mesh module > perimeters > length > select the model > give the length as 1 > ok)
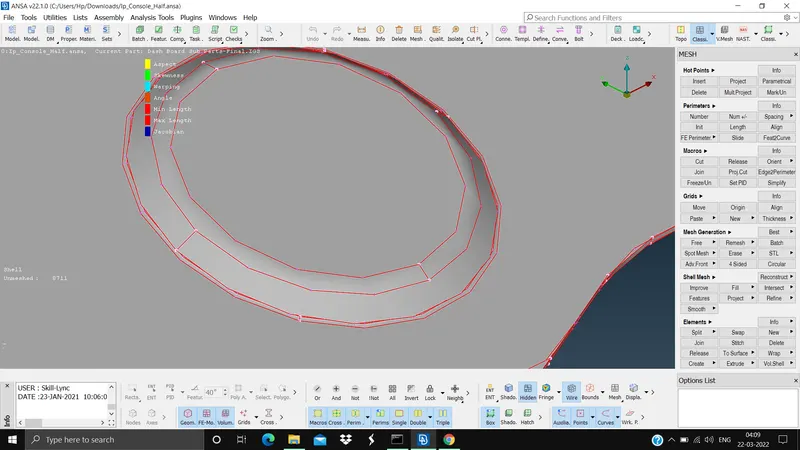
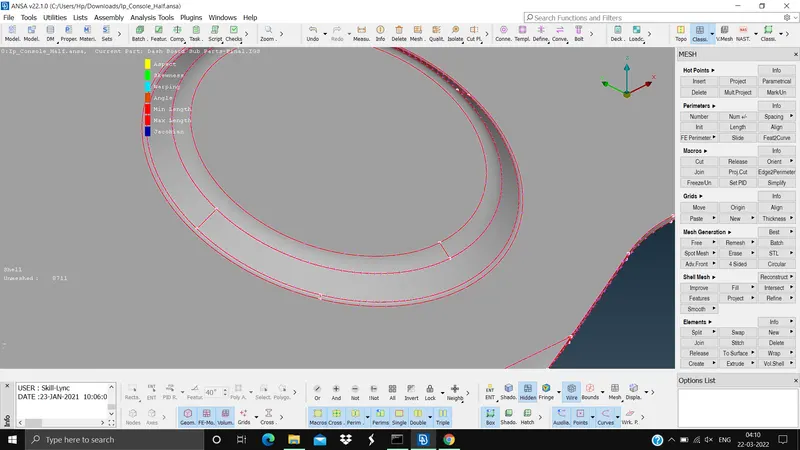
Step 3. Give the connectivity between the surfaces (Topo module > Faces > topo > select the model > mid mouse click)
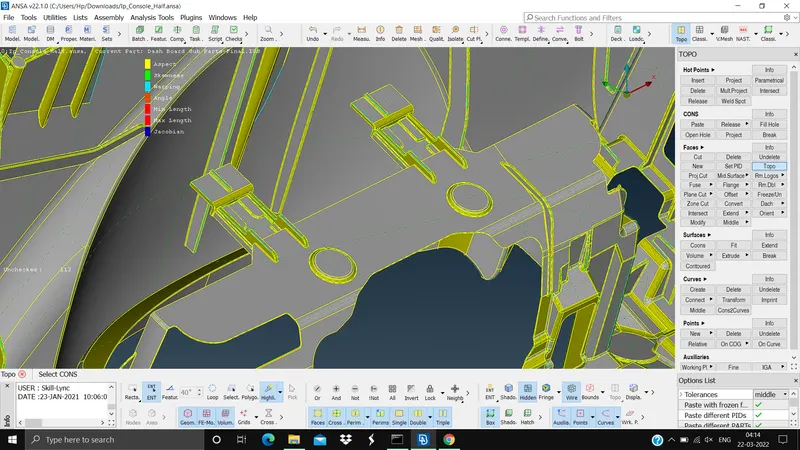
Step 4. Do the geometry cleanup by doing the geometry check (Tools tab > checks > Geometry > Execute)
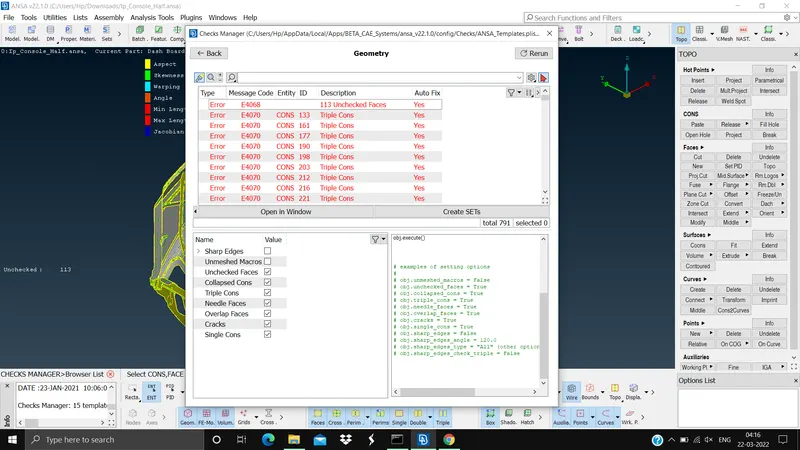
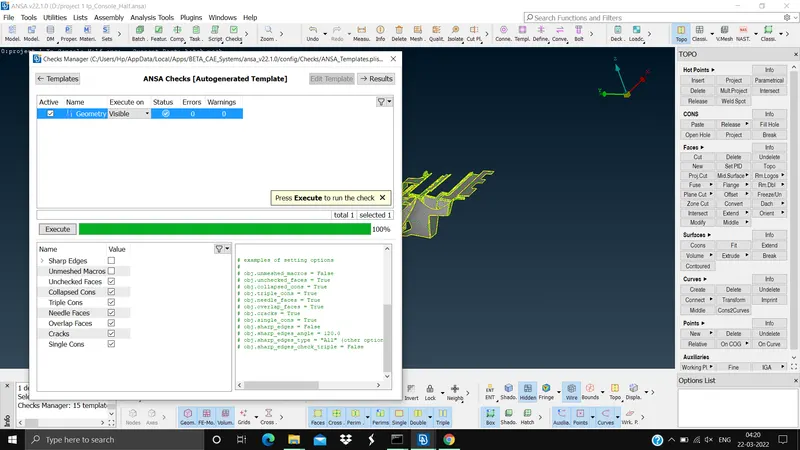
Step 5. Extract the mid surface (Topo module > Faces > offset > select the faces to offset > give the offset distance > ok). THE REASON OFFSET COMMAND IS USED BECAUSE THE MODEL IS OF UNIFORM THICKNESS ALL OVER.
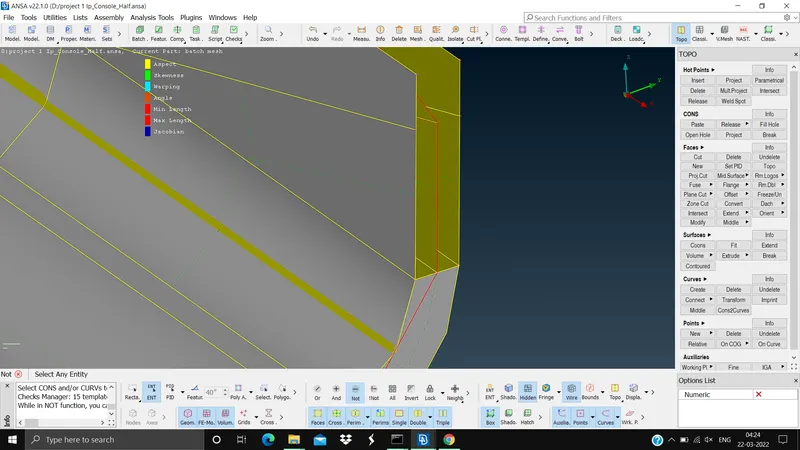
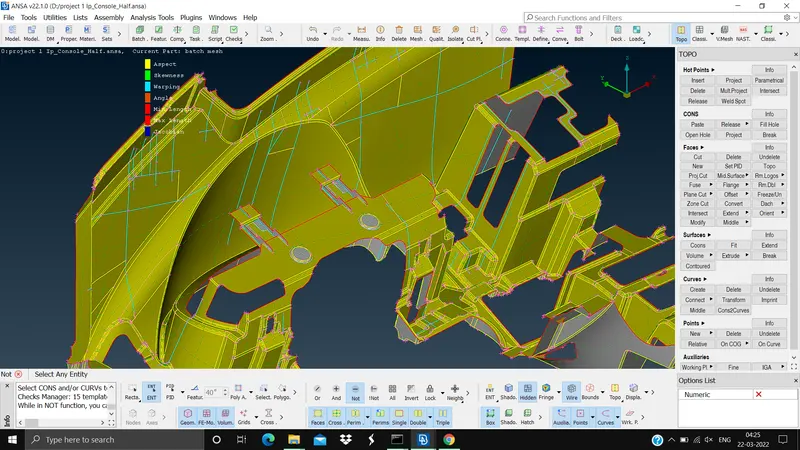
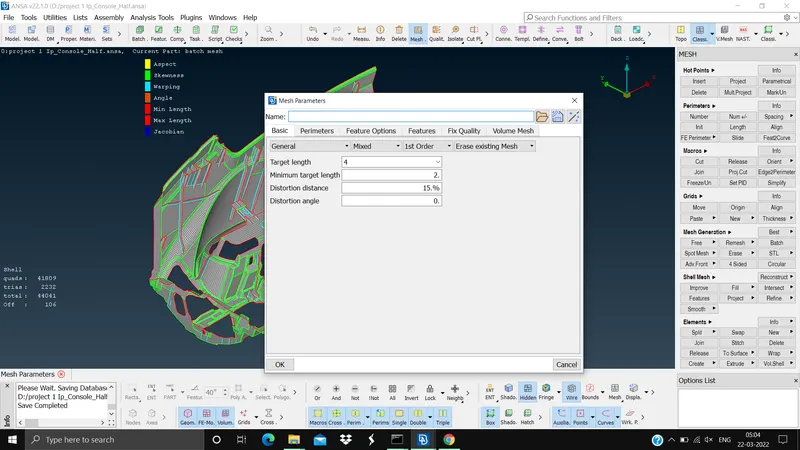
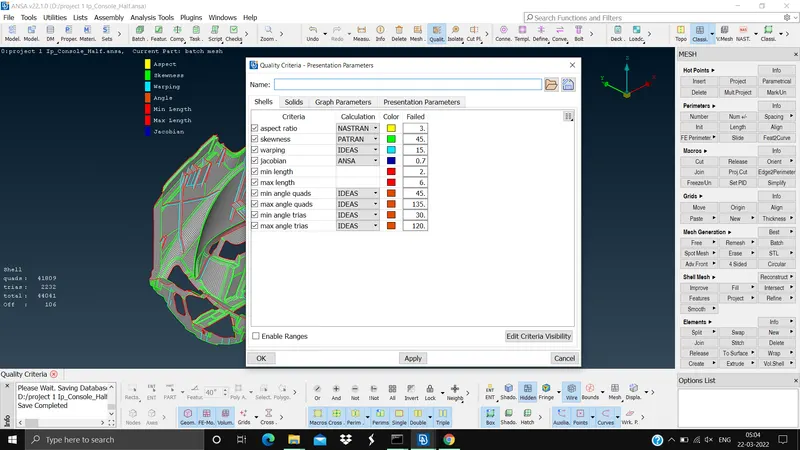
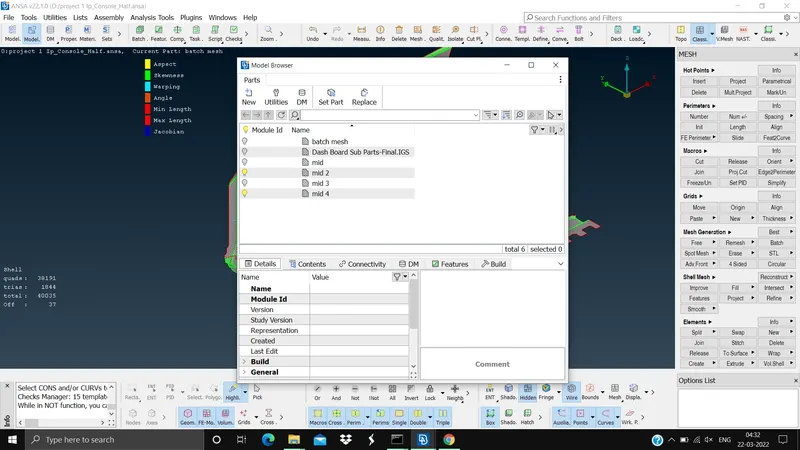
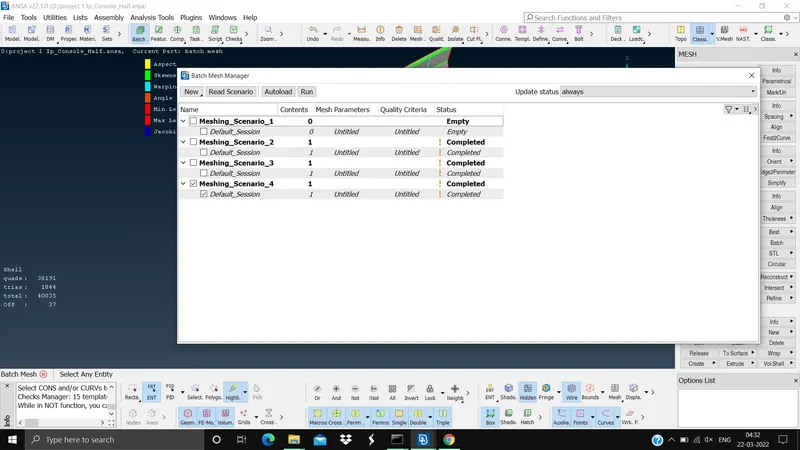
Step 6. Mesh the mid surface with the given quality criteria, in this model i have used batch meshing (Lists tab > models > new > part from visible > ok), (Tools tab > batch > new meshing scenario > double click on the new meshing scenario > select the created part from visible > ok > set the mesh and quality parameters > run). If there are element failures first use the smooth command to clear them to some extent, the use the reconstruct command (Mesh module > Shell mesh > Reconstruct or > Smooth command) to eliminate some more element failures. If there are opposite trias use split command or grids paste command to get rid of them.
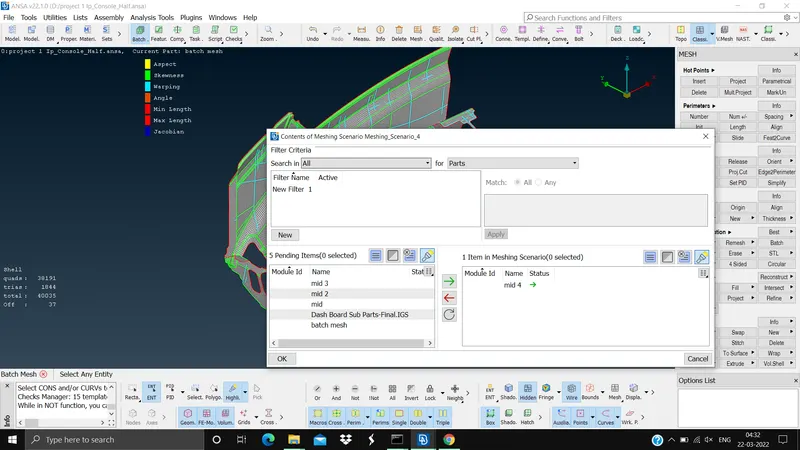
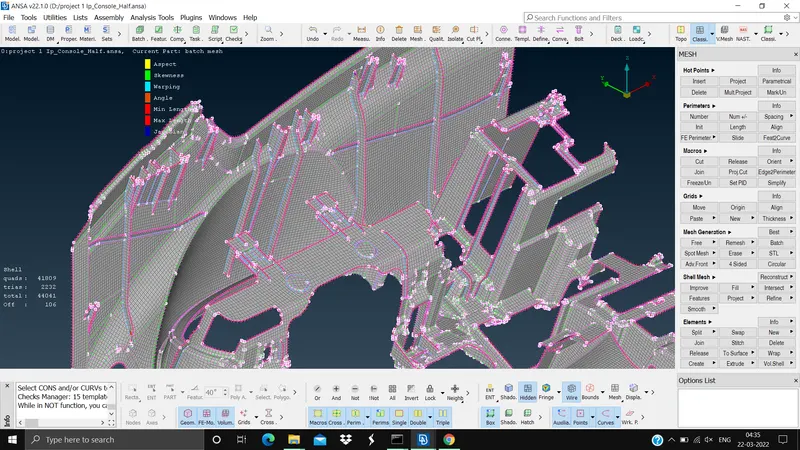
Step 6. Assign the thickness (utilities tab > quality parameters > presentation parameters > check draw shell as solid)
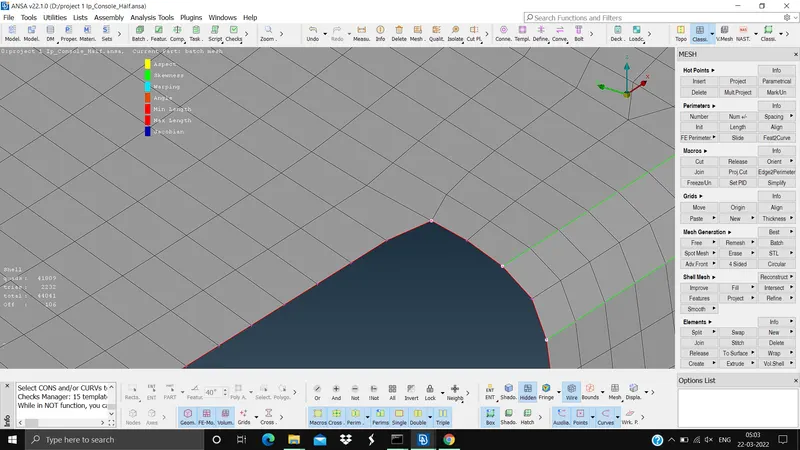
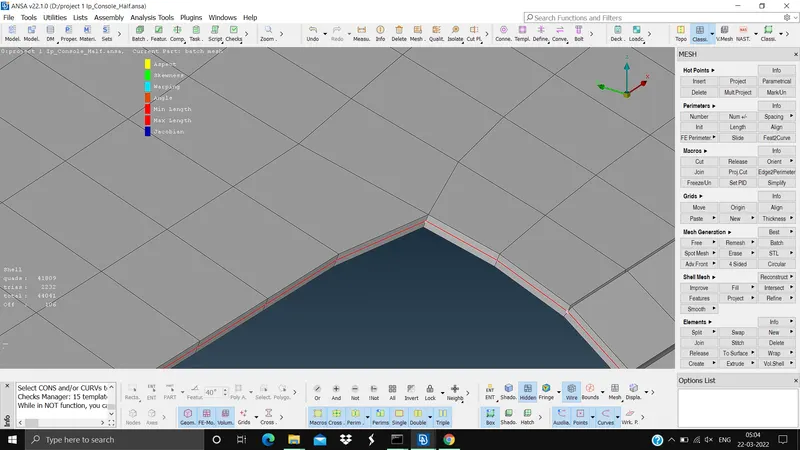
IP console is the display in front of the driver which gives the driver the information regarding speed, gear position, fuel level, and lots of other information. Basically all the IP console in the market are made of plastic that may have uniform thickness or variable thickness.
Challenge outcomes and conclusion: In this challenge i have learned how to deal with complex models like the IP console starting from the geometry cleanup uptill assigning the thickness to the model and also learned why to use the offset command to this model.