MORPHING THE SID DOOR BODY AND CREATING MACRO USINH HYPERMESH
MORPH THE GIVEN MODEL AND CREATING MACRO
OBJECTIVE: MORPH The given side body component to the desired shape shown in the images below and write a MACRO for the same.
Refer the following images for Morphing the model.
PROCEDURE:
1. Morphing the given side body to the desire shape
open hypermesh-optistruct- import-model-side body mesh_1.
To create a FE for the elements of sidebody component.
Before that we have to remesh the given component for our element size.
command : 2D-automesh-element- mesh
Create FE now,
command: geometry-surface-FE-elements- create.
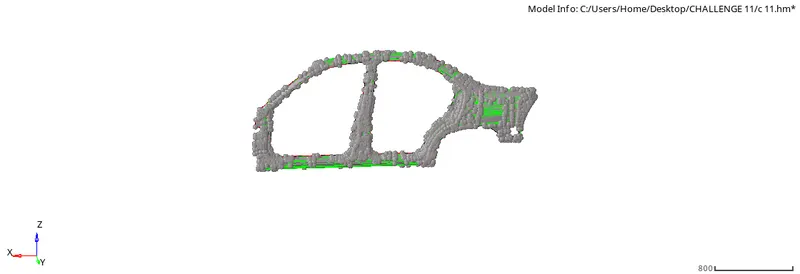
FIG1.1 FE COMPONENT
For Morph we have go for Hypermorph.
COMMAND:Tool-Hypermorph.

For changing the shape of the given model, we can choose the Morph volume.
COMMAND:Tool-Hypermorph-Morph volume-Element-Select-Create.
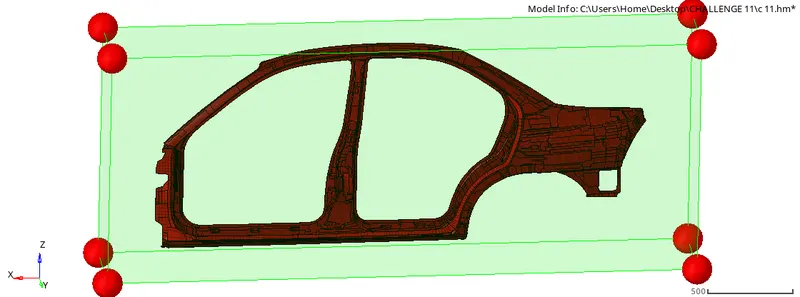
FIG1.2 VOLUME MORPH
After creating the Morph we can split the volume using Split/compine option. on both Horizontal as well as vertical.
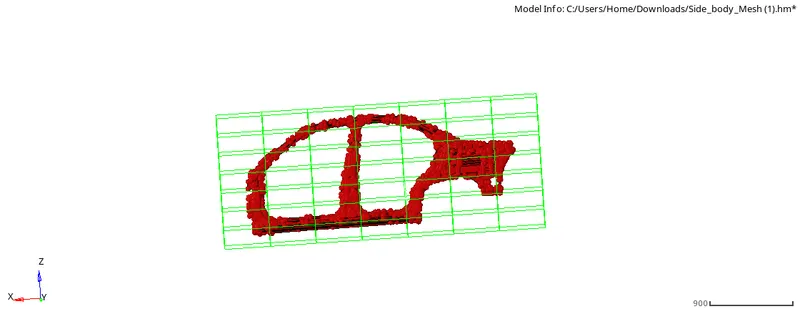
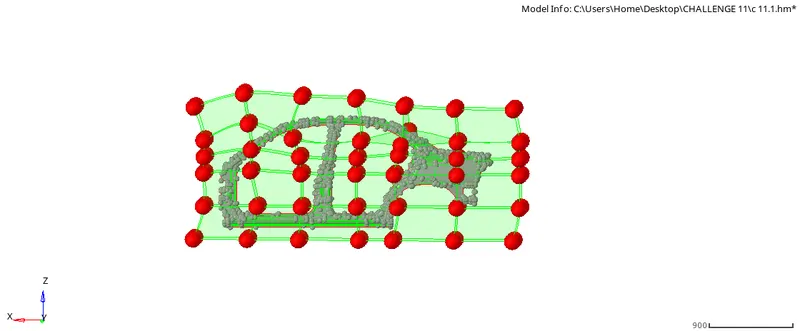
FIG 1.3 SPLITING MORPH
The we have to use handles to move the morph to get the desired shape.
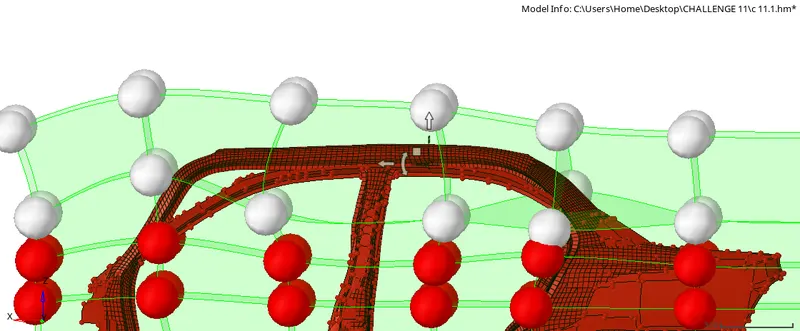
FIG 1.4 HANDLING THE MORPH
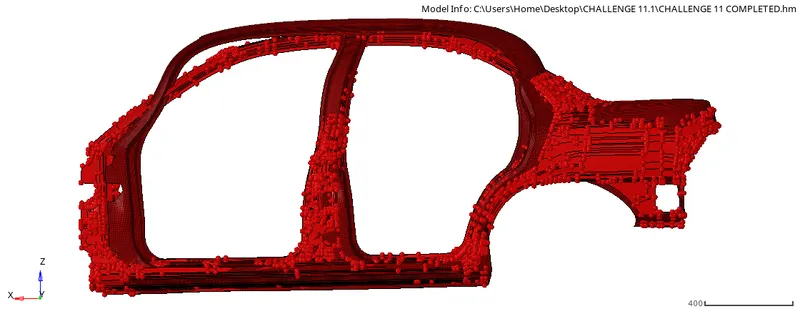
After moving the handles in to different directions we can get the model in to desired shape.
RESULTS:
VIEW 1:
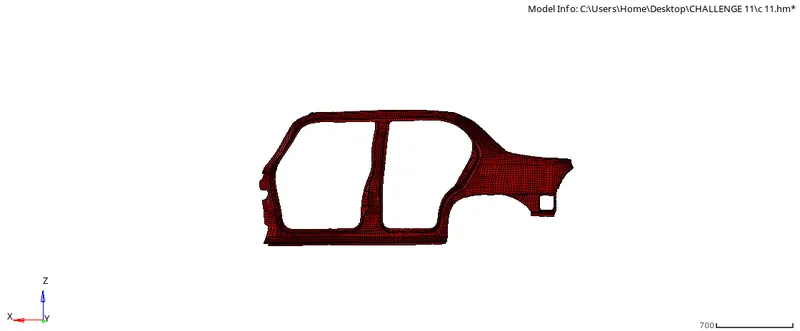
VIEW 2:
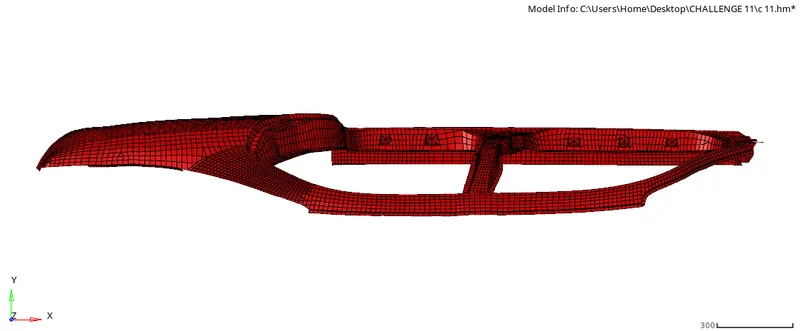
VIEW 3:
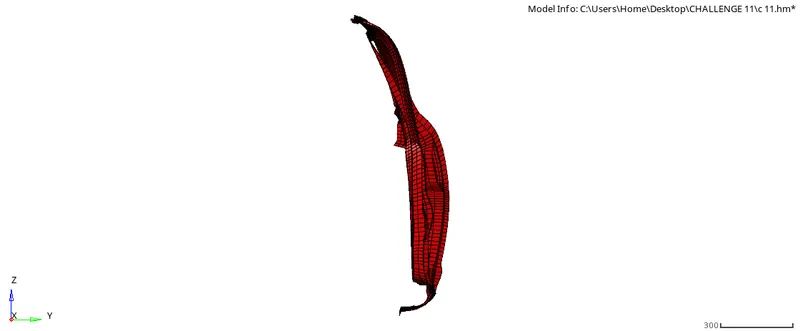
VIEW 4:
2. CREATING MACRO FILE
Write the Macro for the same model.
For writing the model we have to go to commamd.tcl file.
and open the file on notepaad and the opertaions we did for morphing is copied and saved in a separate tcl.file.
Whenever we need to perform the side body morphing we have to click the file and run the file TCL/TK SCRIPT and open the saved file. tcl file and open.
All the operations done and morphing created.
A macro for the Morphing operation.
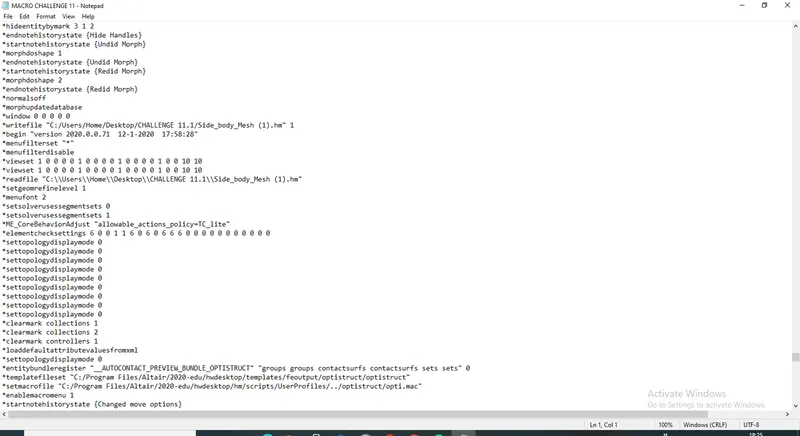
FIG2.1 MACRO FILE . TCL
CONCLUSION:
Side door body has been MORPHED to the given shape and crested the MACRO for the same.
Learned about how to morph the component.
Modify the original mesh to the Desired mesh.
Creating the Macro for the Morphing.