Modelling of 25 storey building with the specified properties using ETABS
Challenge 6 – ETABS modeling of a 25-story building
Project:- Model a 25-story building on ETABS with structural properties as specified below. The ground floor or plinth floor level can be taken at a height of 1.5 meters from the base. Each of the successive 25 stories has a story height of 3 meters.
AIM:- To Model a 25-story building on Etabs software for such giving conditions and Analysis of some given parameters.
Introduction:-
Model a 25-story building on ETABS with structural properties as specified below. The ground floor or plinth floor level can be taken at a height of 1.5 meters from the base. Each of the successive 25 stories has a story height of 3 meters.
Structural Element Sizes
- Beams: 300 × 400 mm
- Columns: 800 × 800 mm
- Slab: 150 mm thick
Material Properties
- Grade of Concrete: M30
- Grade of Steel Reinforcement Bars: Fe 415
Loading
- Dead Load on beams from infill wall: 10 kN/m (Let us assume the same for the roof floor in view of the parapet)
- Live load on the floor : 3 kN/m2 (Let us assume the same for the roof floor)
Conditions of the building
-
a) Buildings are assumed to be pinned at the base
b) All columns in all stories are of the same size
c) All beams in all stories are of the same size
d) Building is located on Soil type II and in Zone III. Assume other factors if required.
Parameters for Analysis
- Check if the translational fundamental natural period of vibration in both the x and y direction is approximate: Tx1">Tx1Tx1= 4.4 second Ty1">Ty1Ty1= 4.2 second.
- Check if the following provision in Table 5 of IS 1893 (part 1) – 2016, on torsional irregularity is satisfied.
- Check if the two provisions of clause 7 in Table 6 (shown below) of IS 1893 (part 1) – 2016, regarding vertical irregularity is satisfied.
- Check if the provision on inter-story drift limitations in clause 7.11.1.1 is satisfied. Please note that this check is for Serviceability Limit State and hence is for situations when a structure is subjected to unfactored seismic base shear.
Procedure:-
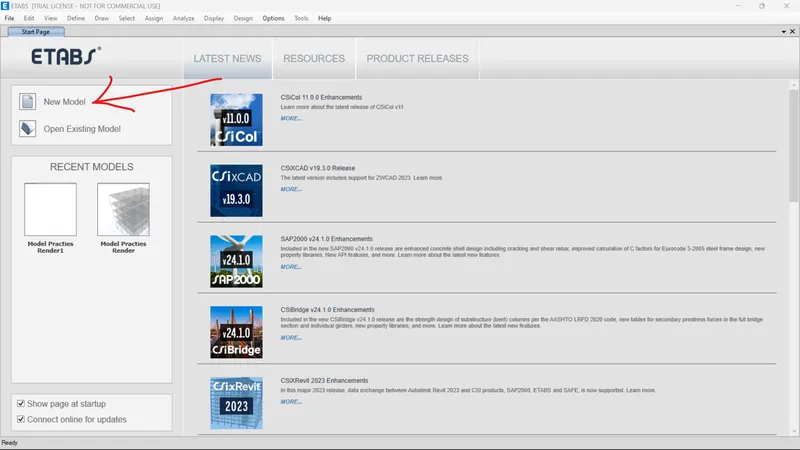
- Open Etabs software > Select a new model
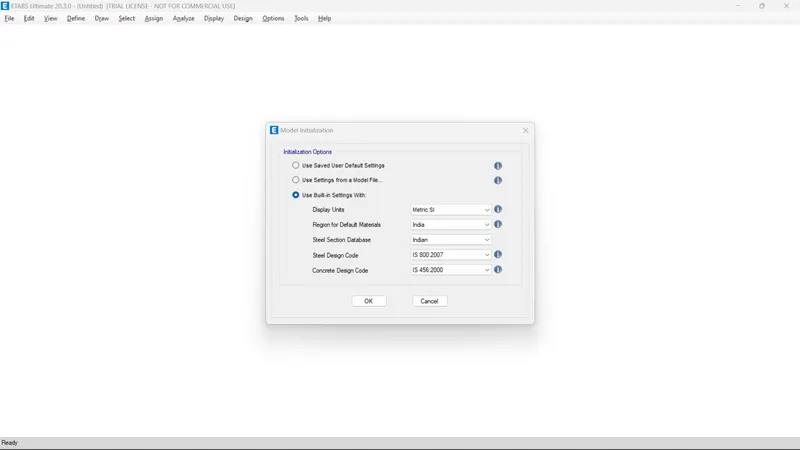
- Select parameters > Display units -Metric SI
- Region for the database- India
- Steel section database - Indian
- Steel design code - IS 800-2007
- Concrete design code - IS 456-2000
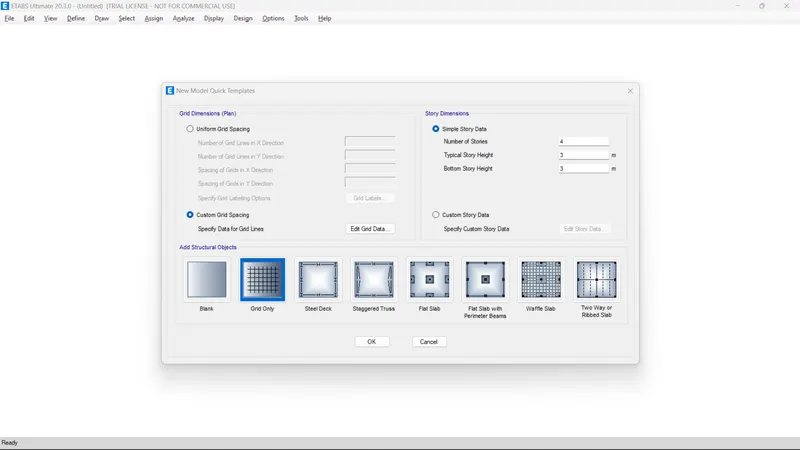
- Custom gride Spacing > click Edit Grid Data
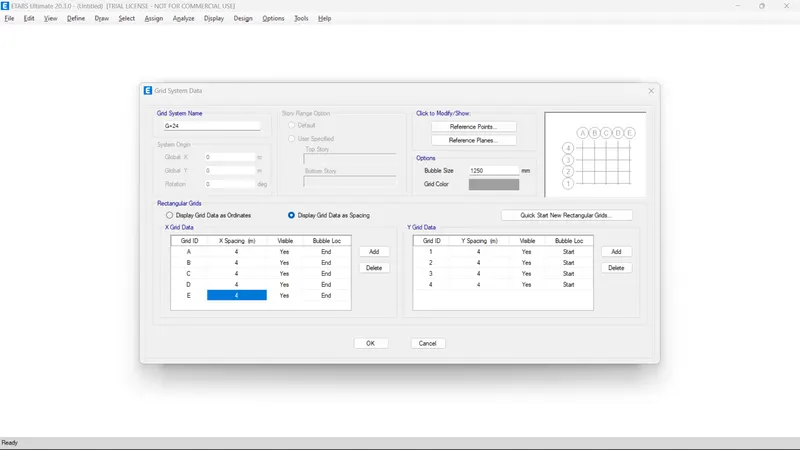
- Display Grid data as a spacing option select
- Add grids > define spacing 4 in the x-axis (5 Grids )
- Add grid > define spacing 4 in the y-axis (4 Grids)
- Custom Story Data > Edit story data
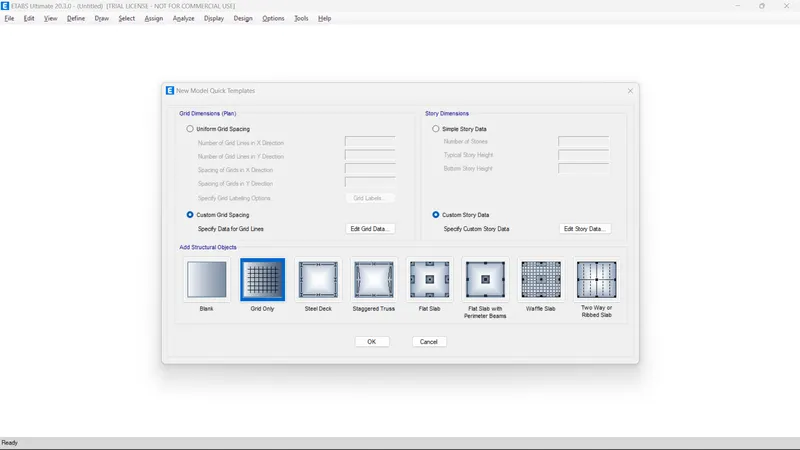
- Add 25 stories >
- Specify height as 1.5 for plinth level from base and rest story (1 to 25) all at 3m
- The select Master story as story 1
- Select all story as similar to Story 1
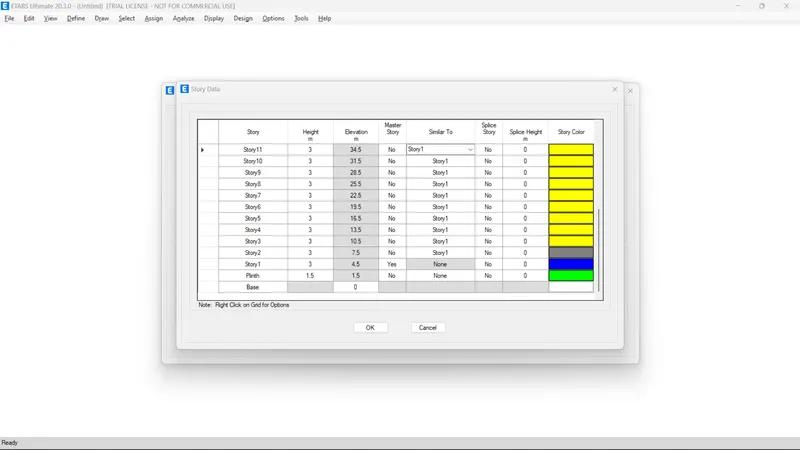
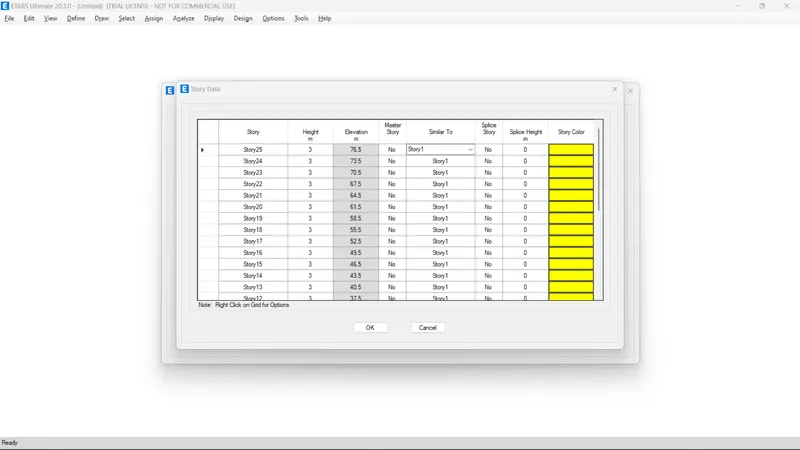
- Press ok
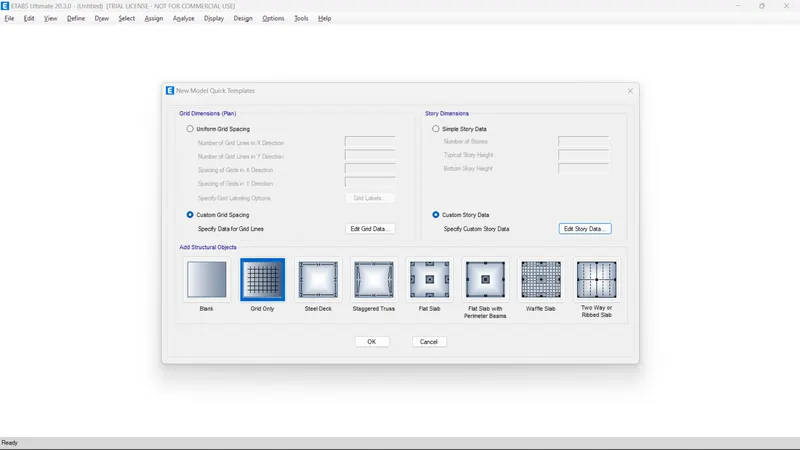
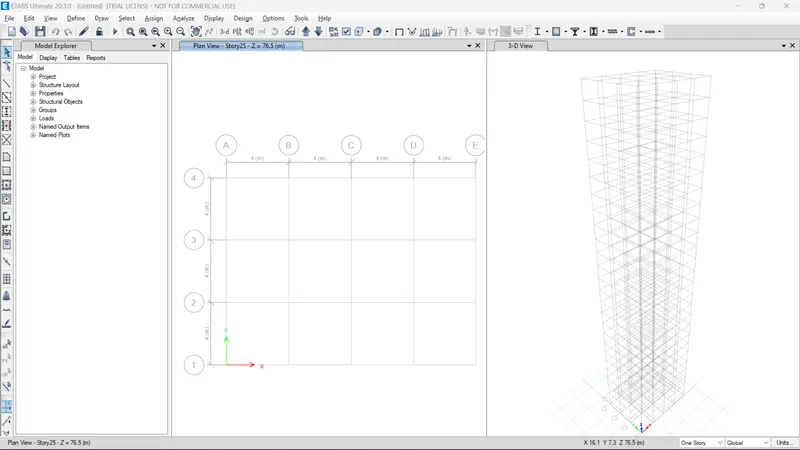
- Go to define> select material properties
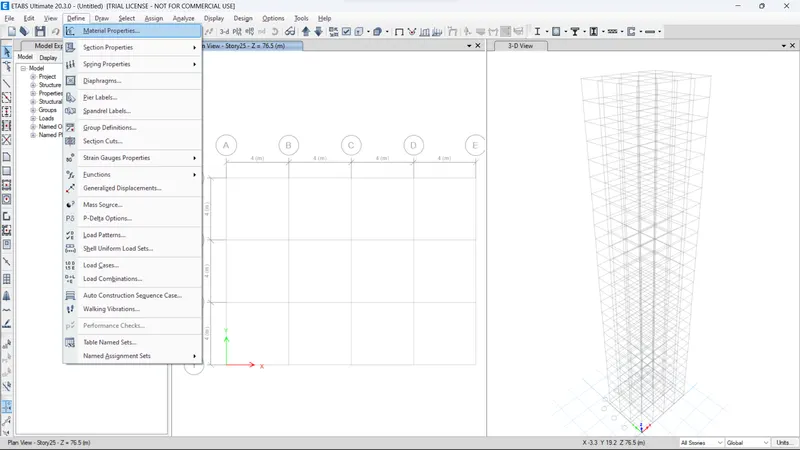
- click > Add new material
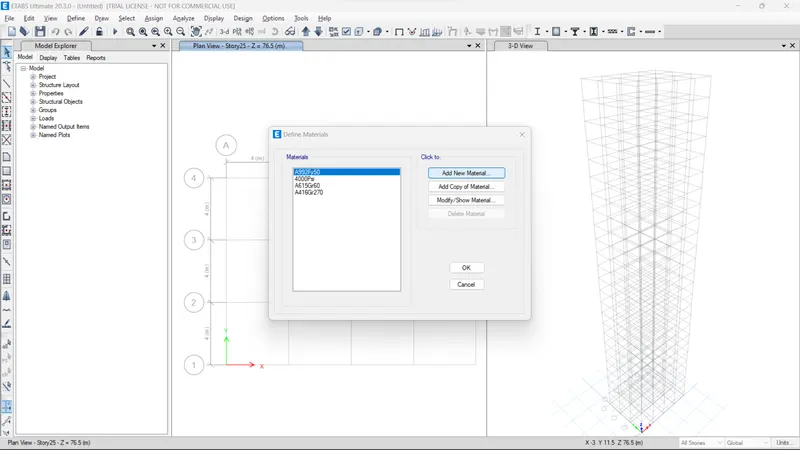
- Select parameters > Region - India
- Material type- Concrete
- Standard - Indian
- Grade - M30
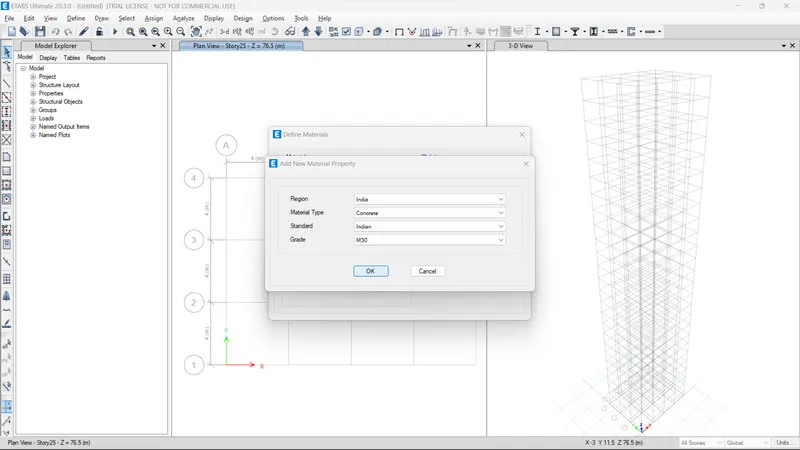
- Specify Data
- Material name - M30
- Material Type - Concrete
- Press ok
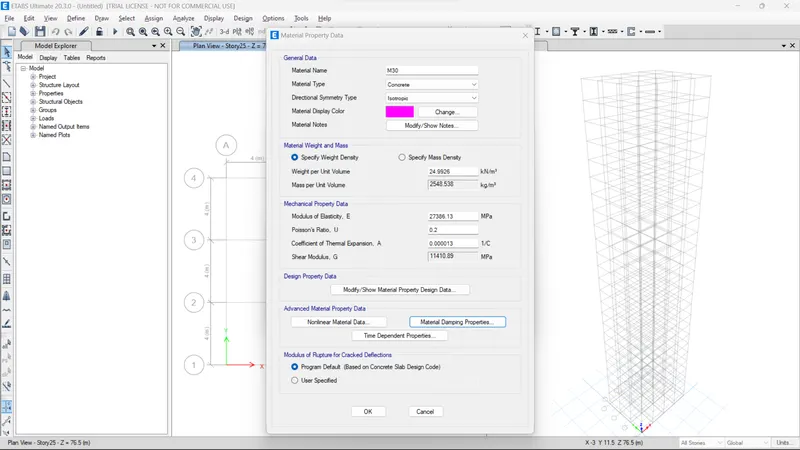
- Specify parameter
- Region - India
- Material Type - Rebar
- Standard - Indian
- Garde - HYSD 415
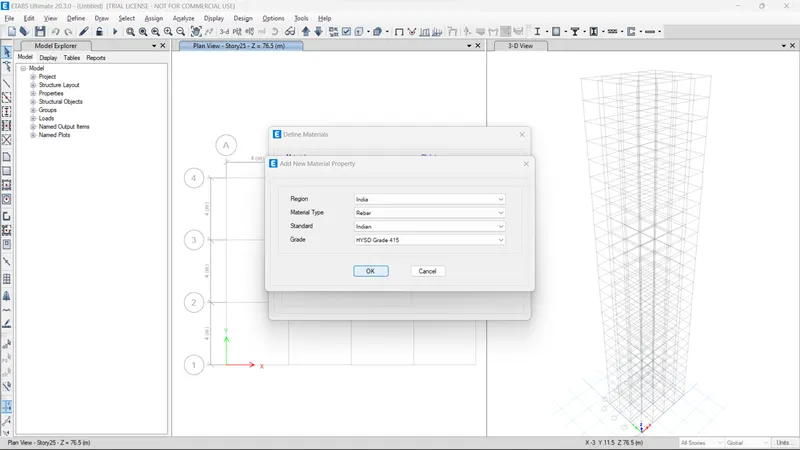
- Specify parameter > Material name - HYSD415
- Press ok
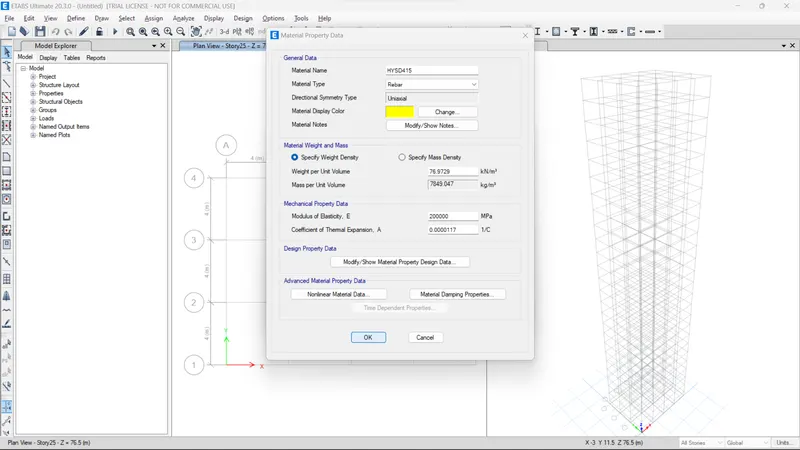
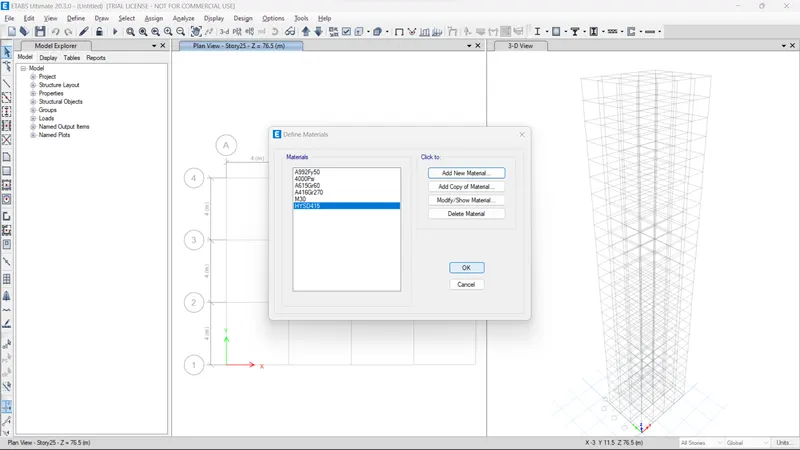
- Goto Define > Section Properties > Fram Sections
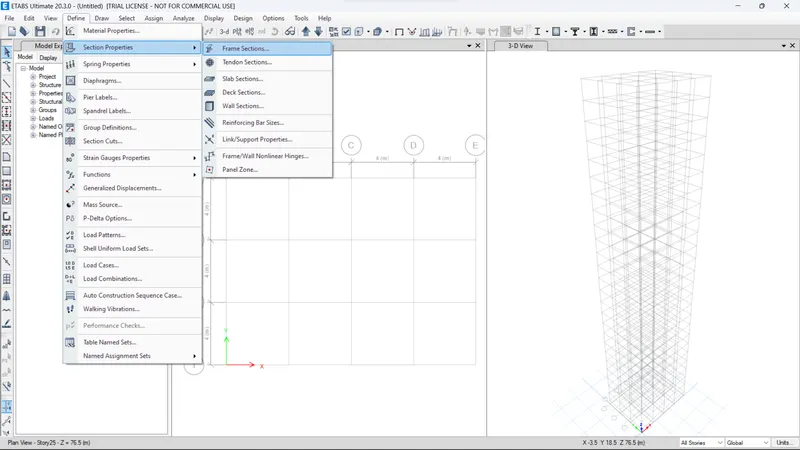
- Goto - Add Property
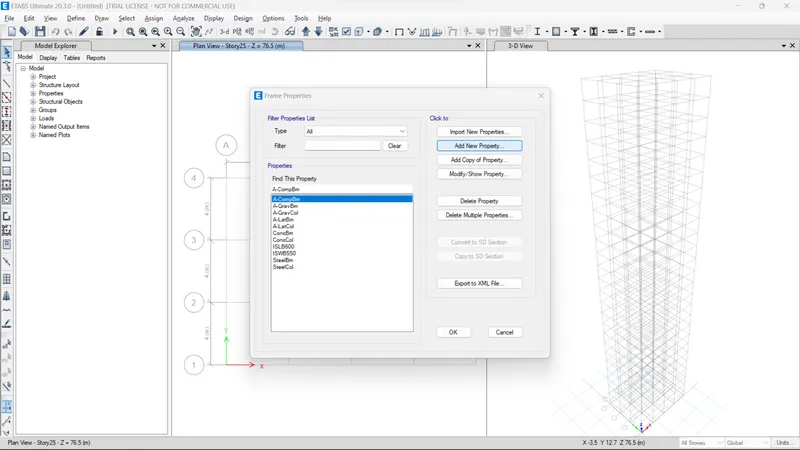
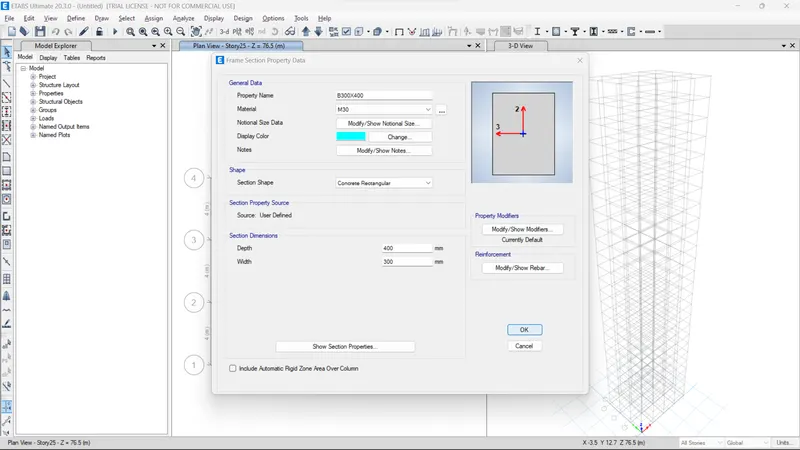
- Select the rectangle Concrete section
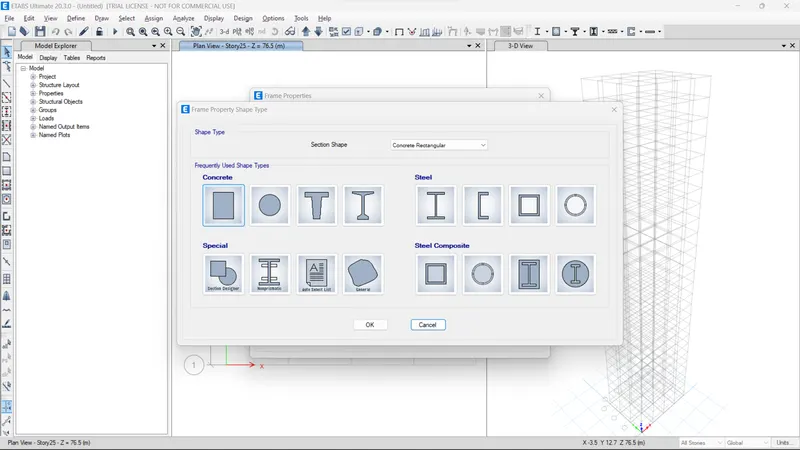
- Specify - Property Name - B300X400
- Select - Material -M30
- Specify - Depth - 400mm
- Width - 300mm
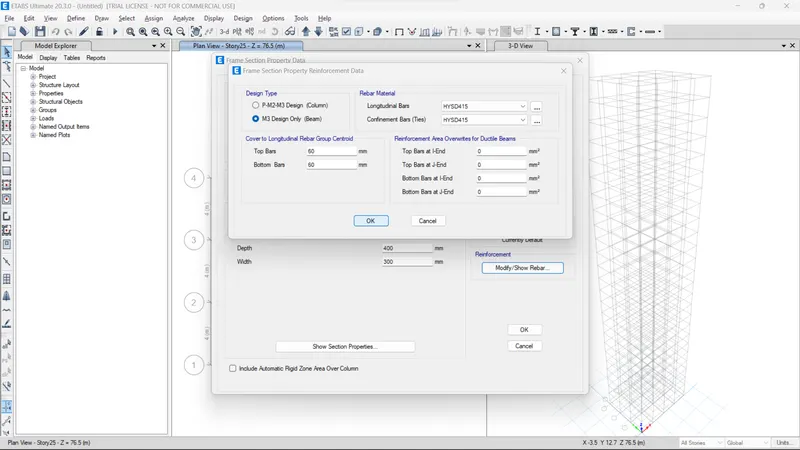
- Then goto Modify show rebar
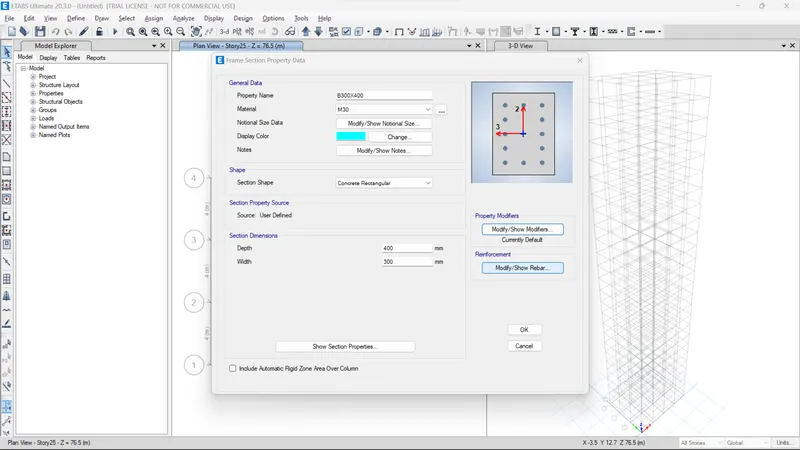
- Select- M3 Design only(Beam)
- Longitudinal bars - HYSD415
- Confinement bars - HYSD415
- Everything as default
- press ok
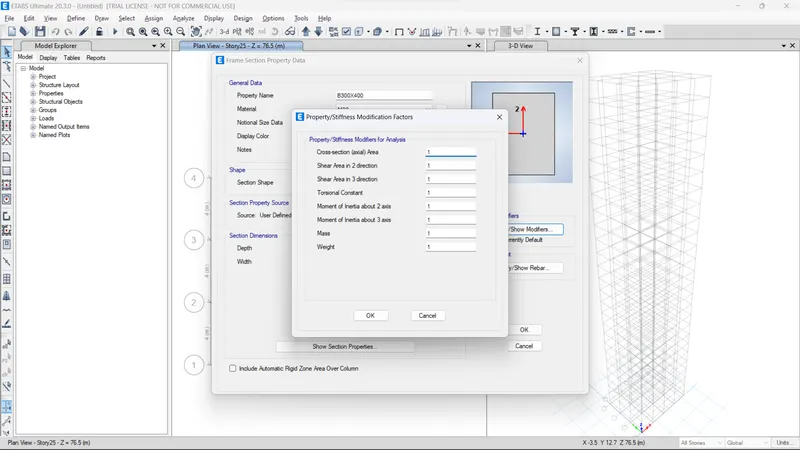
- Press ok
- Again repeat the steps as a beam for columns
- Add new property
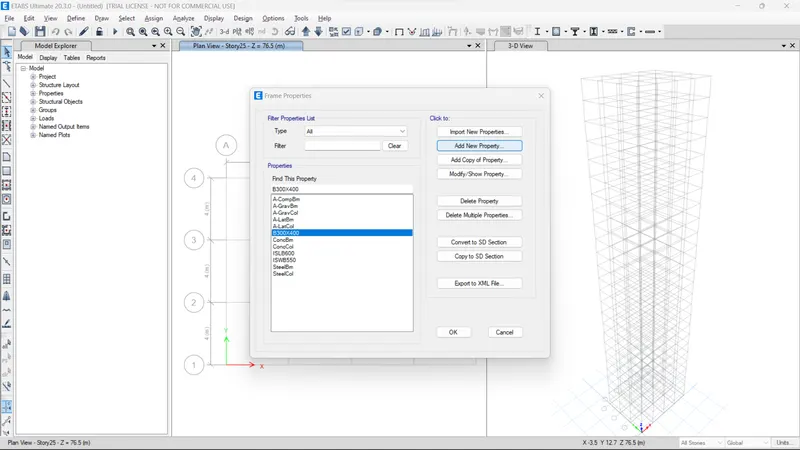
- The select rectangular concrete section
- specify parameter
- Property name - C800X800
- Material- M30
- Depth - 800mm
- Width - 800mm
- Modify rebar
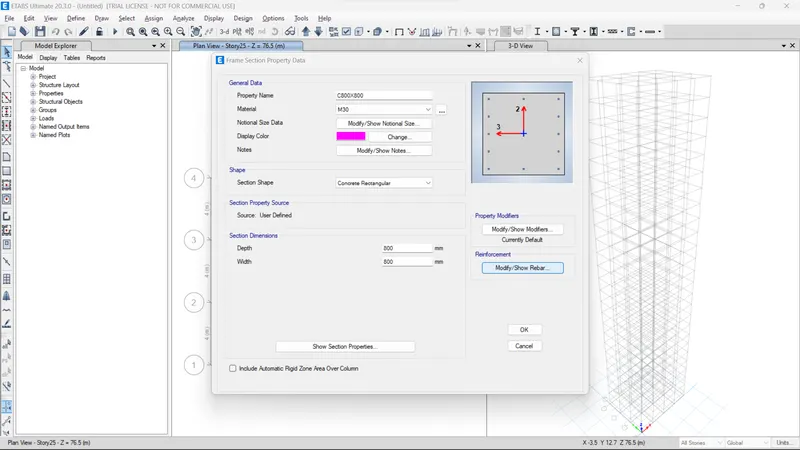
- Design type - column
- Longitudinal bars - HYSD415
- Confinement bars (ties) - HYSD415
- Press ok
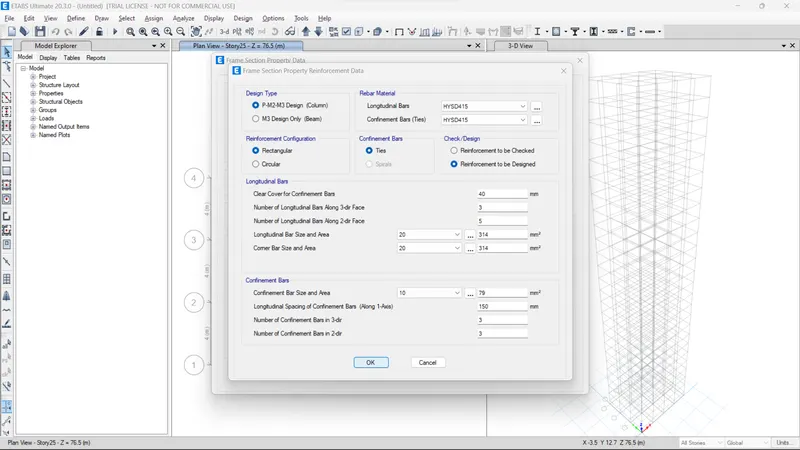
- Press ok
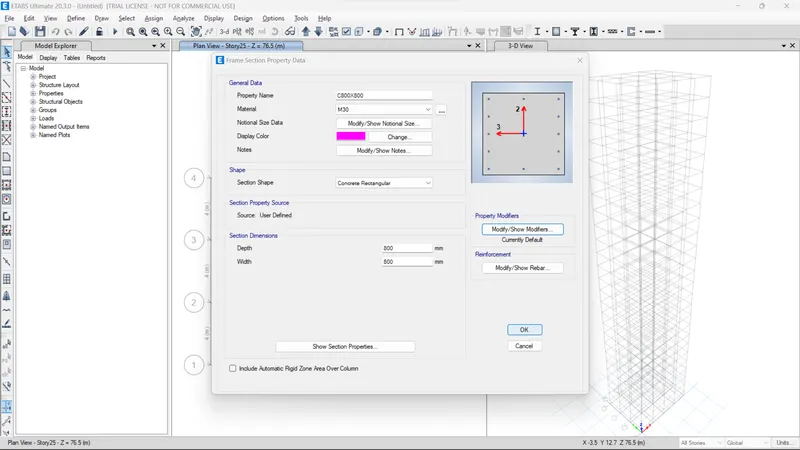
- Press ok
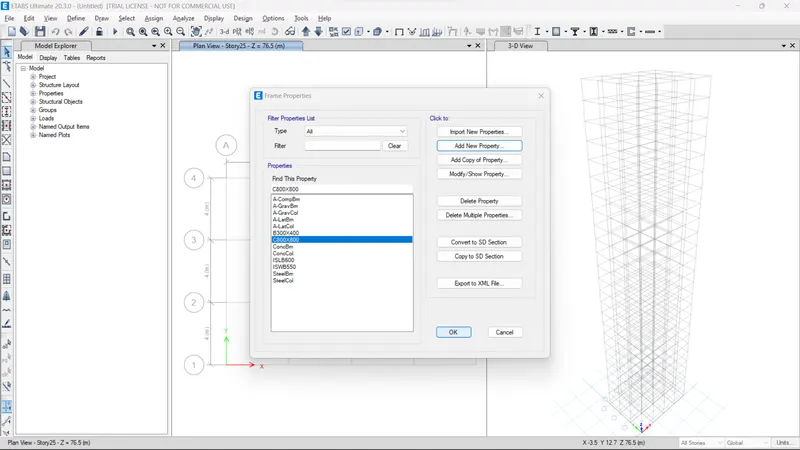
- Goto Define - Section properties - Slab sections
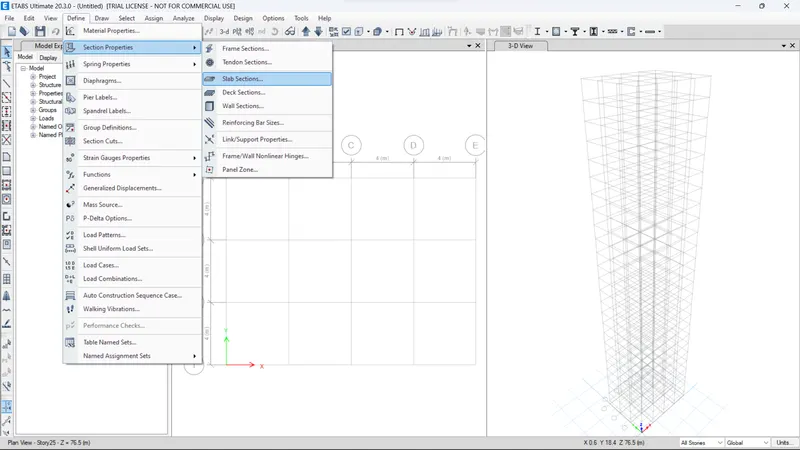
- Add New Property
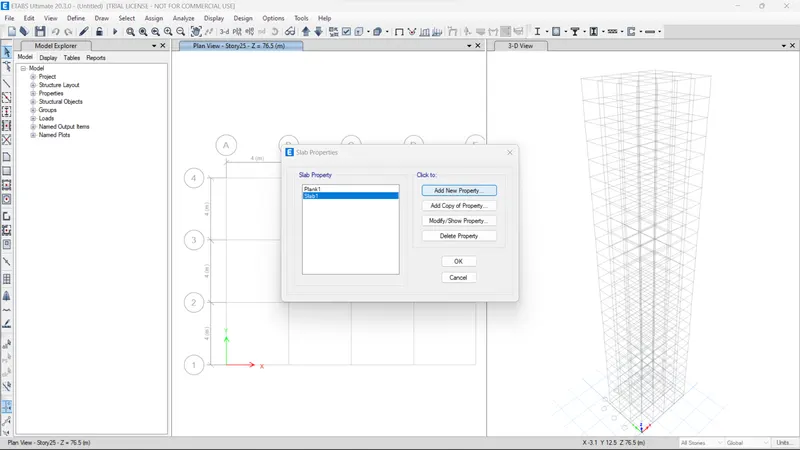
- Specify Parameters
- Property name - Slab 150mm
- Select Modeling type - Membrane
- Thickness - 150mm
- Press ok
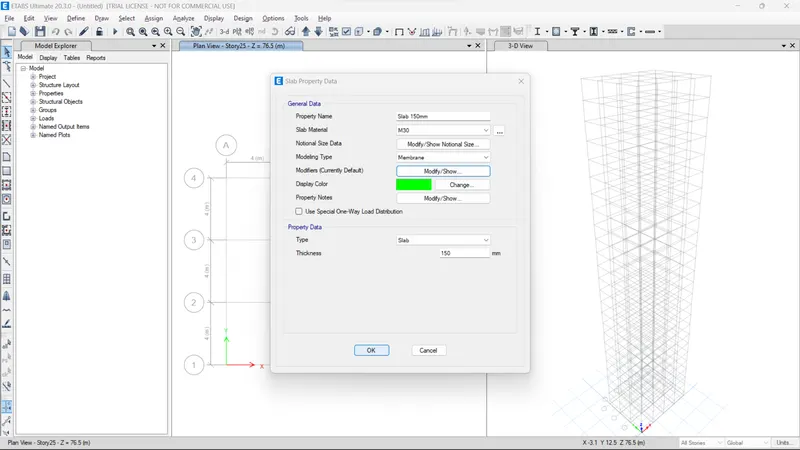
- Press ok
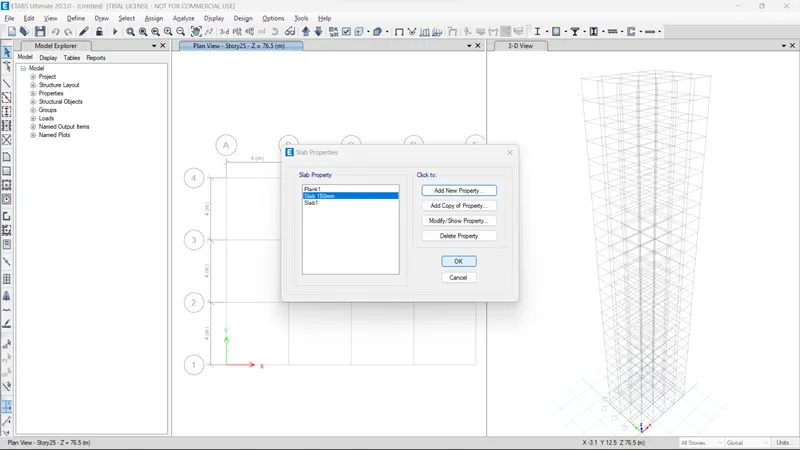
- Lets Goto define loads
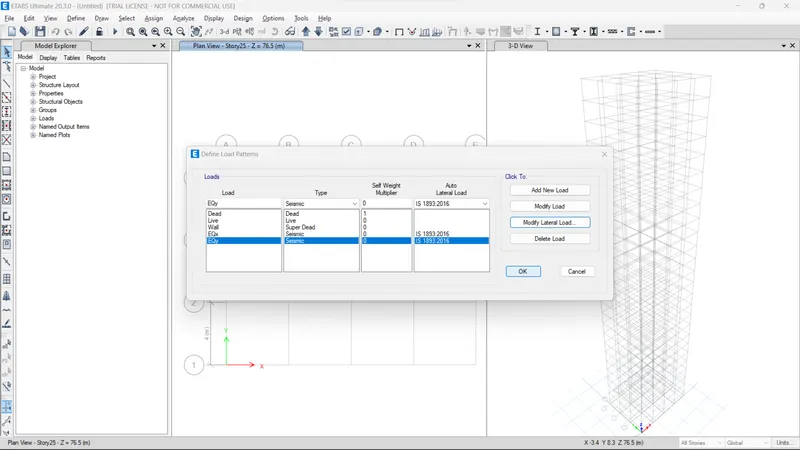
- Goto Define - Load Patterns
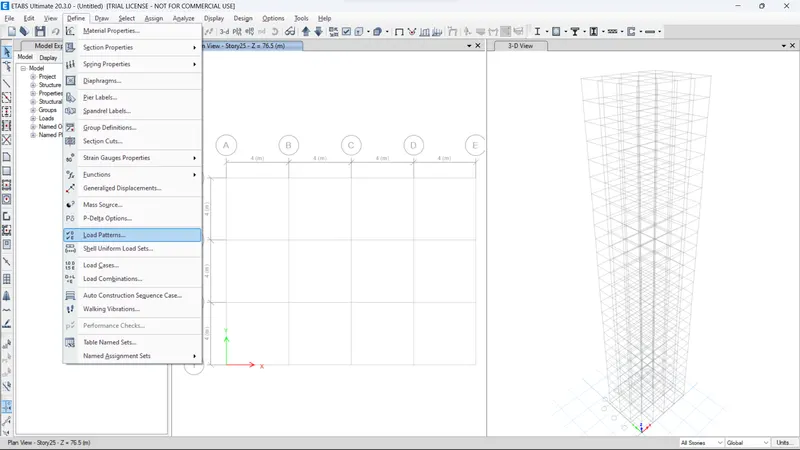
- Specify Load name - load type - Self-weight multiplier - Auto lateral load
- Dead - Dead- 0 -
- Live - live - 0 -
- Wall - Super dead - 0 -
- EQx - Seismic - 0 - IS 1893-2016
- EQy - Seismic - 0 - IS 1893-2016
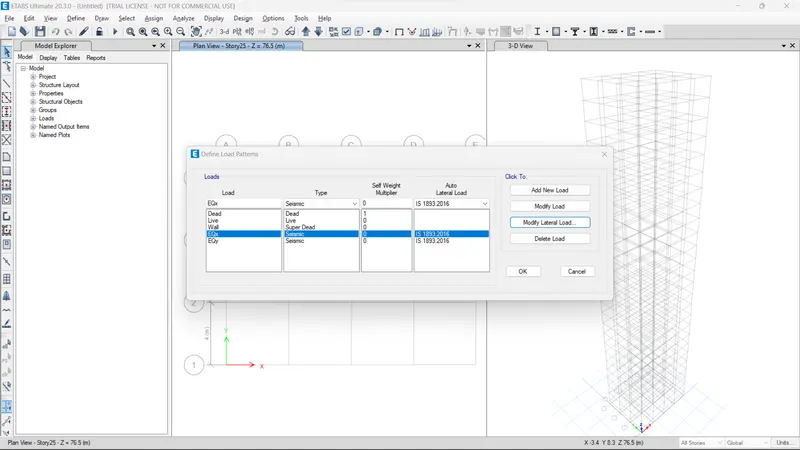
- Edit EQx property
- Direction - X Dr
- seismic zone factor - 0.16
- Site type - II
- Rest is default as per Code
- Press ok
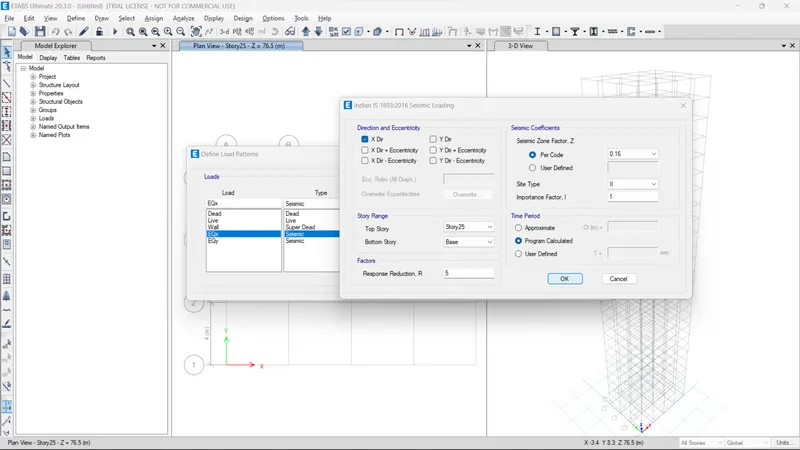
- Edit EQy property
- Direction - Y Dr
- seismic zone factor - 0.16
- Site type - II
- Rest is default as per Code
- Press ok
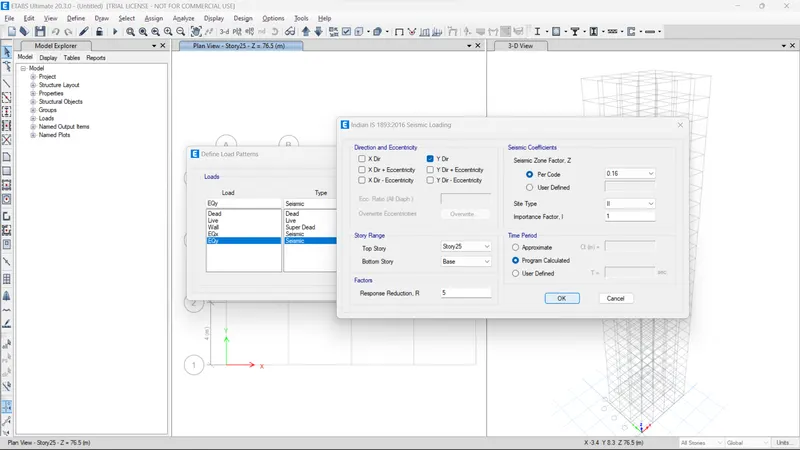
- Press ok
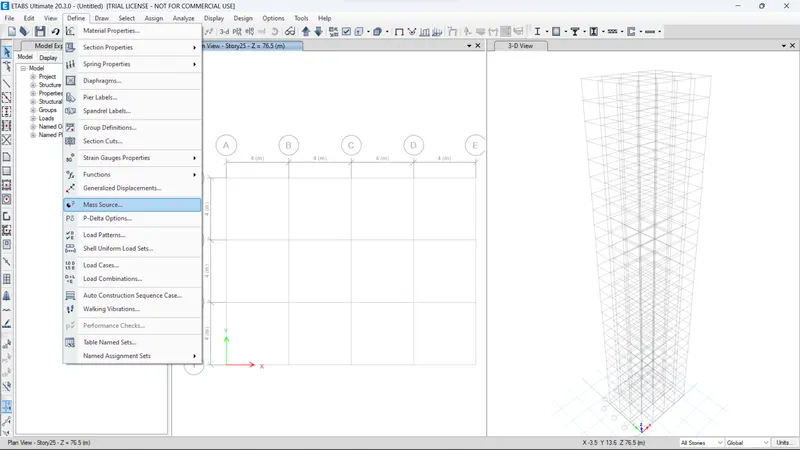
- Define Mass Source
- Goto- define- Mass sources
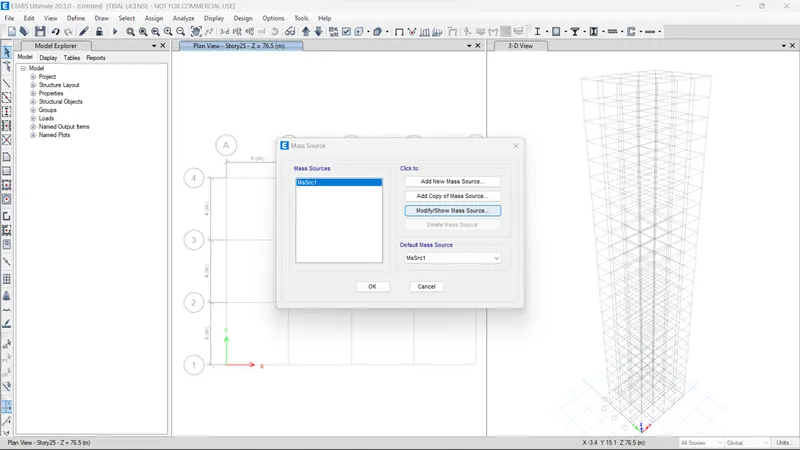
- Select MrSrc 1 to Modify mass sources
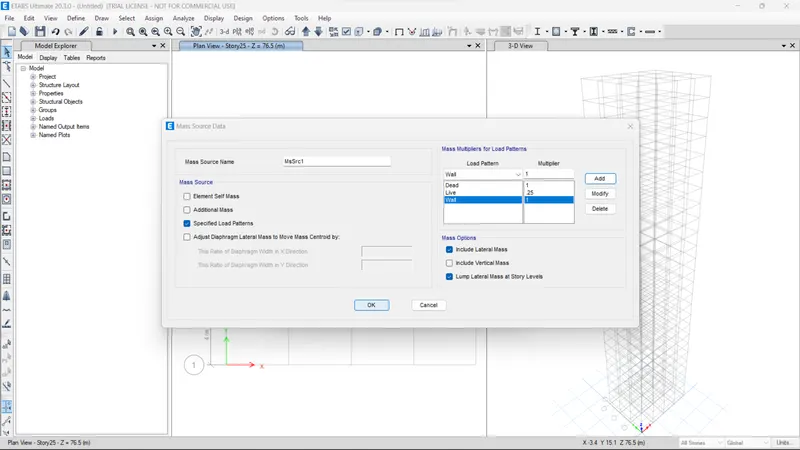
- Select Specified load patterns
| Load Patterns | Multiplier |
| Dead | 1 |
| Live | 0.25 |
| Wall | 1 |
- Press ok
- Press ok
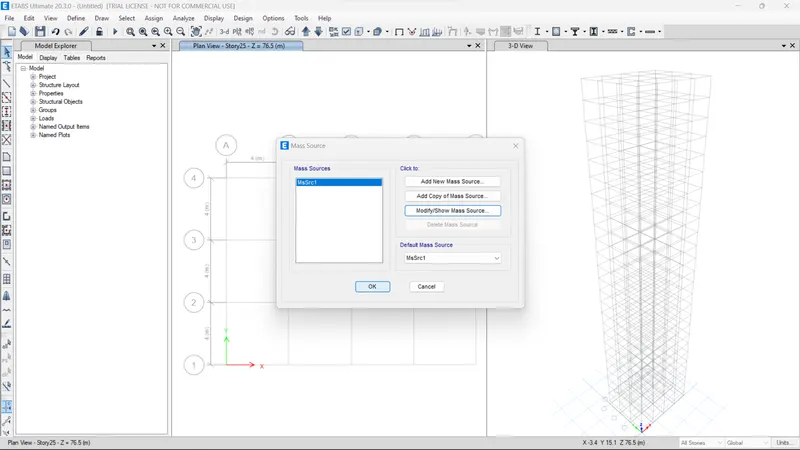
- Define Columns and Beams Positions
- Select- All-Story
- Select Quick draw columns
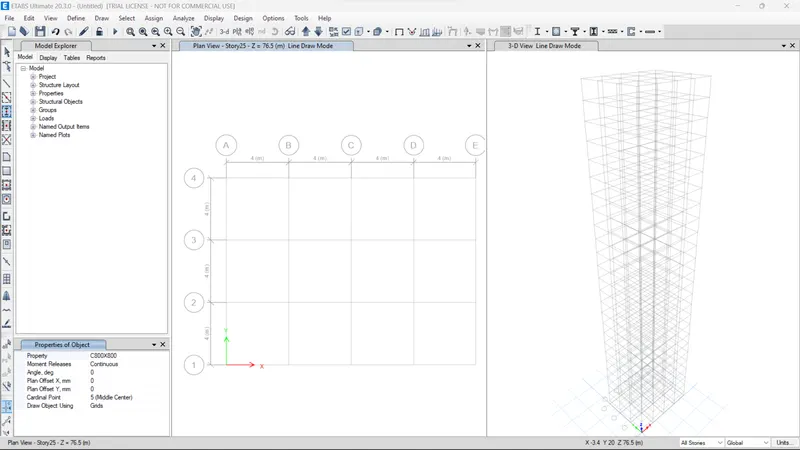
- Specify Materials - C800X800
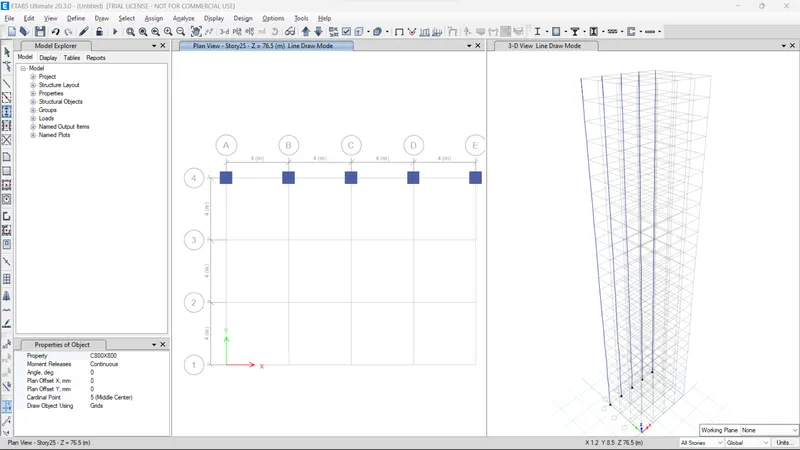
- Select the cross-section of grids
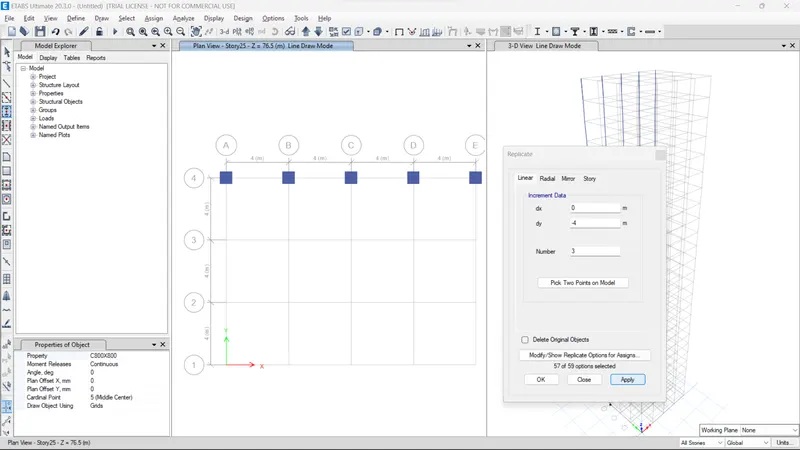
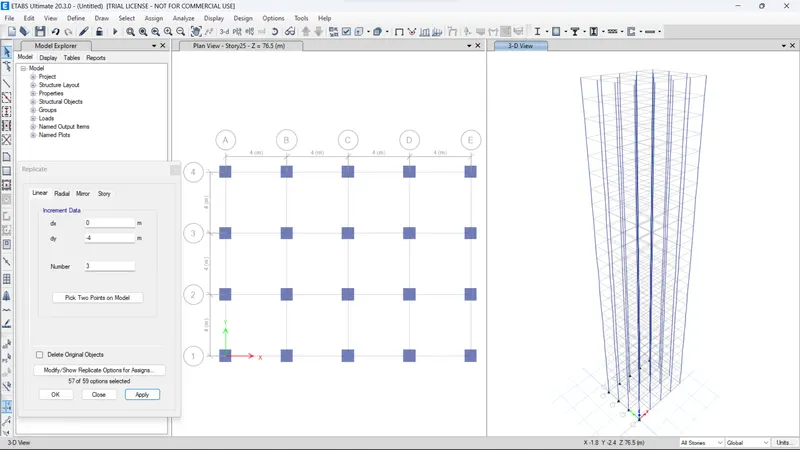
- Draw the beam
- Select - All-Story
- Select Quick Draw Beams
- Select Properties - B300X400
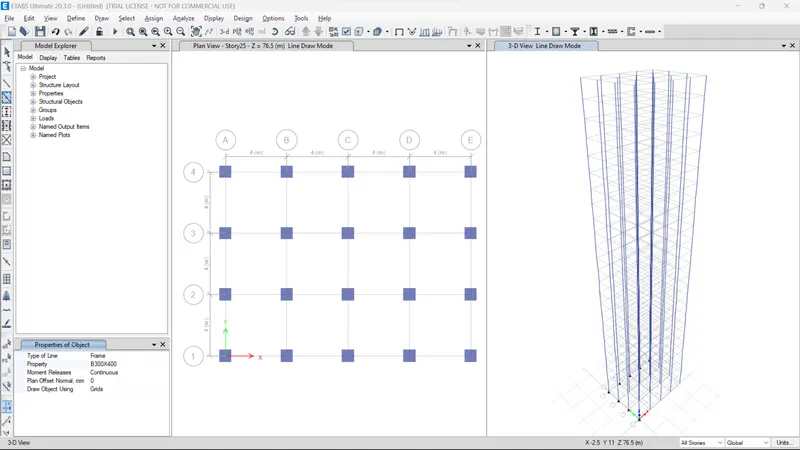
- Select Spacing between the columns
- And Place the beams
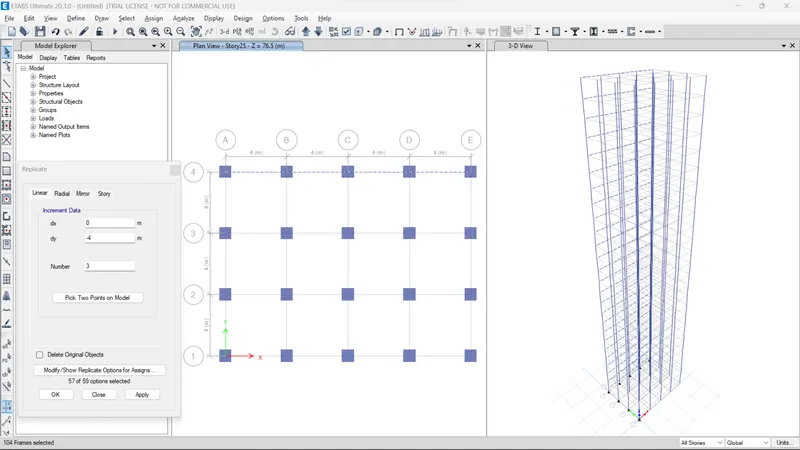
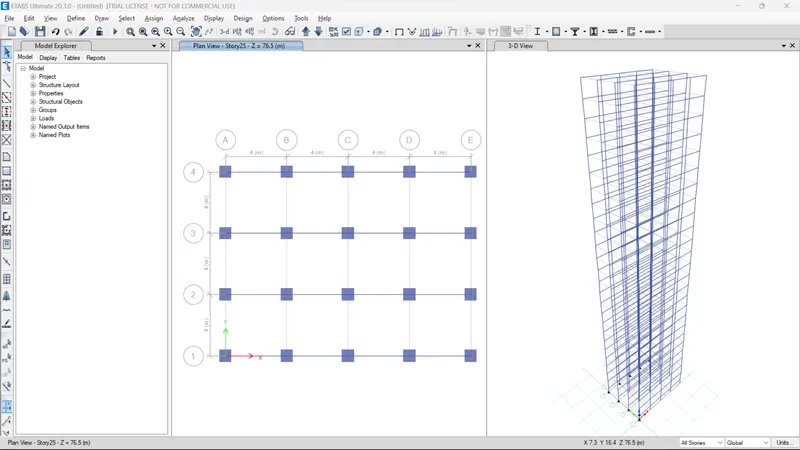
-
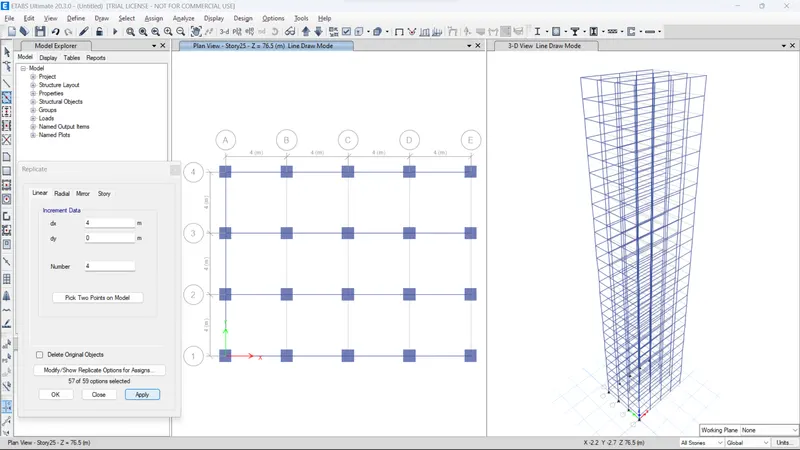
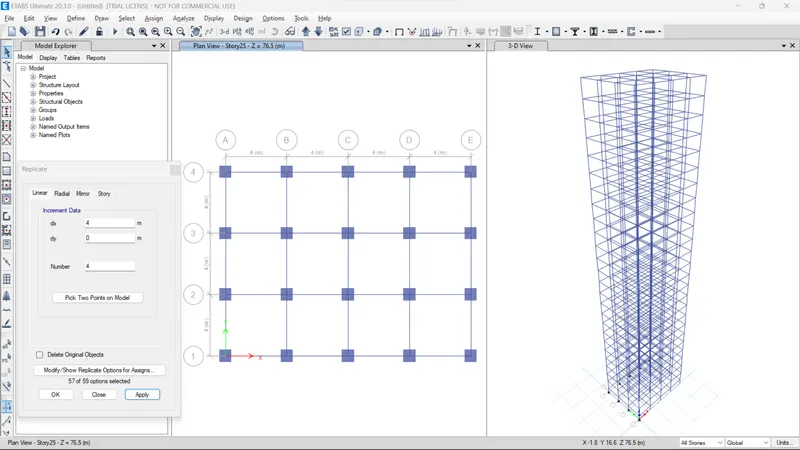
- Placing Slabs
- Select -Similar Story ( No Slab on Base and Plinth level)
- Select story-1
- Select- Quick draw slab tool
- Property - Slab 150mm
- Specify the slab by selecting a rectangular box made for the beams
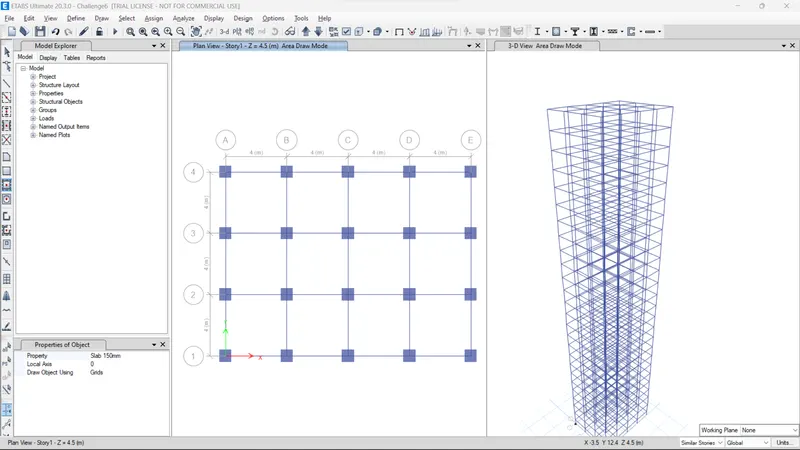
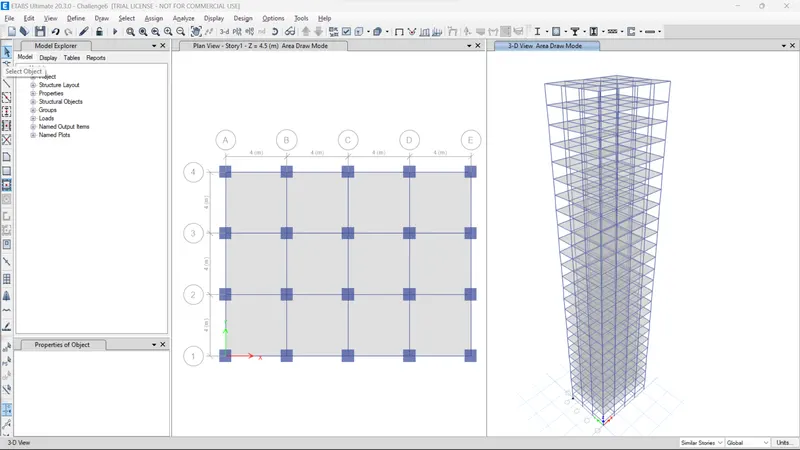
- Then Goto Defines for Load Combination
- Define- Load combinations
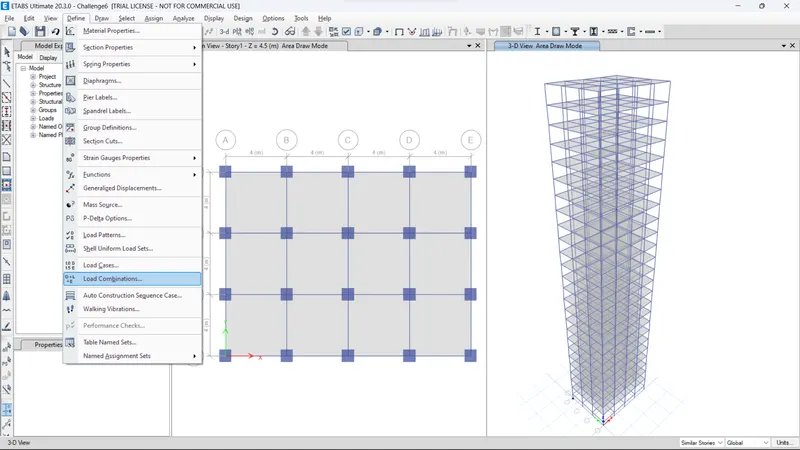
- Add default Design Combination
- it helps to combine all loads as per code IS 1893-2016
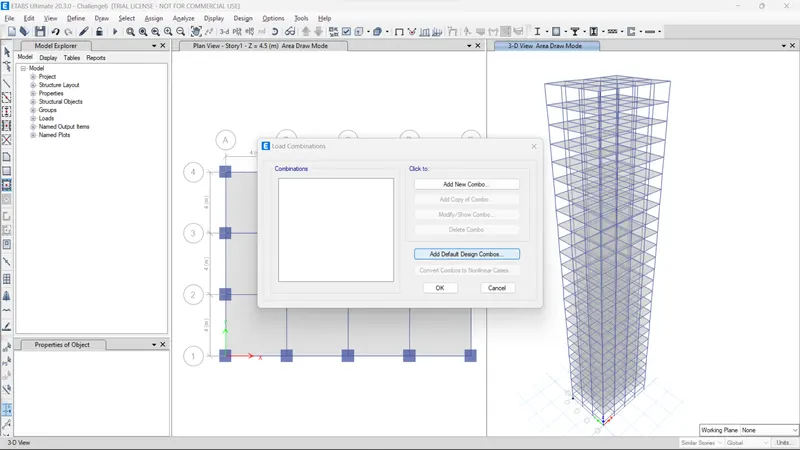
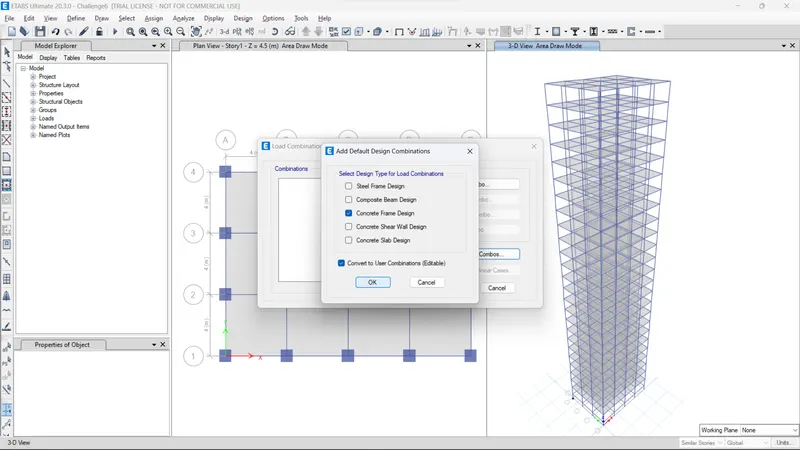
- Select Concrete Frame Designs
- Select Convery to users combination
- Press ok
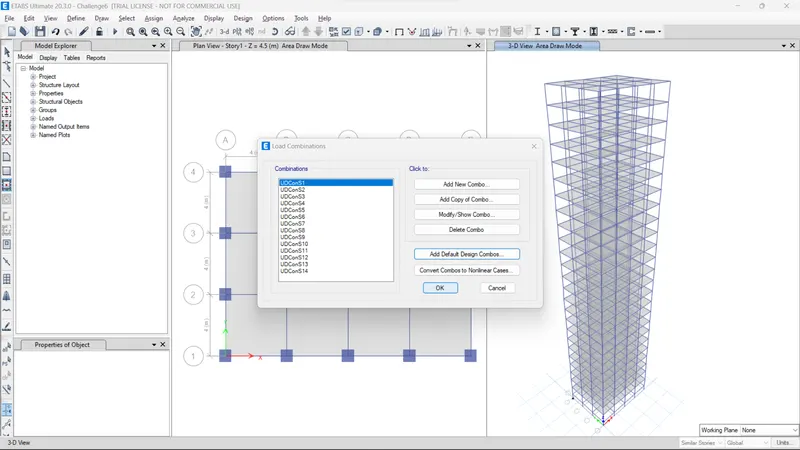
- Load Combination as per created by software
- Press ok
- Let's Goto to Assigning Loads in frames and Slabs
- First Assign Fram Loads as Distributed
- Assign- Frame Loads- Distributed
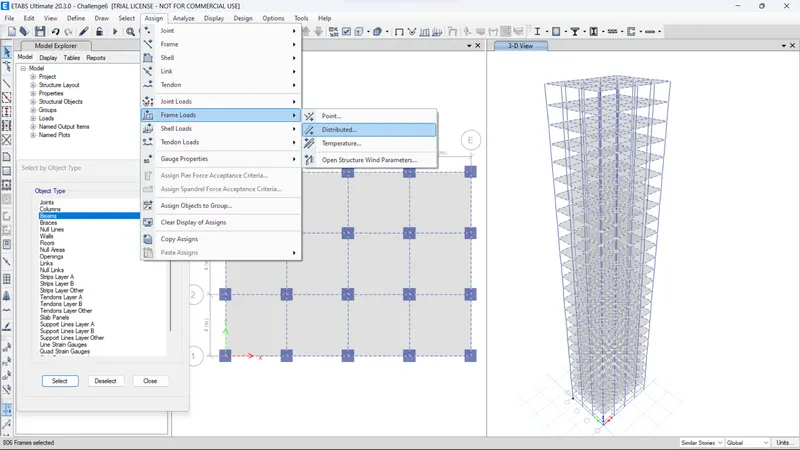
- Select all Beams
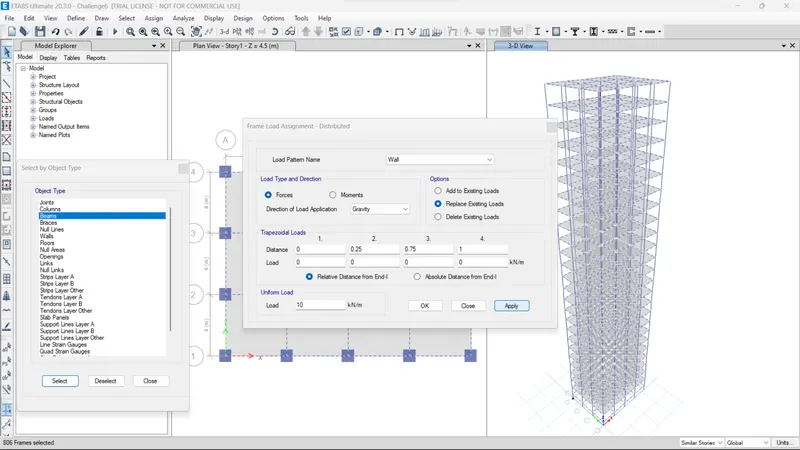
- Specify load pattern Name- Wall
- Uniform Load - as 10KN/m
- Press Apply
- Press close
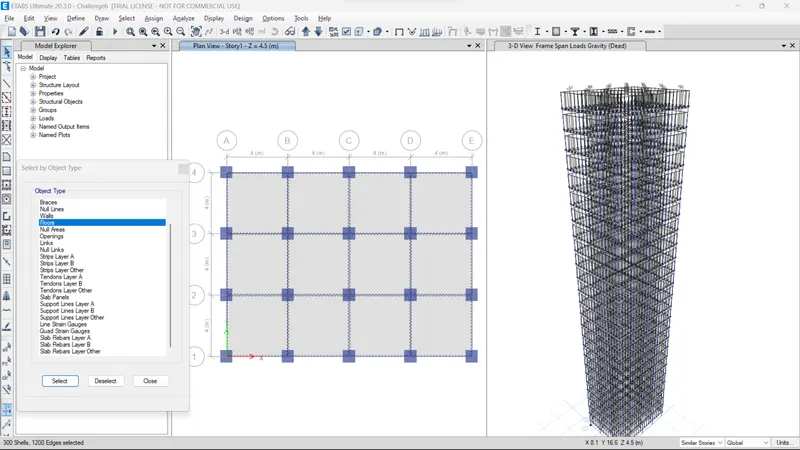
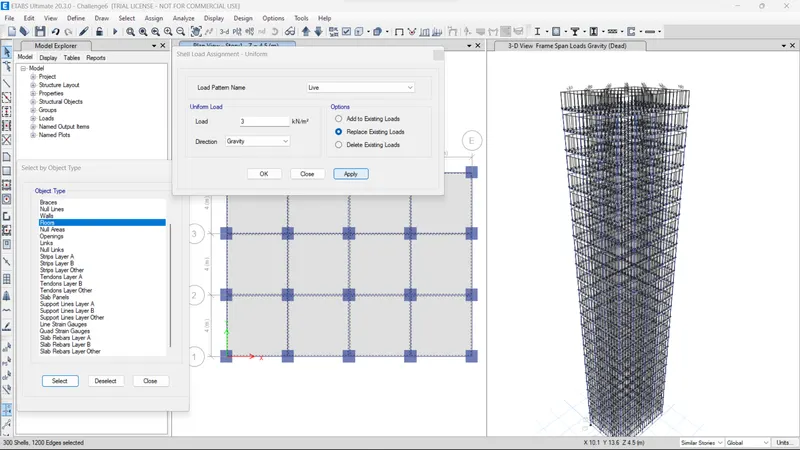
- Second Assign slab load
- Assign- Shell Loads - Uniform
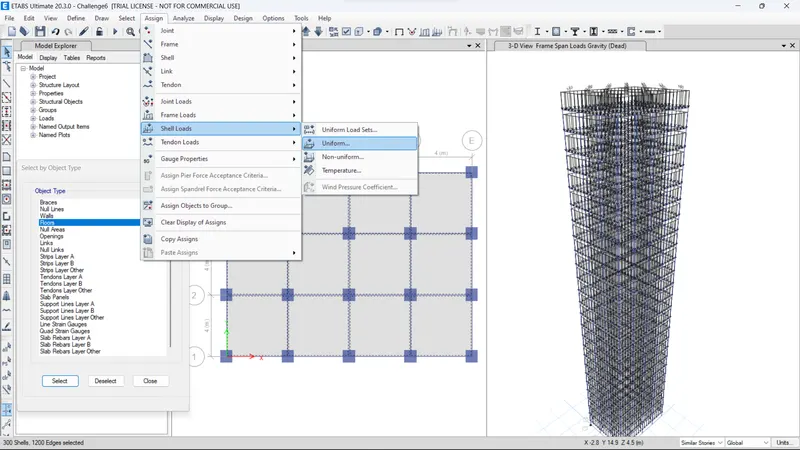
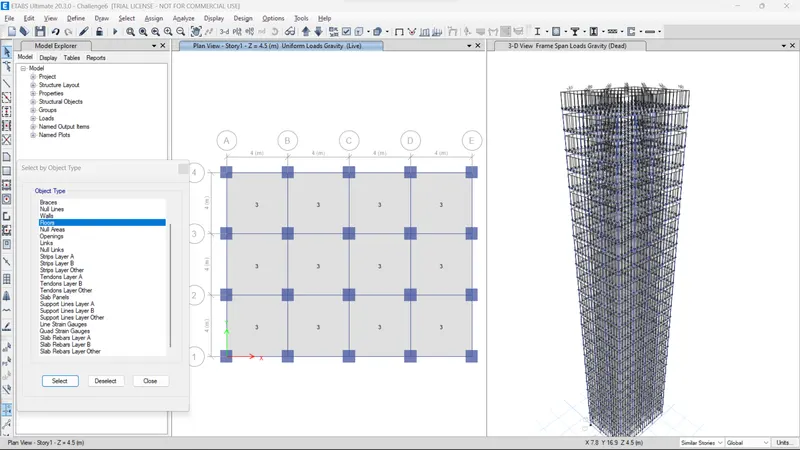
- Select all Floors
- Specify Load Patterns name - Live
- Uniform Load - 3KN/m
- Press Apply
- Press close
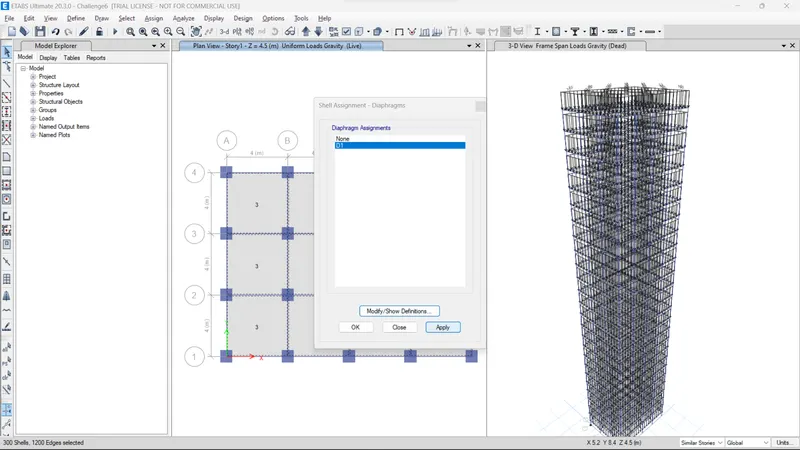
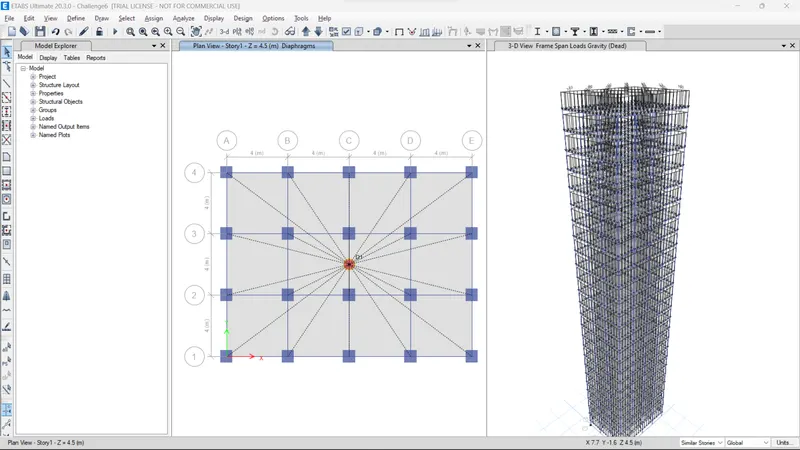
- Define Diaphragms
- Goto Assign- Shell - Diaphragrams
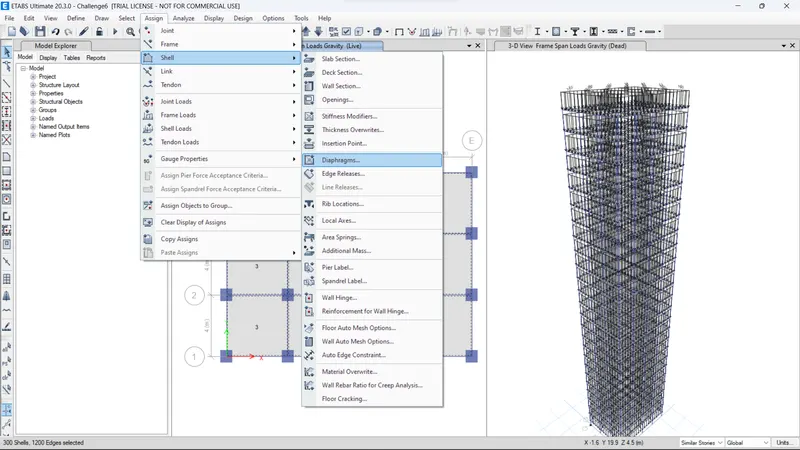
- Select default D1
- Press ok
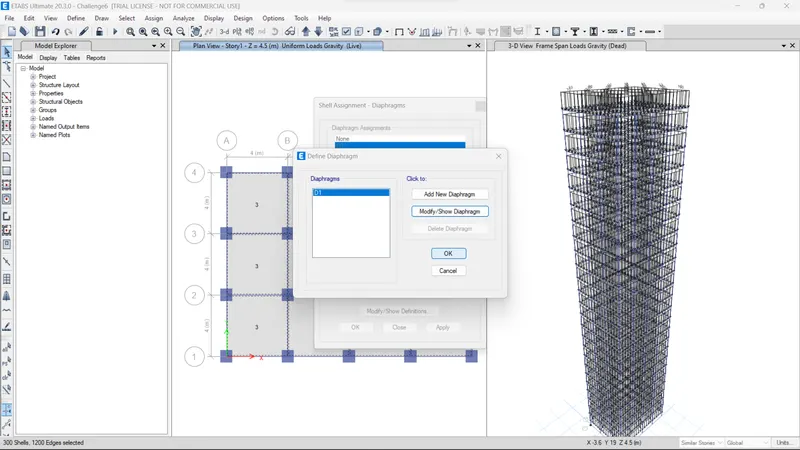
- Press ok
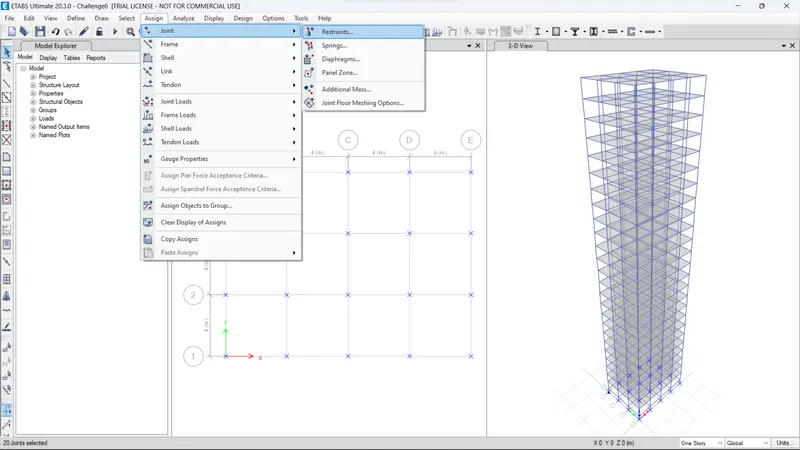
- Goto Base level
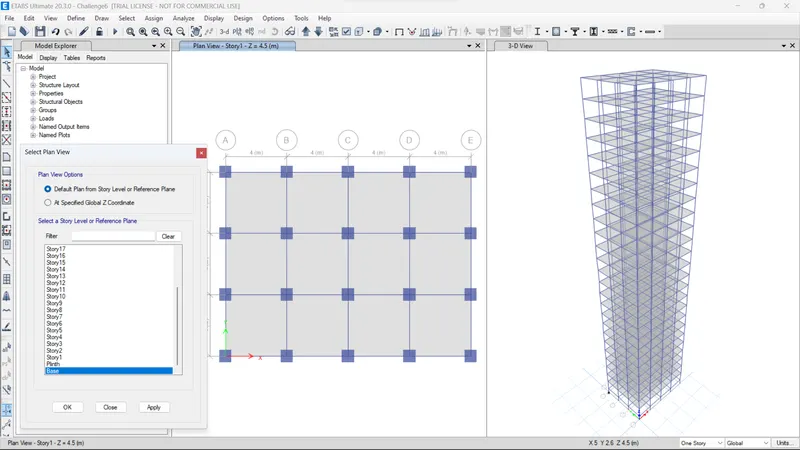
- Select all column
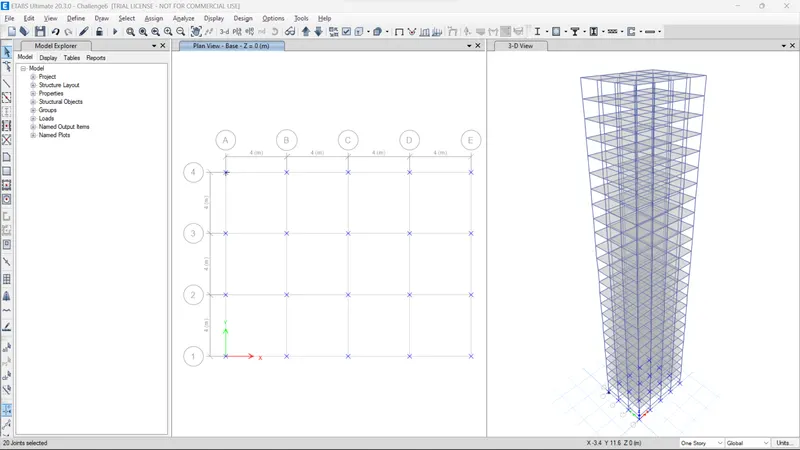
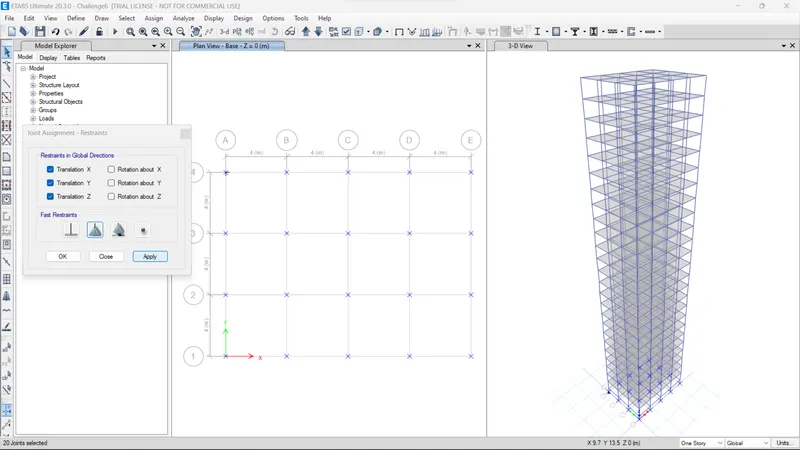
- Goto Assign - Joint - Restraints
- Select Pin support
- Press Apply
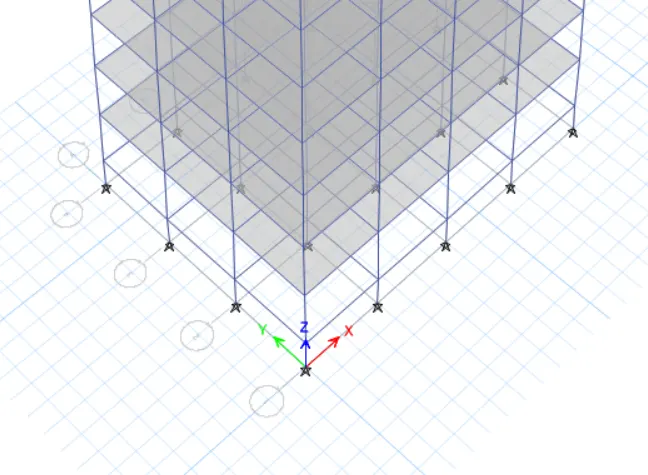
- Then Goto Run Analysis
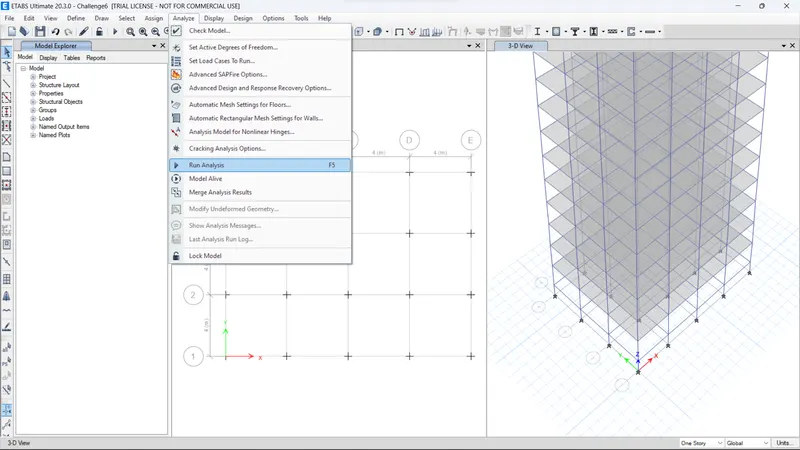
- Save the analysis file as the preferred name and location
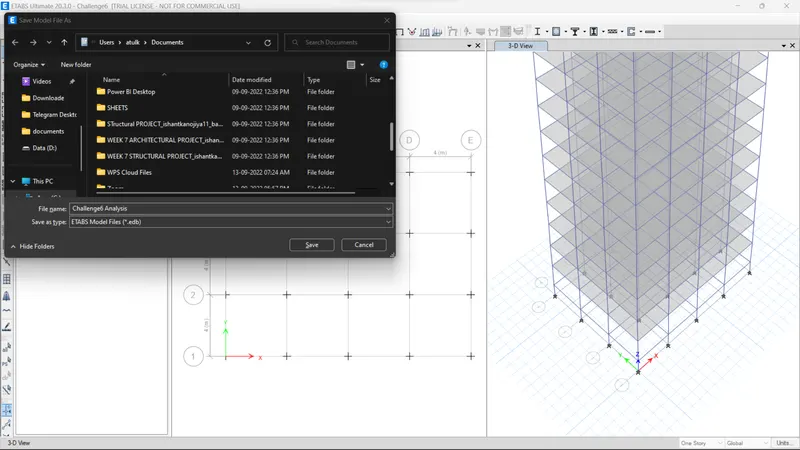
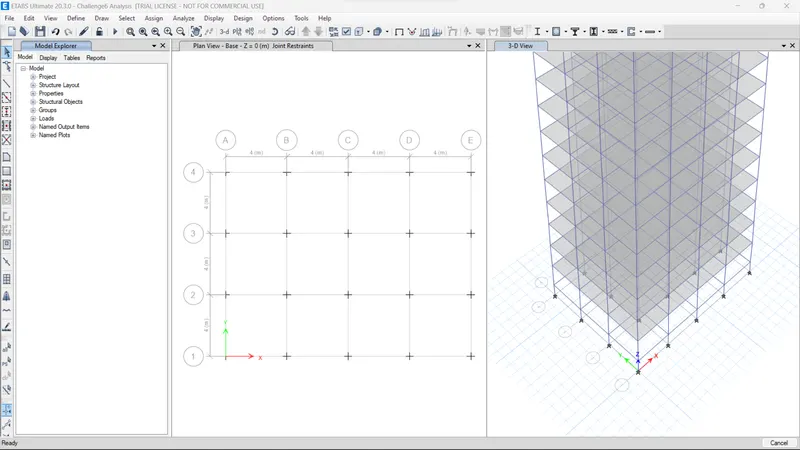
- Then goto Tables> Analysis Results> Modal Information
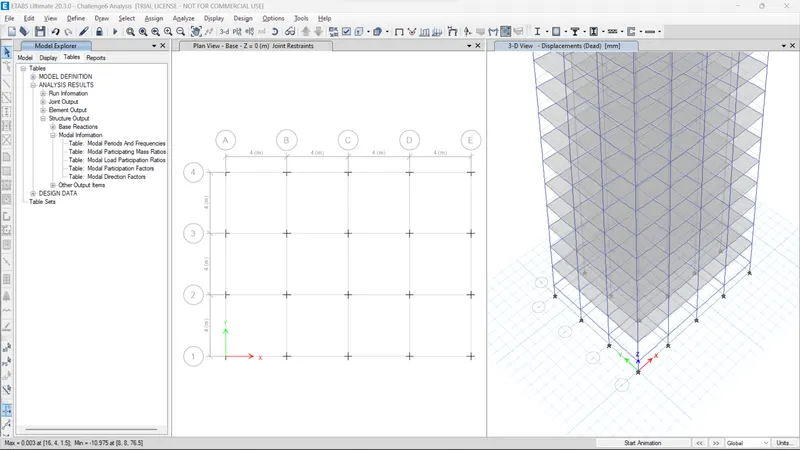
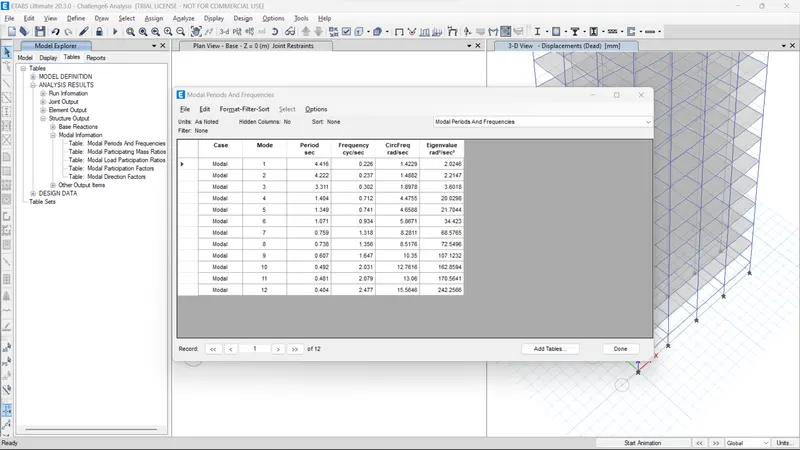
- Modal Periods and Frequencies analysis result
- Modal Participating mass rations analysis result
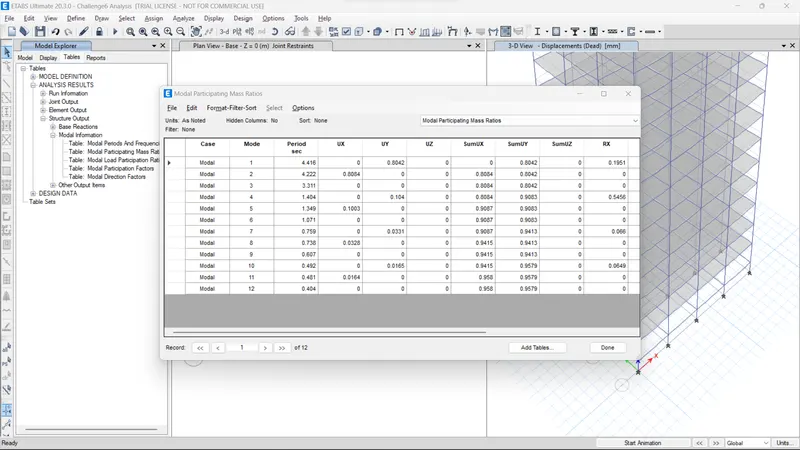
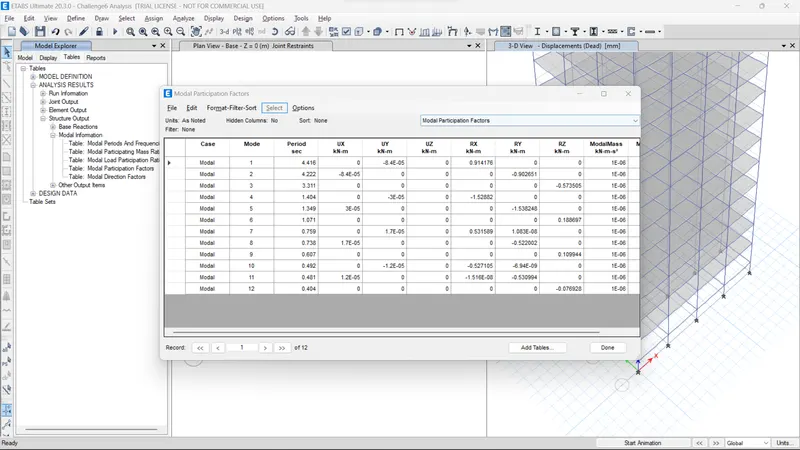
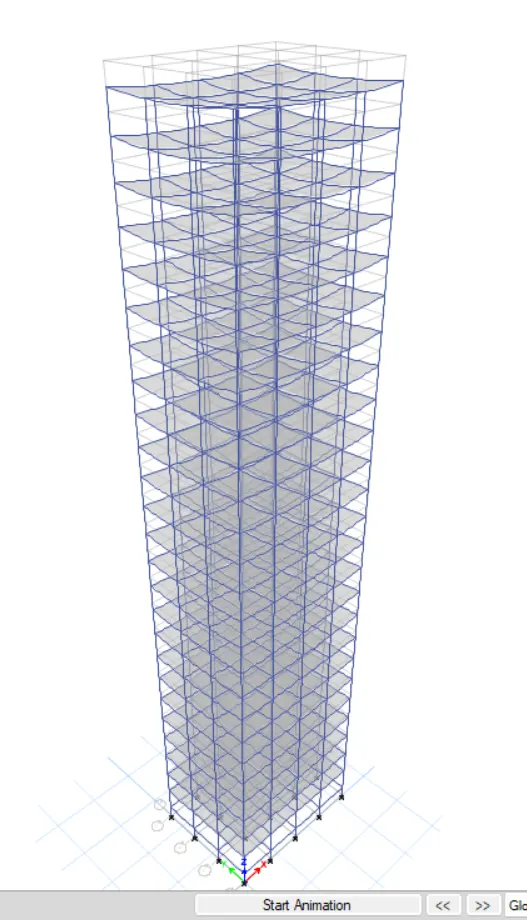
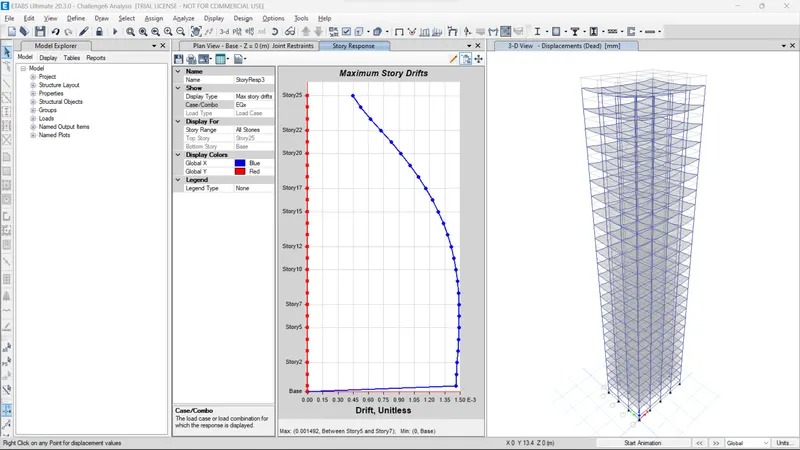
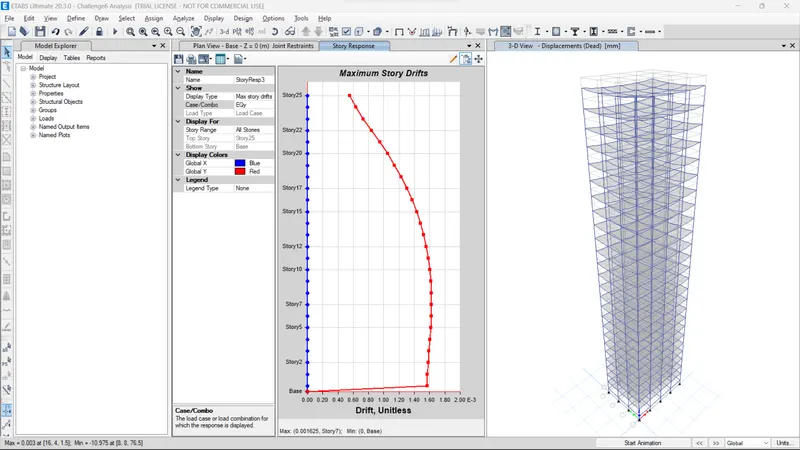
- Goto Display> Story Response plots
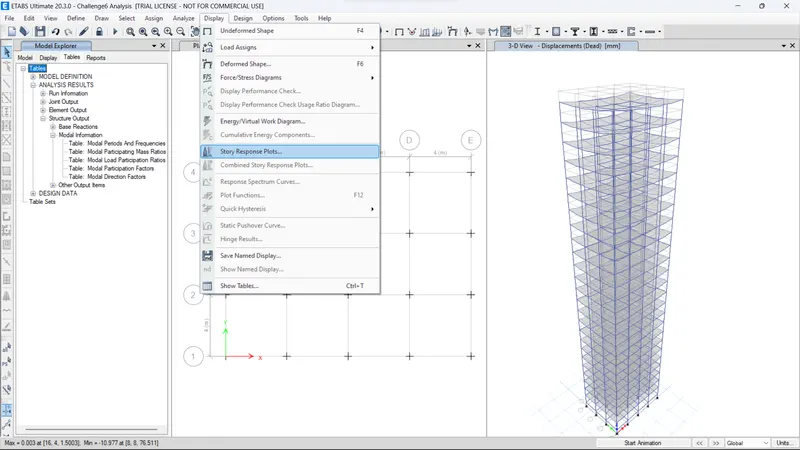
- Result of EQx for Maximum story drifts
- Result of EQy for Maximum story drifts
Results:
| Criteria | Desirable solution | Results | |
| Fundamental Translational natural period | X-direction | 4.4 Second | 4.41 |
| Y-direction | 4.2 Seconds | 4.2 | |
| Torsional irregularity |
IS-1893-2016 Part-1 Table-5 |
Torsional mode time periods should be lesser than X and Y direction time periods | Yes |
| Vertical irregularity |
IS-1893-2016 part-1 Table-6 clause-7 |
The first three modes together should contribute at least 65% in the mass participation direction | Yes |
| Fundamental lateral natural periods in two principal plan directions are away from each other by at least 10% | no | ||
| Inter-story drift |
IS 1893-2016 Part-1 Clause-7.11.1.1 |
Story drift shall not exceed 0.004 times the story height for base shear with no load factors(4X10^-3) | Yes |