Introduction to REVIT concepts
1.From the file menu, create a new project (Structural / Architectural / Construction template) and name the project appropriately
Aim: To create a template of Structural / Architectural / Construction and name the project appropriately
Procedure:
1.Creating a structural template
- Click the window icon
- Type Revit in search bar
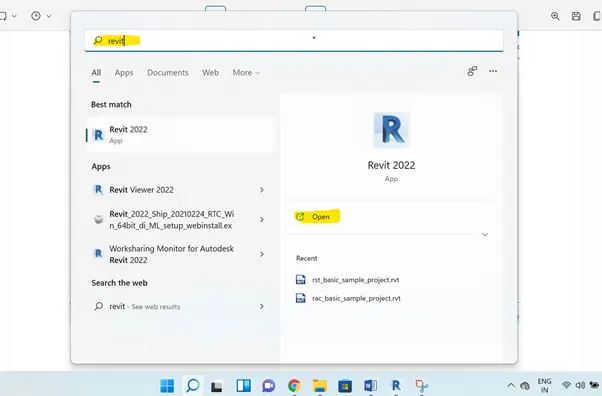
- Select the icon
- Click on open
- Select new option
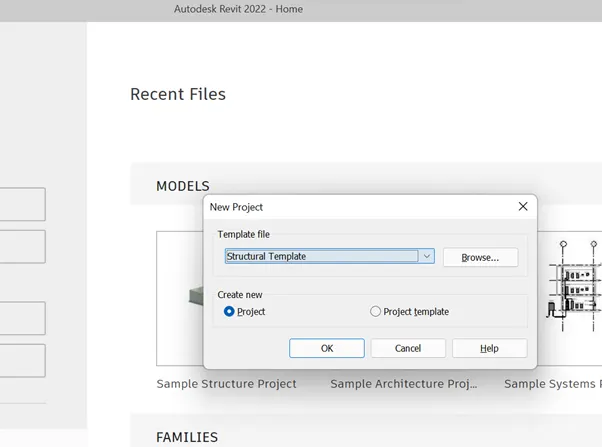
-
Select structural Template option
Click OK to continue
2.Creating a Architectural template
- Click FILE tab
- Select NEW option
- Click on Project option
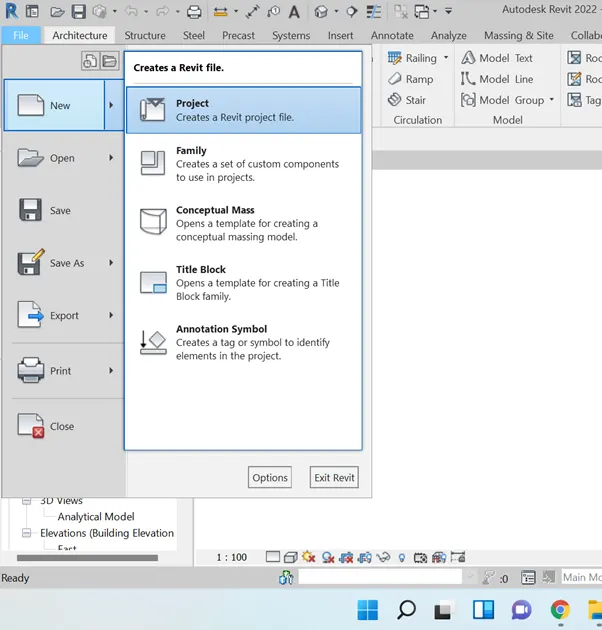
- Select architectural Template option
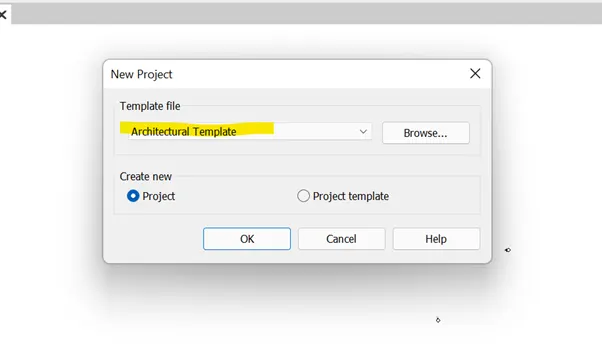
- Click OK to continue
2.Creating a construction template
- Click FILE tab
- Select NEW option
- Click on Project option
- Select construction Template option
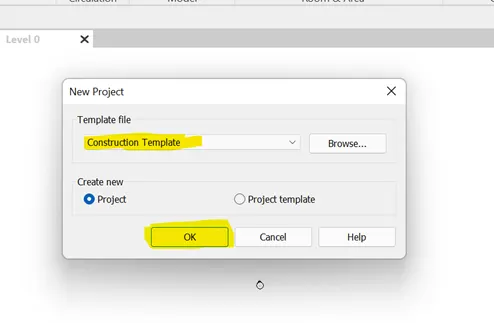
- Click OK to continue
- select the construction template in template file
- Click on Ok
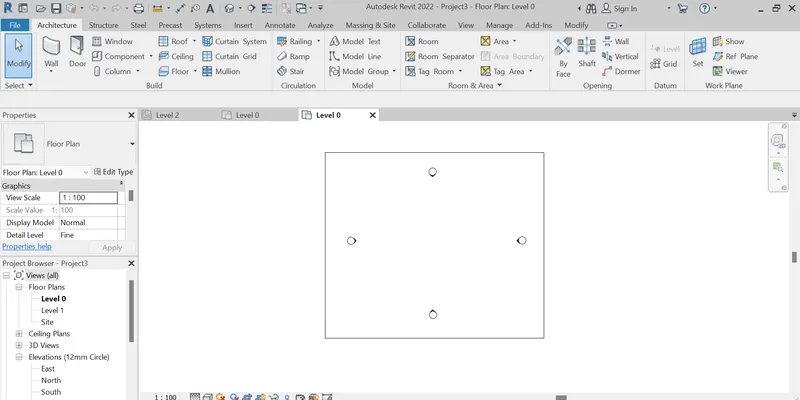
Result:
2.Save the new project file. Close and open using icons from file toolbar
Aim: To create a template of Structural / Architectural / Construction and name the project appropriately
Procedure:
.Creating a new template
- Click the window icon
- Type Revit in search bar
- Select the icon
- Click on open
- Select new option
-
Select structural Template option
Click OK to continue
2.Creating a Architectural template
- Click FILE tab
- Select NEW option
- Click on Project option
- Select architectural Template option
- Click OK to continue
- draw walls by using wall option
-
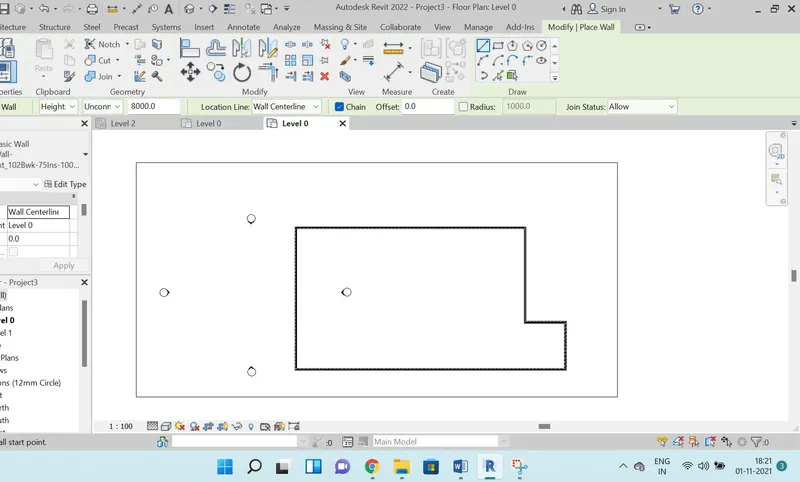
- goto FILE option and select save option
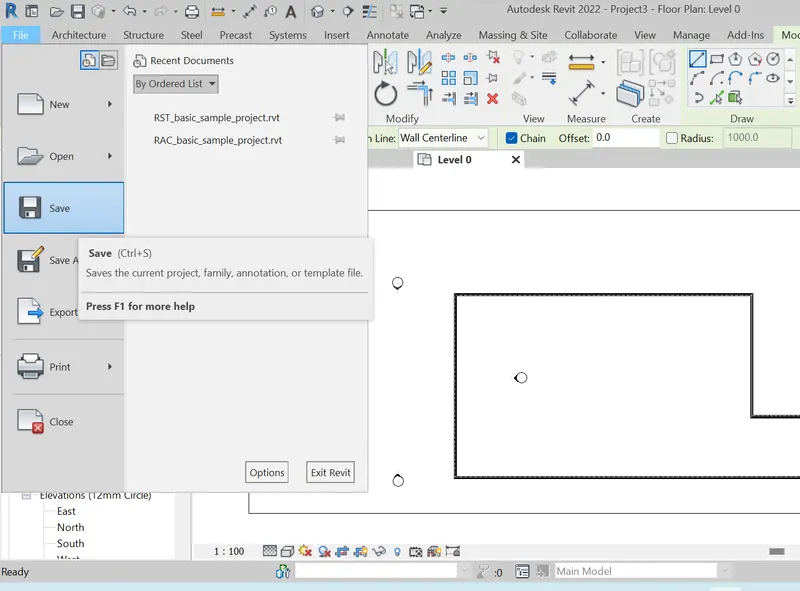
- specify location to save and provide the name of the project
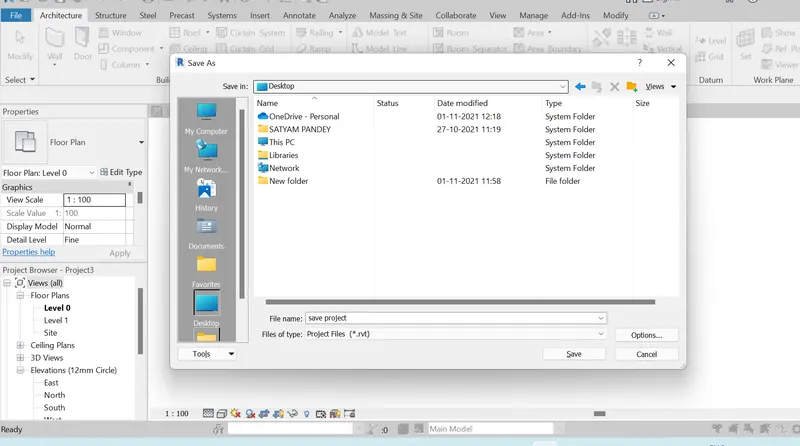
- click on save option
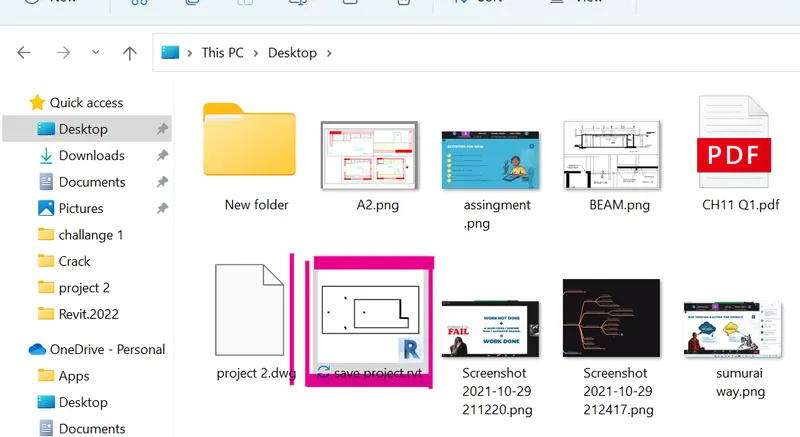
Result:
3) From the architecture/ structure toolbar familiarize with options to draw a wall. Create a rectangular layout of walls of about 40’-0” X 35’-0”
Aim: To create wall layout of 40' X 35' by using architecture / structure toolbar.
Procedure:
1) open revit
2)Go to NEW option
3) select project option
- Select architectural Template option
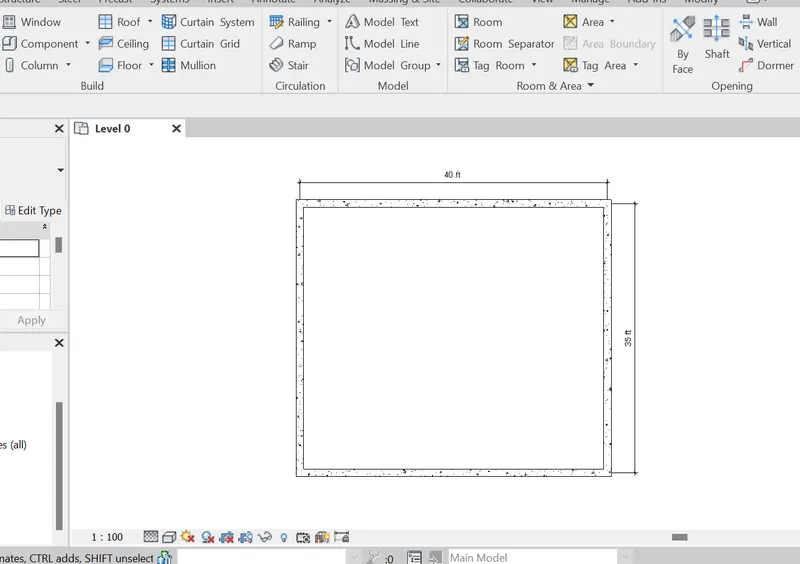
- Draw a wall of 40' x 35' by using wall tools
- select wall architectural option
- specify point and specify direction towards horozontal for 40'
- change the direction to vertical from last point and enter distance 35'
- specify the remaing points with the refrance to snap
Result:
4) From the Annotate toolbar use the aligned option to add dimensions to the layout
Aim: To add dimension in layout from annotate toolbar
Procedure:
1) open revit
2)Go to NEW option
3) select project option
- Select architectural Template option
- Draw a wall of 40' x 35' by using wall tools
- select wall architectural option
- specify point and specify direction towards horozontal for 40'
- change the direction to vertical from last point and enter distance 35'
- specify the remaing points with the refrance to snap
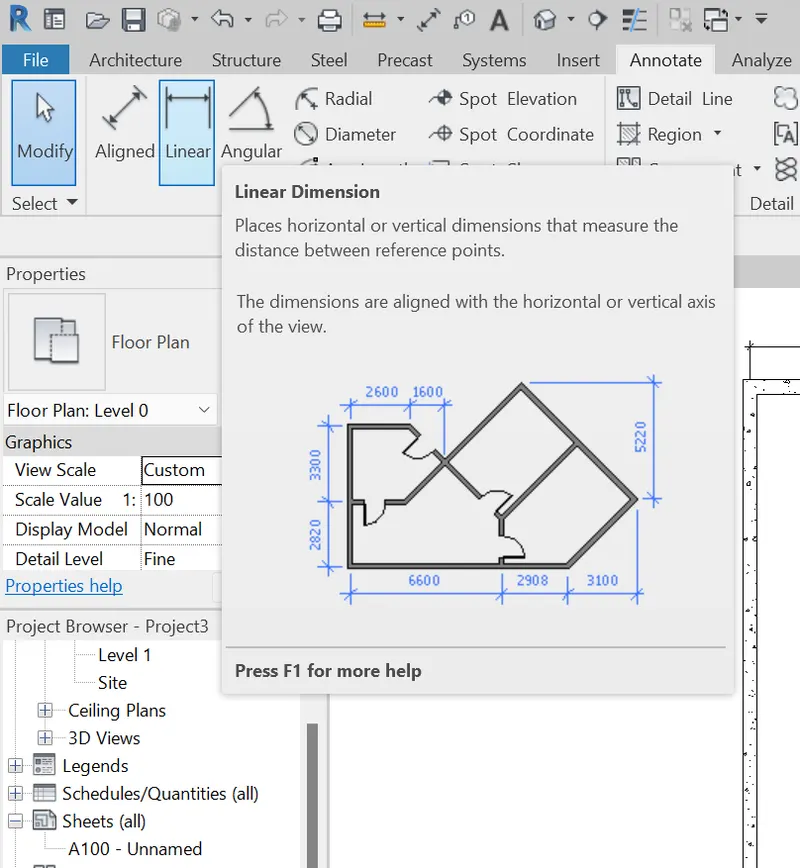
- got to ANNOTATE tool bar select LINEAR DIMENSION
- specify the end points.
Result:
- Linear dimension of walls
5) Use the properties browser to switch to different wall types
Aim: To switch diffrent types of wall by using property browser.
Procedure :
create a wall with wall tool
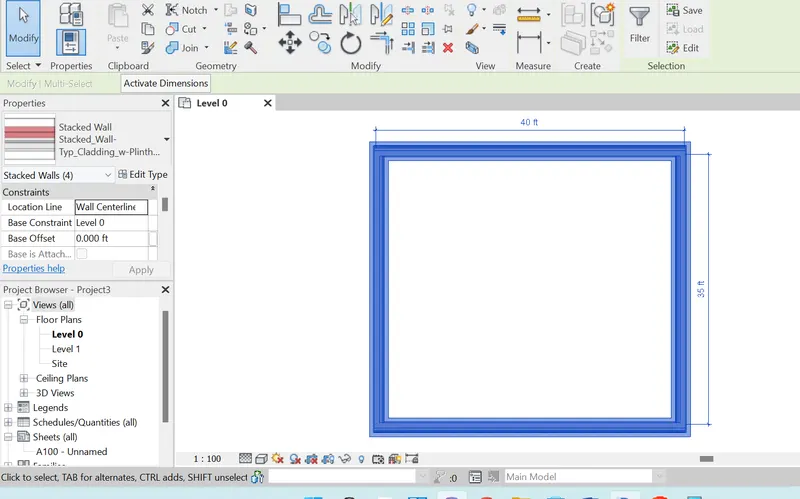
- select the wall > goto propertires > change the type of wall required
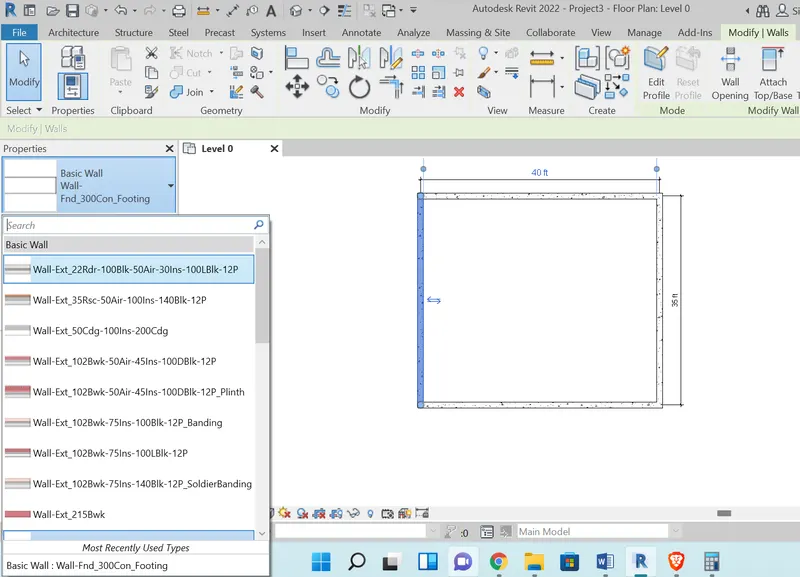
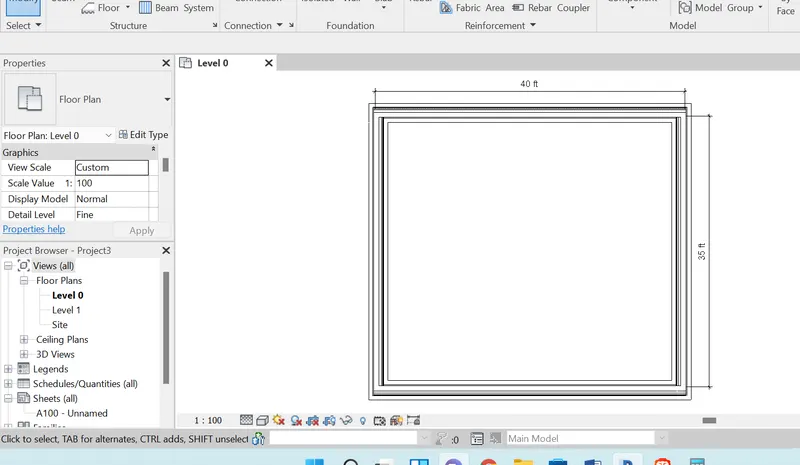
Result :
- The wall type hasbeen changer from basic wall to stacked wall
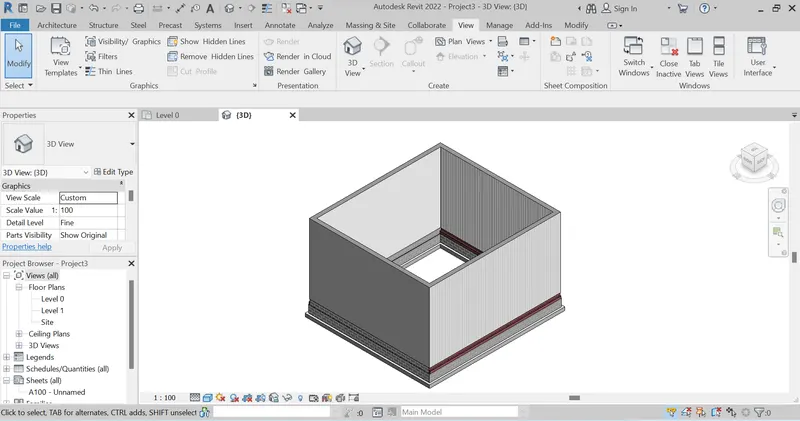
6) Create a 3D view from the view toolbar and save the view with the appropriate name
Aim: To create 3d view with View tool bar and save with appropiate name
Procedure:
- create a wall with wall tool
- got to view tab> select 3dview> set to default view
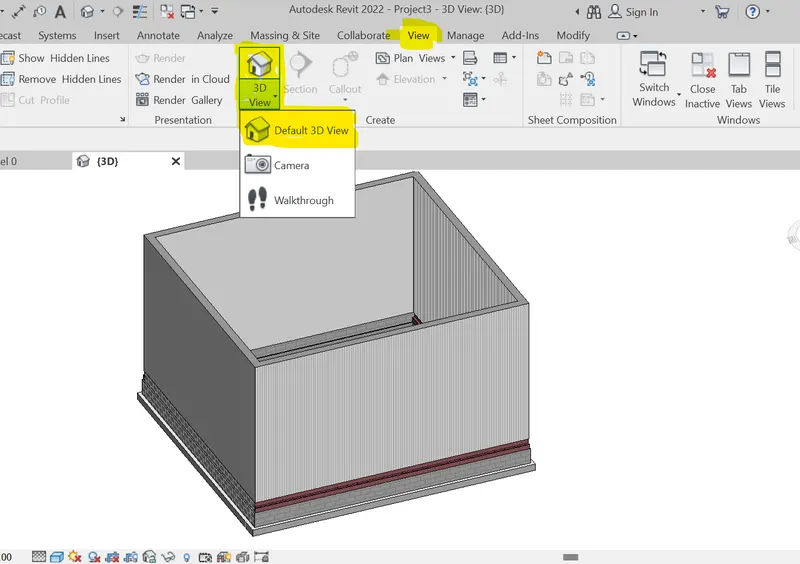
- Save the file as 3dview
Result:
7) Navigate through the 3D model using the view cube. Orbit/pan through the model layout created.
Aim: to navigate the model using view cube and orbit /pan.
Procedure:
- Open the last saved file .
- The view cube will be indicate at top right of the file
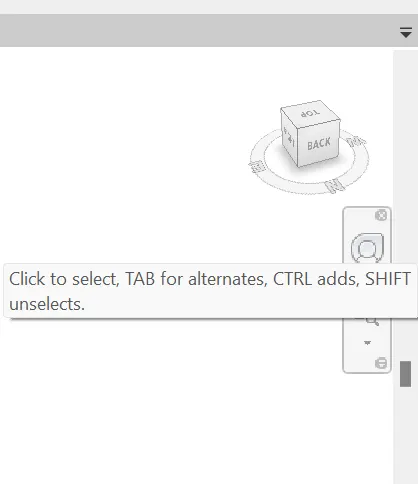
- View cube helps to rorate the model view in different directions by the help of viewcube we can navigate our model at any direction.
Result:
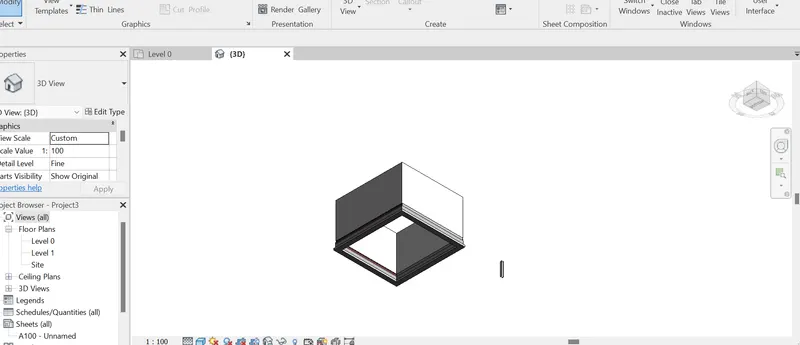
8) Use the visibility settings option below to switch model to shaded, realistic, hidden lines options
Aim: To switch the module visibility in to different options.
Procedure:
open the model file
Goto visual setting option
select the visual style as per requirment
Result:
1) wire frame
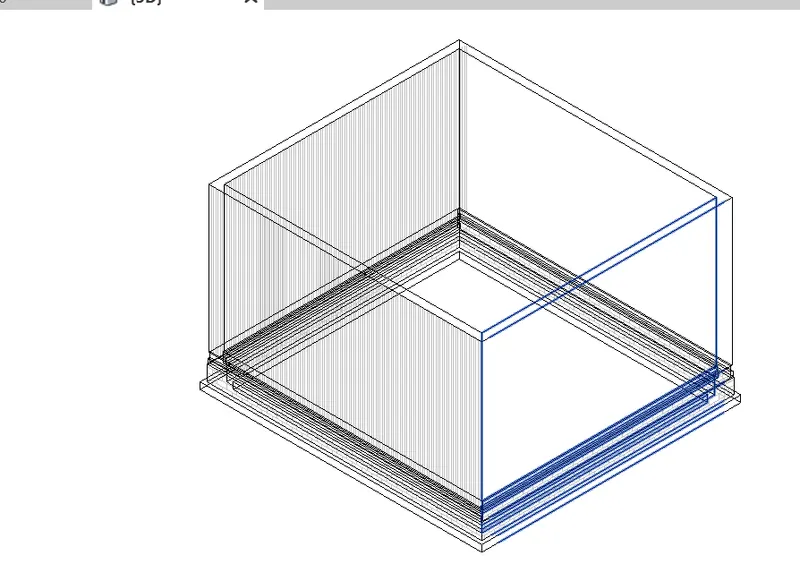
2) hidden
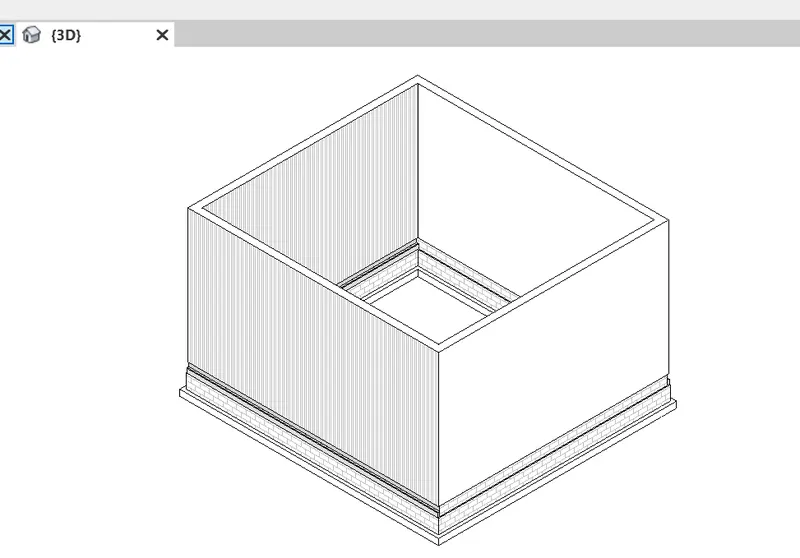
3)shaded
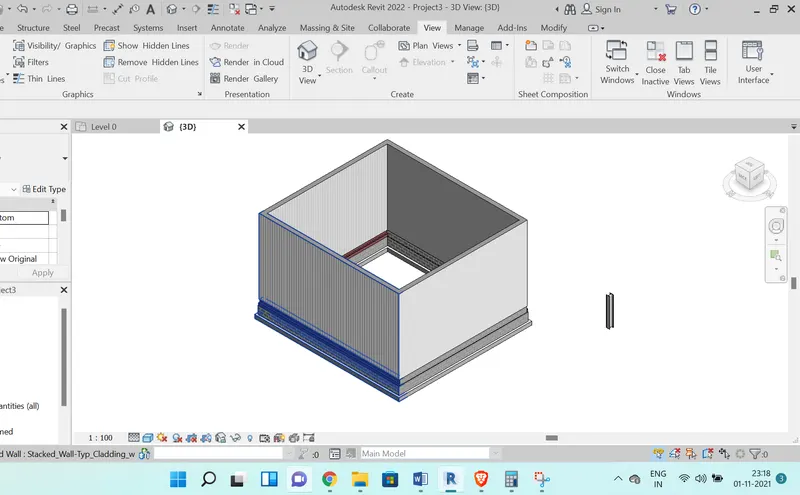
4) Constrained colours
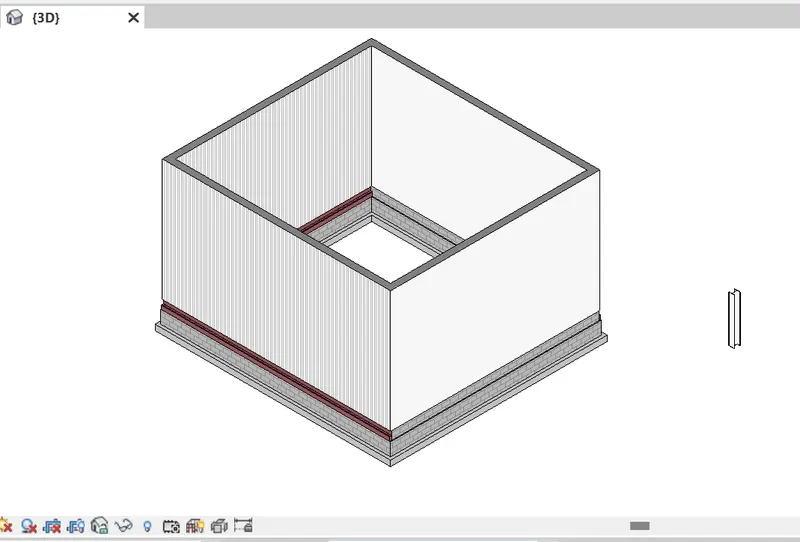
5) Realistic
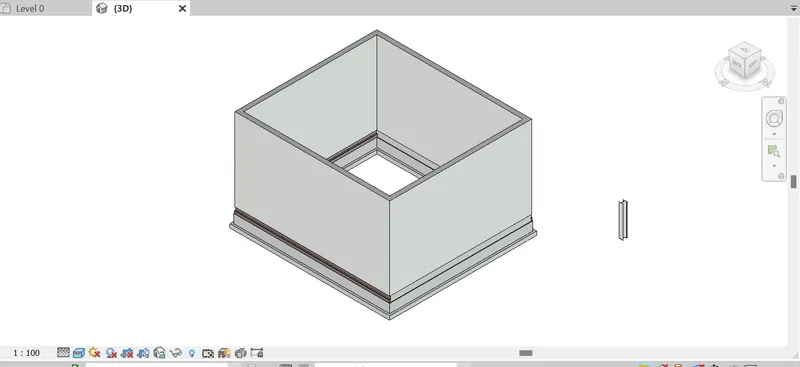
9) Turn the sun path on and off to view shadings in the layout created
Aim: To view the shade by using sun path on
Procedure :
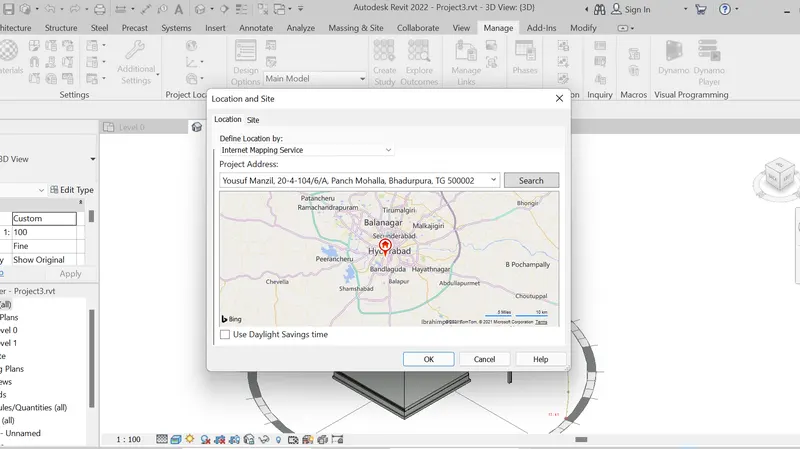
Go to manage and setthe location
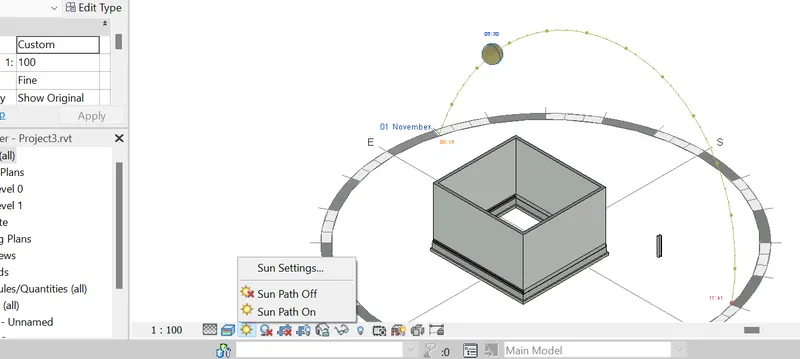
select sun path on
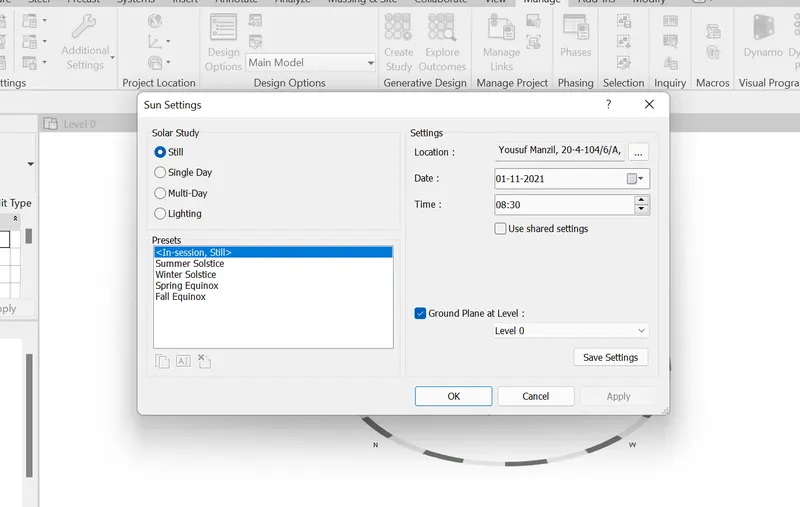
set the sun settings
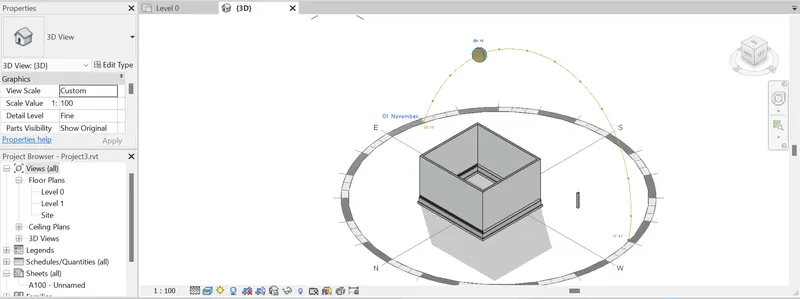
Result :
The sun path is ON and the time se on 12:15
10) Use the Manage toolbar to enter project settings, project name, and project issue date (choose according to your convenience).
Aim : Manage the project details by using manage tool bar.
Procedure:
- Goto manage tab > select project information>
- This setting is used to fill the data about information .
Result :
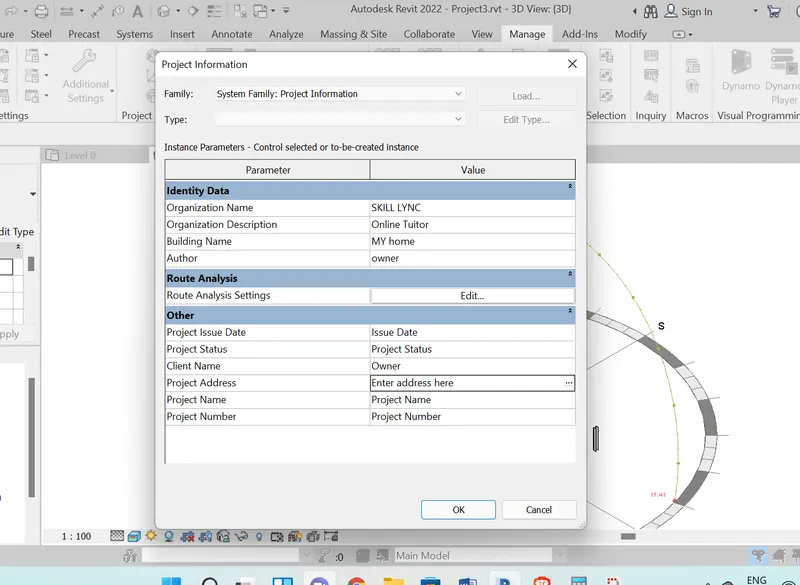
11) What is the Analyze toolbar used in Revit? How it is beneficial for design and modelling?
Ans:
- Analysis tool bar is used to anylze the loads and load combination of structure,duct and pipeline and grographical location of model
- It is also genarate,optimize and analyze the the energy and provide reports of the locations.
- 12) What are the links that Revit supports to be linked to the model?
Ans:
Link is used to link with previouse model with current model.the supported files are
- link revit
- link cad
- link topography
13) Why do you need the Collaborate tab in Revit? How it supports modeling and its efficiency?
Ans:
- Collobrate is useful to work at same time with for different discipline teams at the same project. It makes more efficiency to the team.