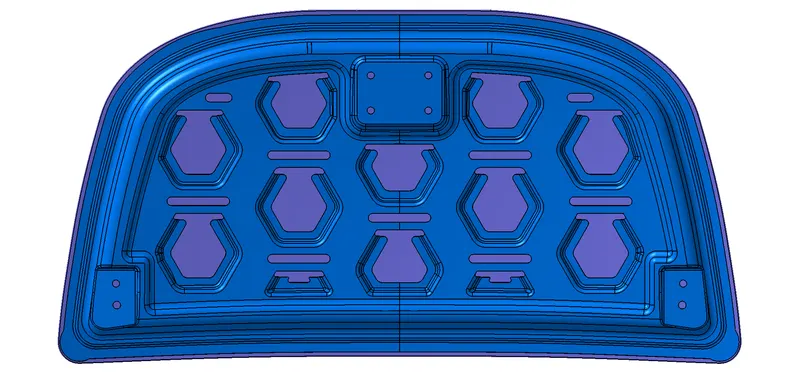
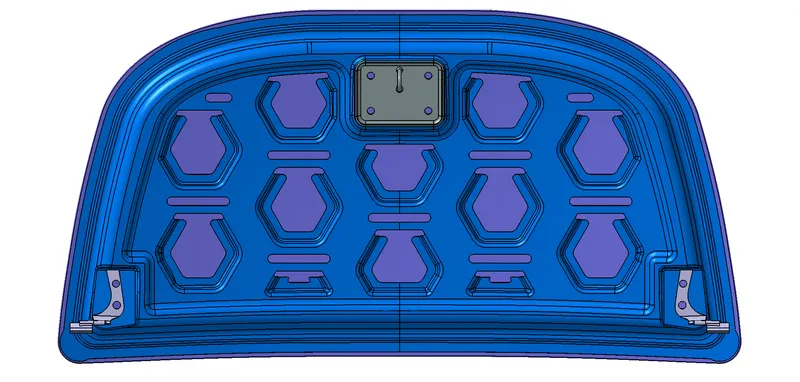
Hood design-Week 2
Hood design-Week 2
Objective:
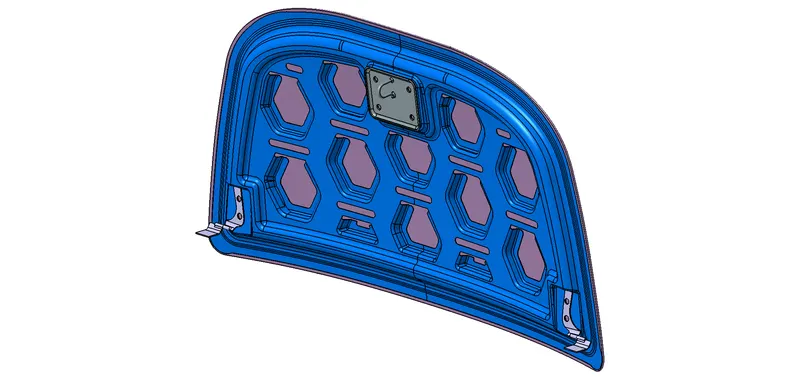
To design the Outer panel and inner panel of the hood by following the provided Master section and the design parameters explained in the videos with the necessary Embosses, Mastic data, Latch trajectory, hemming and reinforcements on the inner panel.
Final CAD model:
Introduction:
The Hood is a main component of a car at the front portion. The shape of the bonnet is made aerodynamic in order to minimize the air effect. It is used to decorate the car as well. A car hood is also referred to as a bonnet in some other countries. Generally, it is used to cover the engine and its accessories. The Hood is also considered as another door which is used to repair and helps in the maintenance of the engine.
On front-engined cars, the hood may be hinged at either the front or the rear edge, or in earlier models, it may be split into two sections, one each side, each hinged along the centre line. Hoods are typically made out of the same material as the rest of the body work. This may include steel, aluminium, fiberglass or carbon fiber. However, some aftermarket companies produce replacements for steel hoods in fiberglass or carbon fiber to make the vehicle lighter.
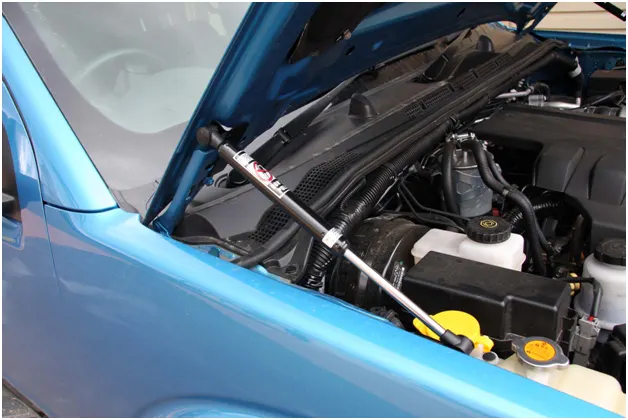
Hood is typically supported by rods or some fixtures, so that it stays at a position and a person can lean onto it hassle free and work. These include
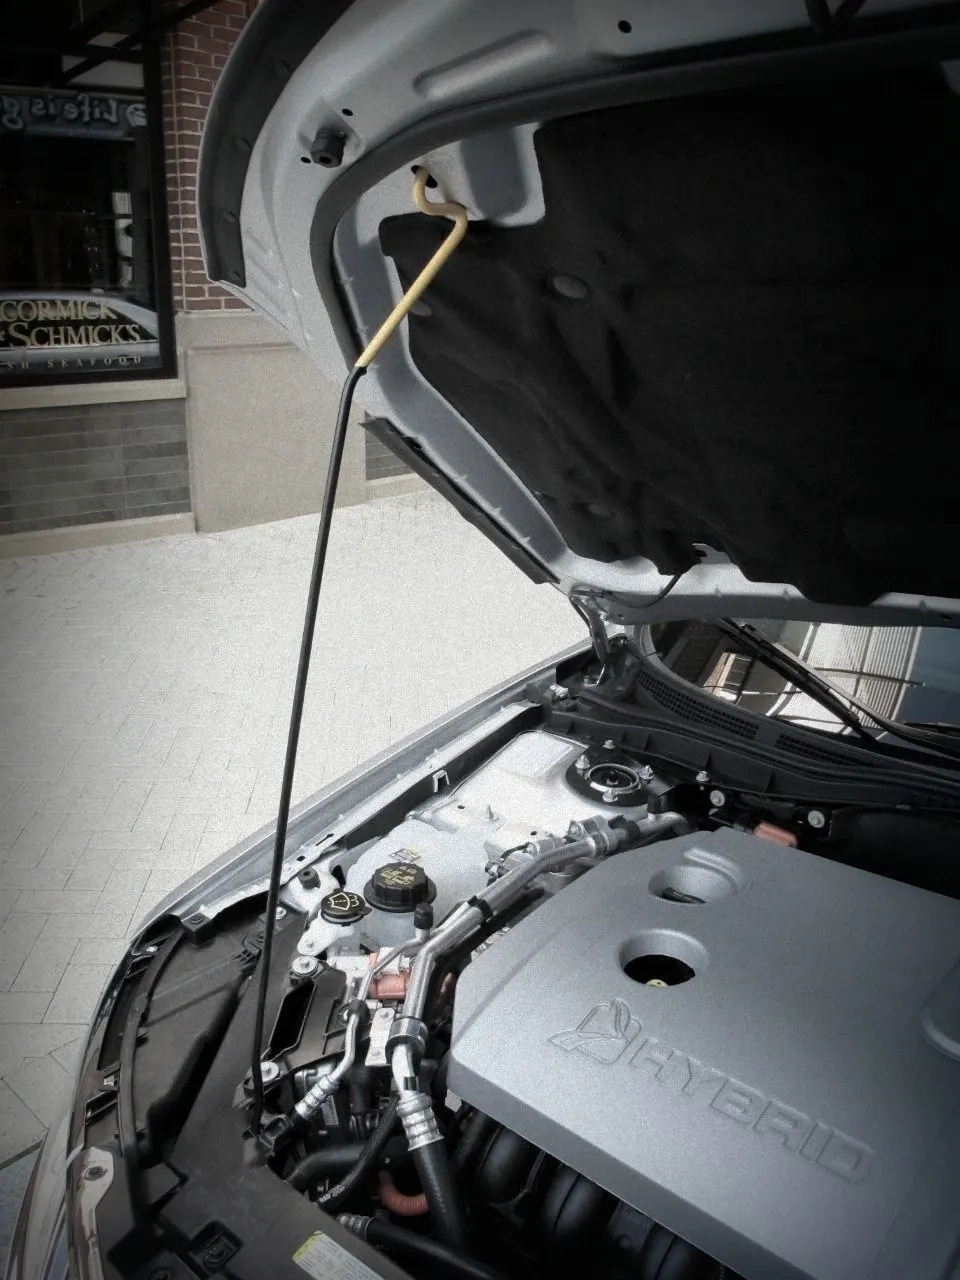
Support Rod/Prop rod: A hood rod is designed to hold your hood propped open whenever you need to do some work in your car's engine bay. When used, it must be firmly secured to ensure that it provides a stable hold on the hood. Meanwhile, when not in use, it must be kept stable in place and must not move around. The hood rod clip is the part assigned with that function. This clip clamps onto the rod and ensures that it is firm in its place when not in use. It keeps the rod from moving around under the hood and from causing trouble.
Gas Stay: This is used to open the car hood by just providing little lift force. A small effort is all it needs and other work is done by gas pressure. It is normally found in high-end cars where the mass of hood is more than normal.
Sheet Metal Operations :
Blanking & Piercing : Blanking and piercing are shearing processes in which a punch and die are used to produce parts from coil or sheet stock. Blanking produces the outside features of the component, while piercing produces internal holes or shapes. The web is created after multiple components have been produced and is considered scrap material. The "slugs" produced by piercing internal features are also considered scrap. The terms "piercing" and "punching" can be used interchangeably.
Deep Drawing : Deep drawing is a sheet metal forming process in which a sheet metal blank is radially drawn into a forming die by the mechanical action of a punch. It is thus a shape transformation process with material retention. The process is considered "deep" drawing when the depth of the drawn part exceeds its diameter.
Embossing : Sheet metal embossing is a stamping process for producing raised or sunken designs or relief in sheet metal. This process can be made by means of matched male and female roller dies, or by passing sheet or a strip of metal between rolls of the desired pattern.
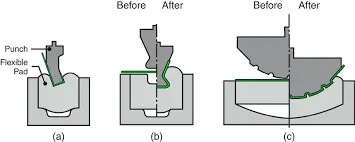
Hemming : Hemming is a forming operation in which the edges of the sheet are folded or folded over another part in order to achieve a tight fit. Normally hemming operations are used to connect parts together, to improve the appearance of a part and to reinforce part edges. Hemming is a technology used in the automotive industry to join inner and outer closure panels together (hoods, doors, tailgates, etc.). It is the process of bending/folding the flange of the outer panel over the inner one. The accuracy of the operation significantly affects the appearance of the car’s outer surfaces and is therefore a critical factor in the final quality of a finished vehicle.
Mastic Points : These are the spots where the inner panel and the outer panel of the hood are joined or can be sealed together using a mastic glue. To fix the outer panel, a process like bolting, riveting or welding is used, it will lose all its aesthetic quality. Therefore, mastic sealants are used which are elastic compounds and act like rubber. It is placed between both the panels. Initially it is in paste form and after a hot furnace bath it solidifies and gives strength to the panels together. One spot normally has a diameter influence of 80 mm.
Hood design considerations:
The hood of a car is considered as the frontal BIW enclosure component. Bonnets are designed to reduce air resistance as the air flows around the car. Apart from this, bonnets are also designed to meet several other requirements. They serve a great deal of purpose in protecting the passengers inside the car & the pedestrians in the event of an accident. It also acts as the cover for the engine.
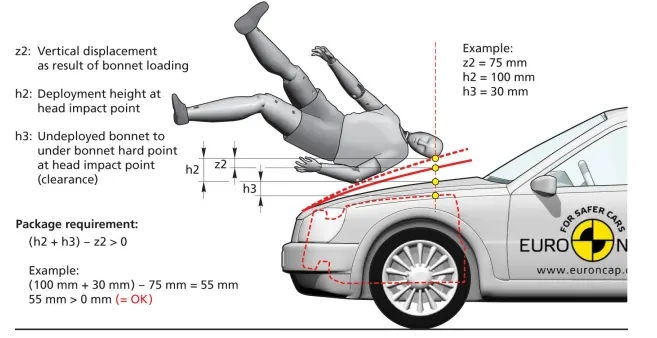
- The European New Car Assessment Programme (Euro NCAP) is a European car safety performance assessment program which has developed test specifications & rating systems for assessing pedestrian injuries during impacts with the front of vehicles. Such tests include a series of tests using impacts designed to bio-mimic a collision at speed of 40 km/h.
- They describe a situation in which a pedestrian is situated laterally & a car first hits one of his legs. Tests are conducted on the leg, upper leg & most importantly the head, as head trauma is most commonly responsible for casualties.
- So to avoid severe injuries to the head, the high impact area for adults & children are subjected to less thickness. Also no reinforcement should be provided in that area as during head collision, the hood will absorb the head impact energy leading to collapse of the hood & thus protecting severe head injury.
- Another important criteria for the hood design is the protection of the occupants inside the car during front collision. The design of the hood should be in such a way that during the collision, the force should travel in the upward direction through the embosses & directed towards the body of the car. Thus protecting the occupants inside.
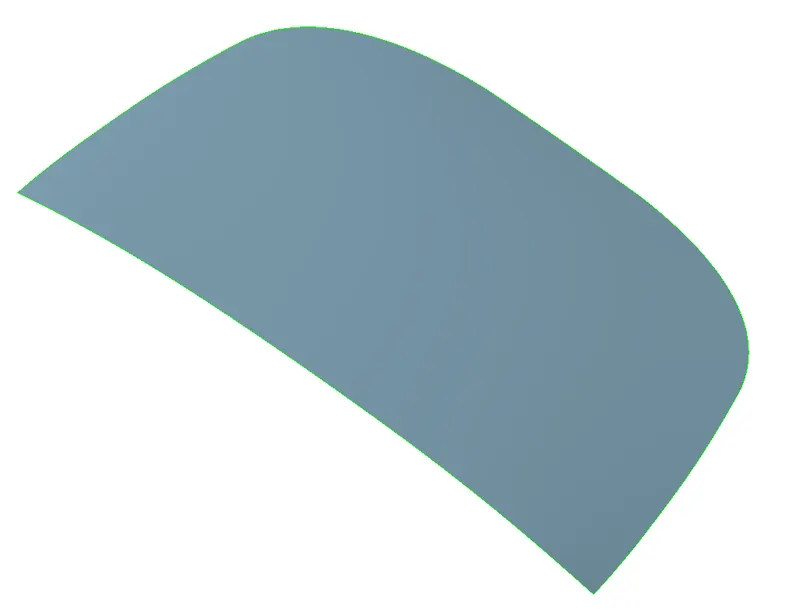
Screenshot of the provided Class A surface:
Process:
Modelling the Inner and Outer panels of the Hood:
Satisfying the Master Section:
The provided Class A surface was Offset according to the Master Section and Split since the Design of the Hood would be one that is symmetrical about the YZ plane.
The surfaces were offset to the required height and fillets were added. Small inclined sufaces were created either using Sweep or Multi-Section tools. Design of the hood was carried out until it met the standards of the Master Section.
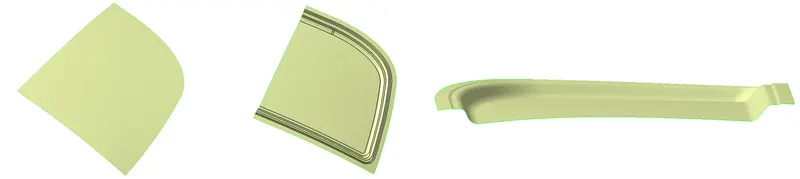
Creating Embosses and Reinforcements:
The embossing patterns on this particular model were based on the design of a Tesla Model-S hood.
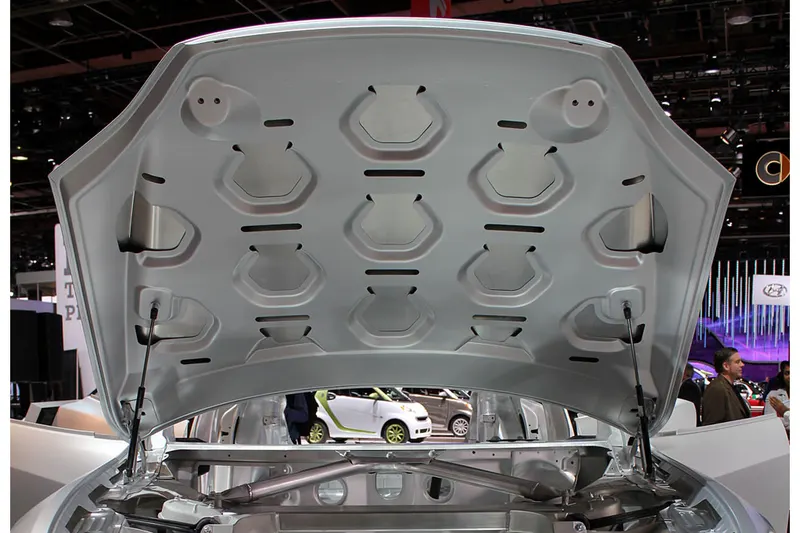
The main emboss was first created followed by the Hexagonal and Oval cut-outs.
Function of the emboss pattern:
- saves weight and materials (though the remaining material is scrapped)
- retains nearly as much stiffness as it would without the holes
- Some of the larger holes/ovals are also for weight saving and to help deforming process for pedestrian impacts etc
- the holes allow e-coating, surface prep, and primer to drain from the cavities in between the hood skin and hood skeleton after the chassis is dipped into these during production.
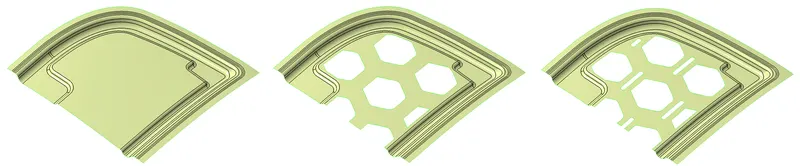
The Sweep surfaces for the hexagonal pattern were created next.
A bottom surface was trimmed with it and the final cut out was created using a surface split.
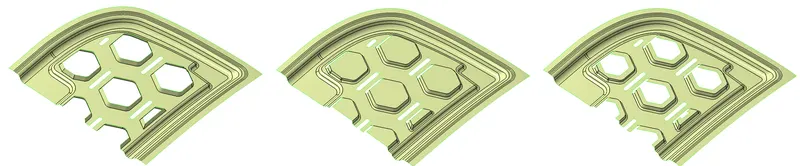
Creating the Striker and Hinge support surfaces:
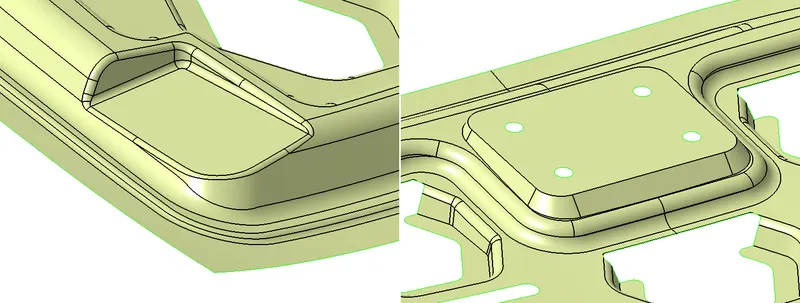
Since the provided hood surface is one that is not completely flat, proper assembly of the hinge and striker components would not be possible. Therefore flat surfaces were created and split from the parent surface to facilitate a hinge attachment surface. An emboss was created to be the striker attachment surface.
Final refinements:
The surface of the inner panel is then refined by creating fillets wherever necessary. The hexagonal masting surfaces required corners as well for a smoother appearance.

Hemming and Relief on the Outer Panel:
To design the hem, the Class A and B surfaces were extrapolated. A surface was offset below which would act as the hem. Tri-tangent fillet was created form a smooth round.
Relief was then provided on the corners of the hem to facilitate proper manufacturability and to prevent warpage of the sheet metal component.

Thickening the surfaces to create Bodies
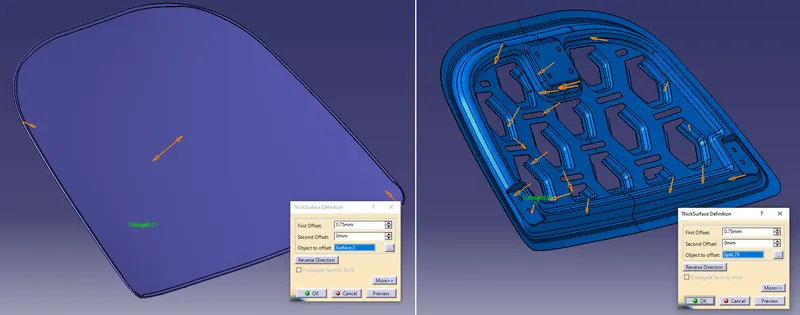
The surfaces were then converted into bodies using the Thick Surface command in the Part Design workbench.
Assembly:
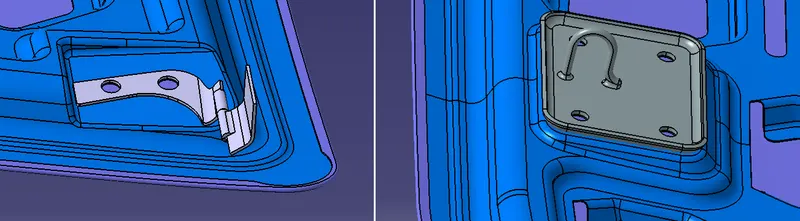
The assembly of this model involves constraining the Hinges and Latch to the Inner panel.
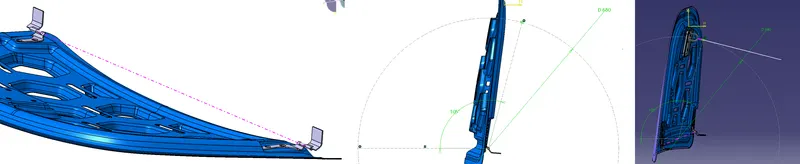
To place the Latch or the Striker, a trajectory was made with respect to the axis of the two hinges. This was done to ensure operability.
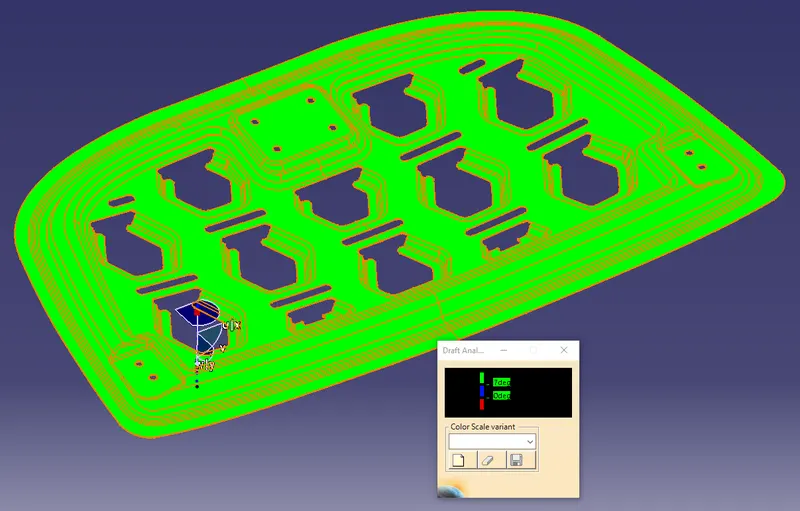
Draft Analysis:
Screenshots of the final CAD model: