Hood design-Week 2
Aim,
To design inner hood,outer hood including reinforcements with the given master sections and design parameters.
Introduction,
The hood is the hinged cover over the engine of motor vehicles. Hoods can open to allow access to the engine compartment. In design perspective hood should meet some specific conditions like pedestrian safety, hood head zone for the lock striker, force distribution when subjected to frontal collision (occupant safety), manufacturability etc.
Hood stay is an apparatus for supporting the engine hood of a moto vehicle in its open position. It is the most critical part of the car as it is always exposed to the frontal crash, climatic conditions, heat generation by the engine compartment, etc.
The time of inspection could be maintenance, repair or replacement of the parts. Hood is the combination of an outer and inner panel and as per its design consideration, it also dissipates energy outside the car body.
Outer panel gives the aesthetic look whereas inner panel have some embossing on it according to the force distribution and safety requirements.
Hood consists of 4 parts,
1)Inner panel.
2)Outer panel.
3)Hinges.
4)Latch striker.
Design considerations
1)Head clearance zone.
2)Cosideration of noise vibration harshness.
3)Pedestrian safety.
4)Functional requirement.
5)Delaying impact.
Design parameters,
Inner panel thickness-0.75mm.
Outer panel thickness-0.75mm.
Reinforcement thickness-1.5mm.
Procedure,
Outer hood panel
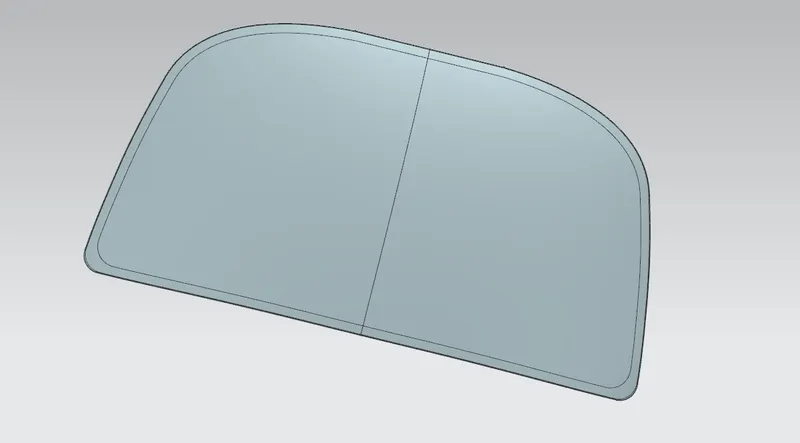
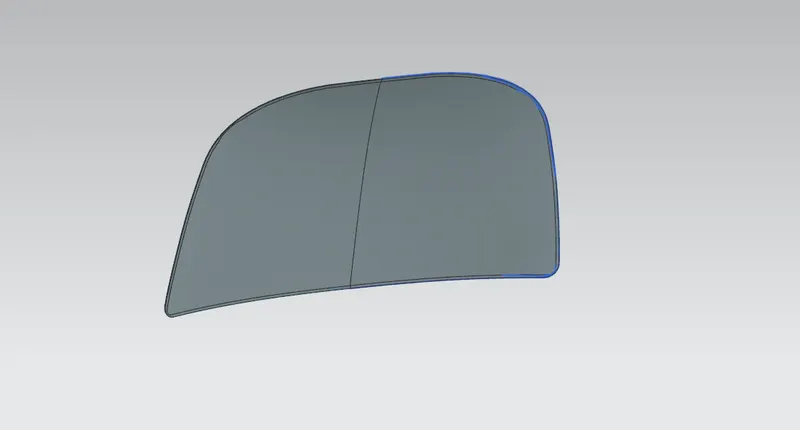
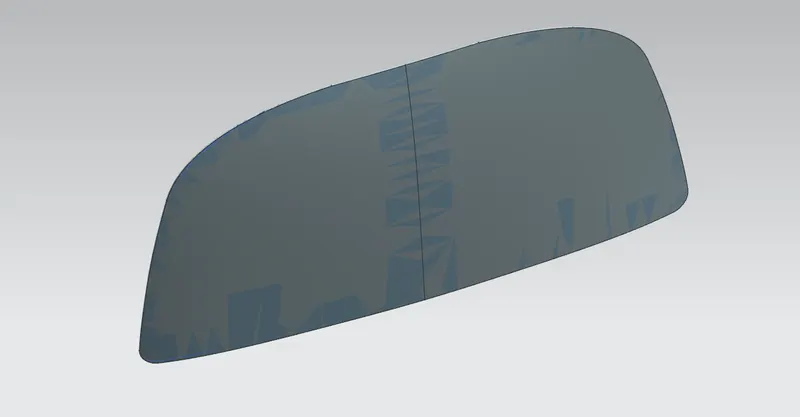
Outer panels are the aesthetic elements of a car. It is the styling team who provides the skin for the outer panel. The shape, position and size of the hood should satisfy the safety norms. So while designing the hood we should give more importance to pedestrian safety.
We also provide mastic sealants between outer panel and inner panel to reduce vibration.
Inner hood panel
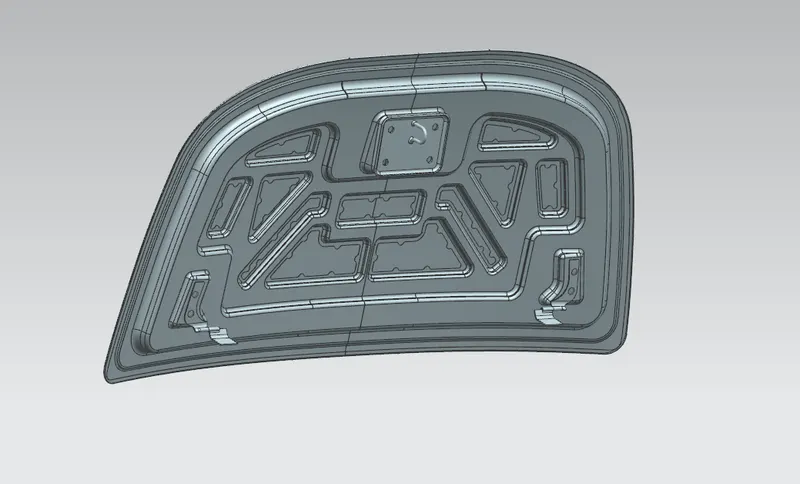
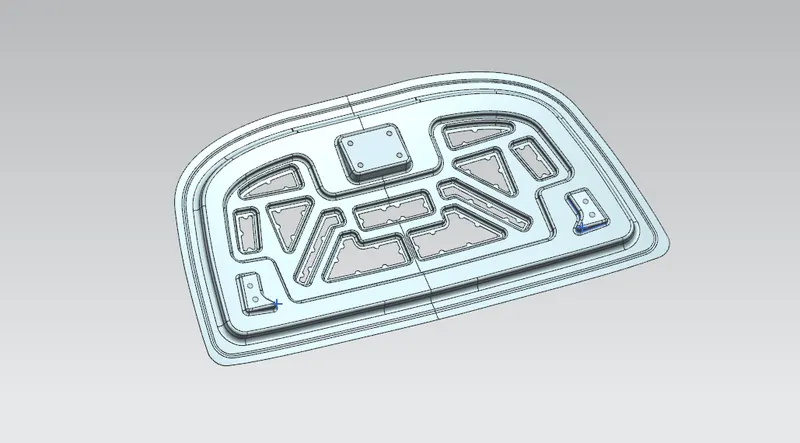
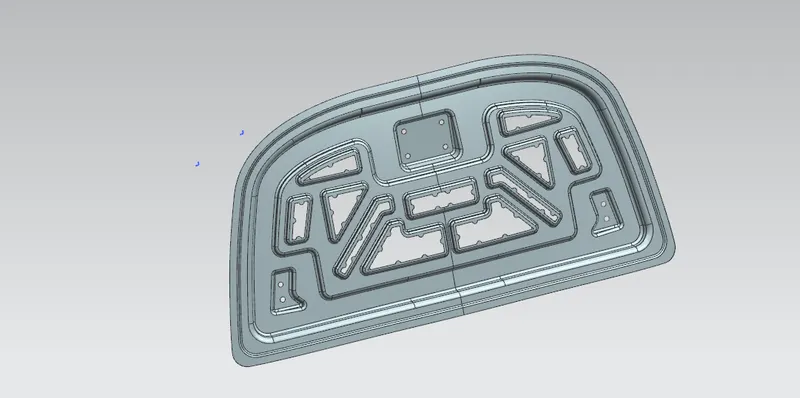
Inner panel is the part that gives strength and rigidity to the outer panel. The master section represents the initial emboss shape and size. Then we provide the emboss for the latch and hinge elements after fixing the location.
Reinforcement
Usually thickness of reinforcements will be higher than that of the inner panels and the value varies according to cost and requirement. According to the design requirement here it is given 1.5mm thickness to both hinge and latch reinforcements.
Latch trajectory
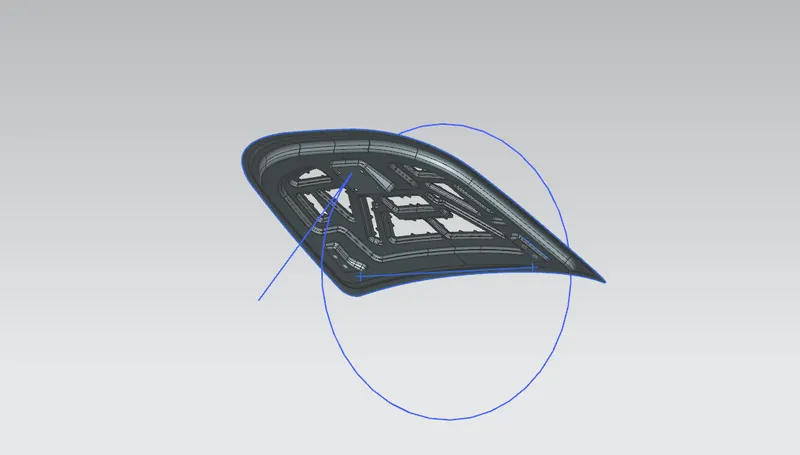
Latch trajectory is given by the circle drawn from the hinge axis point. Hinge axis point is the centre point of the hinge axis. First, we can fix either the latch or the hinge. If we have fixed the hinge position then we should plot the Trajectory circle for the latch.
Emboss
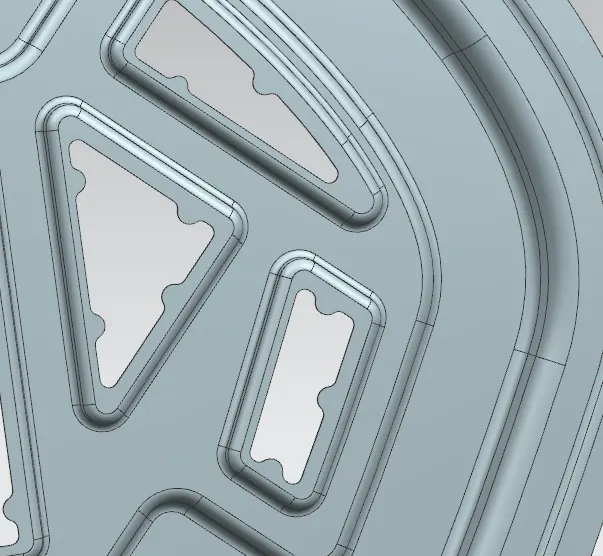
We provide different embosses throughout the inner panel . We can increase the stiffness of the inner panel through these embosses. The shape and size of the embosses also determines the direction of the force distribution resulted from frontal collision.
Necessity of emboss and its designing
After basic master layout is done we have to provide emboss sections to dissipate the collision force to outer corners toward hinge portions. Thus impact force passing to passenger cabin be reduced majorly.
While creating these embosses we have to keep in mind about draft direction and draft angle so that stamping tool will create proper embossed structures on panel.
Hemming
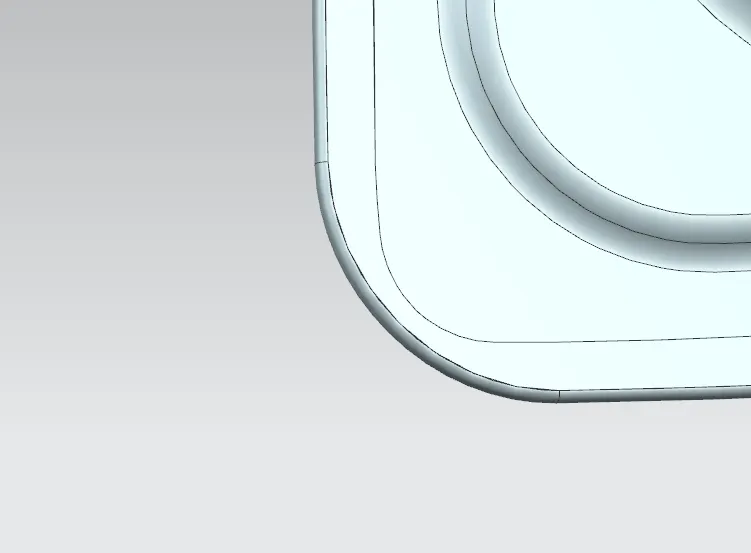
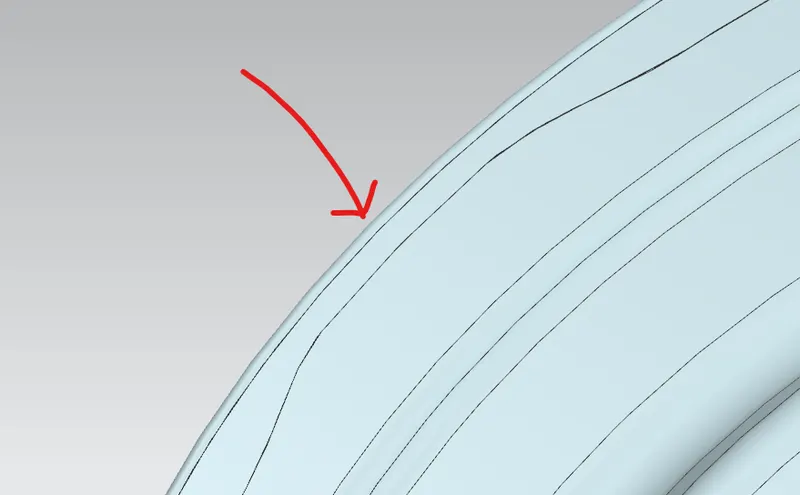
Hemming is a forming operation in which the edges of the sheet are folded or folded over another part in order to achieve a tight fit. Normally hemming operations are used to connect parts together, to improve the appearance of a part and to reinforce part edges. In car part production, hemming is used in assembly as a secondary operation after deep drawing, trimming and flanging operations to join two sheet metal parts (outer and inner) together.
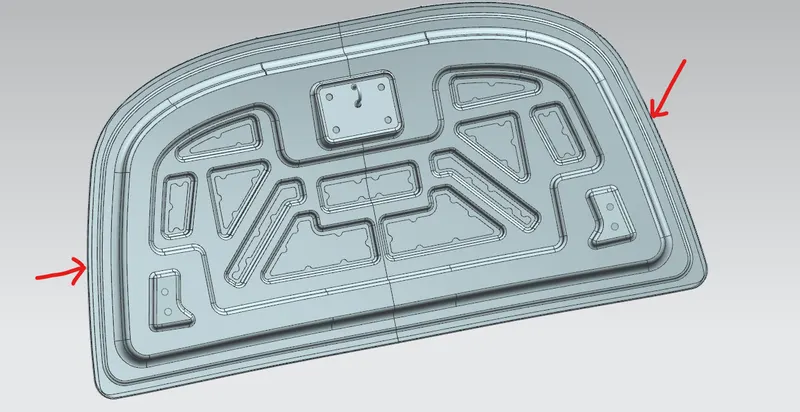
Types of hemming
1)Flattened/closed hemming
2)Open hemming
3)Tear drop hemming
4)Rolled/rope hemming
Corner relief