Hood design-Week 2
HOOD DESIGN
Aim:
- To design a hood inner panel.
- To design hood outer panels with them.
- Today develop necessary reinforcement.
- To provide necessary mastic data.
Tool used:
CATIA
Design Requirements:
- Skin data
- Master sketch.
- Hemming data.
- Hood thickness information.
- Hinge And Latches.
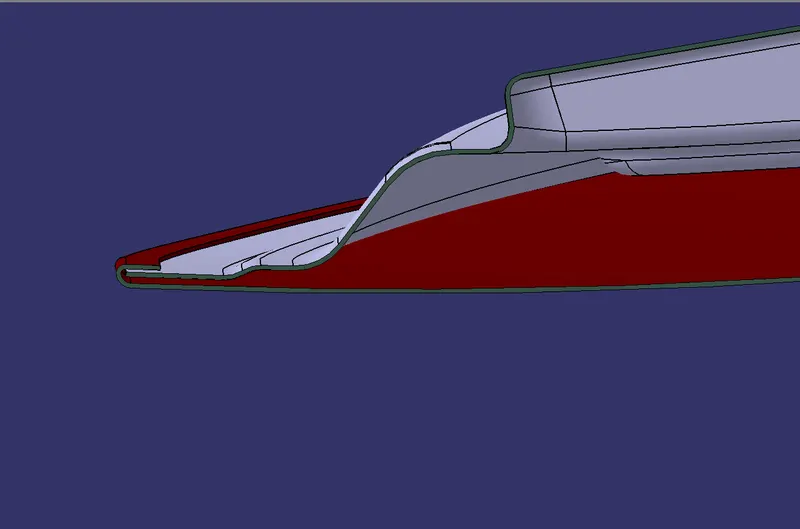
Master section:
This is the master section I have used in this project.
HOOD:
- Hood is the hinged cover over the engine of the motor vehicles allows access to engine compartment.
- Inner panel provides strength while the outer panel functions as the metal cover.
- Inner panel will have all the embosses and cuts for mastics.
- Embosses are made in such a way that when a vehicle hits the force should directed towards the hinges.
- There are two types of embosses V-Type and Y-Type.
Hood Stay:
- Its a device for supporting the engine hood of a motor vehicle in its open position.
- There are two types of hood stay's
- Support rod:
A device for supporting the engine hood of a motor vehicle in its open position by means of a rod.
- Gas stay:
A device for supporting the engine hood of a motor vehicle in its open position by means of an actuator which is activated by gas.
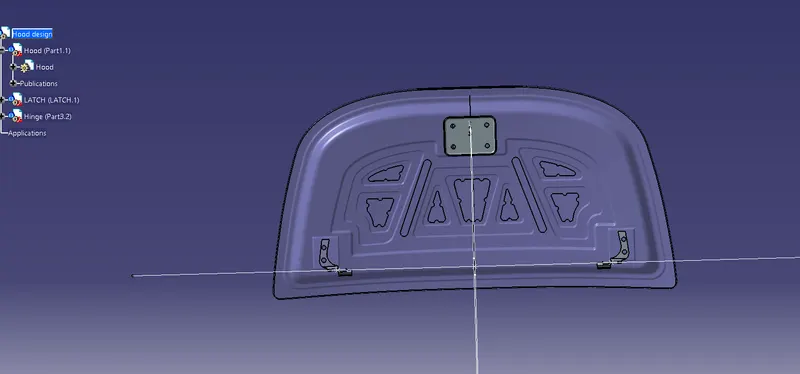
- Hood inner panel will have reinforcements for Hinges and Latch&Striker.
- Latch&Striker are used for locking mechanism.
Hinge:
Hinges are used for opening and closing, they are attached to the car body and the hood inner panel.
Reinforcement:
Reinforcement is the additional strength for the cutouts made for hinge and latch.
- We also use stiffener pads to reduce the vibrations while the vehicle is in motion.
Mastic Seal:
- Mastic is a hard rubber which increases the strength of the hood.
- Every mastic seal have a tendency to increase strength local around 80mm.
- Mastics are placed in such a way that it covers strength all over the hood.
Emboss:
Embossing and debossing are the processes of creating either raised or recessed relief images and designs in paper and other materials.
An embossed pattern is raised against the background, while a debossed pattern is sunken into the surface of the material.
(or)
Embossing is a metal forming process for producing the raised or sunken designs or relief in the sheet material by means of matched male and female roller dies.
Process:
The metal sheet embossing operation is commonly accomplished with a combination of heat and pressure on the sheet metal, depending on what type of embossing is required. Theoretically, with any of these procedures, the metal thickness is changed in its composition.
Metal sheet is drawn through the male and female roller dies producing a pattern or design on the metal sheet.depending on the roller dies used, different patterns can be produced.
Depending on the roller dies used, different patterns can be produced on the metal sheet. The pressure and a combination of heat actually "irons" while raising the level of the image higher than the substrate to make it smooth.
The term "impressing" refers to an image lowered into the surface of a material, in distinction to an image raised out of the surface of a material.
In most of the pressure embossing operation machines, the upper roll blocks are stationary, while the bottom roll blocks are movable. The pressure with which the bottom roll is raised is referred to as the tonnage capacity.
Characteristics:
The metal embossing manufacturing process has these characteristics:
- The ability to form ductile metals.
- Use in medium to high production runs.
- The ability to maintain the same metal thickness before and after embossing.
- The ability to produce unlimited patterns, depending on the roll dies.
- The ability to reproduce the product with no variation.
Commonly used materials:
The following materials are suitable for embossing:
- Aluminium
- Brass
- Cold-rolled steel
- Copper
- Galvanized steel
- Hot rolled steel etc.
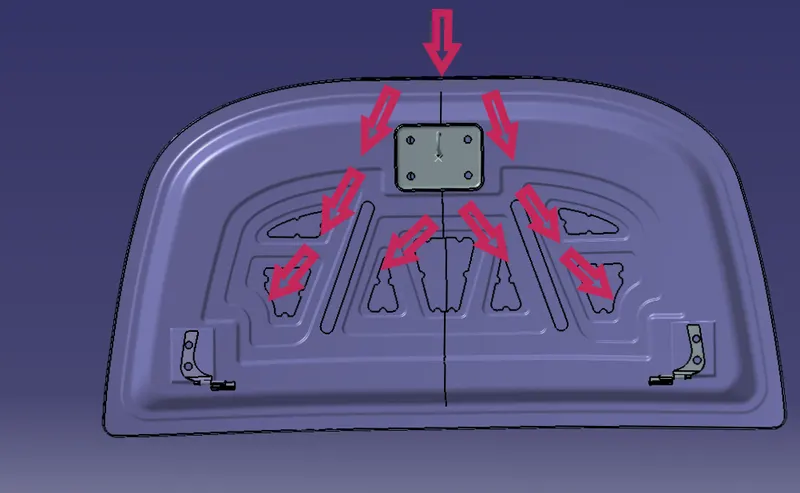
Embossing which I have used in this project is of v-type.
When the vehicle crashes the forces travells in the direction of the arrows such that entire force goes toward hinges and decreasing the force on the driver.
Mastic Data:
This is the mastic places I have used which covers entire hood, at the places of hinge and latch, their reinforcements strengthen them because,
we use hinge reinforcement and latch reinforcement.
We use cuts in the inner panel to decrease the weight of the hood.
Hemming:
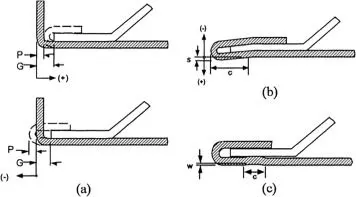
- Hemming is the process in which the edge is rolled flush to itself.
- Hems are commonly used to reinforce an edge, hide burrs and rough edges, and improve appearance.
- The process starts by bending the edge to an acute angle. A flattening die is then used to flatten the hem.
- There are two types of hemmed edges: closed hems and open hems. Closed hems are completely flush while open hems have an air pocket in the bend. The major difference is that the tonnage required for a closed hem is much greater than that for an open hem.
- We should provide some relief in hemming around the round edges which gives better strength.
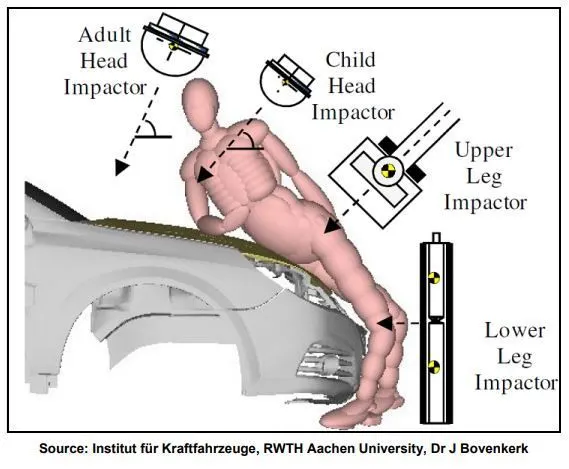
Vehicle designers usually focus on understanding the car-pedestrian interaction, which is characterized by the following sequence of events:
The vehicle bumper first contacts the lower limbs of the pedestrian, the leading edge of the hood hits the upper thigh or pelvis, and the head and upper torso are struck by the top surface of the hood and/or windshield.
Most pedestrian deaths occur due to the traumatic brain injury resulting from the hard impact of the head against the stiff hood or windshield. In addition, although usually non-fatal, injuries to the lower limb (usually to the knee joint and long bones) are the most common cause of disabilities.
The hood of most vehicles is usually fabricated from sheet metal, which is a compliant energy-absorbing structure that poses a comparatively small threat. Most serious head injuries occur when there is insufficient clearance between the hood and the stiff underlying engine components.
A gap of approximately 10 cm is usually enough to allow the pedestrian’s head to have a controlled deceleration and a significantly reduced risk of death. Most limb injuries occur due to a direct blow from the bumper and the leading edge of the hood. Wrap Around Distance (WAD) is the distance from the ground level to the end of the hood as shown in the image.
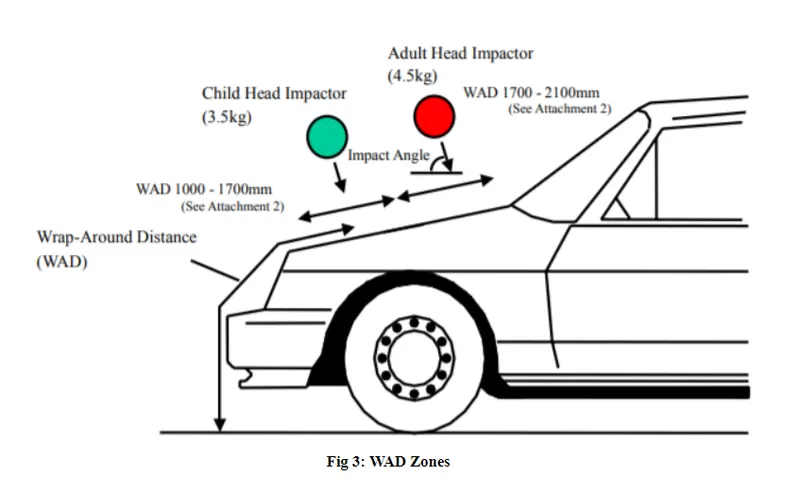
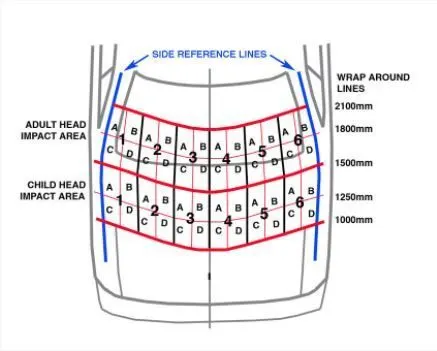
There are two main zones that are considered while the designing stage; the Child head impact zone (1000mm to 1700mm WAD)
Adult head impact zone. (1700mm to 2100mm WAD). If the side reference line is on the fender, the WAD will be more and the impact zone will be less and vice versa.
First, open the given model i.e, Hood styling surface in CATIA V5.
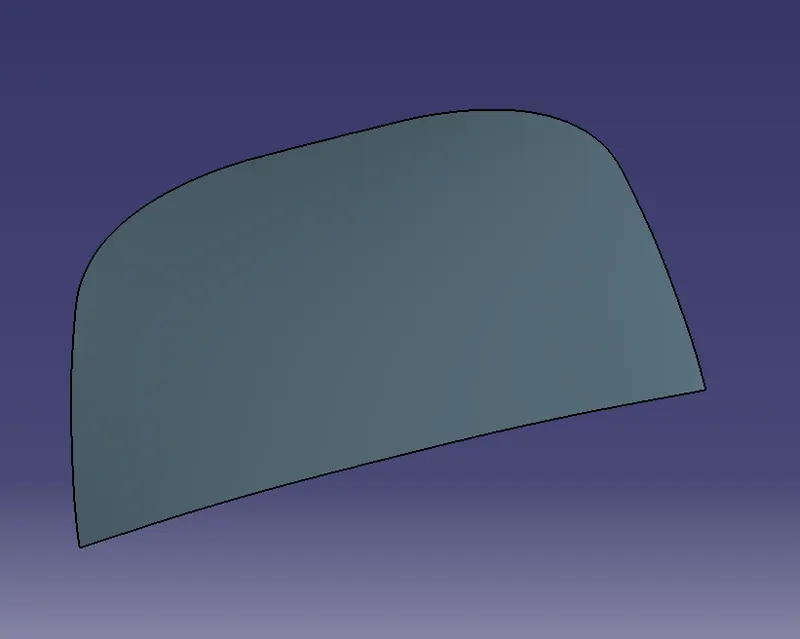
Extract the surface and split it using the YZ plane to get the half portion of the surface.
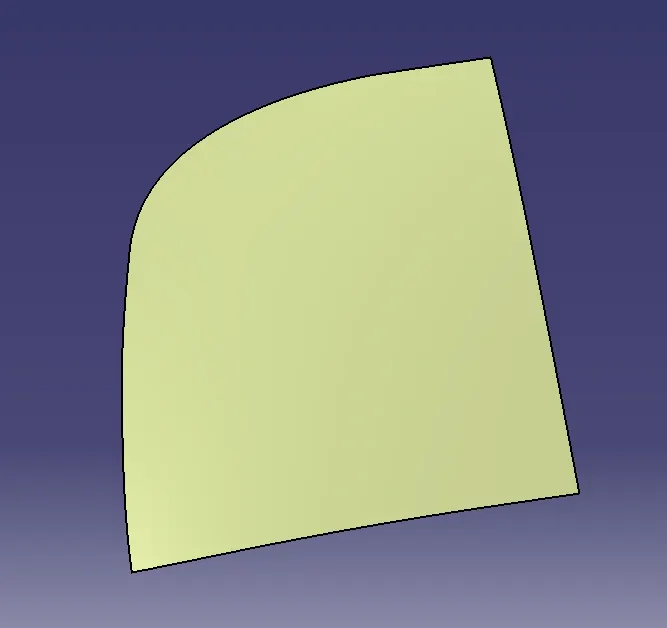
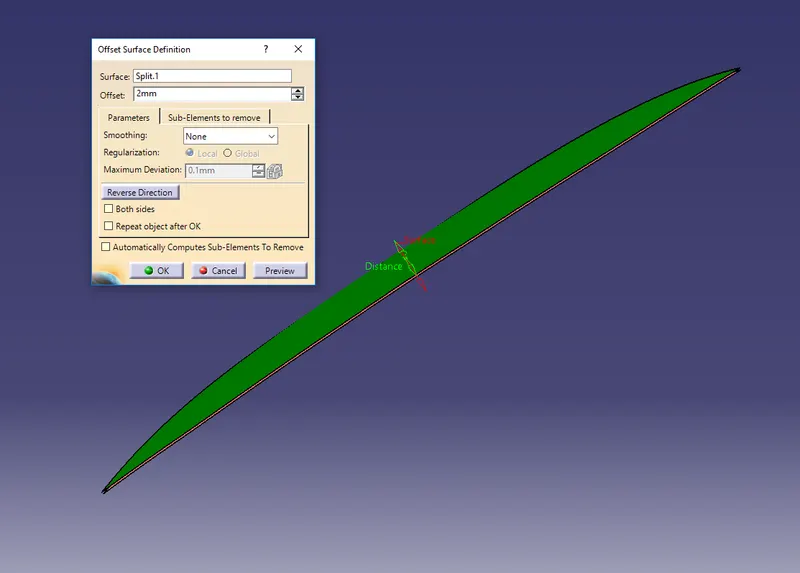
Now following the master section, offset the surface (split surface) to 2mm.
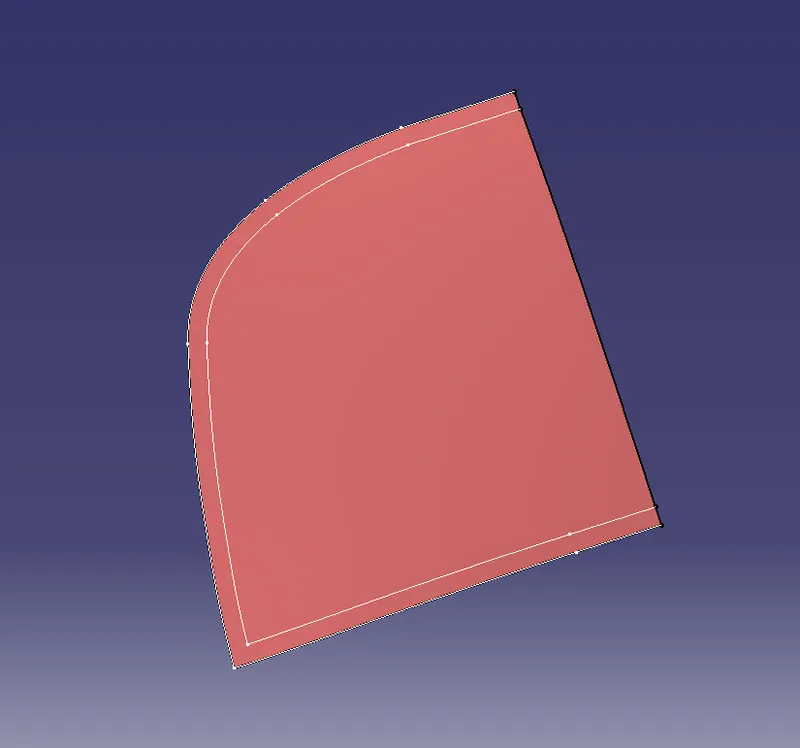
After offsetting the surface, use the boundary option to create boundaries of the surface and then using the parallel curve option, offset the boundary on the surface for about 20mm (15+5mm).
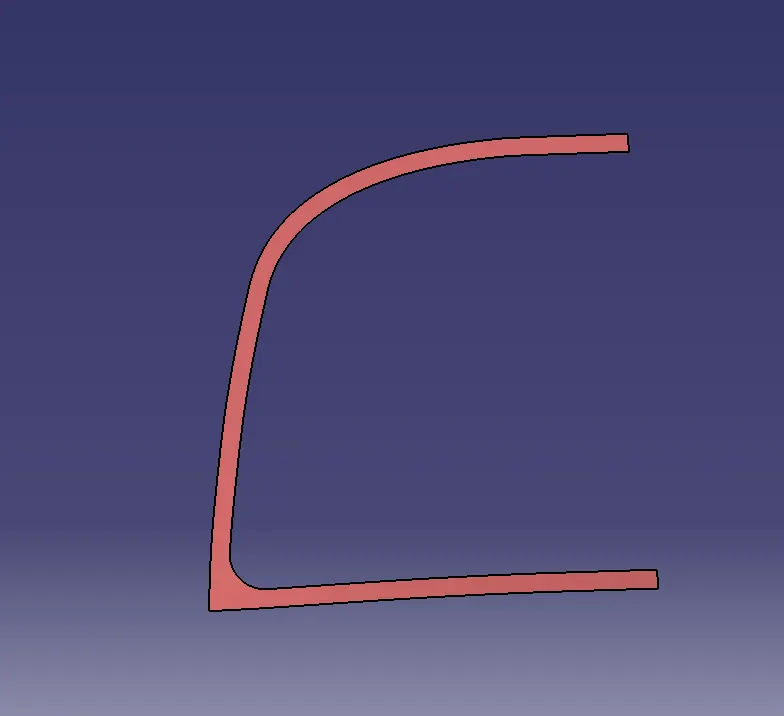
Similarly, we need to create all other inner portion surfaces for the Hood Inner Panel at different offset values by following the master section.
Offset the split surface (the main surface which we split with the YZ plane) to 4mm and again by extracting the boundary, offset it to 22mm (15+5+2mm) on the surface. Split the surface using this boundary and this will give us our second portion of the inner surface.
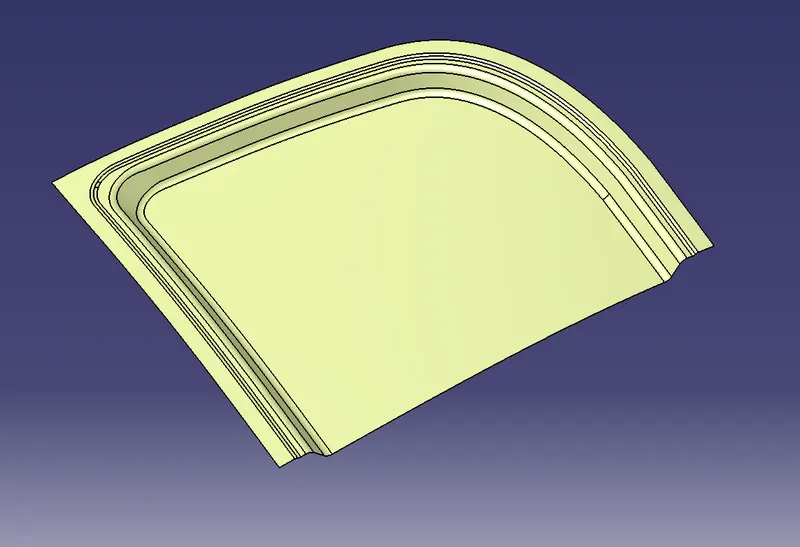
Now to create embossment, create a sketch (no specific dimensions is needed) and project this sketch on the Inner Panel surface
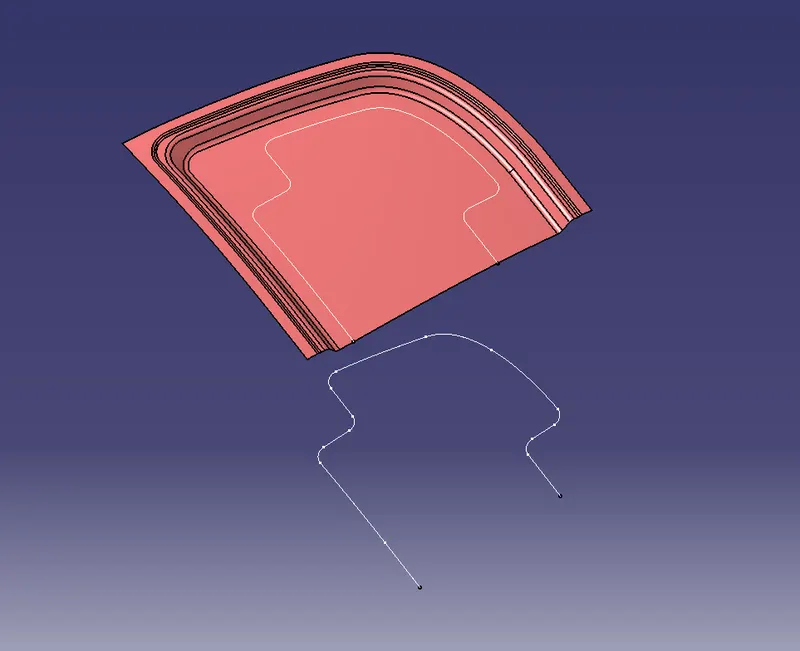
Split the surface with this projected sketch to get the cut out for the embossment.
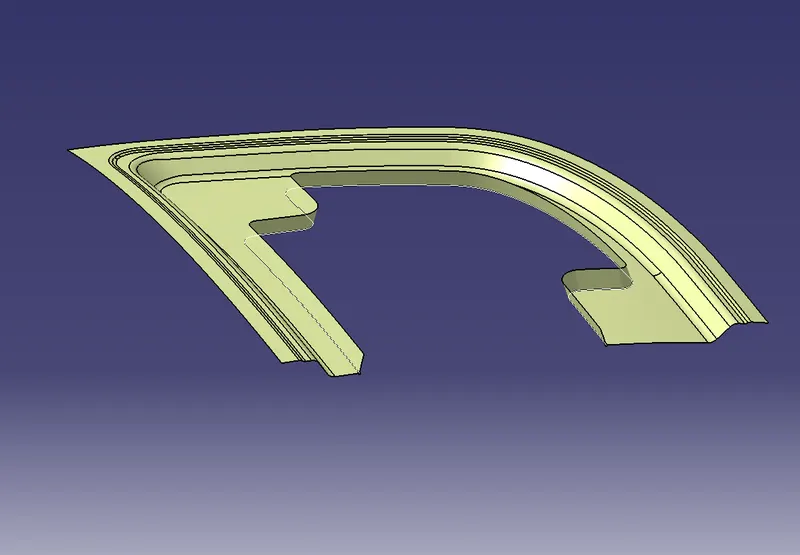
To create the base surface for the embossment, offset the main split surface with a value that can give the embossment a height of 5mm.
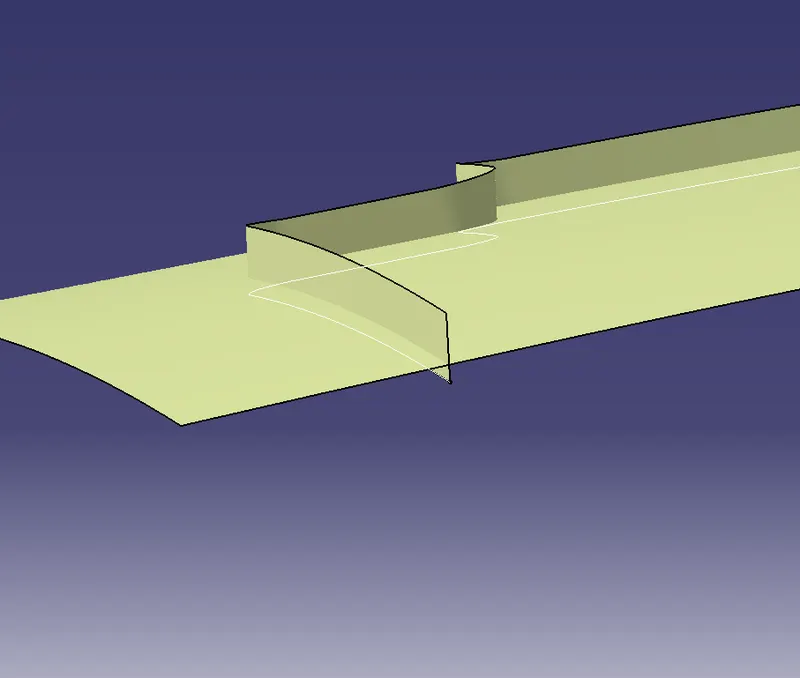
Now trim the sweep surface with the base surface of the embossment to get the final output.
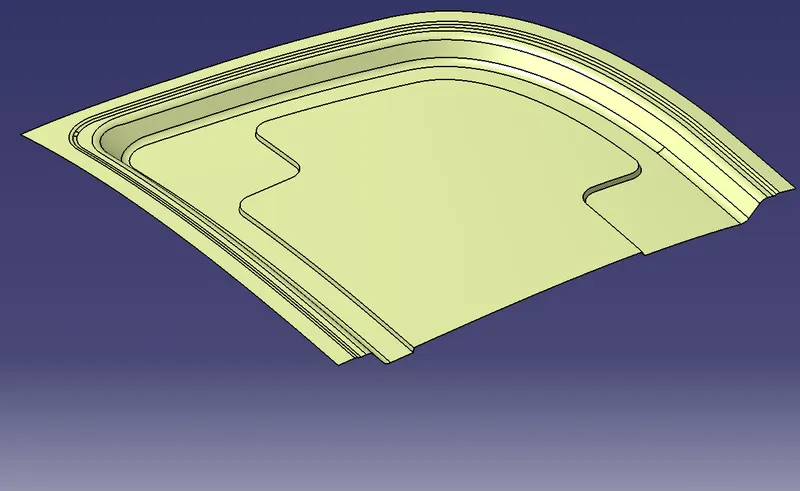
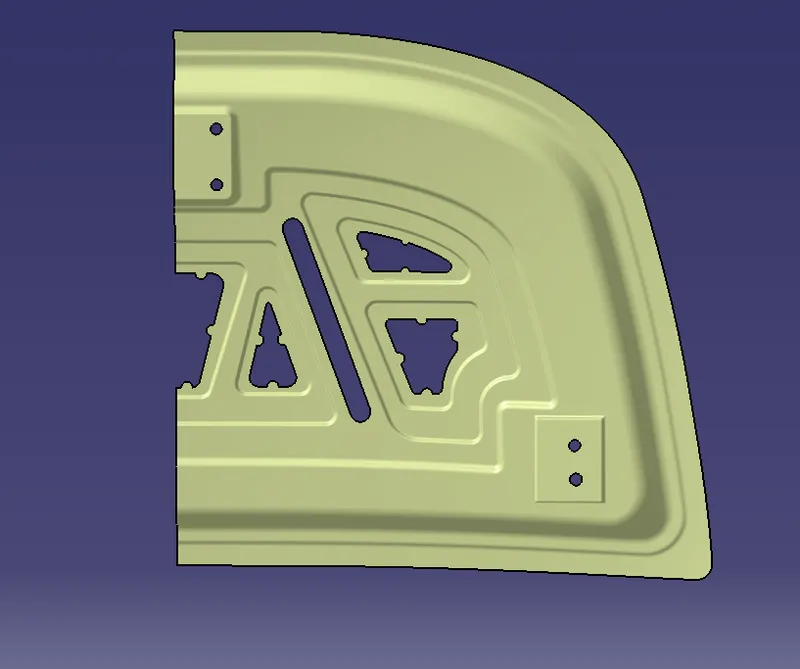
Creating Hood Outer Panel:
To create the Hood Outer Panel, the below inputs needs to be followed.
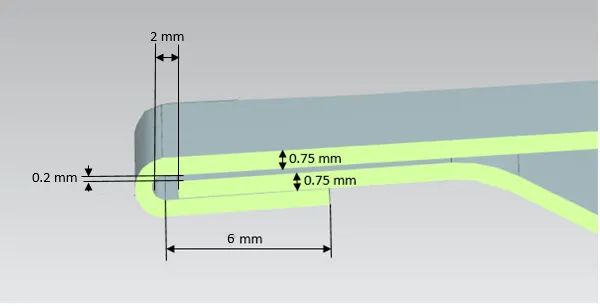
Using the main split surface, create the outer panel by first extrapolating it to 2.75mm.
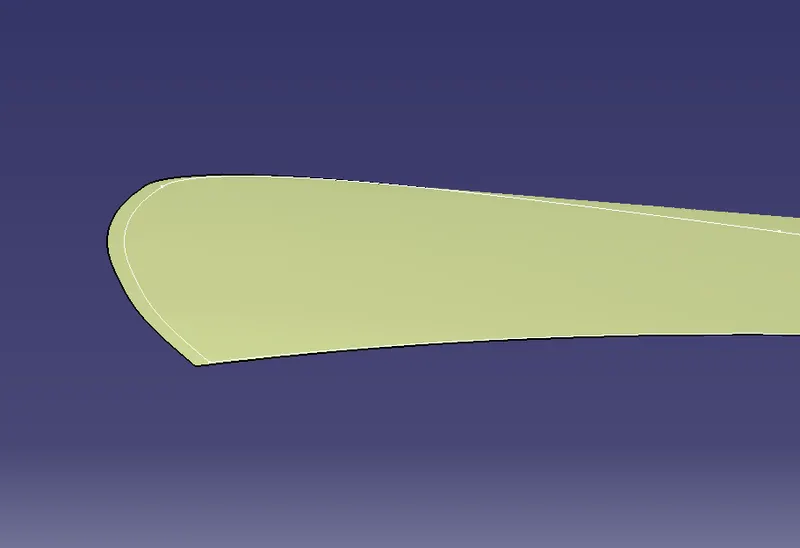
Now offset this extrapolated surface to 2.45mm and extract its boundaries.
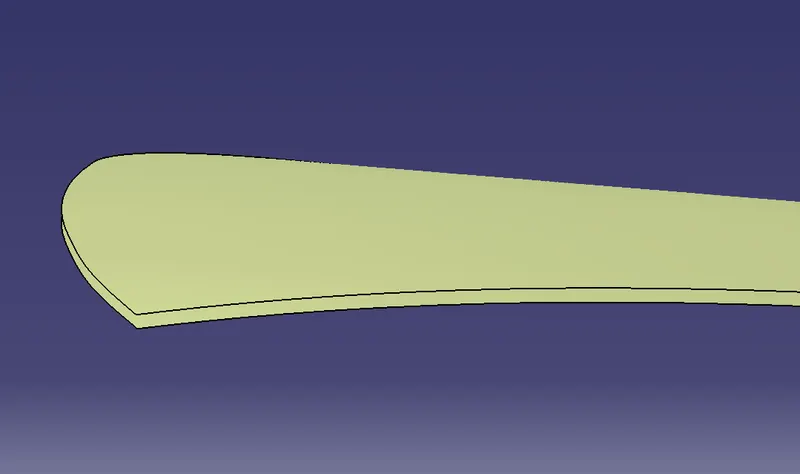
Using the parallel curve option, offset the boundary to 6mm and split the surface using it.
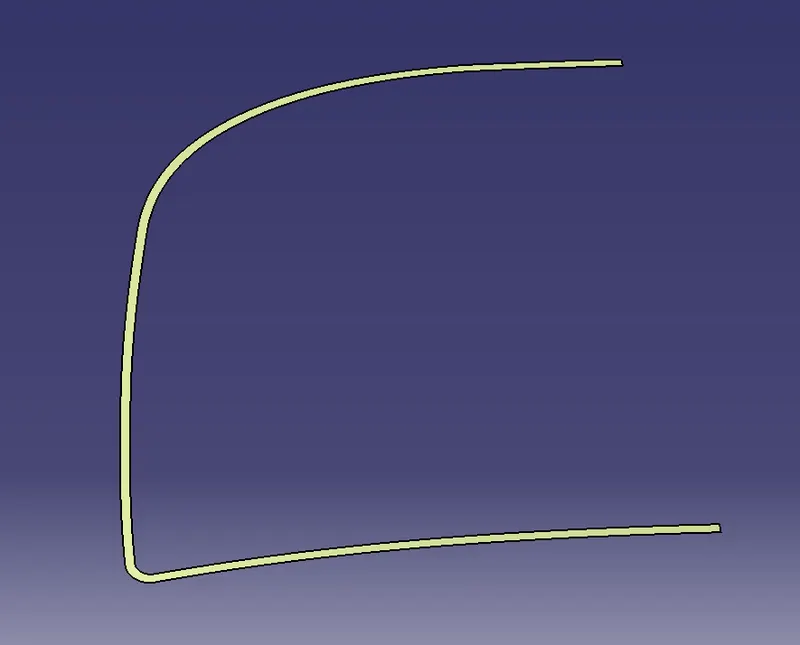
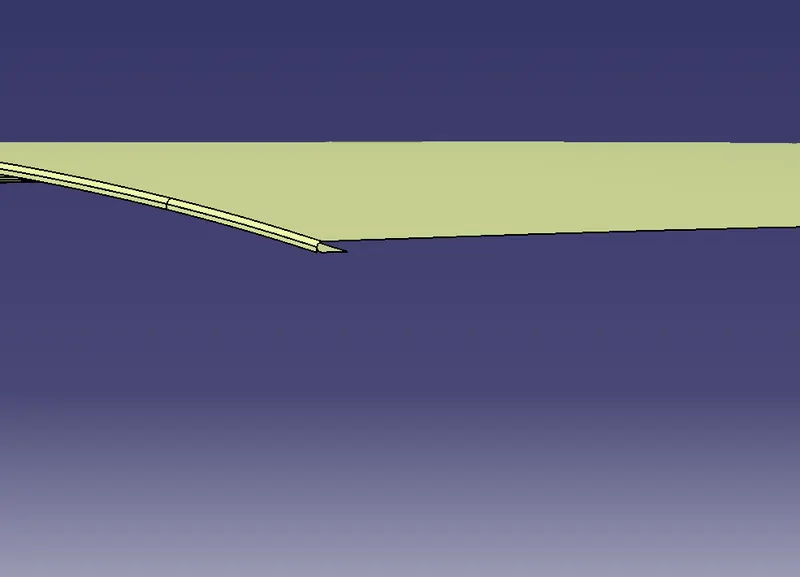
Create a surface between the extrapolated surface and split surface using the Blend or Multi-Section option. Join the Surfaces and give an edge fillet to them.
Embosses :
- Embossing defines on both sides of the panel of the inner panel.
- The design and the direction of the embossing should be such that In case of collision the force dissipating in all the direction to reduce the impact on the passengers.
Conclusion :
Thus the passenger car hood comprising the inner and outer panel, hinges and striker was modelled using CATIA V5 according to industry standards.