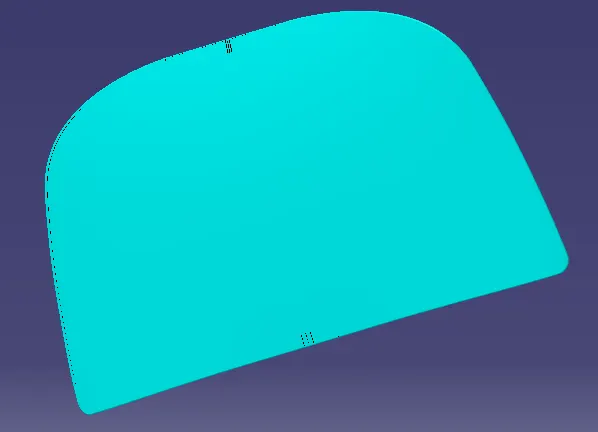
Hood design-Week 2
DESIGN OF HOOD PANEL FROM THE GIVEN STYLING SURFACE USING CATIA V5 (EURO-NCAP REGULATIONS)
Introduction:
Hood:
- Hood is generally found in Automobile in front as the engine cover, it also serves as a car styling part. A hood has to be designed considering many parameters.
- The Hood is also an access panel to the engine compartment to enable maintenance of the power train, drive belts, battery, fluid levels, and lamp units. It is fundamentally a reinforced skin panel with many safety and quality requirements.
- The hood material is selected based upon the manufacturer’s requirement. Some materials like aluminum, fiberglass, carbon fiber, and dry carbon. Mostly aluminum and its alloys are often used in the automotive industry.
- The hood is generally attached to the body by a hinge mechanism and latch-striker system. Mostly two types of hinge mechanisms are used, Traditional Hinge mechanisms depending on manufacturers and gas stay systems.
- Gay stay systems are widely used in premium cars rather than hinge mechanisms which are frequently used in economic cars.
- The latch-striker system is common, it consists of 2 mechanisms to ensure safety. Latch handle present at the front under the hood and striker release mechanism which is operated by lever from inside of the vehicle.
- Mastic material is provided for proper stiffness of the panels
- All of the above factors are considered in the design of a Hood besides the panels
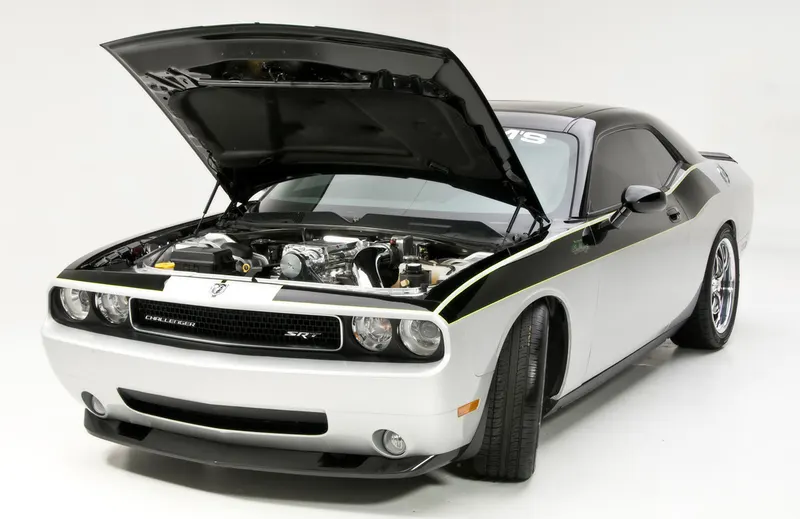
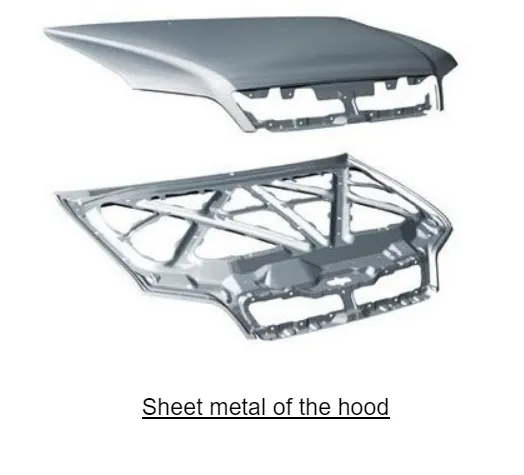
The hood consists of two panels:
OUTER PANEL:-
The outer section or body looks like a smooth surface in design and enhancing the performance of a car.
INNER PANEL:-
This panel is also called a fixture for the outer panel which acts as a strengthening to the outer panel.
Sheet metal of the hood
Pedestrian -Vehicle Collision:
- Road transport remains the most favored mode of transport for both freight and passenger movement in India. The fast-growing population, exceptional rate of motorization coupled with the ever-growing urbanization has made people vulnerable to frequent road accidents resulting in fatalities, injuries/disabilities.
- The sequence of injuries and events in pedestrian collision images is mentioned below.
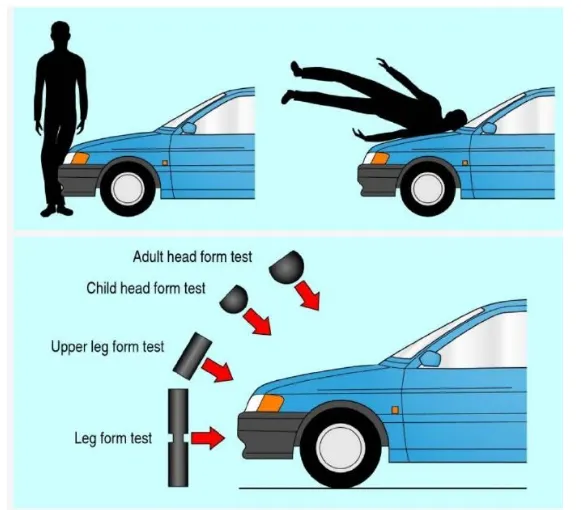
Two main zones are considered while designing stage; the Child head impact zone (1000mm to 1700mm WAD) and the Adult head impact zone. (1700mm to 2100mm WAD). . If the side reference line is on the fender, the WAD will be more and the impact zone will be less and vice versa.
Occupant safety:
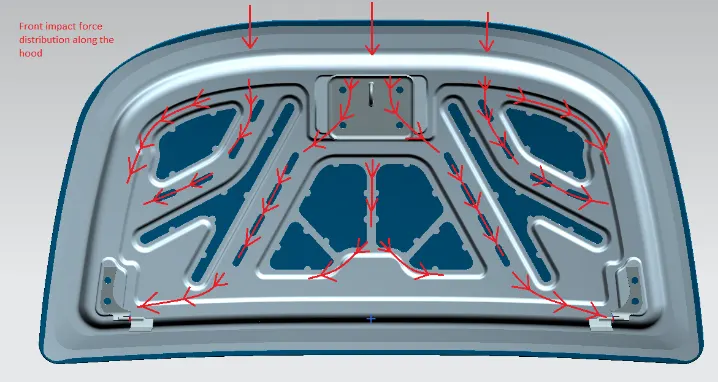
The hood panels should be designed in such a way that they diverge the impact forces during a collision away from the occupants inside the cabin. The forces should be damped properly to avoid or reduce the risk of injuries and death.
Vehicle quality:
Here the factors such as torsional stiffness, dent resistance, corrosion resistance, weight distribution, and noise attenuation, etc. are considered.
Styling:
It is a major factor that often influences vehicle sales in the market. The outer panel is the main consideration here as it is the only component that is visible outside. The factors such as surface quality, tight radii on hemmed panel edges aesthetic design, etc. are crucial factors. Other than styling, aerodynamic factors are important while designing the outer panel.
Ability to manufacture:
Here various sheet metal operations such as blanking, piercing, embossing, hemming, etc are used for manufacturing the hood components. Minimum 7-degree draft angle is maintained respectively to the tooling direction considering the stamping process. Mastic points were implemented to join the outer and inner panels as we cannot apply the spot welding process here. The materials used are typically steel or aluminum-based.
Aim:
To design and develop a hood for a passenger car as per NCAP safety standards and design guidelines.
- Check the given styling surface for any discontinuities.
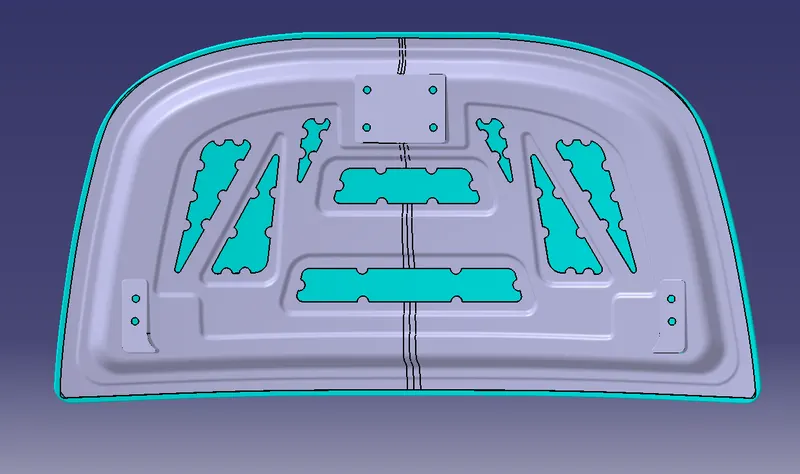
- To Develop the Inner Panel with necessary reinforcements and embosses.
- To Design Outer Panel with the Hem.
- To provide mastic points.
- Check the position of the latch with respect to the hinge axis.
REINFORCEMENTS:
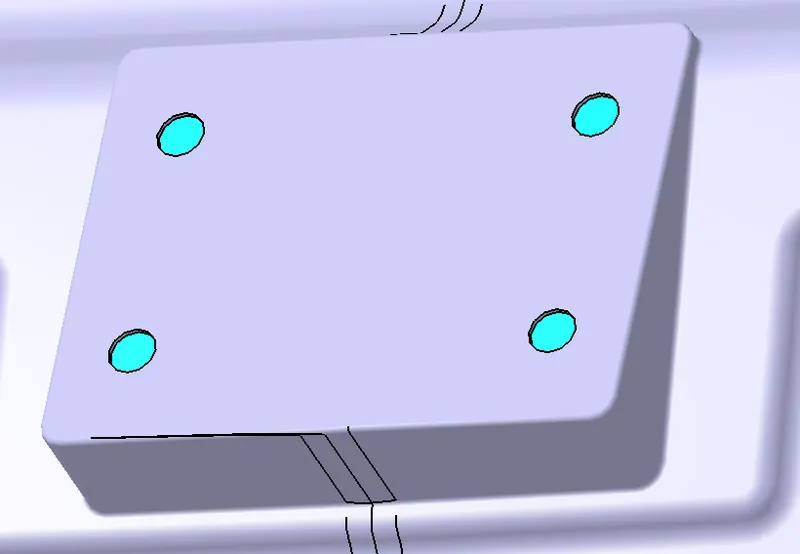
When we add weight to the hood, like hinges and latch, the area decreases and so does the strength of the hood. To compensate for this strength, we introduce the reinforcements at that position. The thickness of the reinforcements is usually more i.e. 1-1.5mm.
MASTIC SEALANTS:
It is a paste which is laid between the outer and inner panel. After cooling down, this hardened between them. Every sealant improves the strength locally in 80mm diameter around it. Therefore they are given in a way so that we cover most of the area of the hood. The following video shows the process of laying mastic sealants.
EMBOSS:
They distribute the forces outwards rather than towards the passengers in the situation of a crash
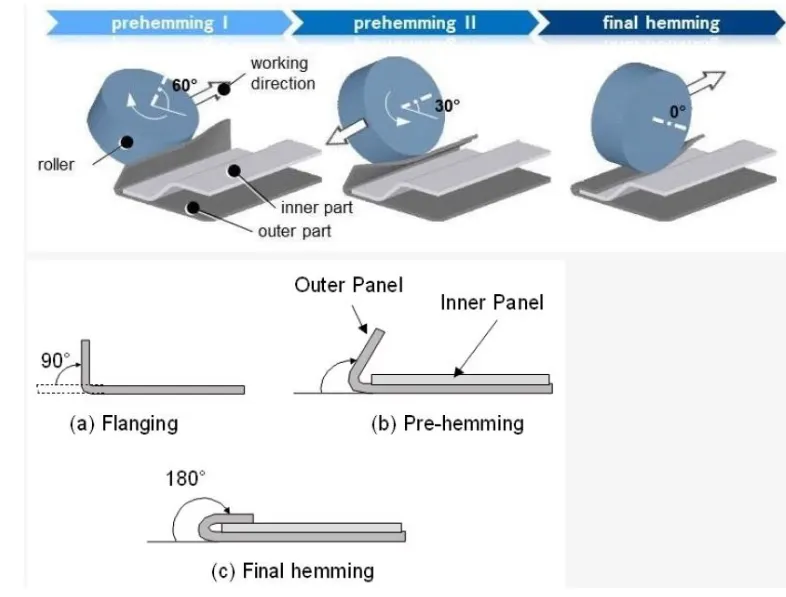
HEMMING:
The Hood outer panel and inner panel are joined together using the hemming process. In this process, the outer panel is wrapped around the inner panel from all sides to restrict its movement. This is done using rollers.
Given :
- Class A surface.
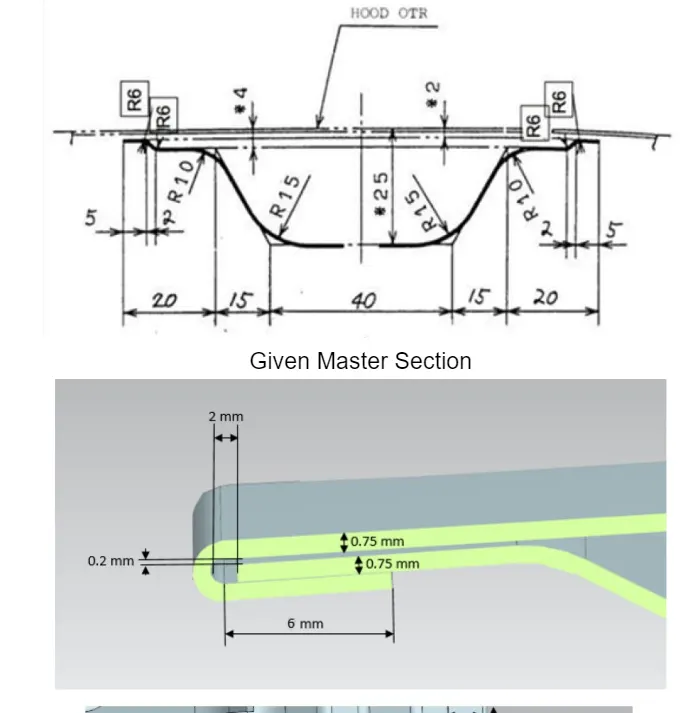
- Master-section of the panel.
- Hemming data.
- The thickness of the inner panel, outer panel, and reinforcements.
Given Master Section
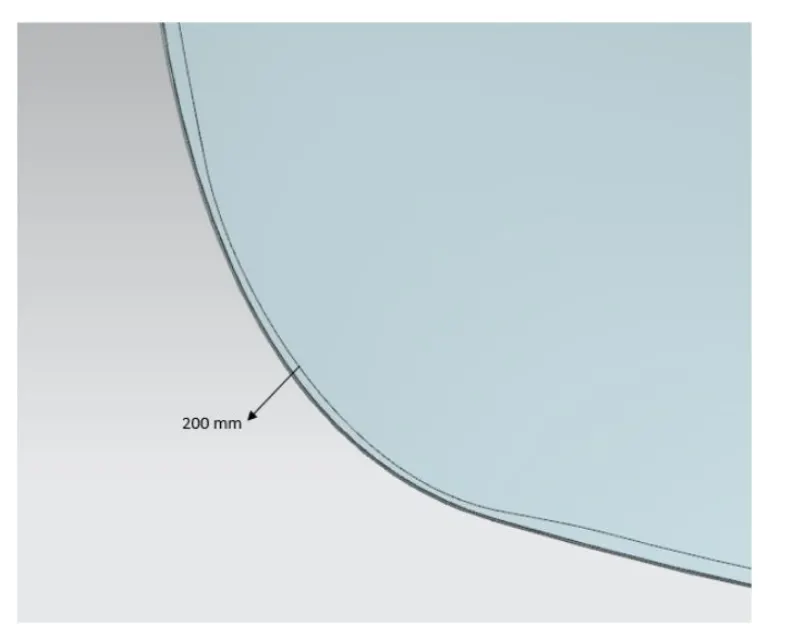
Given Hemming Data
Based on the above data my hood was designed as per the below mention parameters.
- Outer panel thickness:-0.75mm
- Inner panel thickness:-0.75mm
- Reinforcement thickness:-1.5mm
CAD CREATION
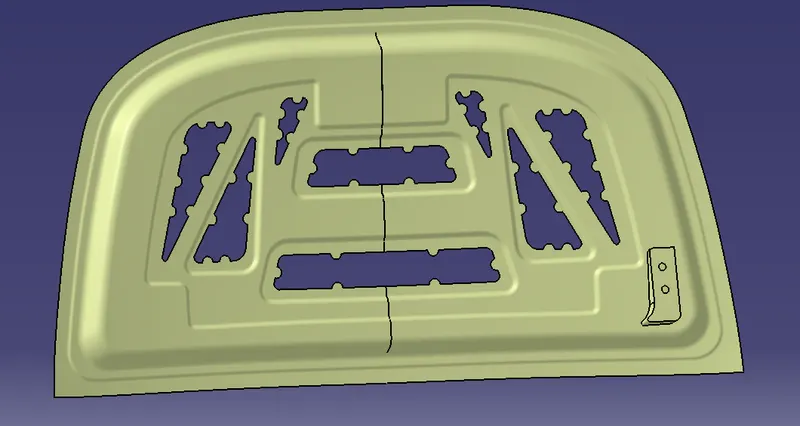
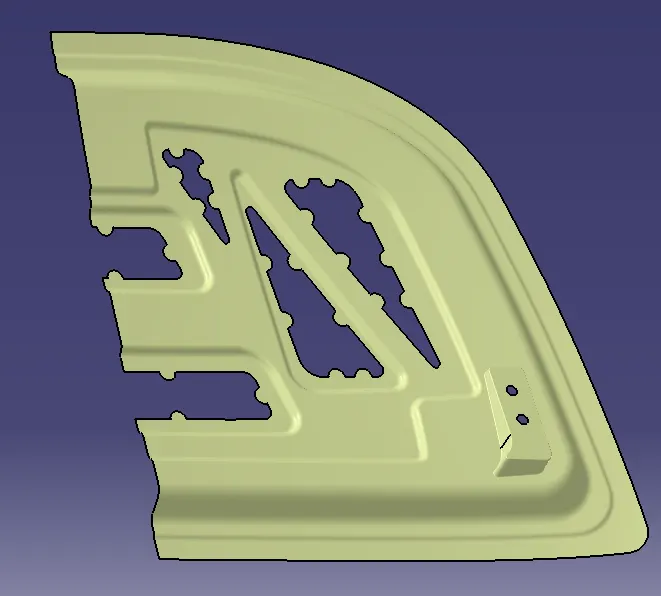
Creation of Inner Panel:
- Understand the master section very clearly. This sketch contains the entire detail about the basic shape of the inner panel.
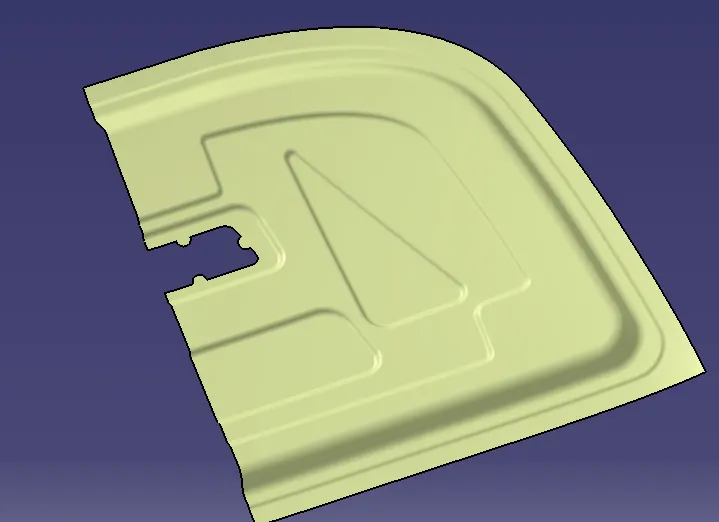
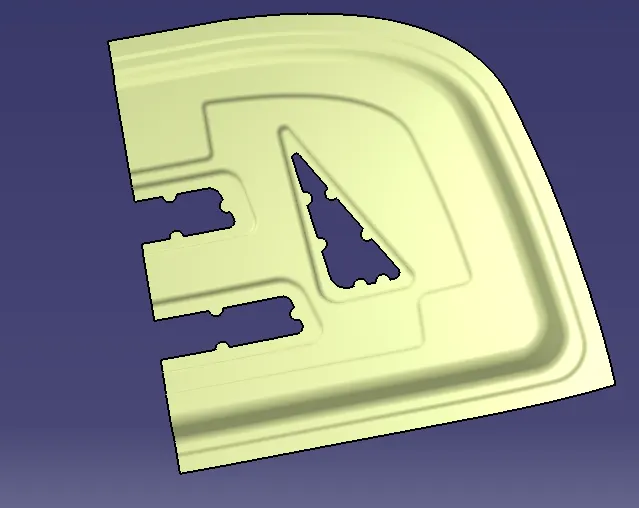
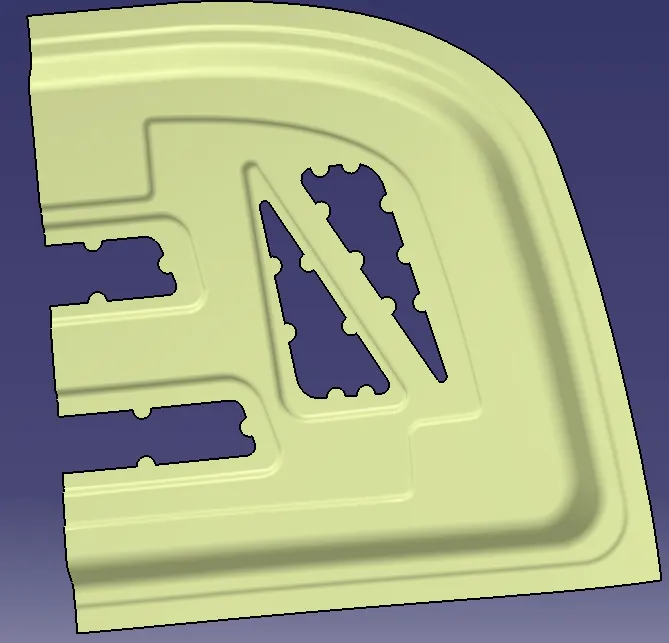
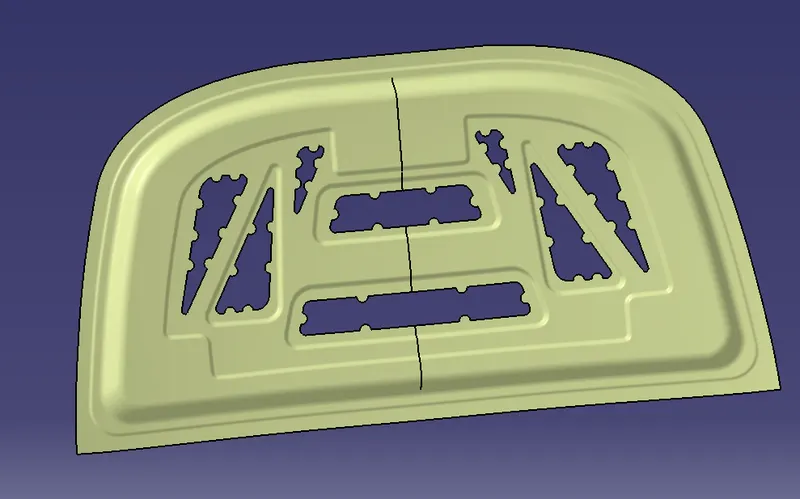
- As the hood is symmetric, we just need to make half of it. So we make an extract of the outer panel and trim it with the plane about which we will mirror it later.
- Once we understand the sketch, use offset according to the given master section, and create embosses using (extrude, split, trim)tools.
- We will make embosses wherever possible and that in a way that the forces get distributed towards the hinges
- We can sketch at our free will. We are free to cut shapes according to our wishes.
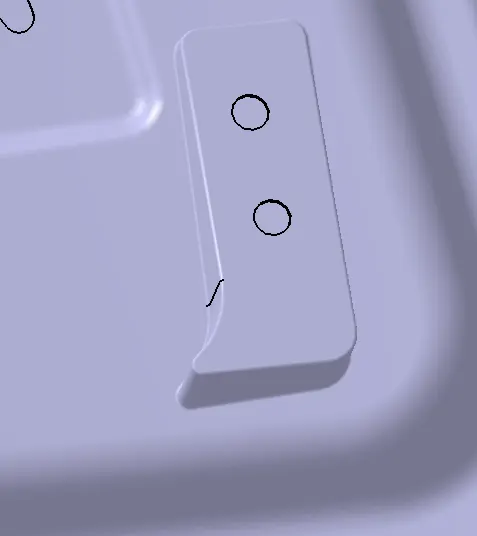
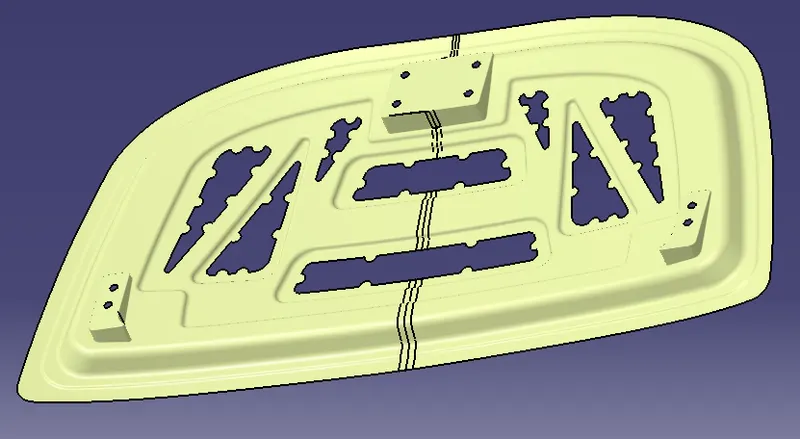
CREATING HINGE EMBOSS AND MOUNTING HINGE ON IT:
- Go to the assembly workbench and place the hinge in the approximate position.
- Now project the position on the surface of the panel and extrude the surface.
- Now trim the surface according to emboss height and create holes on it and add fillets.
- Now use assembly commands(manipulate, Coincidence, offset).
- Now use the Mirror command to mirror to get on the other side and join them.
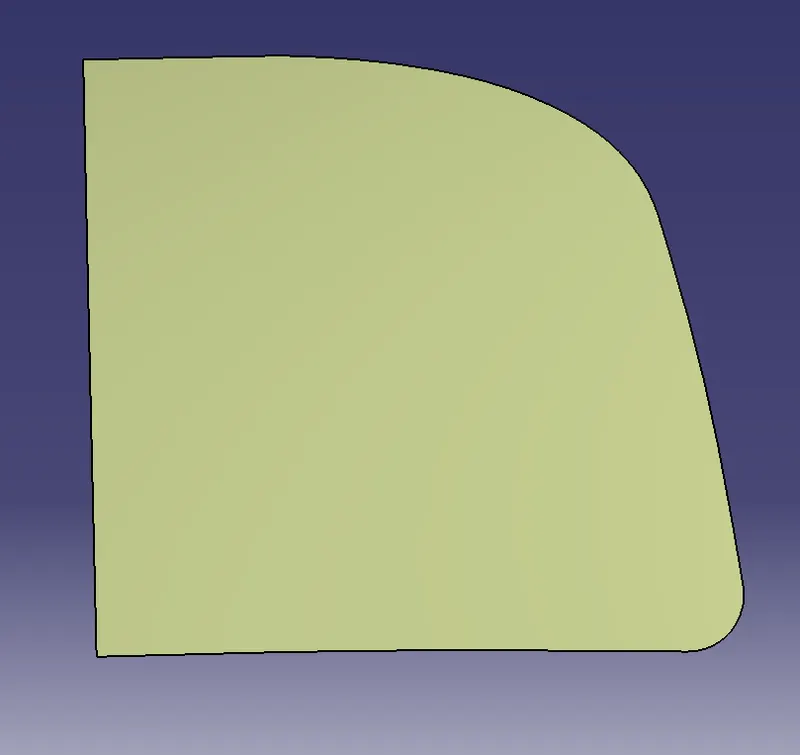
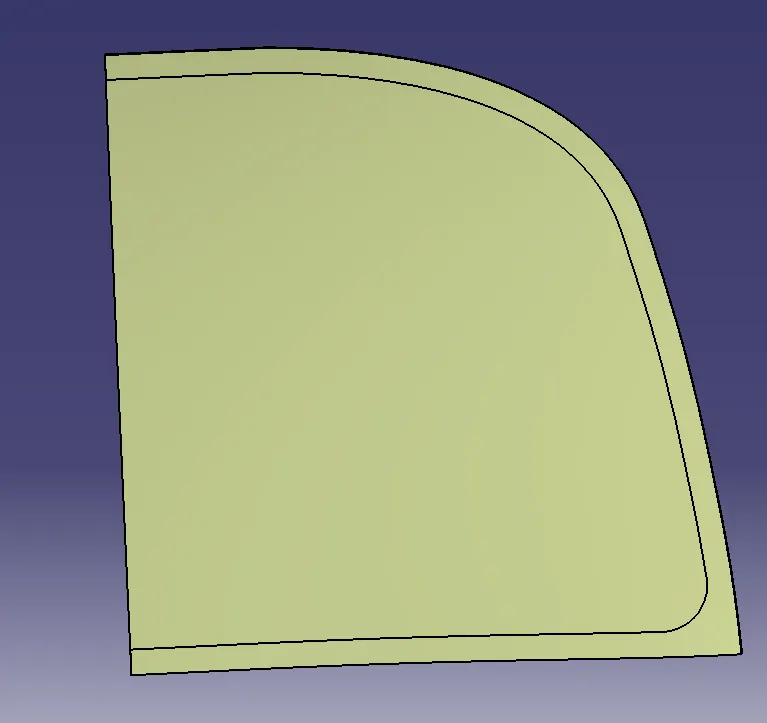
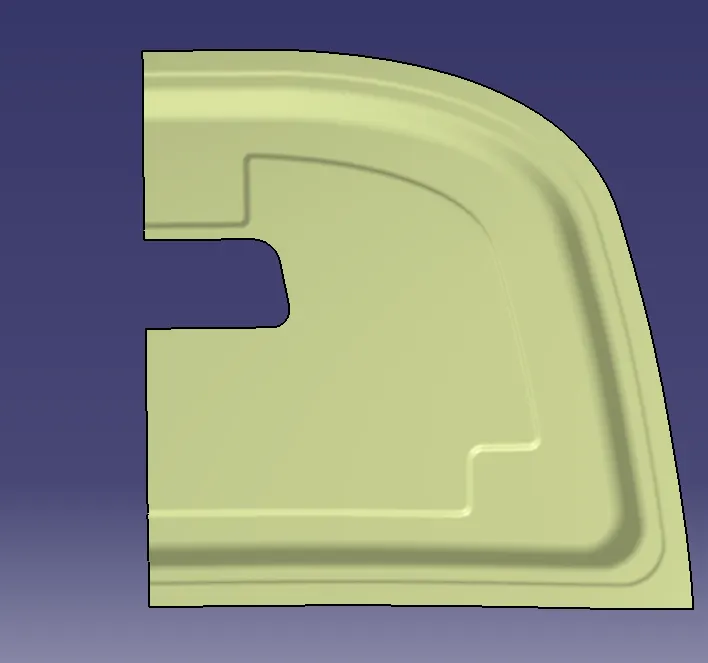
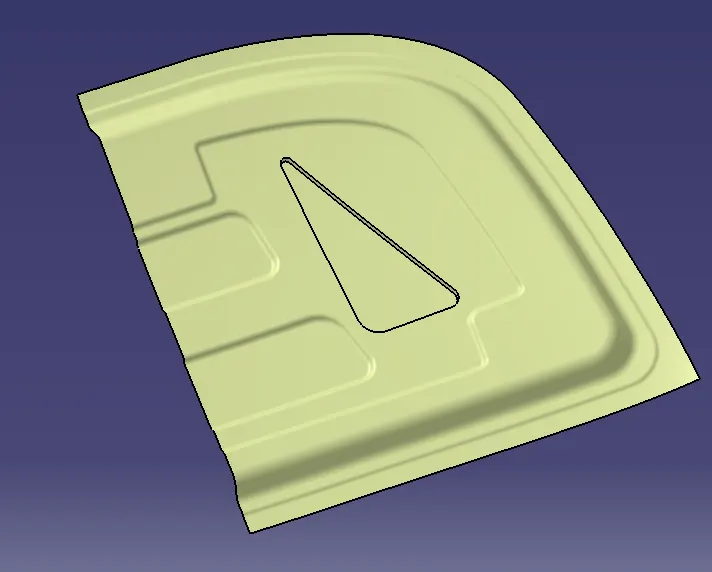
CREATING LATCH EMBOSS:
- Create points on both of the hinge axis and make a line through those points.
- Make a datum coordinate system on the midpoint of that line. Sketch on its side plane and make a circle.
- Create two horizontal lines on the striker (on U) and make a line in the middle of them.
- Now create the circle in the side plane as hinge axis center and tangency with the middle line of the striker
- Assembly constraint the latch and circle. Now if we change the diameter or the angle then the position of the latch will change.
- Now create the emboss as same at that position.
CREATING HEMM:
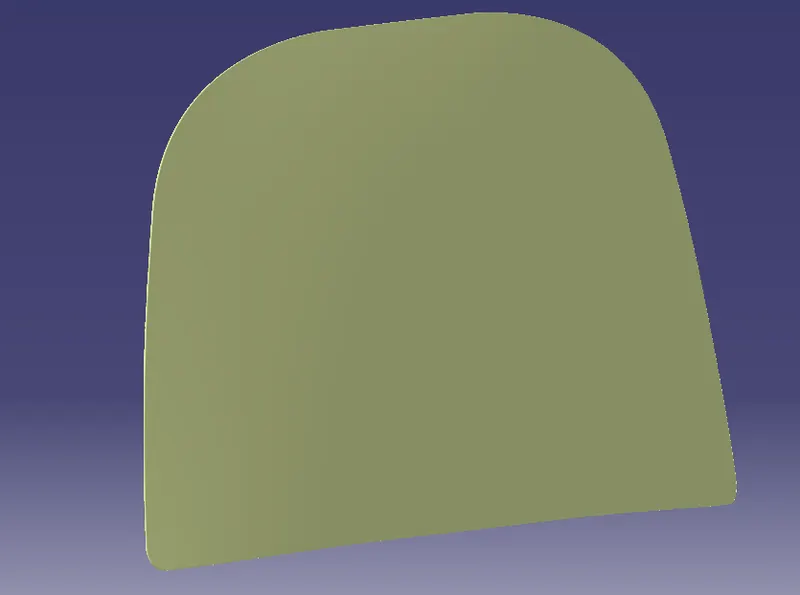
- For creating hemm, first, we need to extract the half of outer panel to use it
- Offset the outer panel by calculating proper distance taking thickness and tolerance into consideration of about 0.75mm and 0.95mm.
- Trim off the unnecessary offset surface.
- Now use edge fillet and blend the surface to wrap it around the inner panel.
- Mirror this surface and join it.
- Thicken the entire model using the Thickness command to make it a solid body.
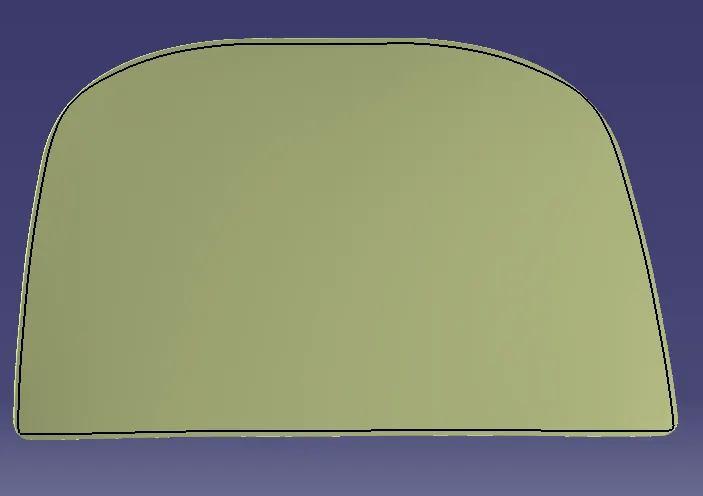
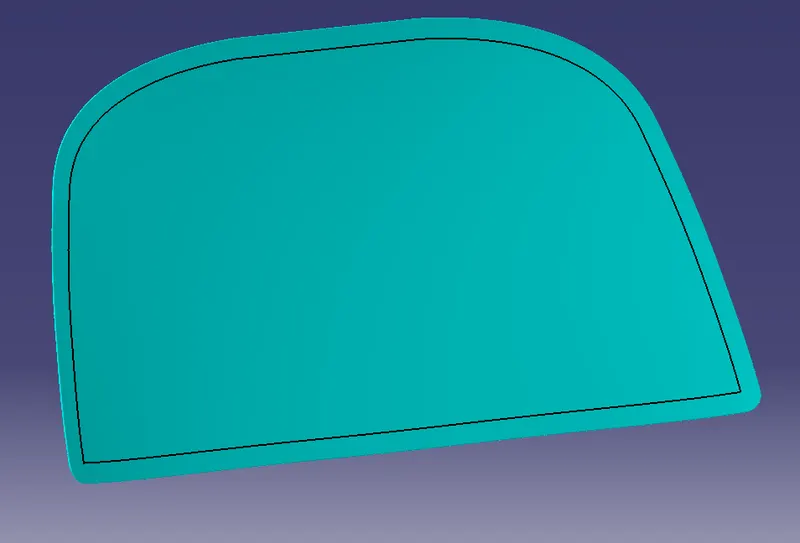
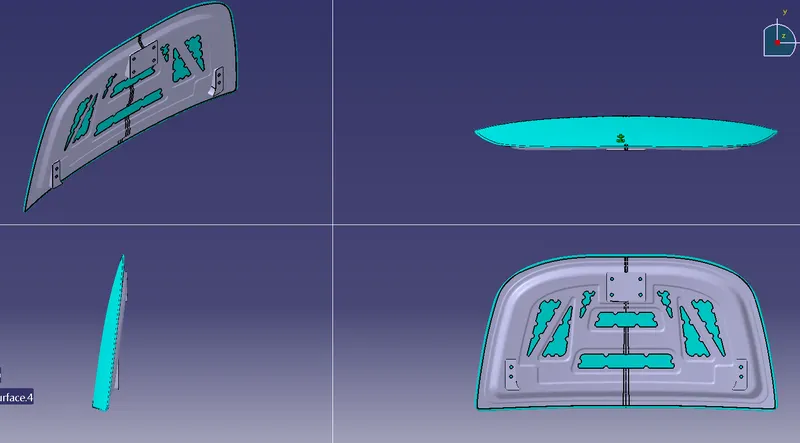
Final Component:
Conclusion:
The inner panel, the outer panel has been designed from the given styling surface according to the Euro-NCAP standards. The latch and striker positions were studied. Necessary reinforcements were developed for the inner panel.