Hood design-Week 2
Report
Step 1: First the UGNx software was open and then given file tool bar and then new file is open then that of create a location for the save the cad file in the system and then click ok for the part created.
Step2: And move to assemblies work bench then add component tool is used for the add the component in the assemblies.
Step3: Frist create a inner pannel withusing referance with the outer pannel. in this design is created by the part navigator workbench in that of the in assembly workbench double click of the part and make it as work part and move to part navigator.
Step 4: Make a referance surface of the outer pannel , and using the plane to trim the half surface and using the offset surface command and offset the surface in as per the calculation.
Step 5:And using the offset curve command and offset at the as per the master section of the drawing, then trim the surface using the offset curve and another surface is created and the same as the above step in the creating the surface.
Step6:next step is usinf the through curve option and make a join of 2 surface,and sew command is used to join the surface in the single surface,make fillet in using the edge blend tool.
Step 7: After that create a plane for the sketch for the making the emboss , in the sketch is having the some distace apart from the surface , then using the project curve command project the curve in the surface .
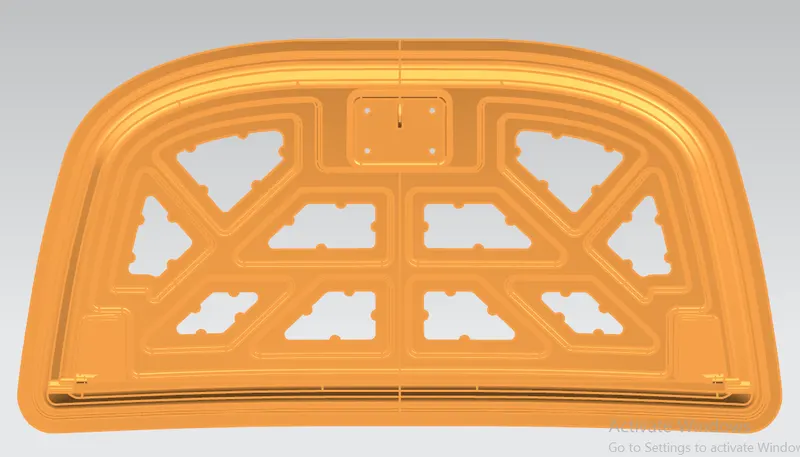
Step 8: After using the emboss tool to make the emboss in the surface in the distace of the 10.5mm that distance is calculatated in the given data.
Step9:And again crating the emboss for the piller for the strength and another purose is the mastick surface of the emboss, in creating the as per the same produrce for above.
Step 10: Then create a plane for the sketch for mastick part and sketch was finished and then using the trim body command to trim the body of the surface .
Step 11:In this hinge are mounted in the corner of the inner pannel that create the emboss and give the reinforcement of the surface.
Step 12: After that of thicken the surface and mirror the surface and examine geomentry command is used to the examine surface in any patched is occured
Step 13:In that cause of the move to asseblies to make a assembly of the hinge assembly and then using the assebly contraint to make a touch contrain in the inner pannel.
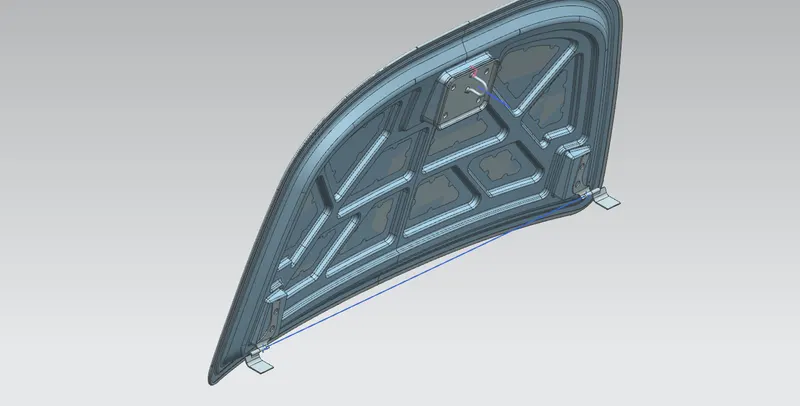
Step 14: After that of the using the point in the mid of the to hinge assebly to create a line and the mid point of the line in create a circle and create a tangant line of the circle and that stricker is place over the tha tangent line and using the wave geomentry to make a stricker surface in to exand and law extention is occuered in the after to give reinforcement of stricker.
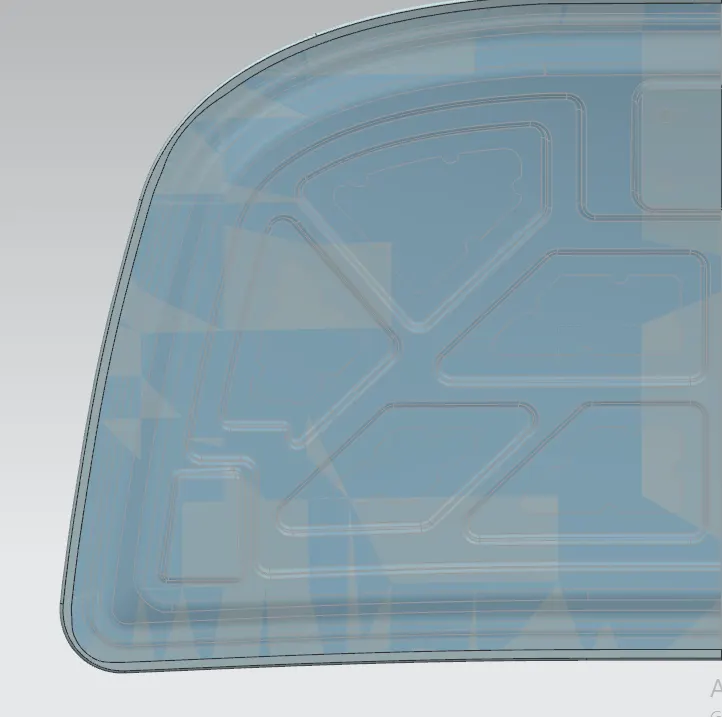
Step 15: In the outer pannel is the trimed in two half because of mirror of the other side and the heming process is done in the process of the surface is 2mm is trimed for the dne in hemming.
Step16: Again create the offset curve in the surface, using the law extention tool create a surface and the below the buttom surface is offset in 2.65 of the distance is calculated in the given dimention of the surface.
Step 17: Using the face blend in that surface is 3 face to make a hemming and the the thicken the surface in the 0.75mm of the outer suface thickness.
Step 18:Rear relief is create and using the bridge curve command and front relief also and mirror the surface and make sew command to join the surface.