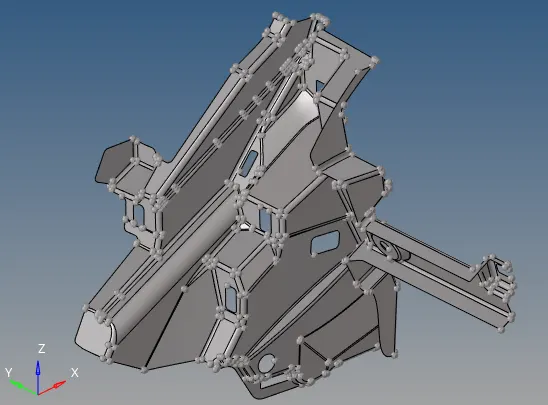
Geometric clean up of a Housing Model and Extracting Mid-surface of a plastic model.
To perform the specified Operation on the given model:
- Housing Model (Clean the Geometry without any Free Edges)
- Plastic Model (Extract mid-surface for this component)
Task 1:
To clean the Geometry without any Free Edges of the housing model.
To do the analysis it is important to import the CAD into the hypermesh to do the mesh. But sometimes the imported geomertry comes with topology errors. And often times we need to simpify the geometry to achieve a better mesh.
Steps taken:
1. Importing the model
Click on the import geometry option. Then locate the file on the PC and finally click on import.
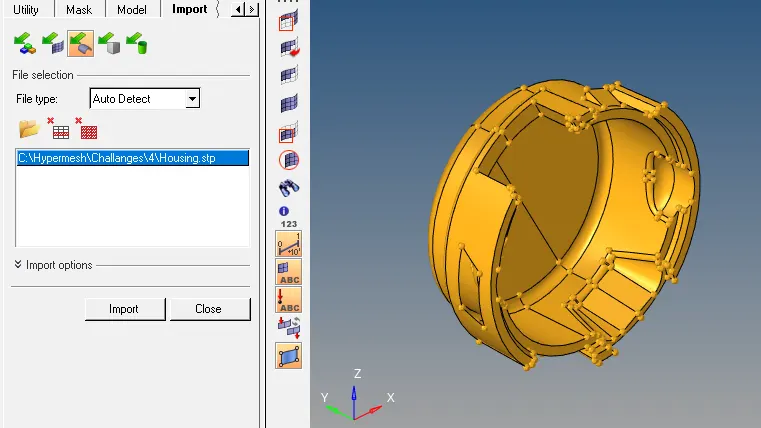
2. In the ‘Geom’ page click on ‘autoclean up’.
This will make the edges coloured according to their topology status. To know what the colours mean, click on the ‘visualization’ option.
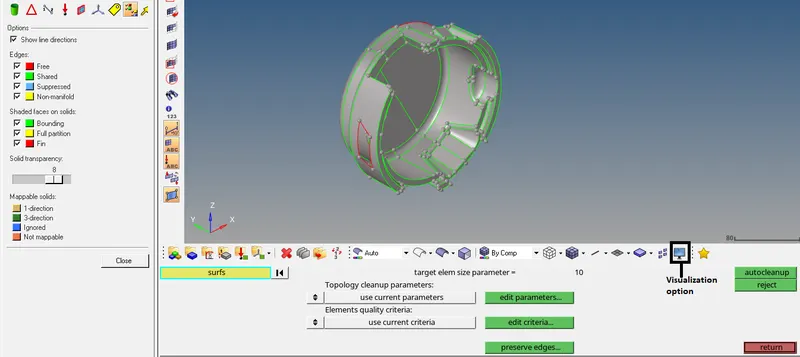
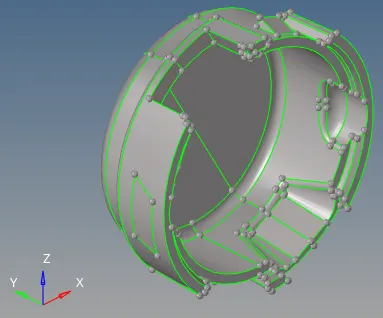
Since the edges are coloured green, the edges are shared edges. A shared edge is an edge that is owned, or shared, by two adjacent surfaces. When the edge between two surfaces is a shared edge (this is what you typically want to have), there is no gap or overlap between the two surfaces - they are geometrically continuous. The automesher always places seed nodes along the length of a shared edge and will produce a continuous mesh without any gaps along that edge. The automesher will not construct any individual elements that cross over a shared edge.
Red colour depicts free edges- they show where we might have missing connectivity or gaps. A close loop free edge shows a hole or a missing surface.
Yellow colour depicts non-manifold- they show edges where more than two surfaces share an edge. Which might be a T-connection or a duplicate surface.
Blue colour depicts Suppressed edges. Edges which are suppressed on purpose for some reason.
Now we can see at four different places we have free edges and missing surfaces.
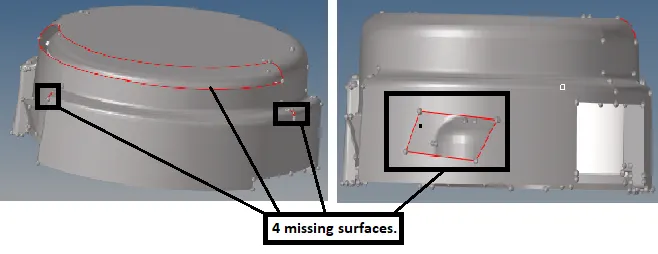
3. Filling with surface.
In the ‘Geom’ page go to ‘quick edit’

Select the option ‘filler surface ‘ then click on red coloured free edges to fill the gap with surface.
This completes geometric clean up. The final output is shown below.
Task 2:
To extract mid-surface of the given plastic component.
Steps Taken:
1. Importing the Model
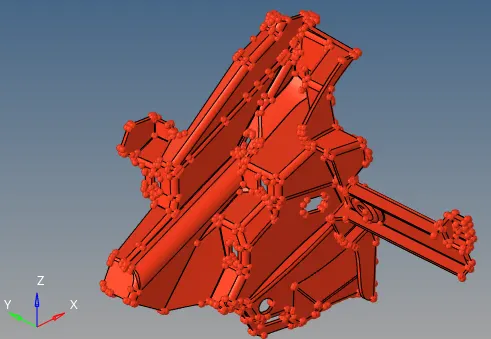
2. Topology view
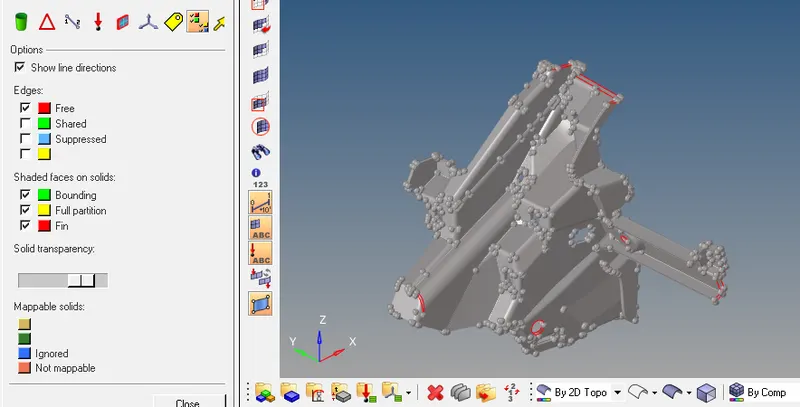
Using topology view and visualization option, we are able to see a lot of missiong surfaces.
3. Fixing the missing surfaces:
- Go to Geom -> Quick edit -> filler surf
Then select the free edge to fill the gap with surface.
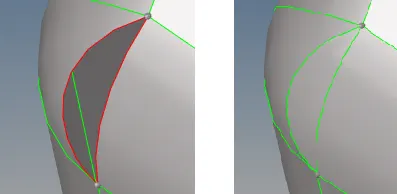
- Go to Geom -> Surfaces -> skin

Then select the red edges and create the surface.
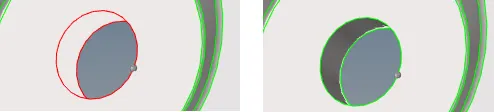
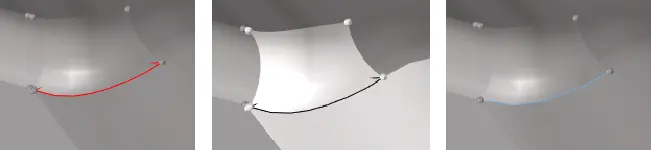
- Go to Geom -> Surfaces -> Ruled
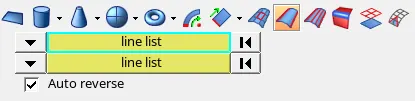
Then provide the line list by clicking on free edges and click on create.
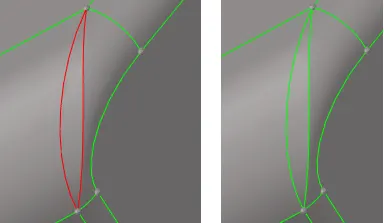
- Go to Geom -> Surfaces -> Ruled
Then by select only one line for 1st line list and again only one line for 2nd line list. Then cleck create.
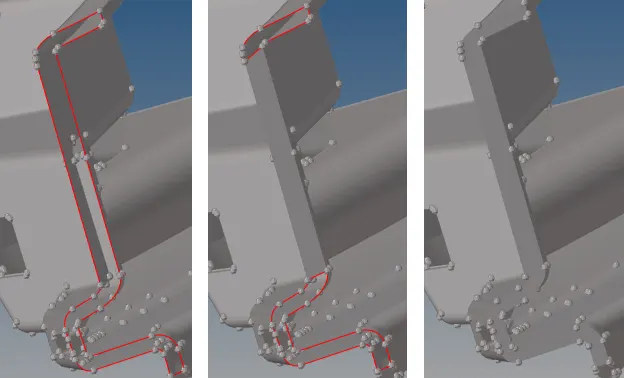
- Go to Geom -> auto clean up
Select the surfaces and click on auto clean up.
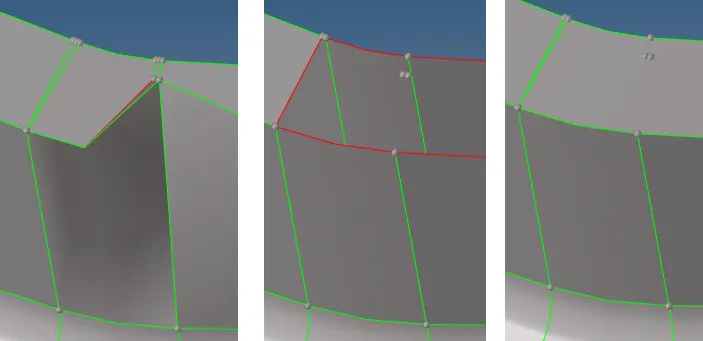
- Go to Deleate surfaces, to delete the surfaces which are deformed due to some glitch.
Then use Geom -> Surfaces -> Ruled, to create the surface again.
4. Extracting mid surface.
To extract mid surface, go to, Geom -> midsurface.
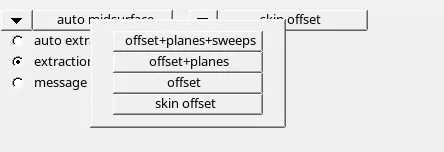
In the extraction option, after trying all the offset options. The best result is obtained from “skin offset”.
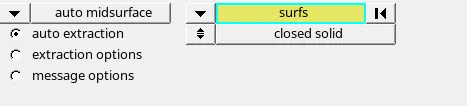
Then go to ‘auto extraction’, select all the surfaces. Then finally click on extract.
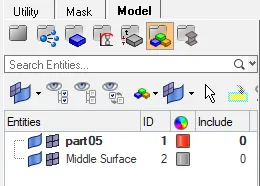
Then in the model tree we will see a new entity has been added.
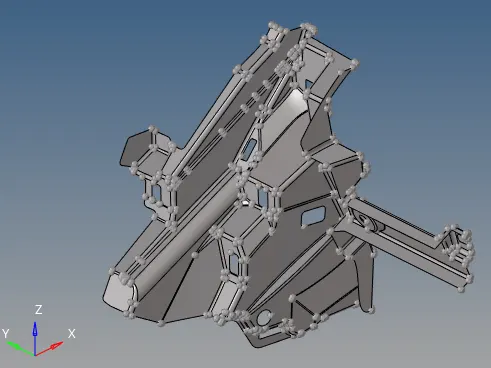
Even in the mid-surface there was a small error due to the curvature of the model. There were some unwanted surfaces that were generated. To remove them simply trim them by going to Geom-> surface edit -> trim with surf/plane.
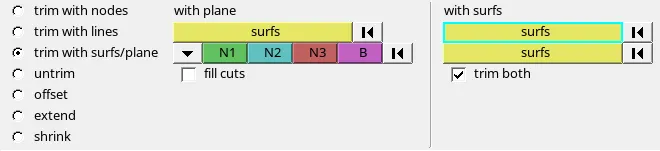
Then select the unwanted surfaces and select trim.
Finally, delete the unwanted surfaces.
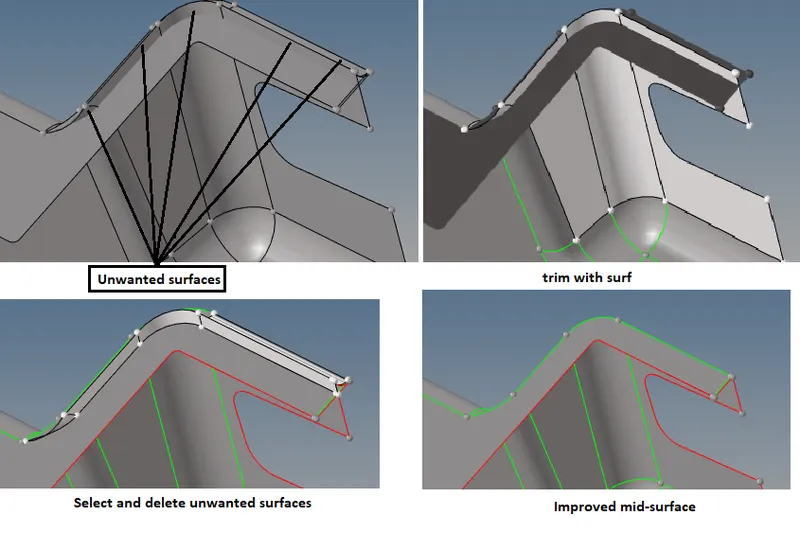
5. Final Mid-Surface