Fender Design Challenge
FRONT FENDER
OBJECTIVE:
- The objective of the project is to design a body in white front fender of a car with its mounting using the information provided by the styling team.
- Master sketch are the information provided by the styling team by considering the safety and manufacturing feasibility for possible mounting region.
SOFTWARE USED:
- Siemens NX CAD.
FENDER:
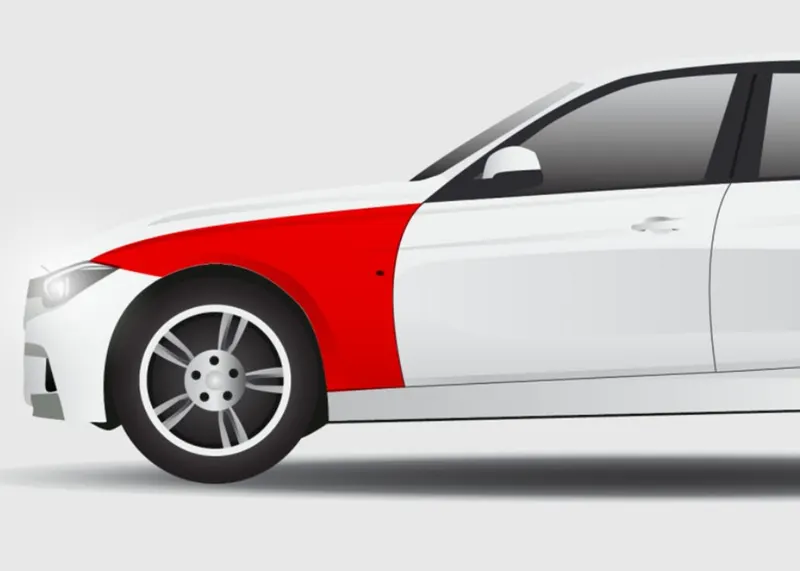
- Fender is the US English term for the part of an automobile that frames a wheel well. Its primary purpose is to prevent sand, mud, rocks, liquids, and other road spray from being thrown into the air by the rotating tire.
- To prevent debris and grime kicked up by the wheels from damaging the sides of the car or other nearby vehicles while you drive. The fender also protects the wheels from side impacts and other potential damage.
- these fenders are generally made of the same plastic, metal, or fiberglass material as the rest of the vehicle.
- Fender also enhances the cars aerodynamics & improve the aesthetics of the vehicle, they also prevent mud, sand, rocks, liquid & all sorts of debris from being thrown in the air while you are driving your car.
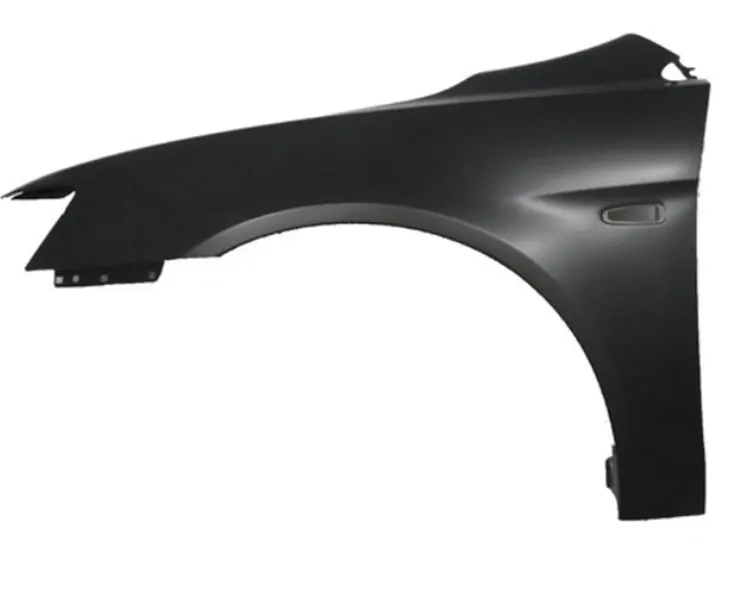
TYPES OF FENDERS:
- There are 2 types of fenders
- Full bumped fender.
- Half bumped fender.
FULL BUMPED FENDER:
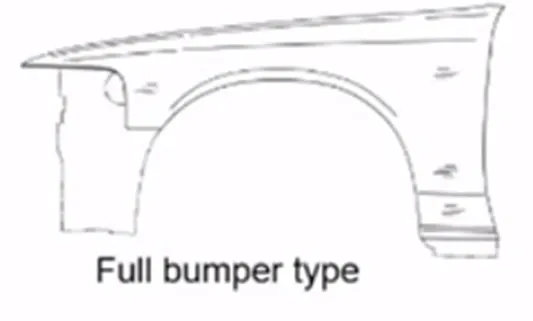
- Full Bumper Type is not used now a days because it requires large size of blank to produce the part and it occupies more space.
HALF BUMPED FENDER:
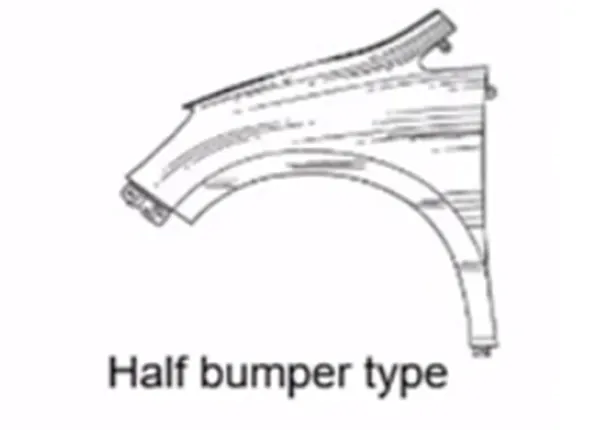
- Half Bumper Type Half bumper is used because the waste of material is less & can produce two fenders at the same time by slightly increase the raw sheet. and to reduce the weight & cost mostly bumper fender are been produced.
DESIGN FEATURES OF FENDER:
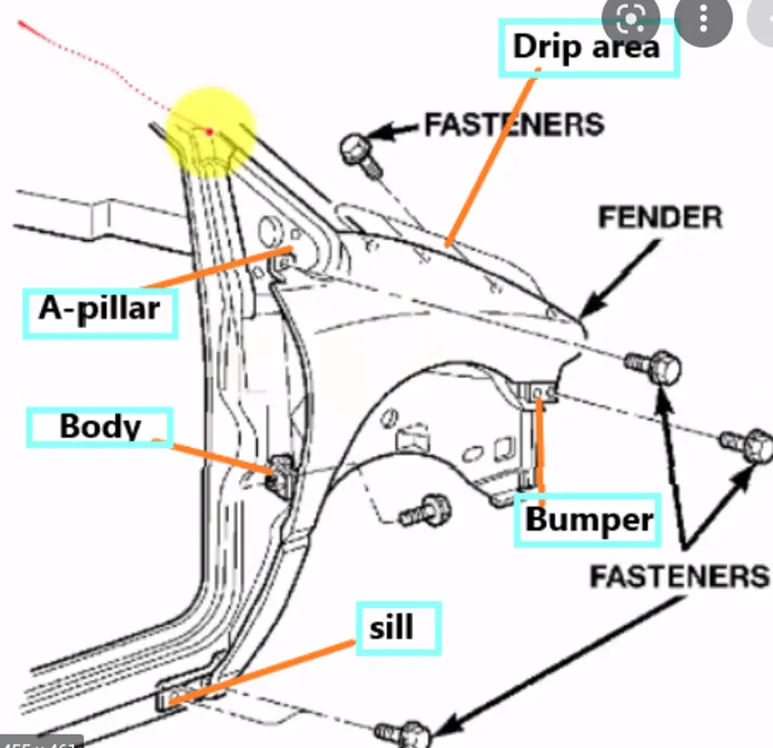
FENDER MOUNTING POINTS:
- A – Pillar Mounting.
- Bumper mounting.
- Drip Area Mounting.
- Baffle Mounting.
- Sill mounting.
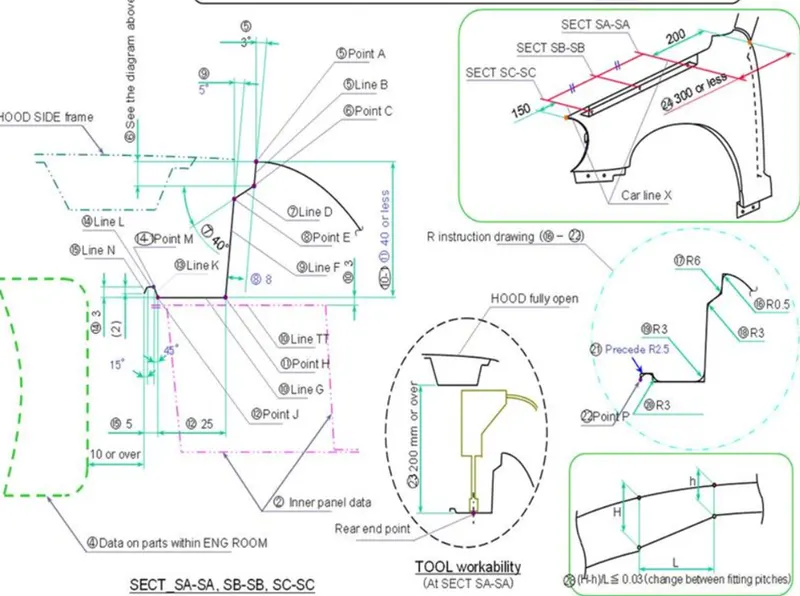
MASTER SHETCK:
A – PILLAR MOUNTING:
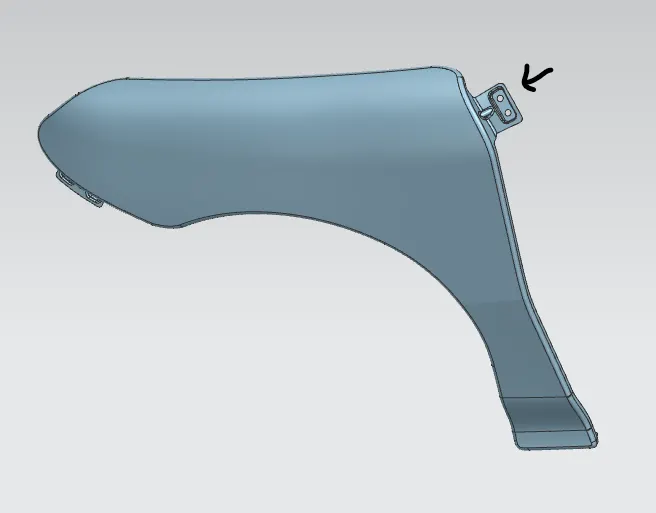
- To create a A – pillar we have to open First the skin data provided by the styling team needs to be extracted.
- Then the outer edge of the fender was offset inwards to particular length. Then by using the curve on surface command the unwanted portion were trimmed out using trim sheet.
- By using the law extension, the A pillar were extended and trimmed on the sides to get a flat edge. Then create a emboss by using datum plane for flat surface.
- Apply a edge blend and face blend on the create mounting edges.
DRIP AREA MOUNTING:
- The drip area must be minimum 150 mm apart from the front edge so that the drip mounting won’t disturb the head lamp mountings. From backwards the drip area must be 200 mm apart from back edge to avoid the coincidence with the engine cables.
- create the law extension as required by the master section given angles and dimension details and create a emboss by using the datum plane for flat surface of mounting.
- Then create a hole for 6 mm in the created emboss area for drip area mounting and give a supporting dart for strengthening and reduce the vibration while driving.
BUMPER MOUNTING: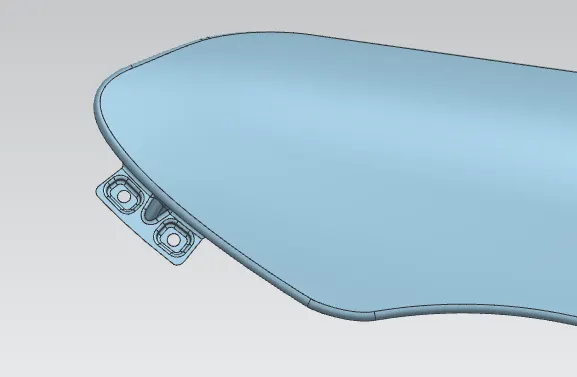
- To create bumper mounting first the unwanted portions were trimmed off using curve on surface and trim surface command and use the extend sheet command to extend the area for emboss Then for creating a flat surface emboss a datum plane was created.
- Then create a hole for 6 mm in the created emboss area for drip area mounting and give a supporting dart for strengthening and reduce the vibration while driving.
BAFFLE MOUNTING:
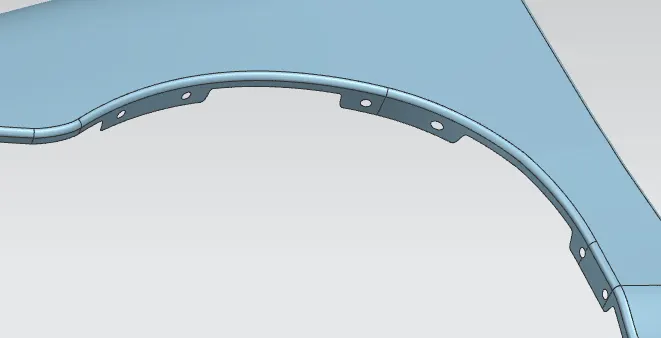
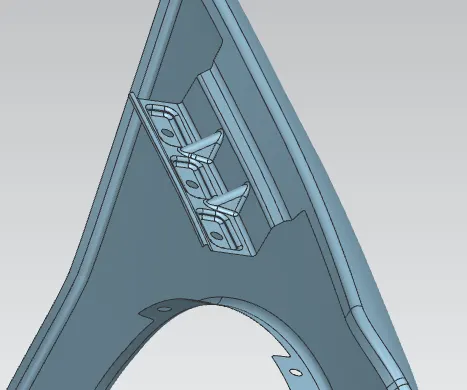
- The baffle mounting was designed to fit a splash mounting on it which helps the engine compartment to protect it from the debris that entering in to while driving.in this design we to create three mounting areas were created with the required holes on it for the fasteners.
- For creating the holes, a datum plane was created on all three mountings and projected on to the surface.
SILL MOUNTING:
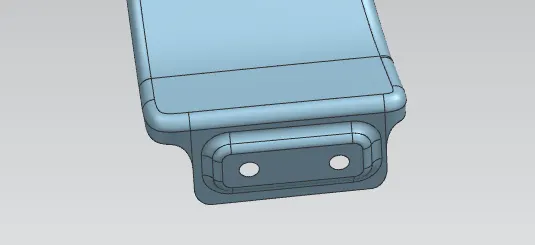
- The sill mounting area is create ed in the bottom of the fender for this we have to extend the sheet by using extend commend.
- Then emboss the sill area mounting by using the datum plane was created and the required sketch was drawn and then projected it.
- Then create a hole for 6 mm in the created emboss area for drip area mounting and give a supporting dart for strengthening and reduce the vibration while driving.
FRONT VIEW:
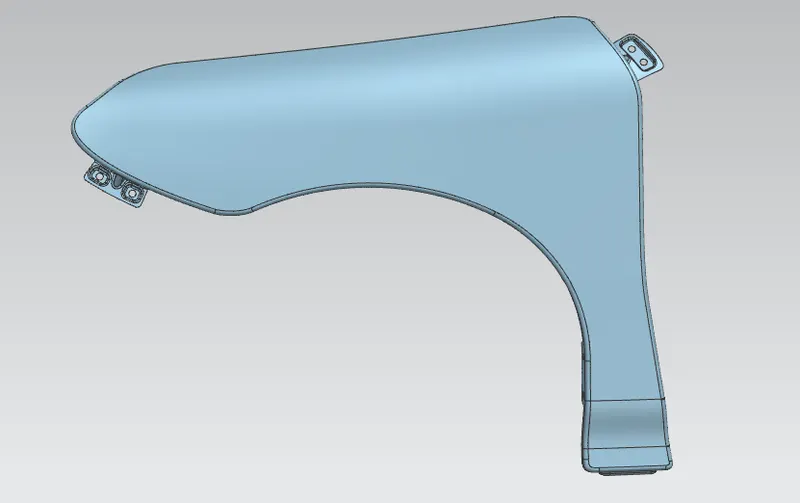
SIDE VIEW:
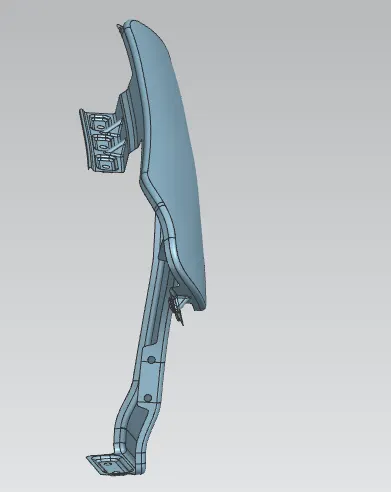
BOTTOM VIEW:
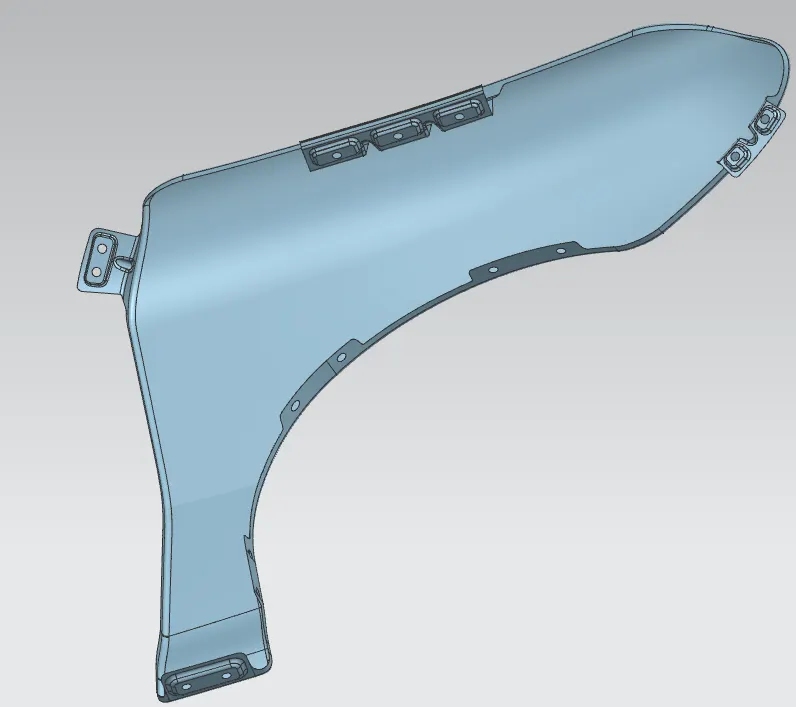
CONCLUSION:
- We designed the Front Fender in NX application with proper mountings by using the Master Sketch and Design Parameters.