Fender Design
Fender Design
Aim: To design a front fender using the given skin data and master section.
Fender: Fender is the American English term for the part of an atomobile, motorcycle or other vehicle body that frames a wheel well (the fender underside).
Its primary purpose is to prevent sand, mud, rocks, liquids, and other road spary from being thrown into the air by the rotating tire.
While vehicle is moving, tyres pick up stones and others and throw these with a great force in all directions. Fenders are basically present to prevent any injuries to pedestrians and restrain the motion of these particles.
Classifications of Fender:
Generally there are two types of fender.
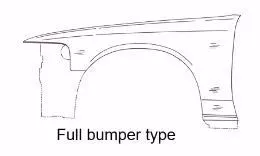
1. Full bumper type fender: These types of fenders were used in earlier models of vehicles. They contribute to the major increment of the steel weight by just covering the front headlights with respect to the bumper region. The problem associated with this kind of fender is there is a lot of wastage in the blank and every inch of a material is a cost to the industry.
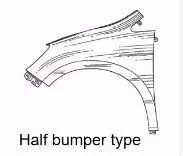
2. Half bumper type fender: Resently we are using the half bumper type , the reason for choosing the half bumper type is that when we choose the full bumper type the blank used for creating it, is very large and also has the lot of wastage , but in the case of the half bumper type we have the possibility to reduce the scrap. This is what we called as scrap management and it is play very important role in industry.
In half bumper type we reduce the usage of the steel mterial and uses the lots of plastic on the bumper which in term decreases the cars weight and increases the performance.
Design Reqirments for the Fender (Front):
Basically five mountings are very important for the front fender. These are:
1. Drip Area Mounting
2. A-Pillar Mounting
3. Bumper Mounting
4. Baffle Mounting
5. Sill Mounting
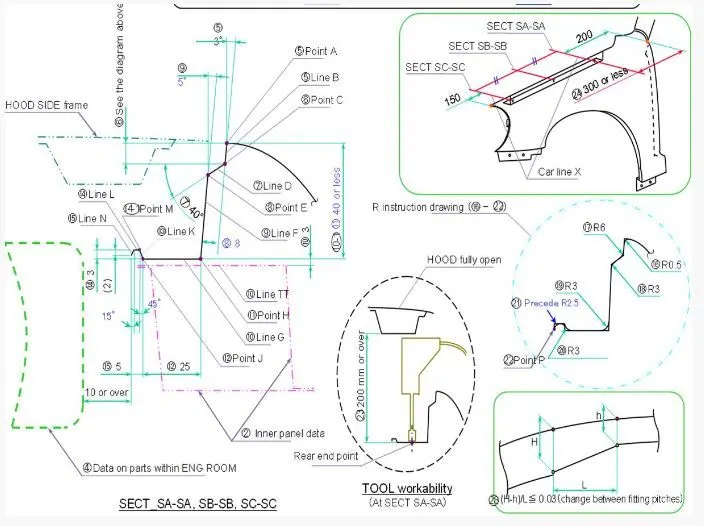
Now we are going to design all those mountings. First, we followed the master section provided for Drip Area Mounting Design.
The Master Section is given bellow:
1. Drip Area Mounting:
- The drip area is the most important mounting in a fender, it is the point where the fender has to be attached to the engine compartment.
- The drip area should be designed in such a way that it should be at least 150 mm from the front edge of the fender to allow sufficient space for mounting the headlamps.
- Most of the drip area starts at 200 mm from the rear edge of the fender, to allow enough space for the cowl carrying the wiper equipment.
- The length of the fender determines the length of the drip area.
- For larger drip area we should make darts to prevent spring back effect.
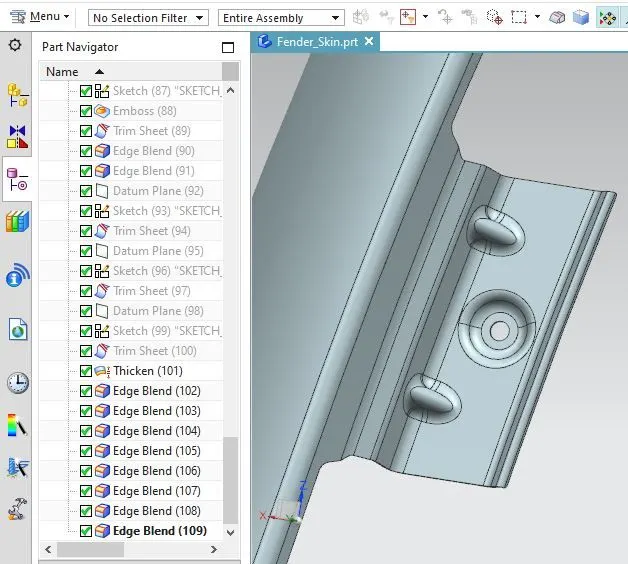
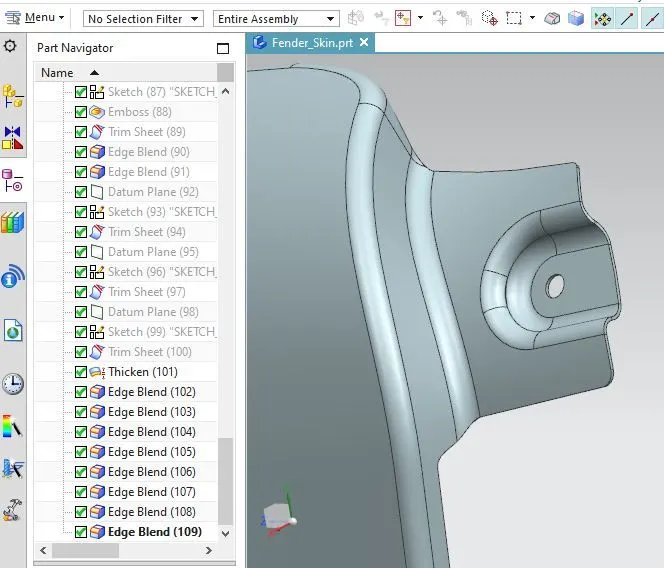
2. A - Pillar Mounting:
- This mounting holds the fender to the vehicle's A-pillar.
- The mounting has to be created by taking the reference from the A-pillar of the vehicle.
- Enough clearance should be given for the easy mounting of the cowl.
3. Bumper Mounting:
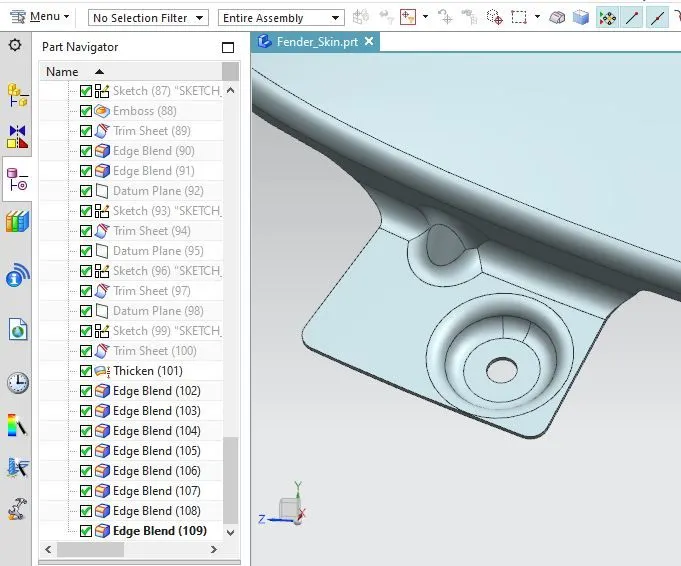
- This mounting holds the fender to the bumper of the vehicle.
- The mounting location depends on the headlight and the bumper.
4. Baffle Mounting:
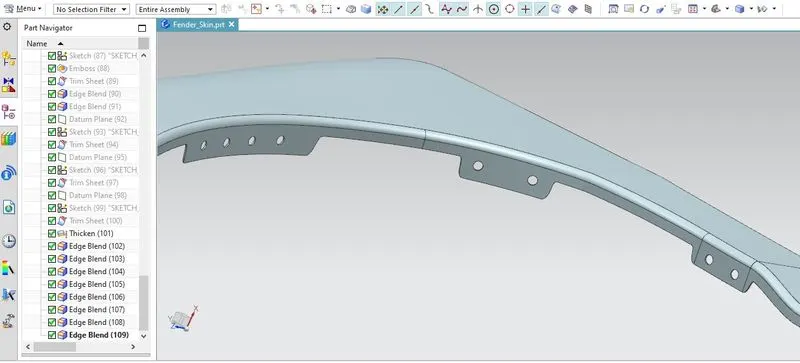
- This is the area of the wheel arch area.
- Here we cannot make embosses because the car wheels (tyres) are located in this area.
- A plastic element is mounted in this area, it is called a baffle. It also called splash cover. It is mainly present to prevent any damage to the engine compartment.
5. Sill Mounting:
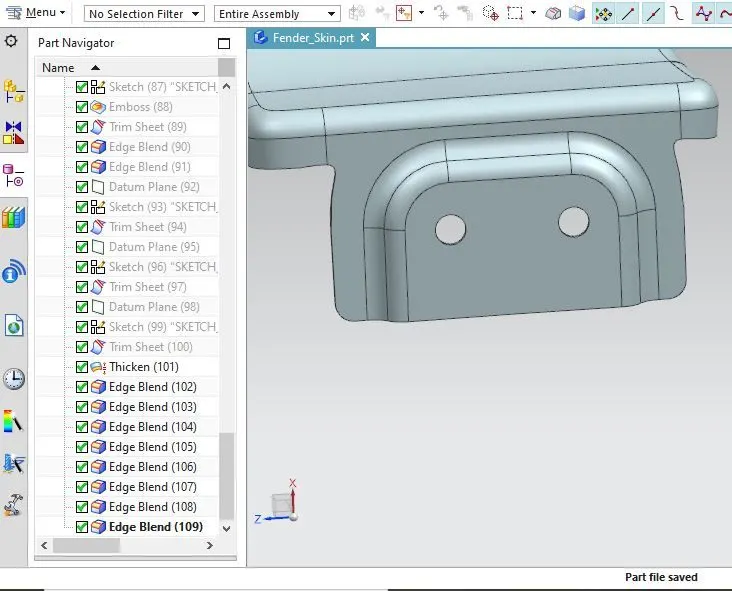
- This is another most important mounting for the fender. This mounting holds the fender to the sill of the vehicle.
- It's created at the bottom.
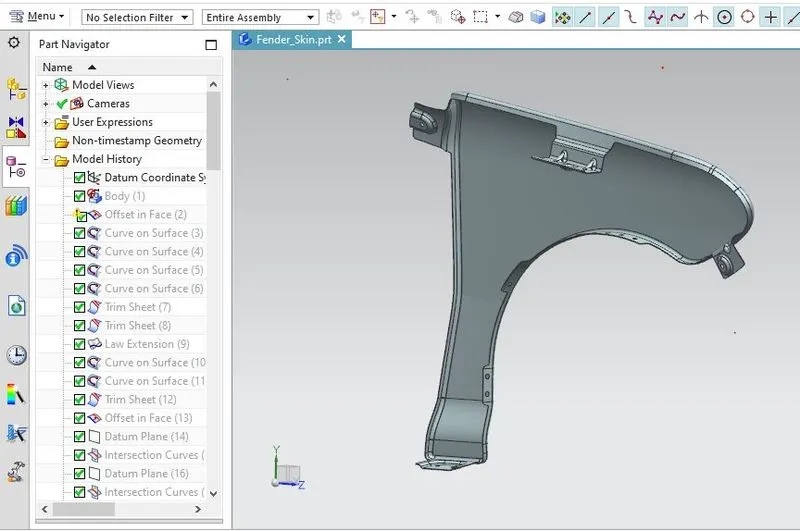
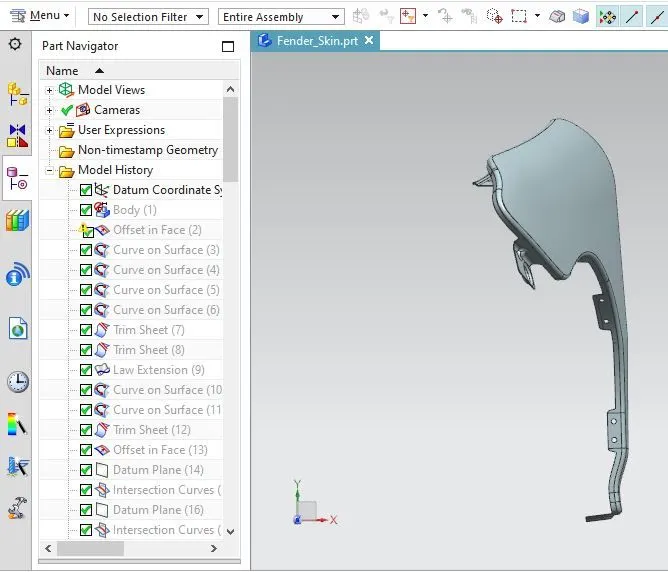
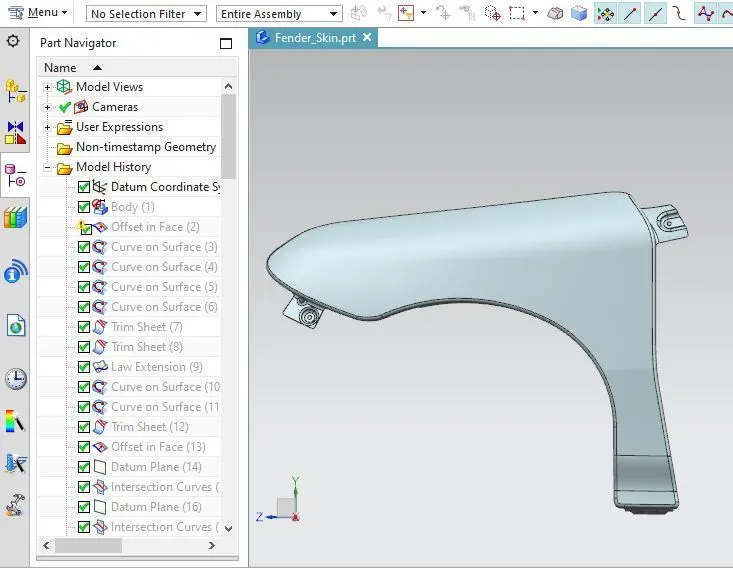
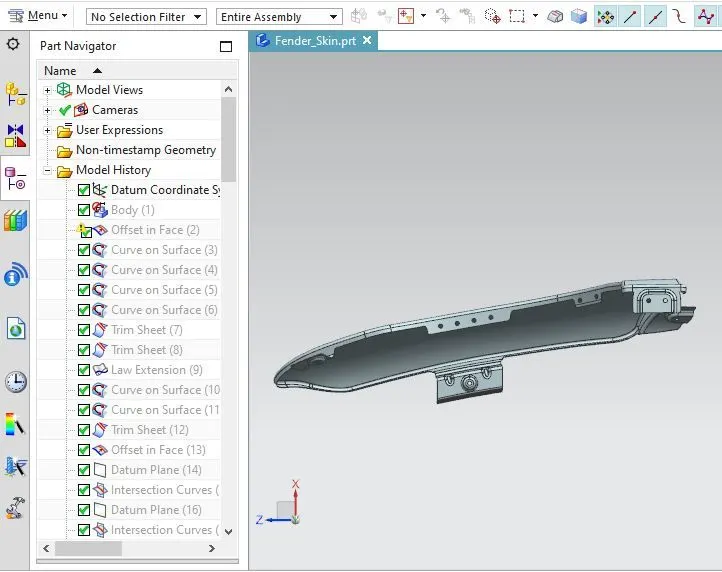
Different Views of Fender:
Conclusion:
The front fender is designed according to the given master section of drip area and CLASS A Surface as per the OEM Standards.