Radar Mast & Final Assembly of Yacht
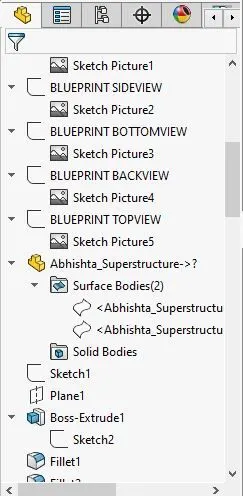
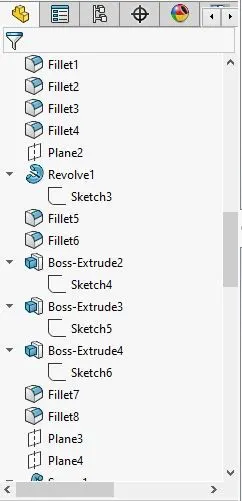
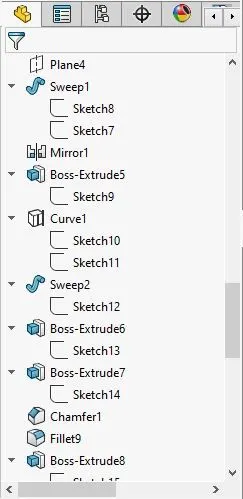
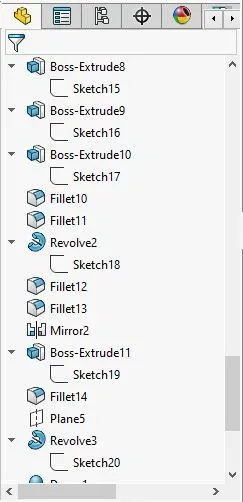
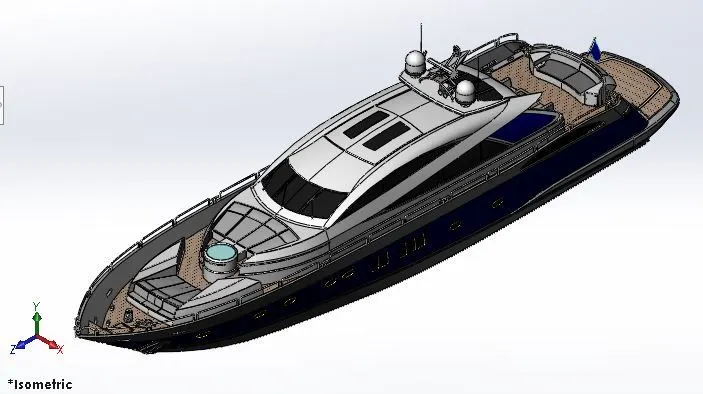
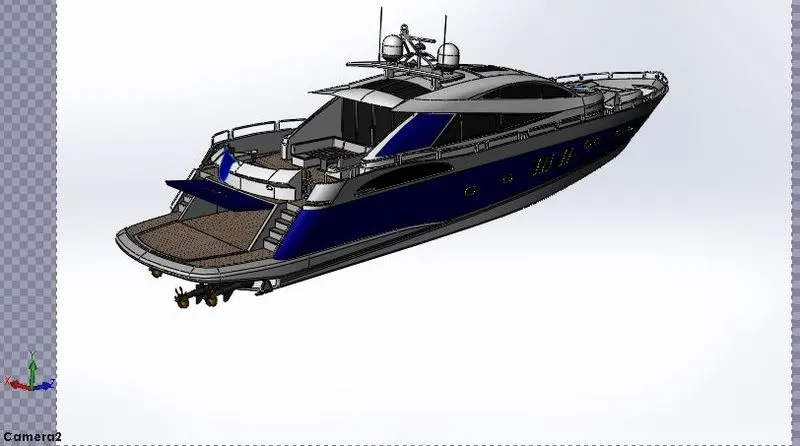
Title of the Project: Designing and Photo Realistic Rendering of Sunseeker Predator Yacht.
Objective:
- Design various types of parts with the help of yacht blueprint using different type of tools and commands.
- Assemble all the parts of the yacht.
- Photo Realistic Rendering of the American Yacht.
Introduction: This report contains an overall view of Sunseeker Predator Yacht. Here we create a conceptual model of Yacht, to understand the 3D modelling methodology with the help of Surface modelling and solid modelling. The challenge here is to design the yacht with proper dimension and geometric constraints. Also here we learn about different types of tools and commands that help in creating the model, e.g., extrude, fillet, chamfer, surface loft, surface swept, extrude surface, ruled surface, etc.
Design methodology/approach:
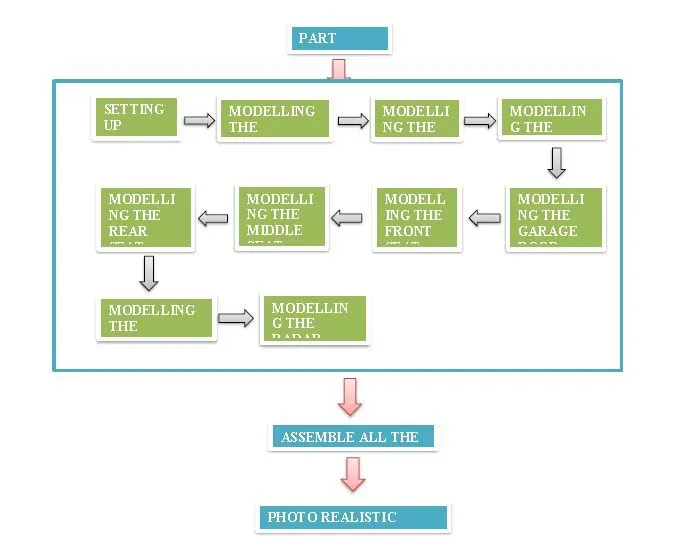
Description: (Need to explain tools/ Features used while designing) along with the images of Part files.
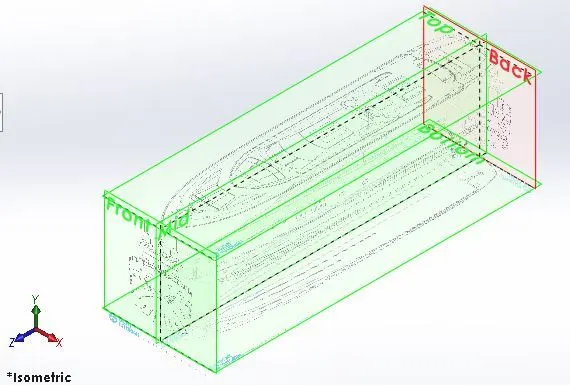
Blueprint Setup: This is the first thing which we have to setup with the help of sketch plane & sketch picture. This setup is required to design every subsequent part model and this is very important for design the Yacht.
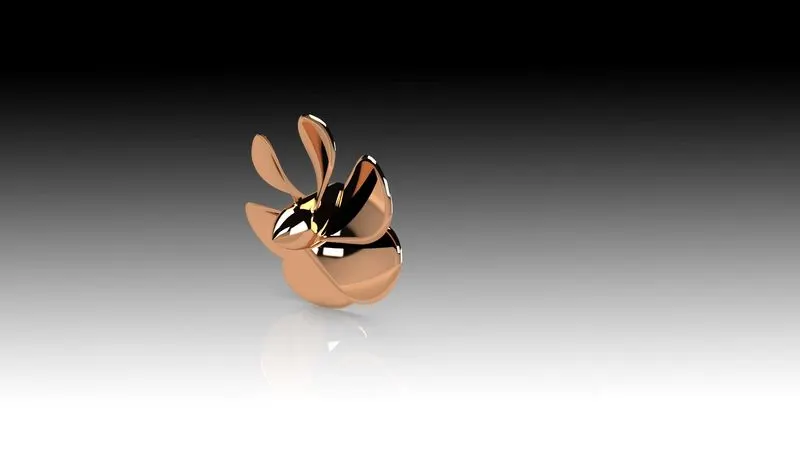
Propeller: This is the second part which we have to design. To design this part we use some important features/commands like -
- Revolved Boss/Base: To create this feature we need a 2D Sketch which has one axis of revolution and direction with the values of degrees of rotation.
- Surface Loft: With the help of this feature we create lofted surface with the help of Profile and Guide Curves.
- Circular Pattern: This feature helps to create a circular pattern with the help of direction, angular rotation and with some features e.g., loft, fillet etc.
Radar: This is the 3rd part to design in this modelling. During this modelling we use some tools/features like –
- Extrude Boss/Base: This feature is use to create a extrude body from the sketch plane.
- Extrude Cut: This feature is used to create a extrude cut from the sketch plane.
- Sketch Pattern: This feature defines a pattern of the sketch with the help of reference point and features & faces/bodies.
- Mirror: This feature helps to create a mirror image of features/faces/bodies.
- Fillet: With the help of this feature we create a round (radius) cut on a edge. It is a material removal process.
- Split Line: This feature help to create a reference line on a 3D Surface.
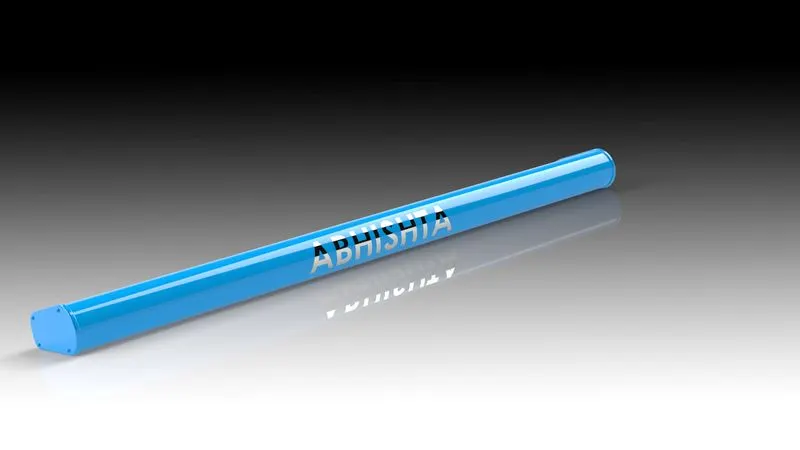
.
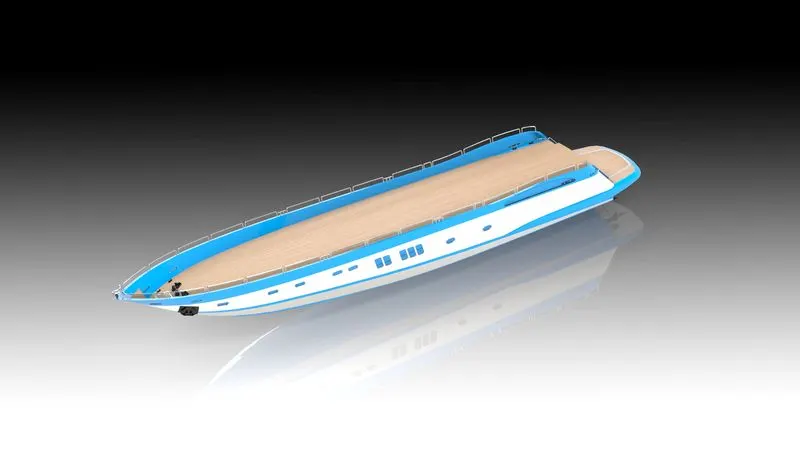
Hull: This is the most complex part of this modelling. It is very difficult to create this part. We need Blueprint Setup as a reference to perform this design. In addition to the above commands here we use some important command like –
- Surface Knit: This feature helps to knit or fabricate one more surface.
- Surface Trim: With the help of this feature we can trim the extended surface.
- Surface Extrude: With the help of this feature we can extrude a surface from the sketch plane.
- Chamfer: This feature define a distance to distance cut or angle to distance cut of an edge. It maybe symmetrical or asymmetrical.
- Composite Curve: This curve is very conceptual. To get this curve we need two difference sketch plane and two different sketches. With the help of these two sketches we are able to generate a projected curve, and this projected curve is our composite curve.
- Swept Boss/Base: To perform this feature we need a two sketch. One act as a profile and another act as a path.
- Linear Pattern: With this feature we can create a linear pattern with the help of direction with distance and number of instances and with some features e.g., boss extrude, fillet etc.
- 3D Sketch: We can draw a 3D line, spline, etc., in any plane.
- Surface Offset: This is a surface body; main function of this body is to create reference geometry.
- Helix/Spiral: The function of this feature is to create a spiral curve using some parameters.
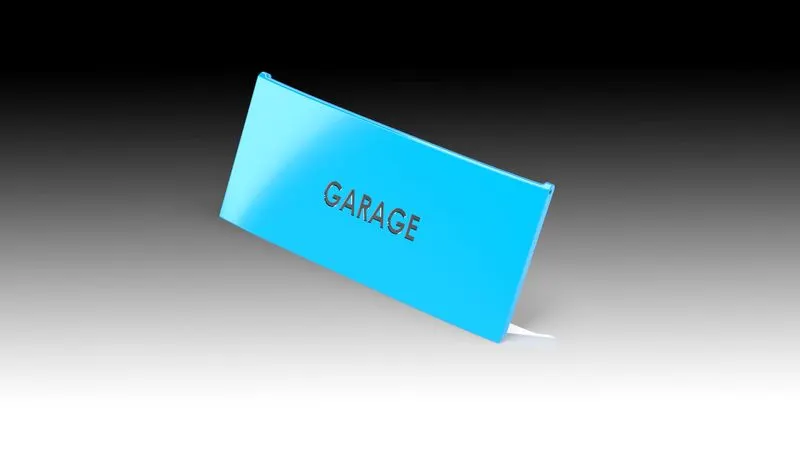
Garage Door: This part was created when we design the hull. After some modification with the help of some tool we finally design the garage door. In this feature we use some command like, fillet, cut extrude, mirror and shell.
- Shell: With the help of this feature we can create a shell on solid bodies.
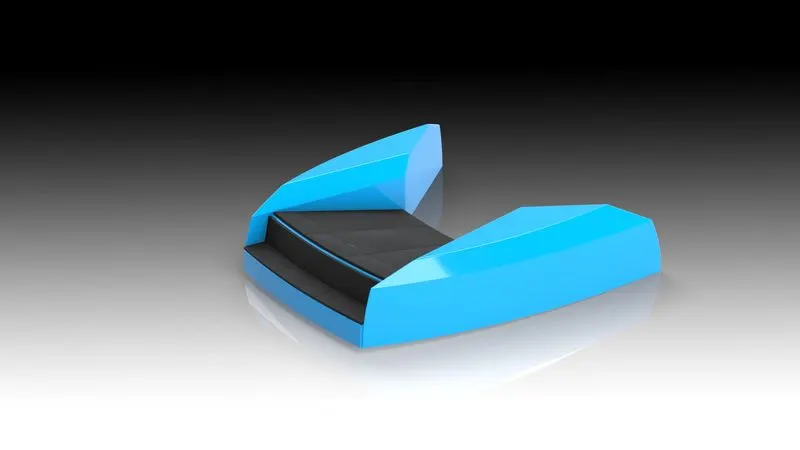
Front Seat: In addition to the above commands, we see the use of surface fill, dome, etc., command here.
- Dome: This feature used on surface of a 3D body to create dome type image.
- Surface Fill: With the help of this feature we fill the gap between surfaces.
Middle Seat: To design this part we used some of the previous tools like, Boss Extrude, Cut Extrude, Fillet, Mirror, etc.
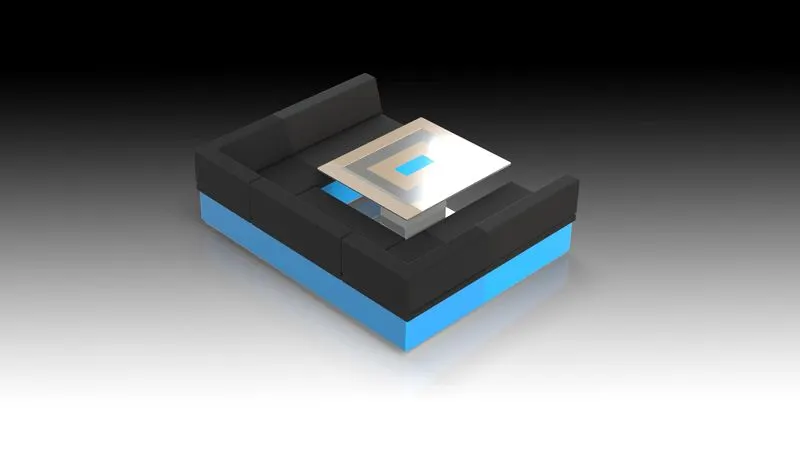
Rear Seat: In addition to the above commands, we see the use of commands like, Surface Extend & Ruled Surface.
- Extend Surface: When we create a surface extend, it pulled the surface edge without creating a new surface, but in surface extrude we create a new surface.
- Ruled Surface: This feature also extended out a surface edge in a specified direction as an existing surface.
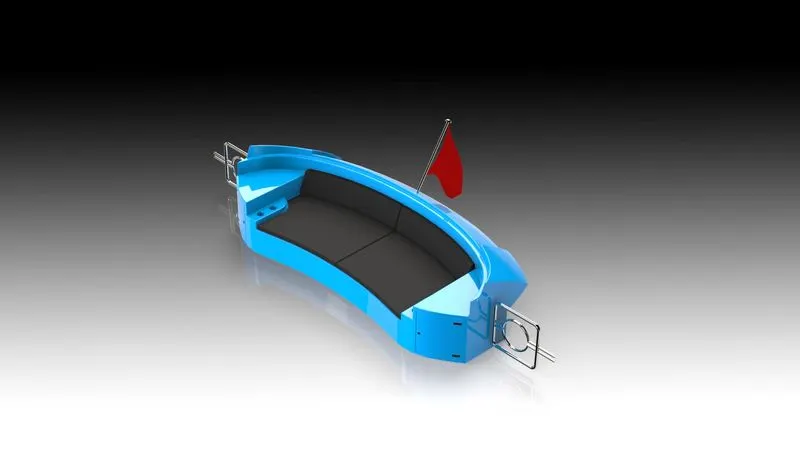
Superstructure: This is the 2nd most complex part in our conceptual model. Designing of the part is very difficult, so we have to be careful while designing. In addition to the above commands, we see the use of Delete Face & Thicken command here.
- Delete Face: Here we used this command on a surface body to delete it face/s (surface/s) for our design purpose.
- Thicken: This command is used for thicken a surface body.
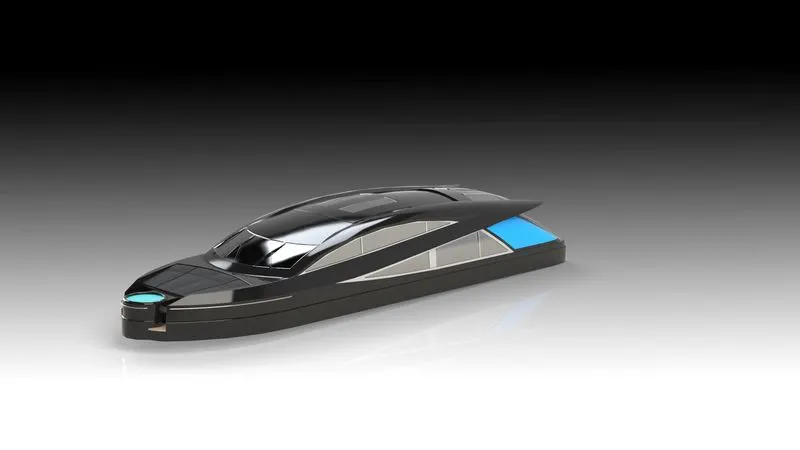
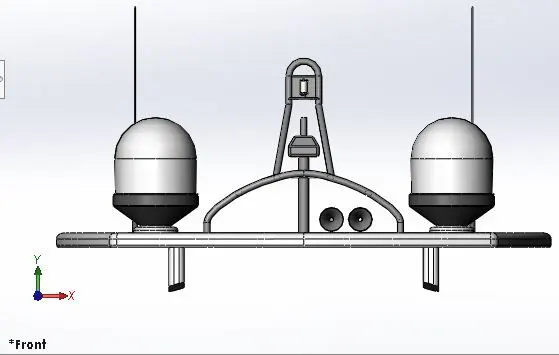
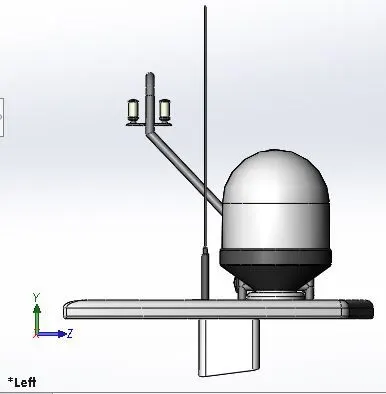
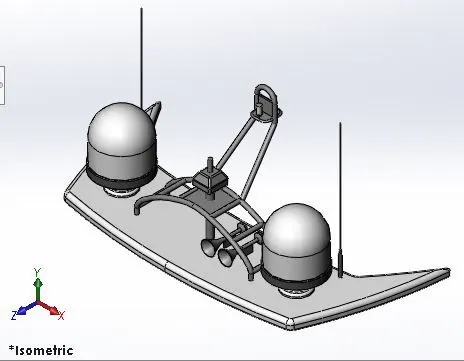
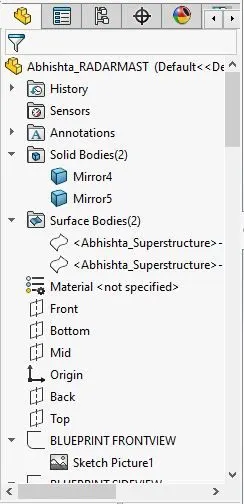
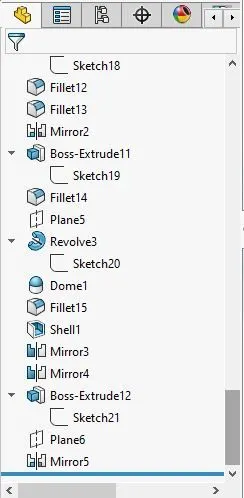
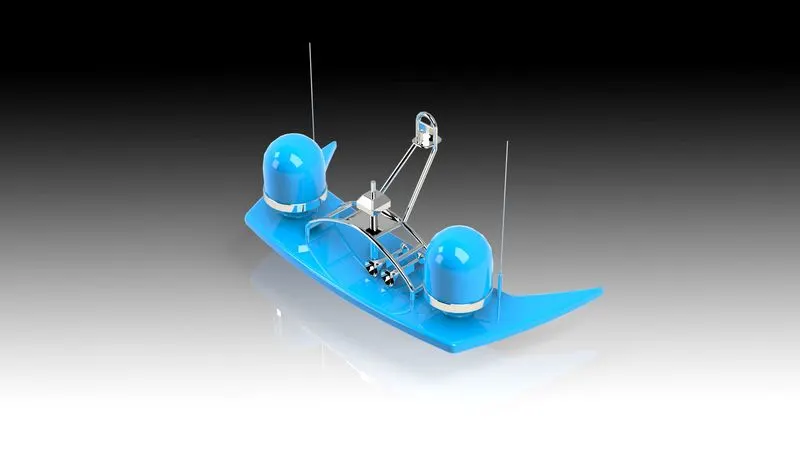
Radar Mast: This is the last part of my Yacht. To create this part we use command like, Boss Extrude, Fillet, Revolved Boss/Base, Dome, etc.
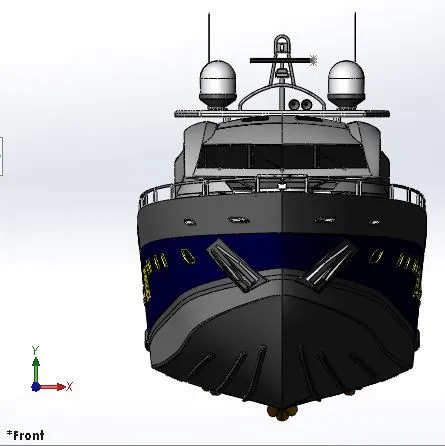
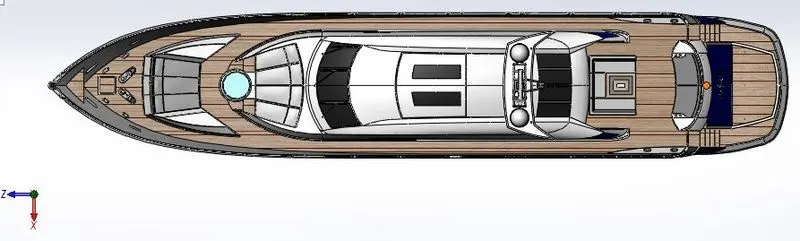
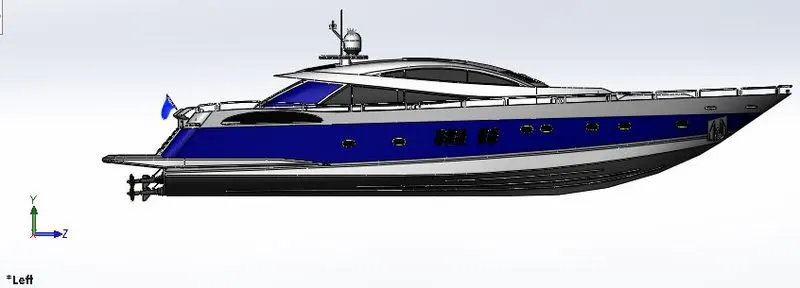
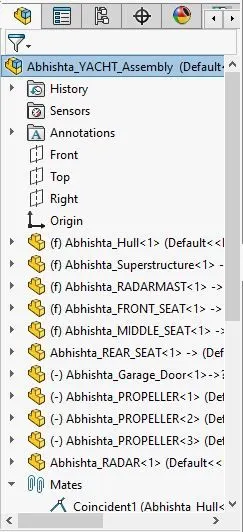
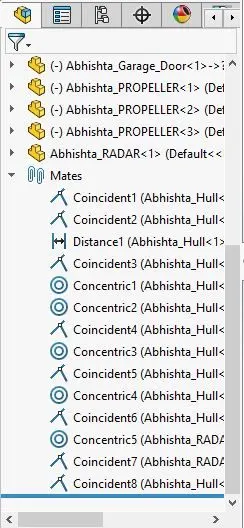
Assembly Model: After designing all parts we need to assemble all the parts to create the conceptual model.
Bellow I have attached some views of assembly model.
- Front View:
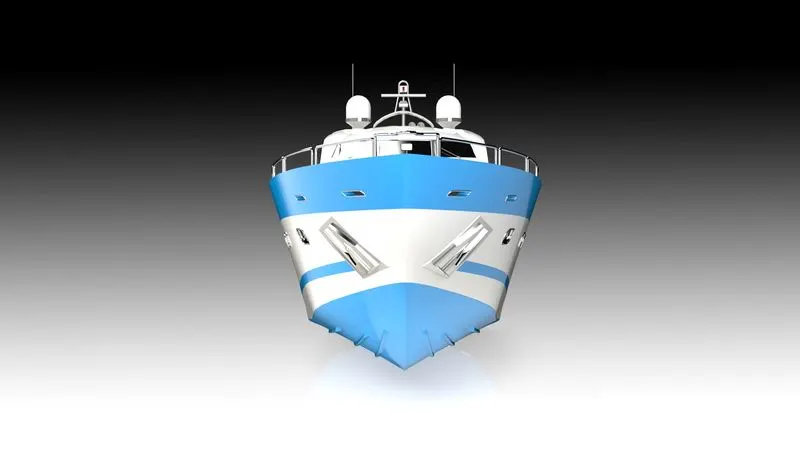
- Left Hand Side View:
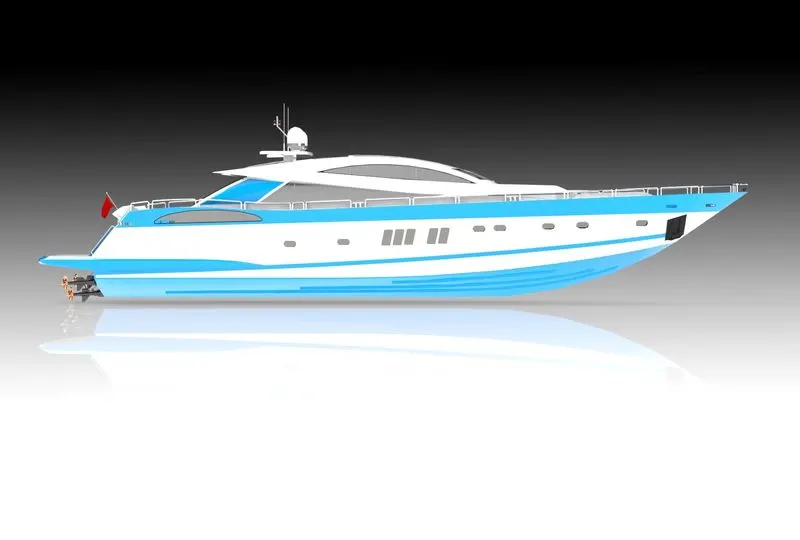
3.Top View:
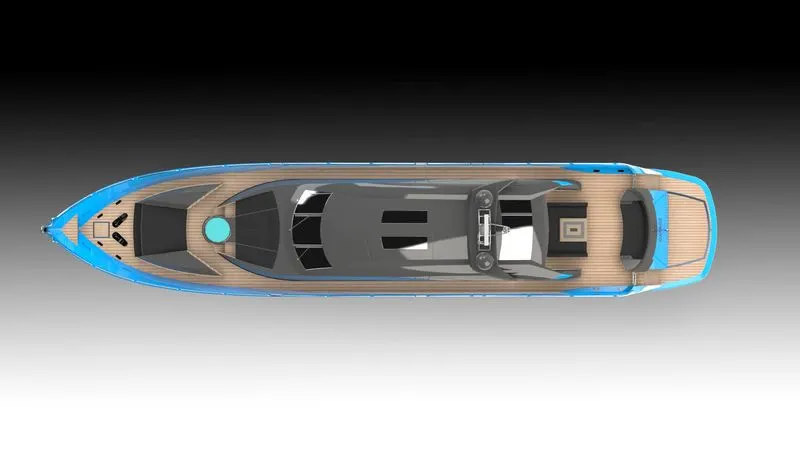
- Isometric View:
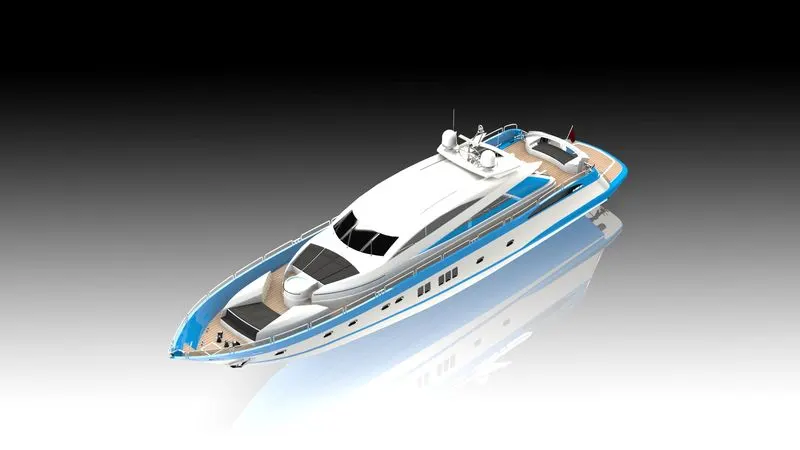
- Camera View:
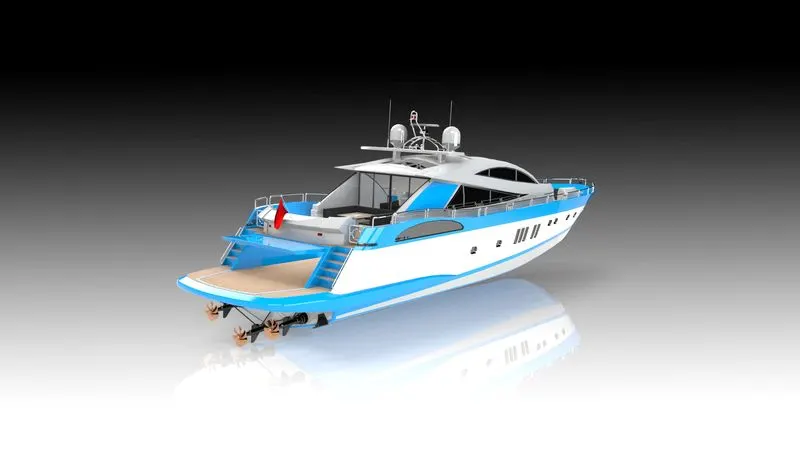
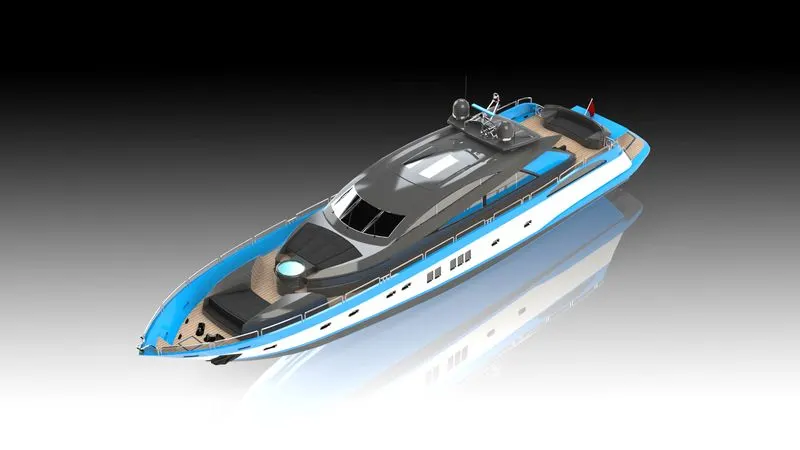
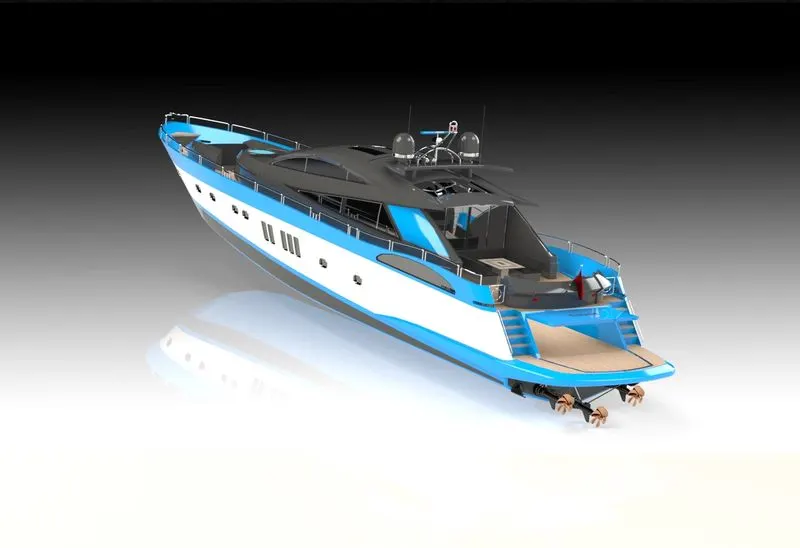
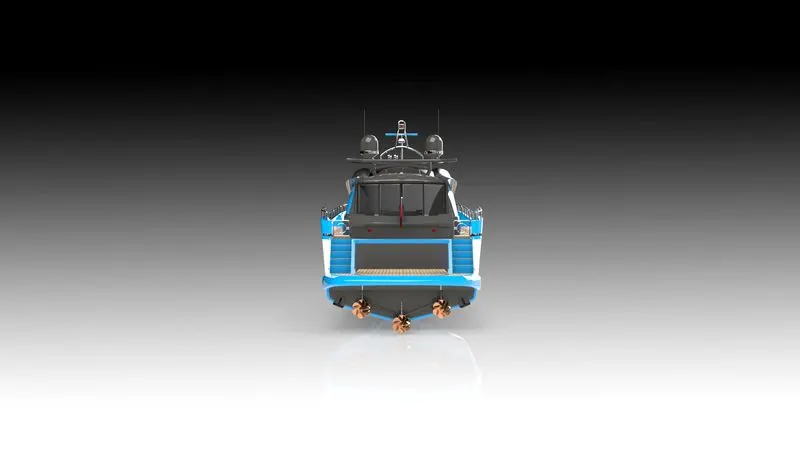
Photo Realistic Rendering of the Assembly Model: This is the final touch that I performed after the assembly. Generally we add Decals, Camera, Appearances, Environment, etc. here to looks more real.
- Sunseeker Predator Yacht_Studio:
Conclusion: To perform the design of the conceptual model here I first create a surface model after that I converted it as a solid model. Surface modelling is main thing in this design and this is how I designed the Sunseeker Predator Yacht using different tools and commands, and photo realistic rendering performed by Solidworks Visualize (2018).