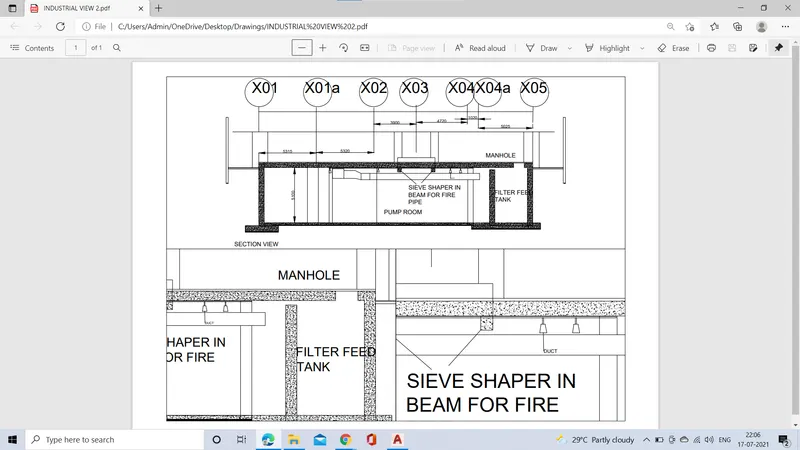
Creation of Multiple viewports, Scaling the drawing and setting in Template in AutoCad
AIM: TO Create a layout of a plan and section A of the Project in the Challenge 7.
INTRODUCTION:
- Use of template in the layout in order create paper print of the project.
- In order to plot the project Drawing in layout, use of VIEWPORTS and creating VIEWS are essential.
- To define the view through ribbon tab>> view>> viewconfiguration >> enter.
- Use of MV command in the layout , In oder to control and fix the drawings in the paper space and model space.
PROCEDURE:
- Open Existing Drwaing file of the project in the challenge 7.
- Then from Ribbon tab>> click >> view tab>>ok, then choose the view configuration.
- From drop down of the veiw configuration select the type of view.
- Then it displays the view of the Drawings, then create the view by giving names of the view.
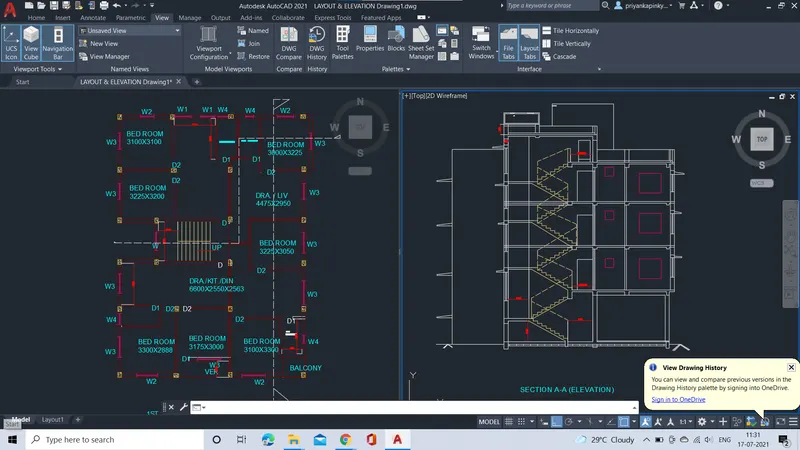
- Then switch to the layout, Then the drawing will dispaly on the layout page.
- In order to create the template on the layout, from command prompt give LAYOUT.
- It specifies TEMPLATE or else we can choose by right clicking on layout >> template.
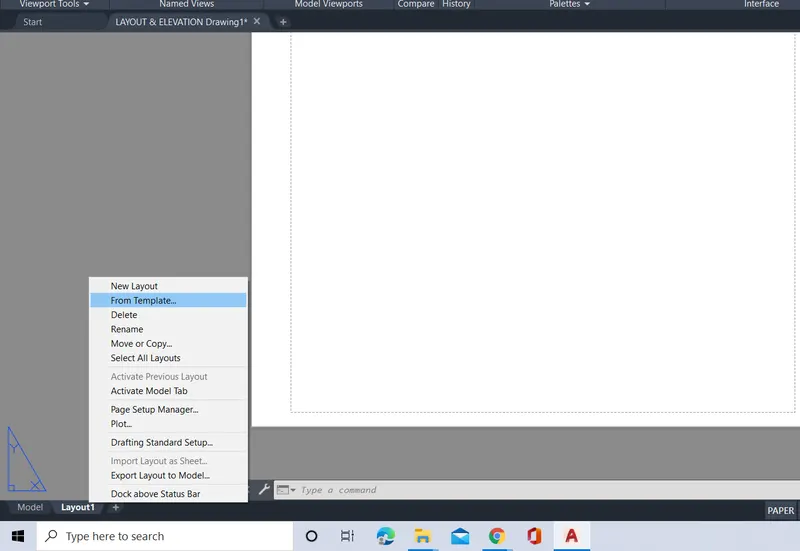
- Then select template tutorial-mArch.dwt.
- Then using MV command from command prompt specify the views on model space.
- In oder to work on modelspace in layout, Use MS command and edit the drwings and to scale the drawing.
- In order to switch on for paperspace , Use PS comand.
- Using ATTEDIT command, insert the names in to the block of the tittle box.
- Finally to plot the drawing, First the paper set manage and select to accordingly and previw the layout and plot the drawing finally.
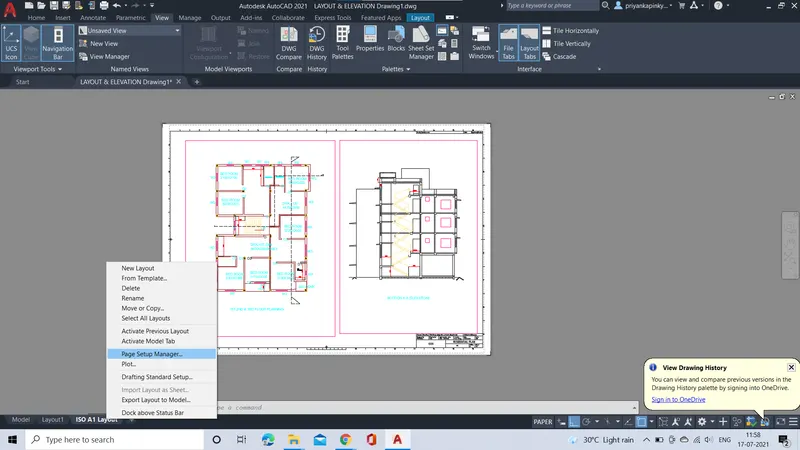
RESULT:
THE PDF FORMAT OF THE DRAWING IN TEMPLATE
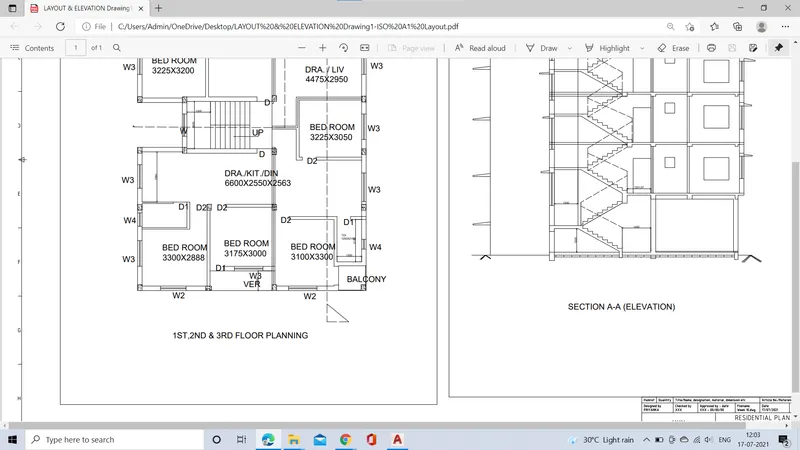
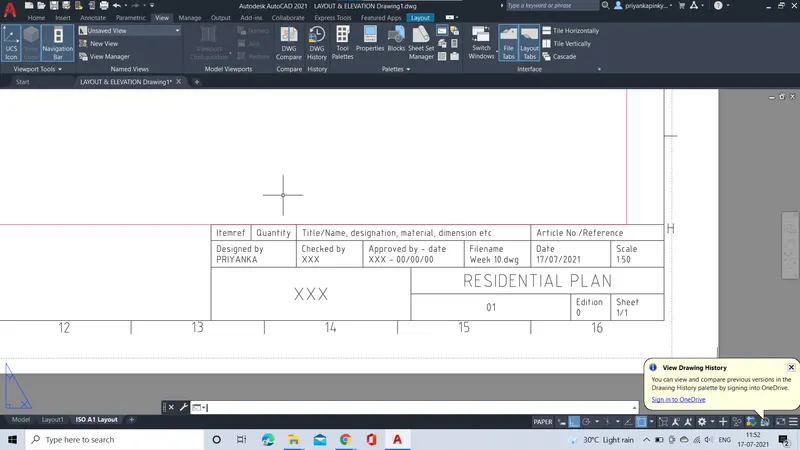
2,
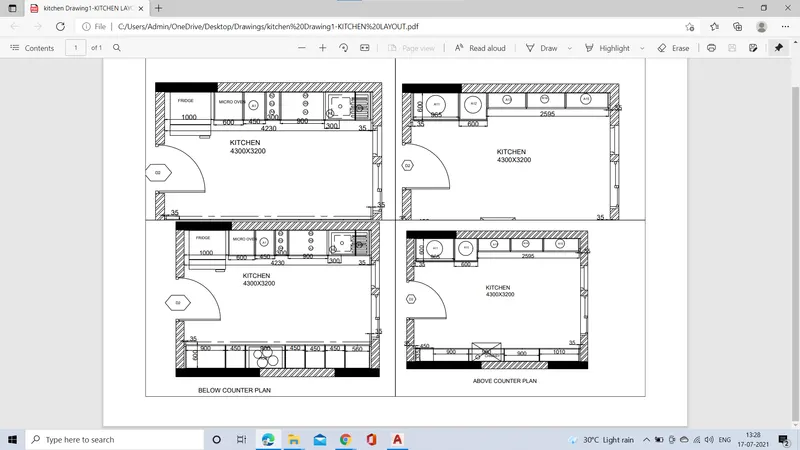
AIM: TO Create the layout of the kitchen in challenge 9.
INTRODUCTION:
- Use of template in the layout in order create paper print of the project.
- In order to plot the project Drawing in layout, use of VIEWPORTS and creating VIEWS are essential.
- To define the view through ribbon tab>> view>> viewconfiguration >> enter.
- Use of MV command in the layout , In oder to control and fix the drawings in the paper space and model space.
PROCEDURE:
- Open existing kitchen drawing in challenge 9.
- Then from Ribbon tab>> click >> view tab>>ok, then choose the view configuration.
- From drop down of the veiw configuration select the type of view.
- Then it displays the view of the Drawings, then create the views by giving names of the view.
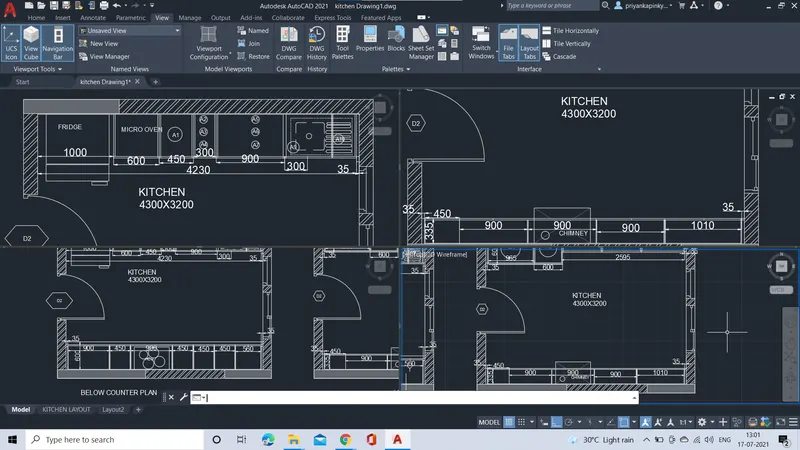
- Then switch to layout, it shows the drawings on layout page.
- Using MV command,insert the created views on layout page.
- Using the MS command scale the deawings in the viewports.
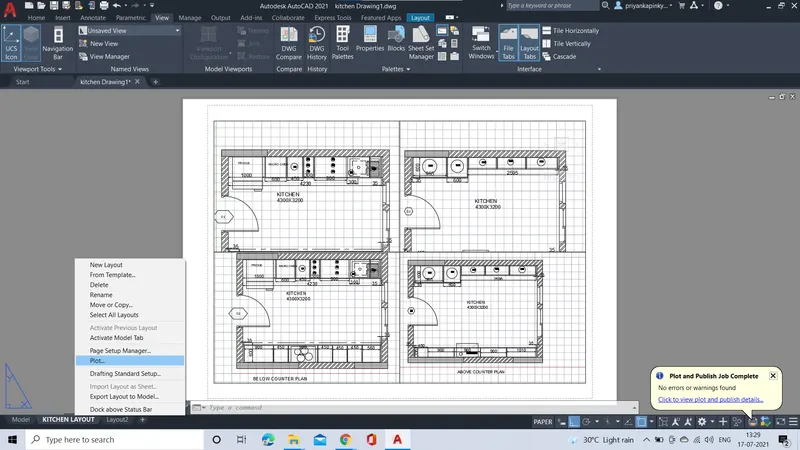
- Then use PS command, plot the drawing on layout.
RESULT:
THE PDF FORMAT OF THE KTCHEN LAYOUT
3,
AIM: TO Create layout of the section from challenge 9.
INTRODUCTION:
- Use of template in the layout in order create paper print of the project.
- In order to plot the project Drawing in layout, use of VIEWPORTS and creating VIEWS are essential.
- To define the view through ribbon tab>> view>> viewconfiguration >> enter.
- Use of MV command in the layout , In oder to control and fix the drawings in the paper space and model space.
PROCEDURE:
- Open existing Section drawing in challenge 9.
- Then from Ribbon tab>> click >> view tab>>ok, then choose the view configuration.
- From drop down of the veiw configuration select the type of view.
- Then it displays the view of the Drawings, then create the views by giving names of the view.
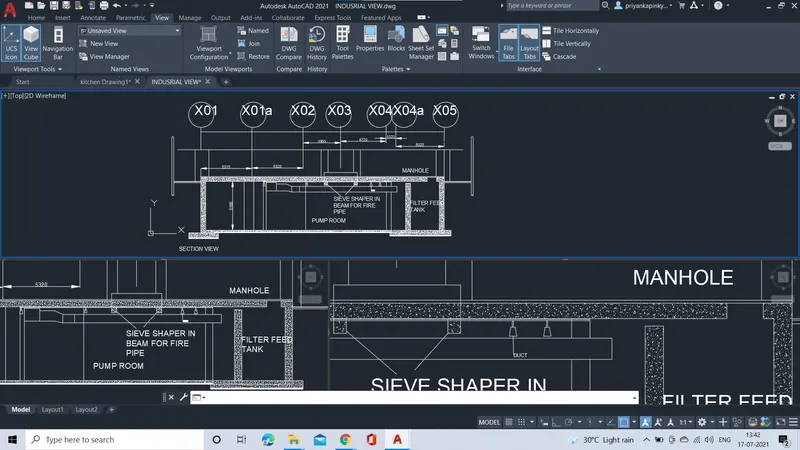
- Then switch to layout, it shows the drawings on layout page.
- Using MV command,insert the created views on layout page.
- Using the MS command scale the deawings in the viewports.
- Then use PS command, plot the drawing on layout.
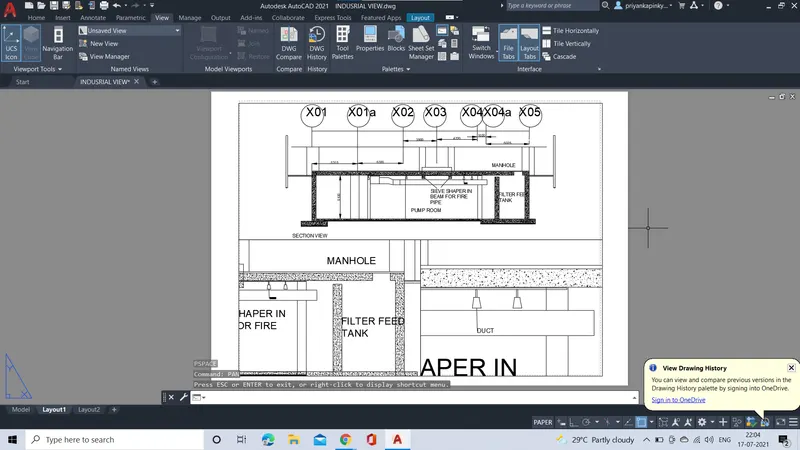
RESULT:
THE PDF FORMAT OF THE DRAWING