Creating Walls, Partition walls and Floors for a residential layout using REVIT
AIM:
To add the necessary details and create the Revit model
PROCEDURE:
Open Revit software and open the week 2 layout.
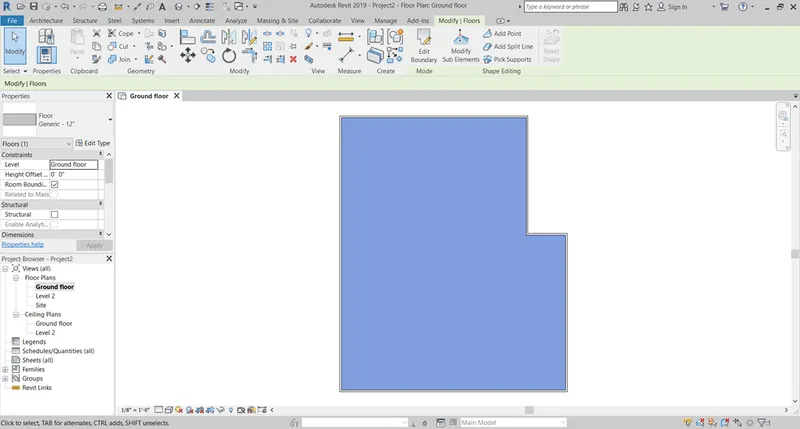
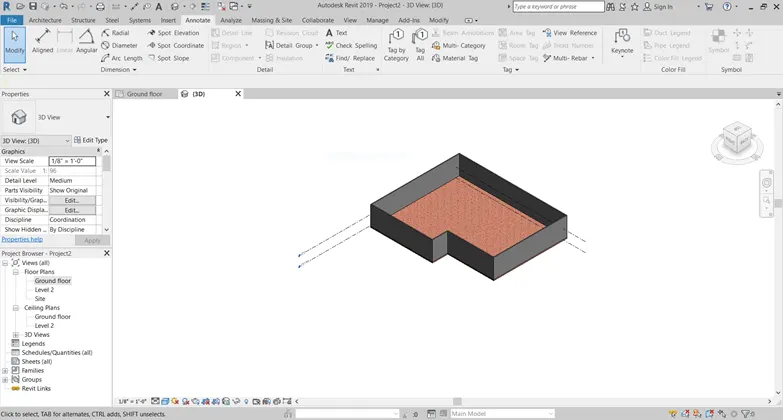
- Under Architecture tab, click on Floor option> Floor: Architectural> Draw the floor using Pick line option and select all the wall boundary to create the floor> Click Tick mark> Hence the floor has been created.
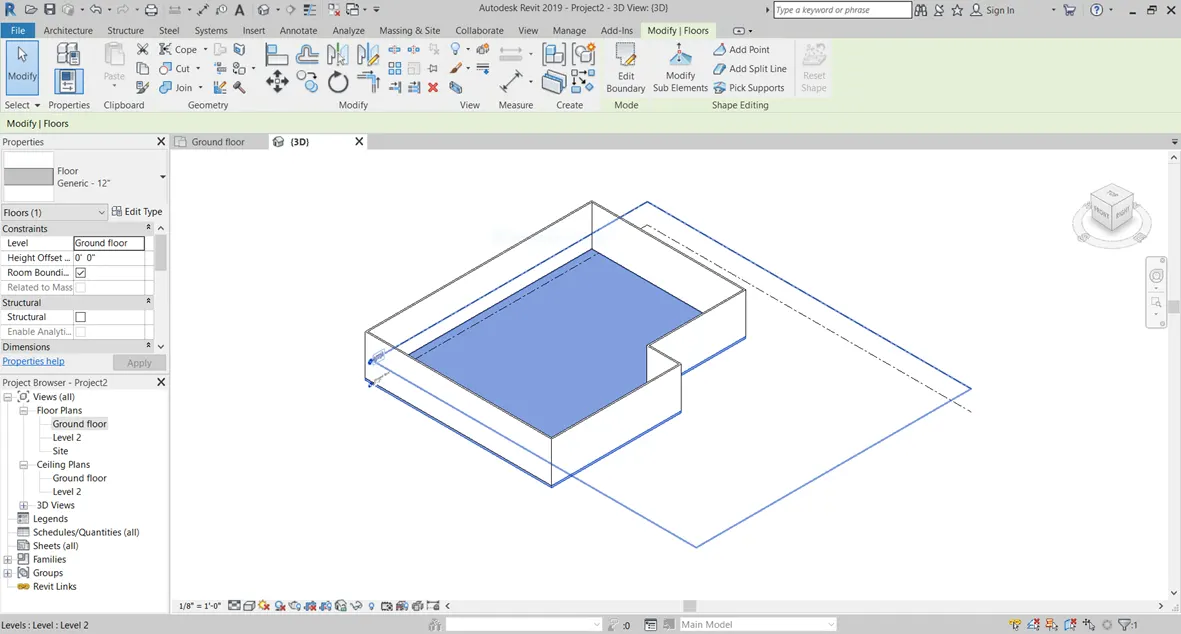
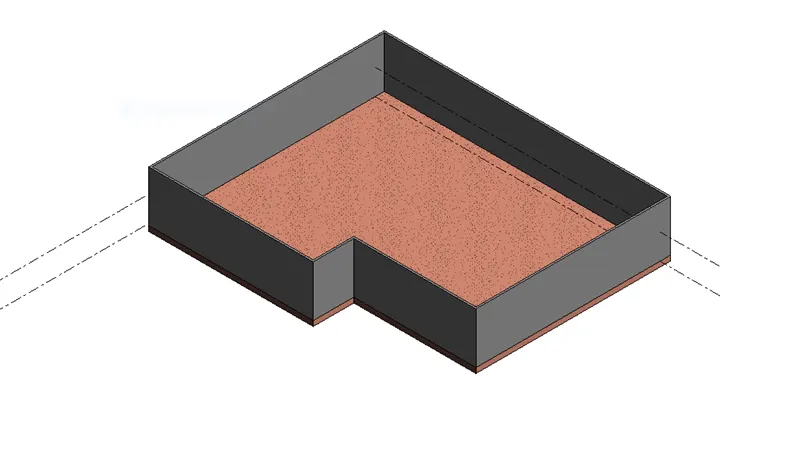
- We can see the floor in 3D view:
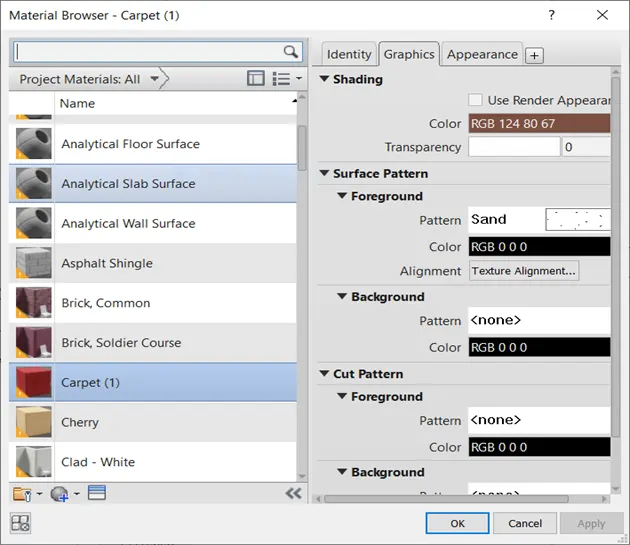
- To change the material of the floor, select the floor> Edit type> Structural: Edit> Under Material coloumn, click the 3 dots> Click on the material you need> Apply the floor material.
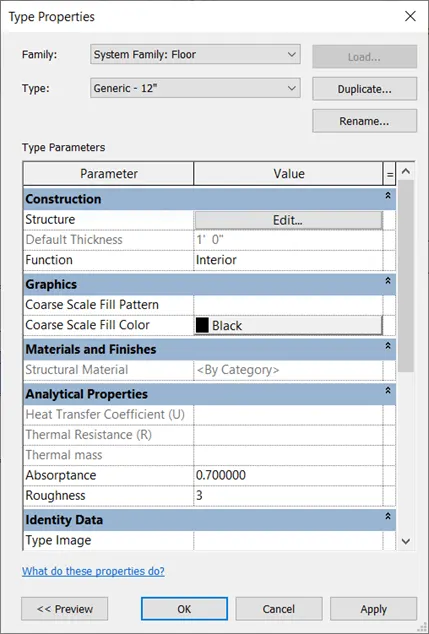
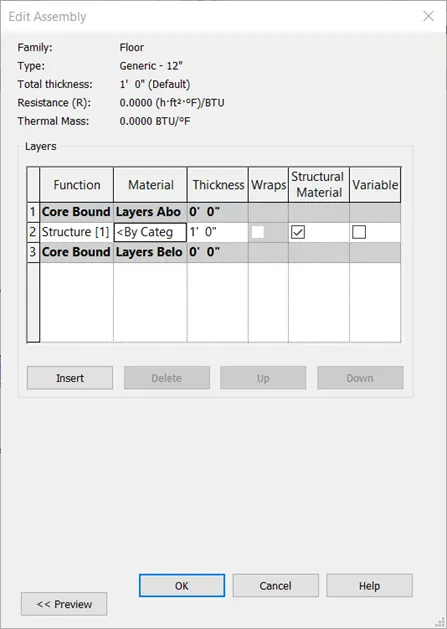
- To change thickness of the foor, select the floor> Edit type> Edit> Under Thickness, change the value, apply the changes.
2.
- Add the walls using wall option.
- To change the material of the wall, select the wall, > Edit type> Eit> Material coloumn> Select the material you want> We can change the colour using Appearance option.
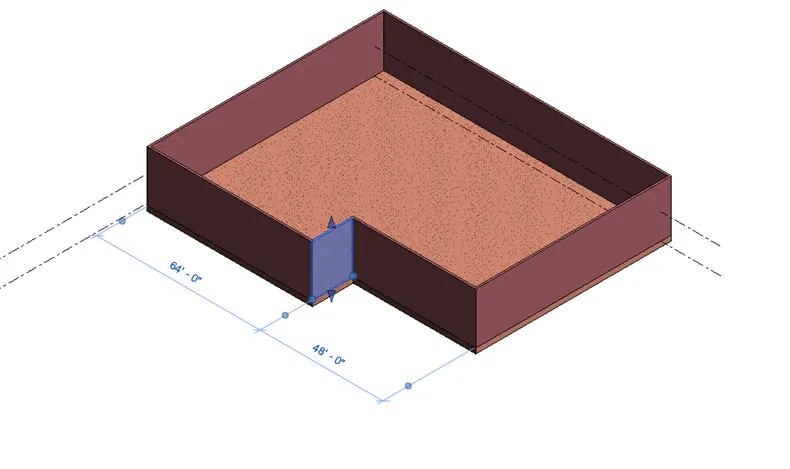
- To change the thickness, click the wall,> Edit type> Edit> change the thickness value.
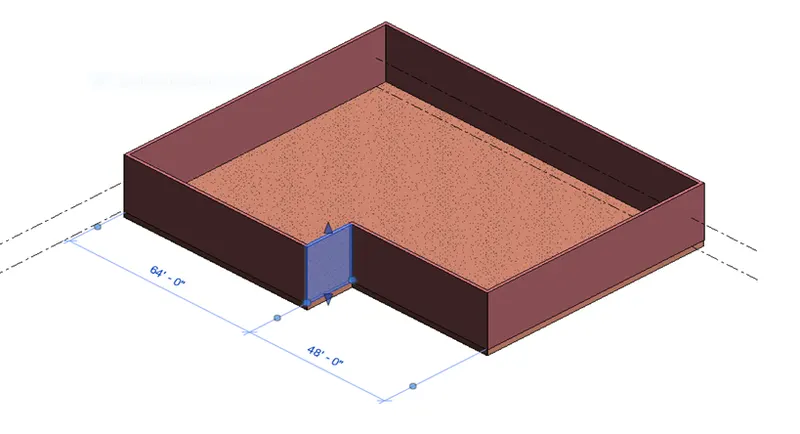
- If we connect the walls with associated levels, the wall height will be automatically adjusted to the level height. But if we give Unconnected, we will have to change the height of each walls.
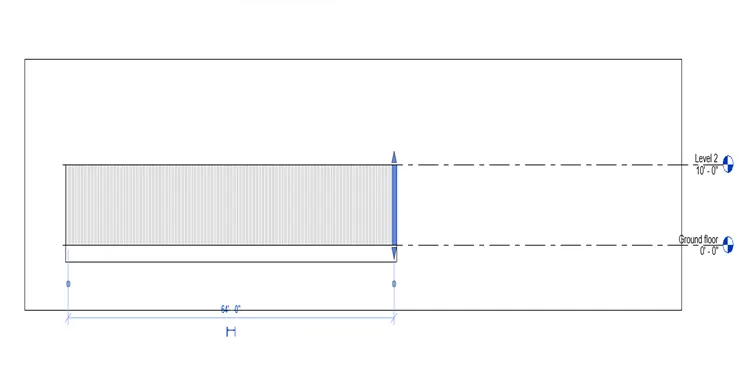
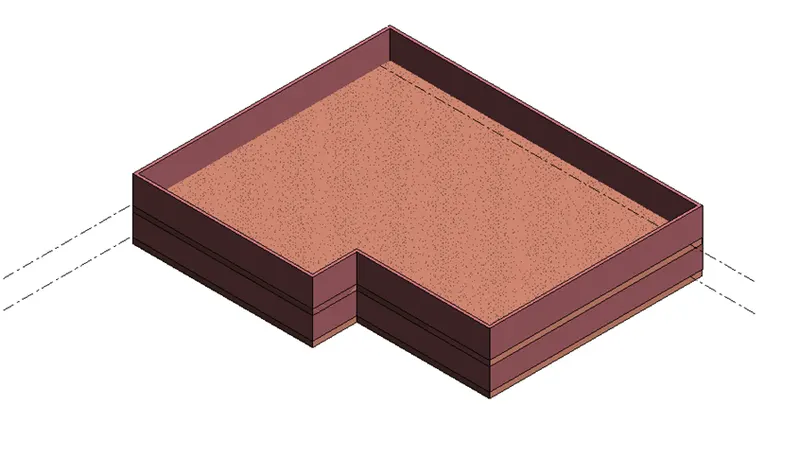
- Select all the elements in the Ground floor> Modify tab> Copy to Clipboard> Paste> Align to selected levels> Click on Level 2> OK, We can see the 2 floors in 3D view.
4. In the properties bar, select the Basic Wall Interior Partition wall for modelling the rooms.
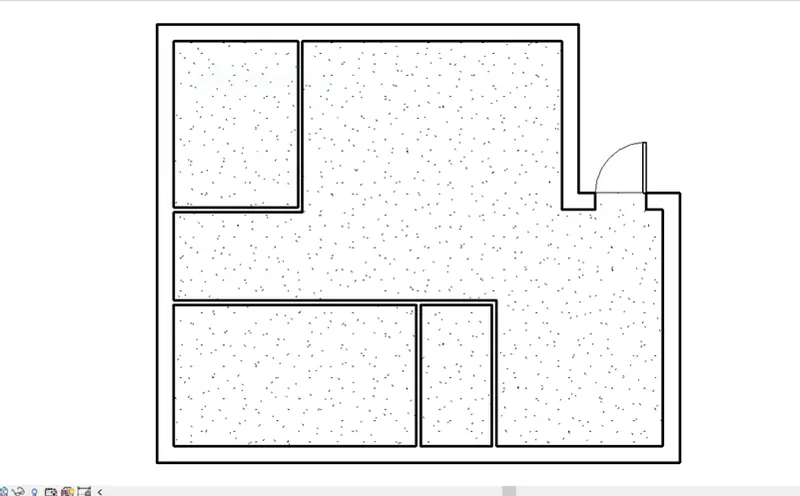
5. All the required components are added.
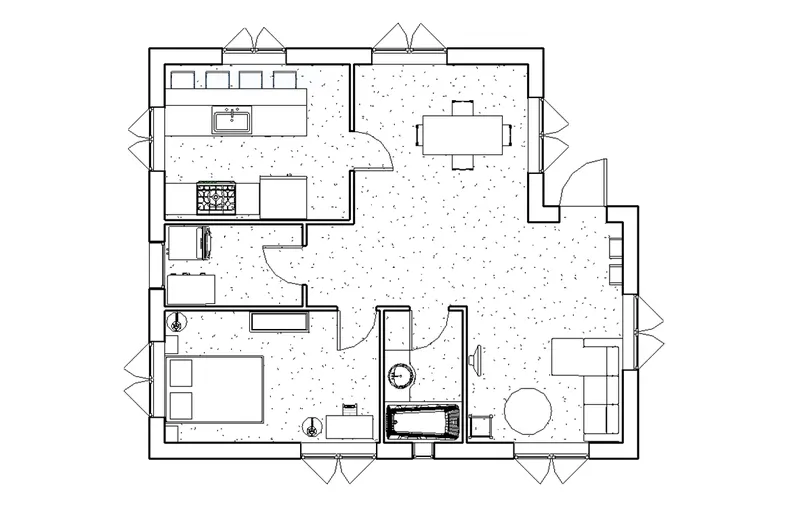
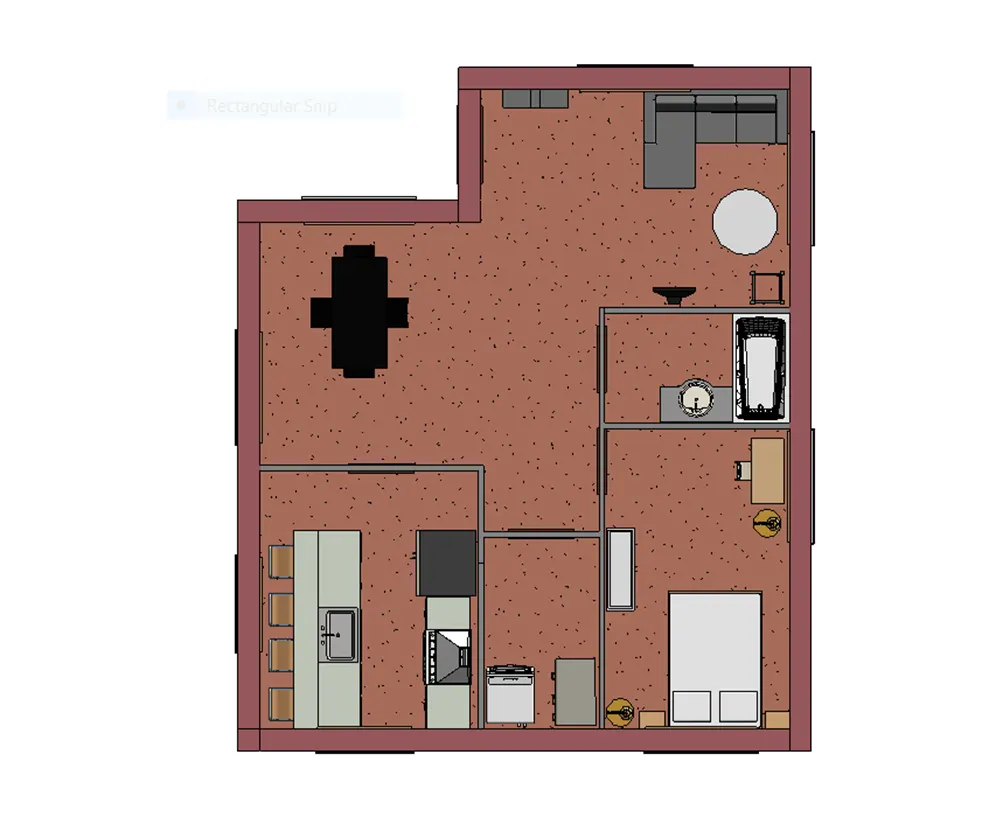
RESULT:
All the necessary details are added.