3D Creation of Celing, Roof, Architectural plan, Structural plan, Sectional view, Elevation view and Camera specific view for a house plan using REVIT
AIM:
To provide ceiling and roofing and produce the necessary sheets.
PROCEDURE:
- Open the Week 3 project.
- Click on Ceiling from the Architecture tab> Select Sketch ceiling> Use Pick line option and select the outer boundary of the walls in the First floor plan> Click on Tick mark.
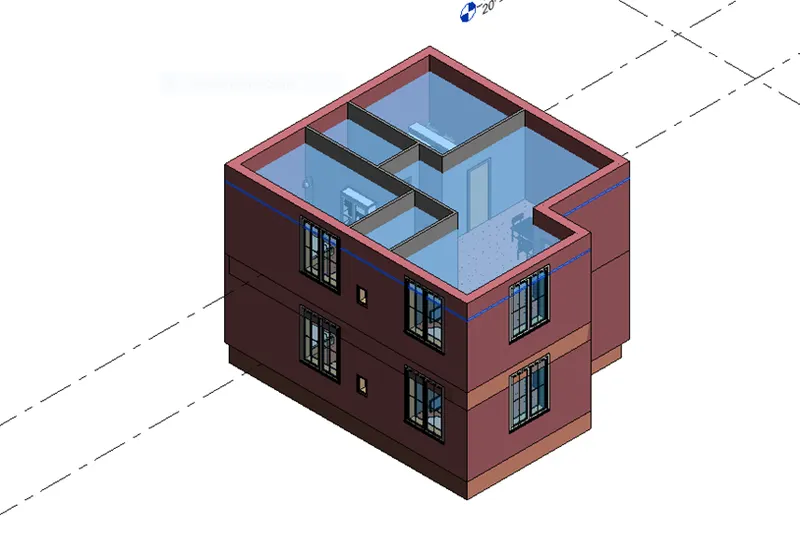
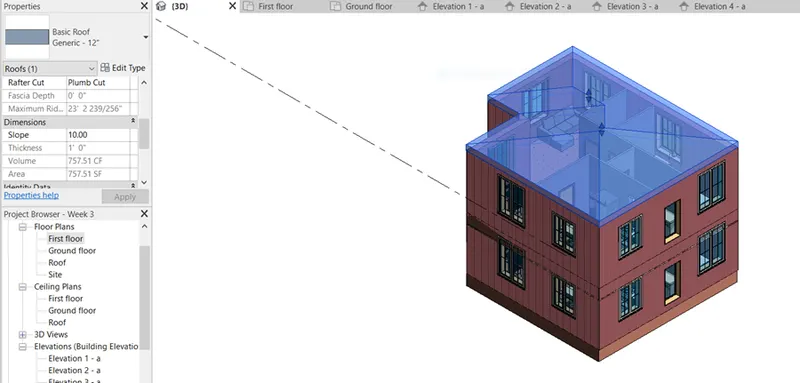
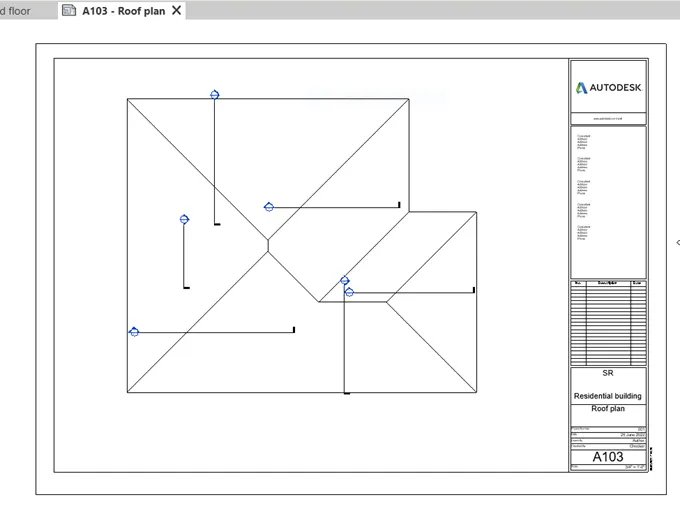
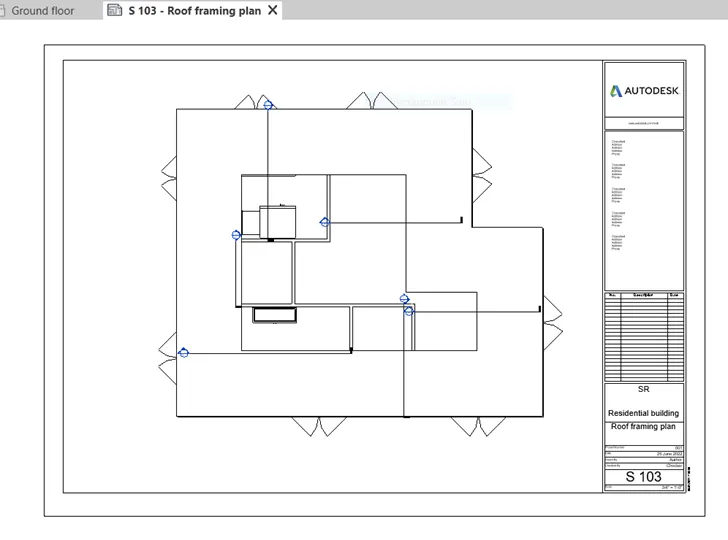
- For modelling Roof> Go to First floor plan> Click on the arrow next to Roof in Architecture tab> Click on Roof by Footprint> Choose Pick Line option> Select the outer edges of all the wall> Click Tick mark.
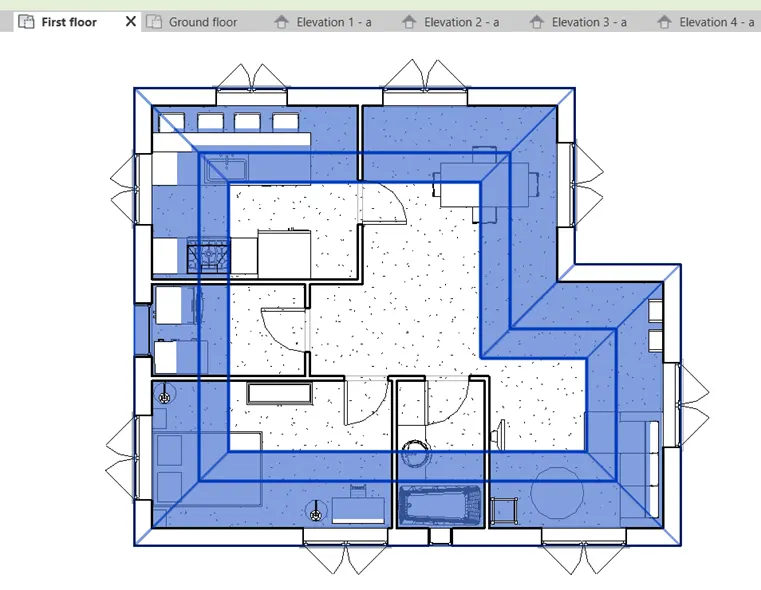
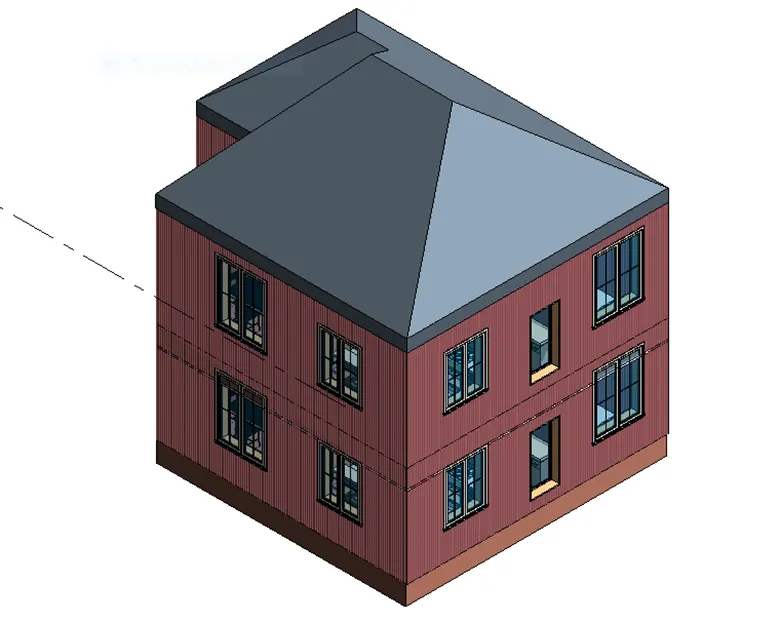
To give slope to the roof, click the roof> Properties browser> Slope> type in the value
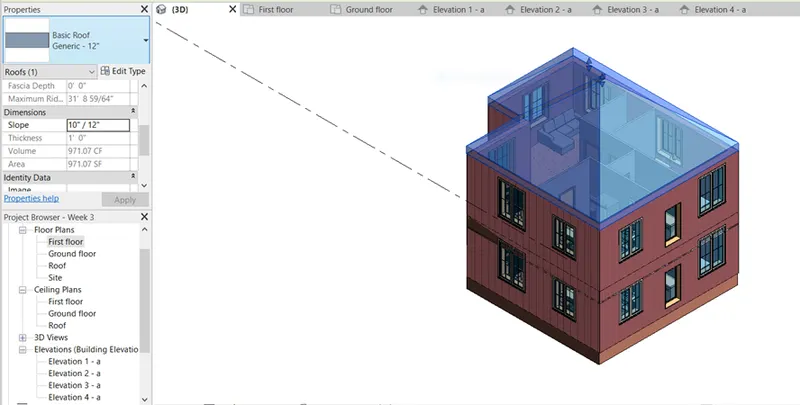
To give the value in degrees, type un> Click on Slope> In the dropdown select degrees> Now again select the roof and type in the value 10.
3.
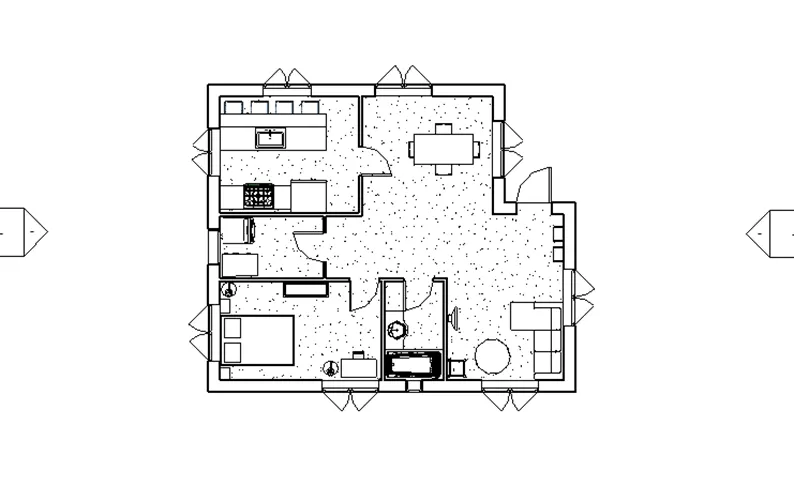
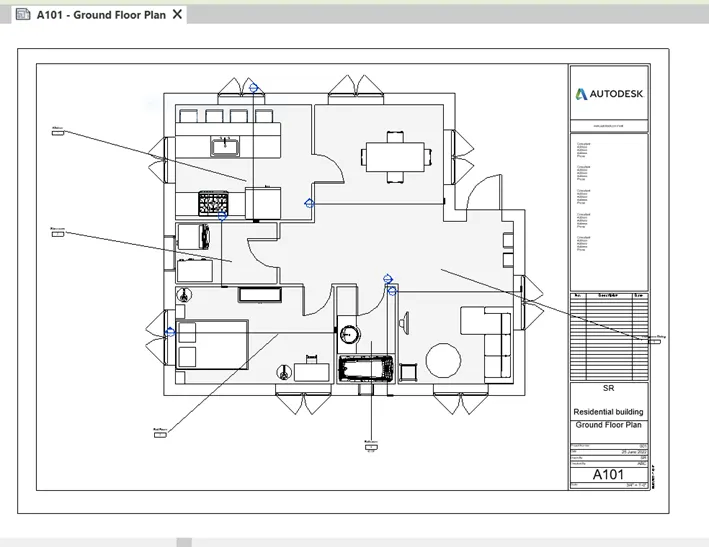
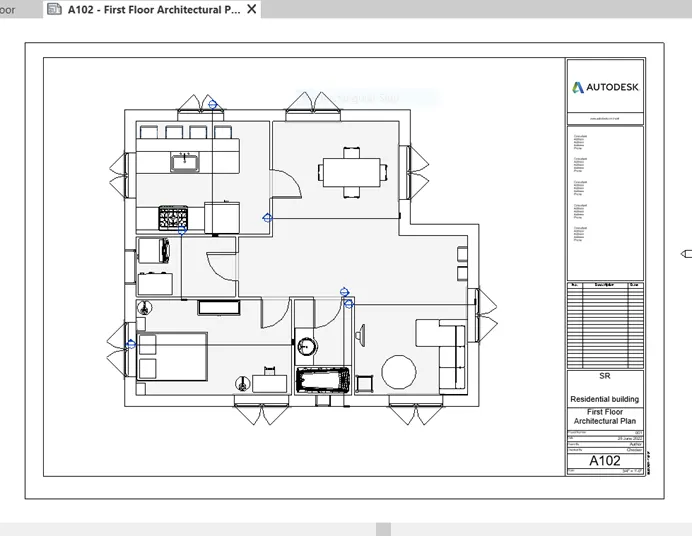
- To view Architectural plan> Click on View Tab> Plan Views> Floor plan> Click OK.
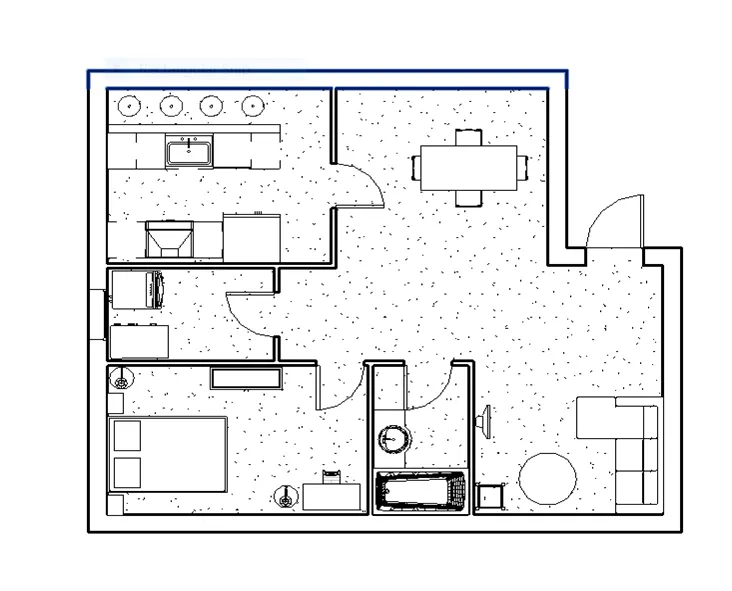
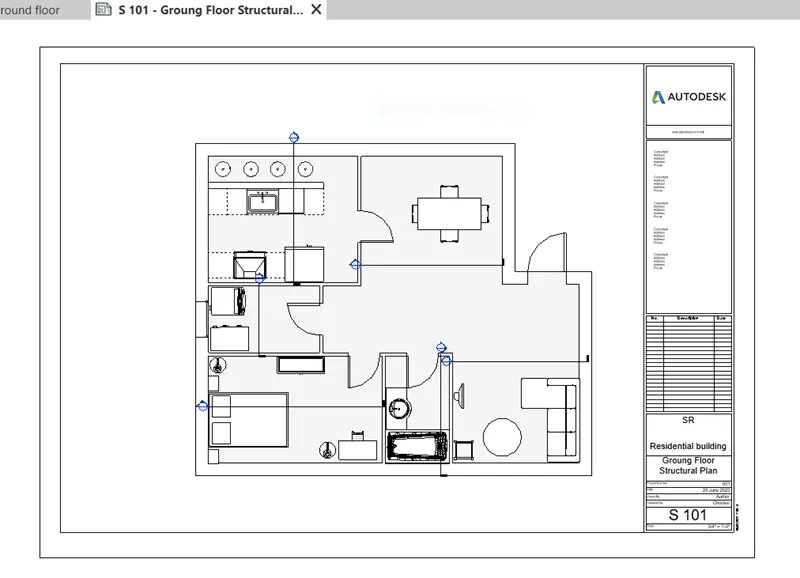
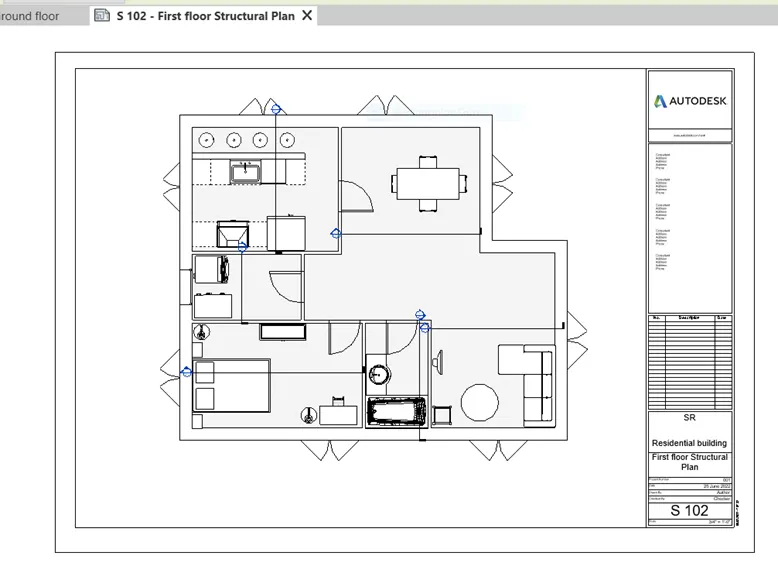
- To view structural plan, click on Structural plan in the Plan view drop down.
4.
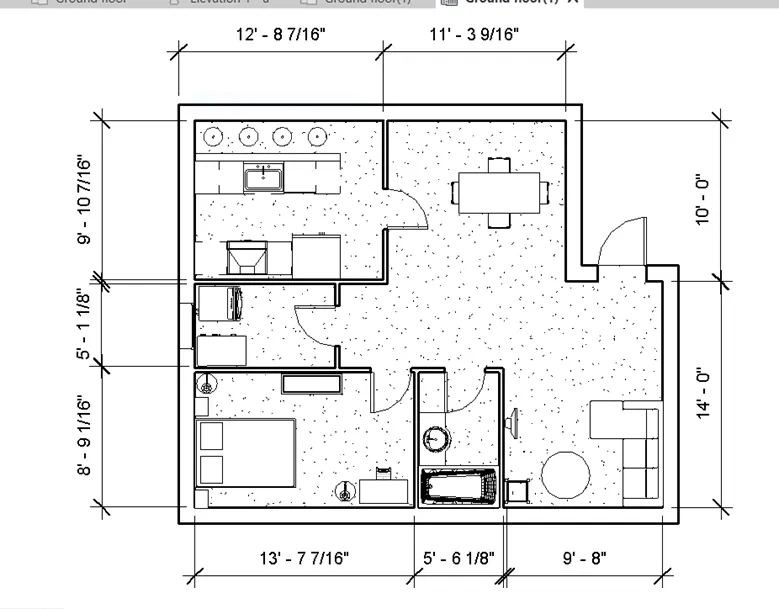
- Annotate tab> Linear> Click on the corners of the walls and do dimensioning
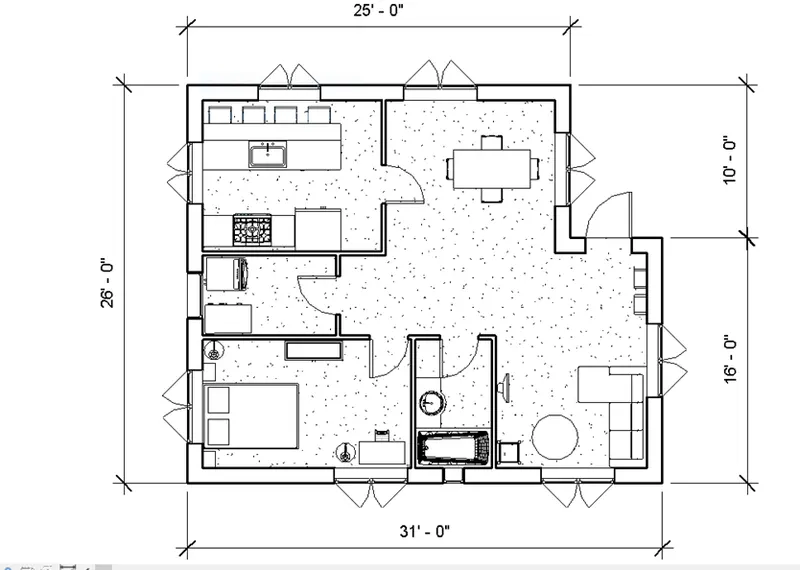
- Now open Structural plan and do dimensioning.
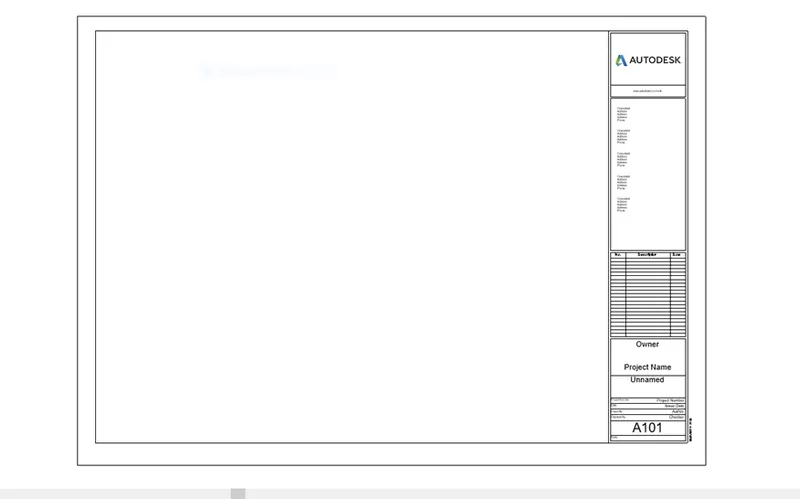
- To create sheet> View tab> Click on Sheet icon> Choose any paper size> OK. We can rename the words by just double clicking them or using the Manage tab> Project information and fill all the details.
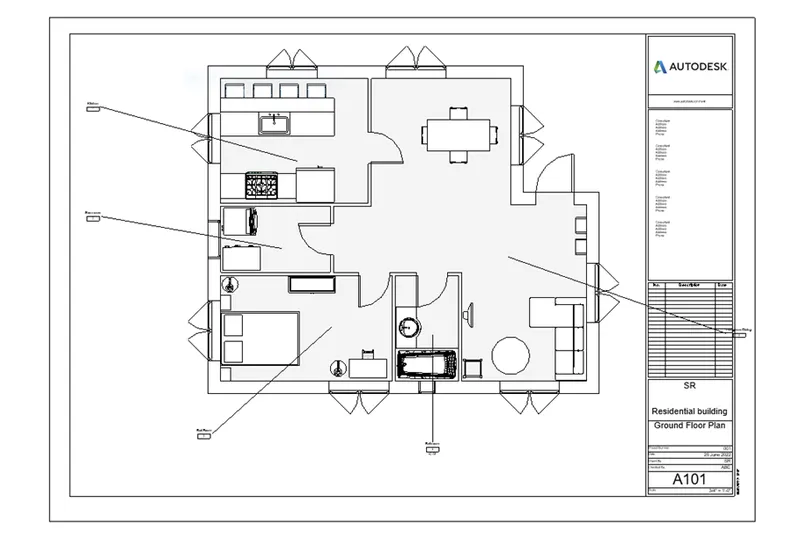
Now drag the plan you want to display on the sheet from the Project browser and adjust the size of the plan in the view scale option in the Properties browser.
6.
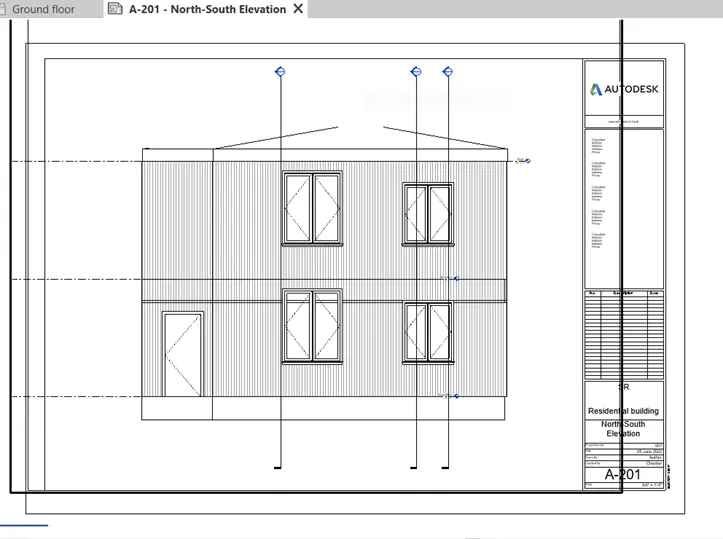
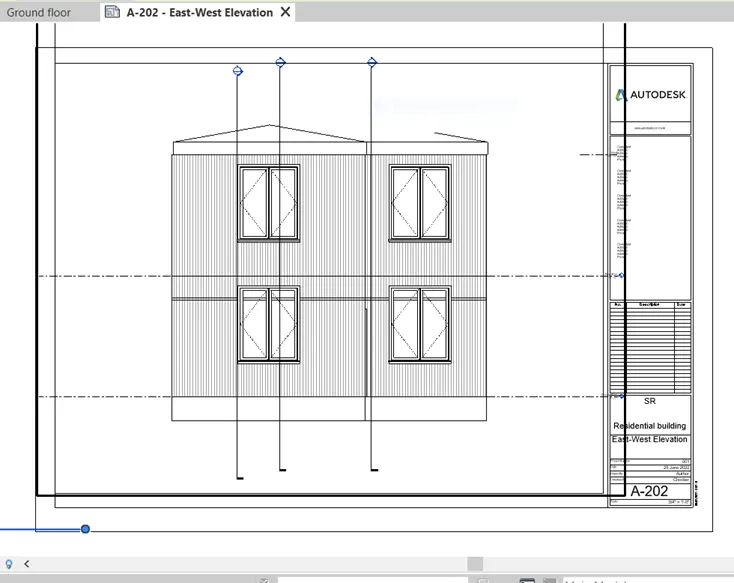
In View tab> Elevation> Place the symbol on east side of the plan and rename it in the project browser as East. Similarly we can create the elevations in South, North and West.
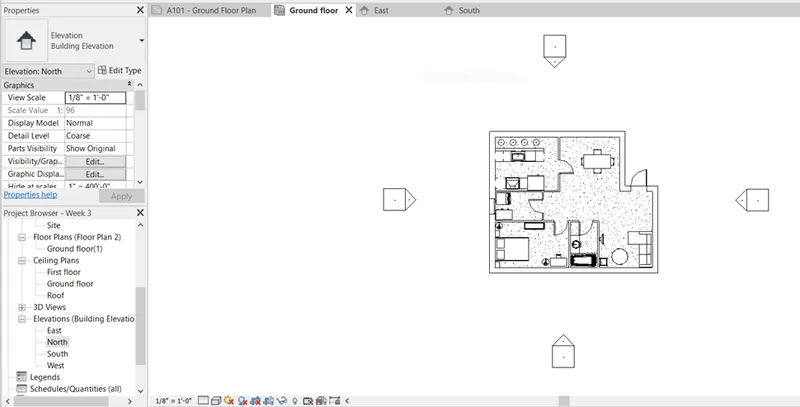
We can click on each elevations in project browser to view all the elevations.
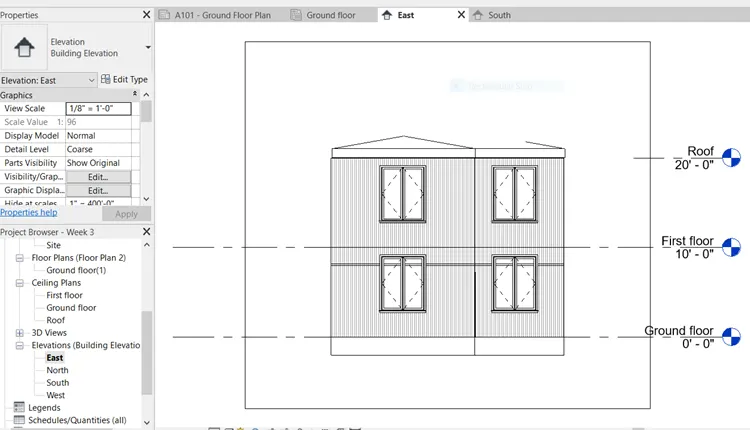
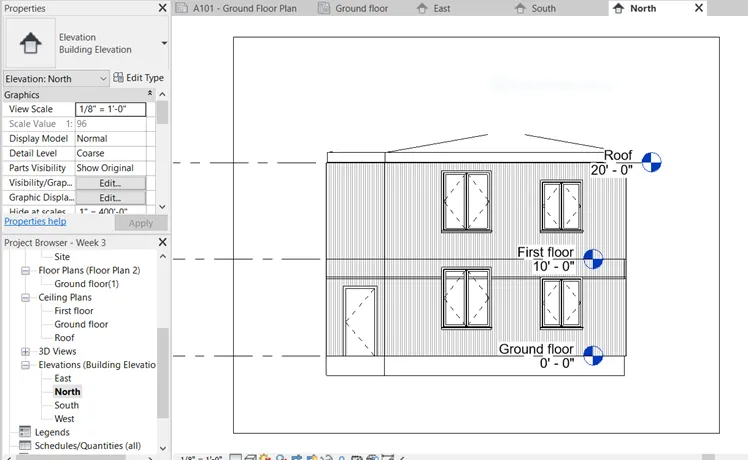
, etc.
7.
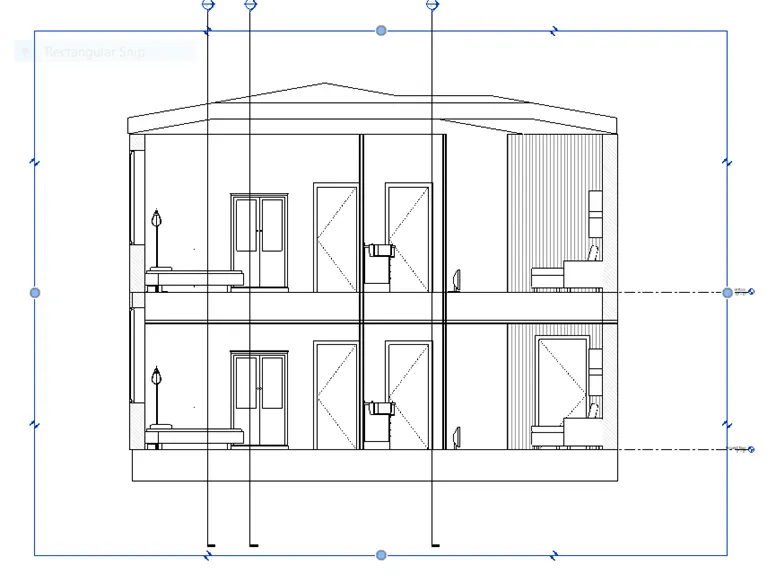
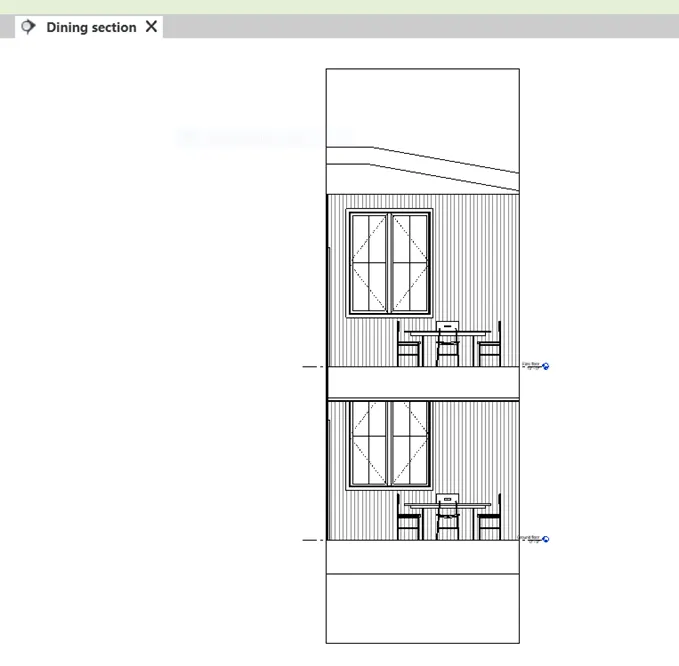
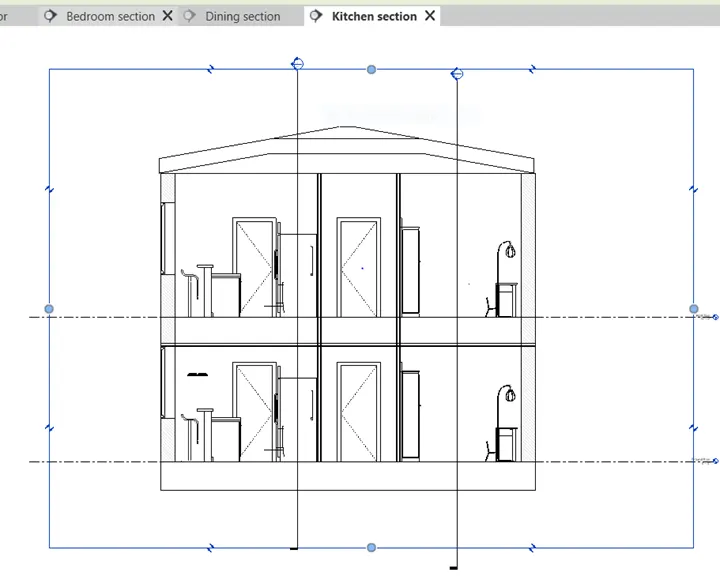
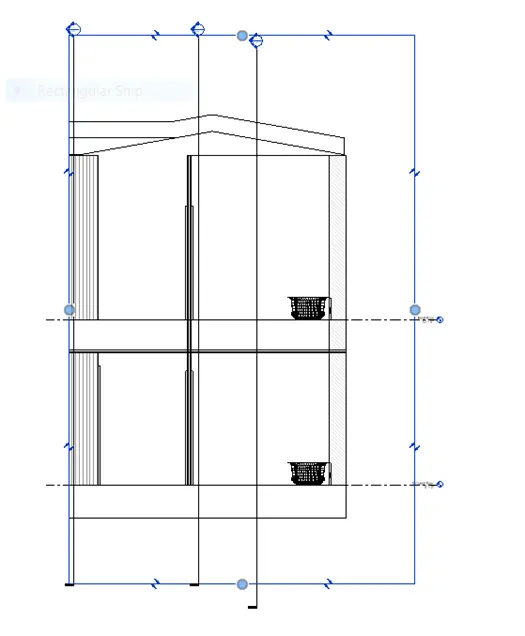
To produce section cut, go to View tab> Section> Cut a room in longitudinal / transverse direction> Project browser will show Section 1> Rename it as the room section> We can see the sections by clicking on each sections.
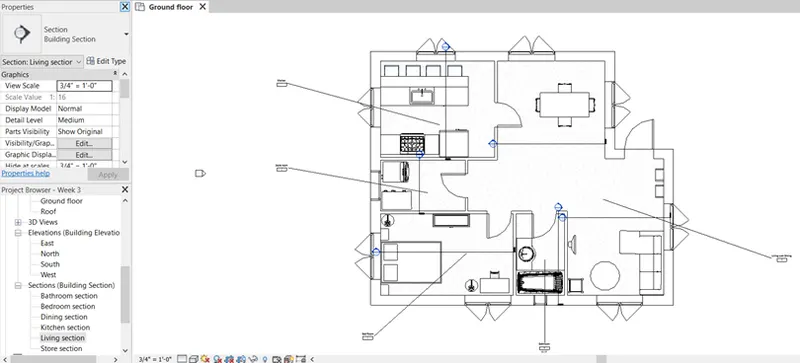
Bedroom section:
Dining room section:
Kitchen section:
Bathroom section:
8.
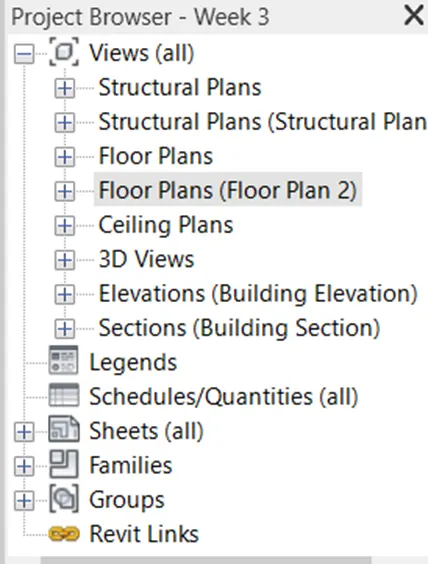
9.
a)
b)
c)
d)
e)
f)
g)
h)
10.
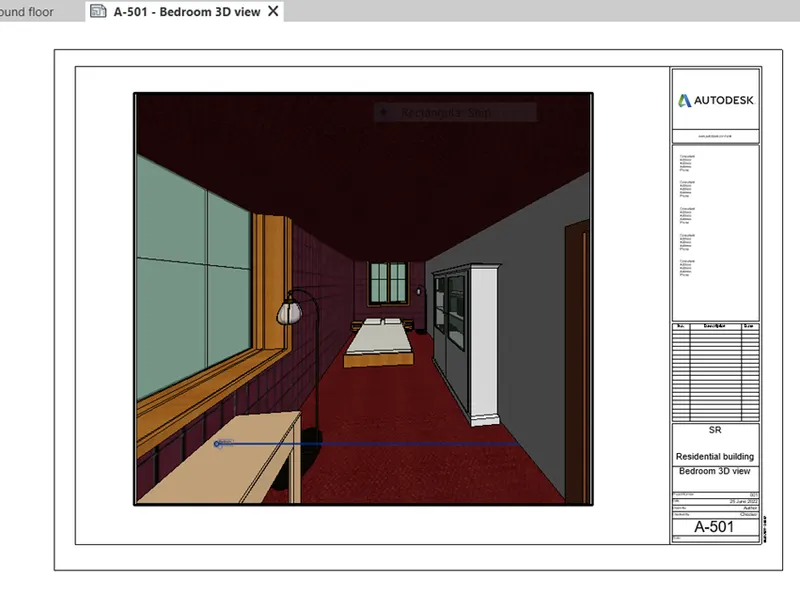
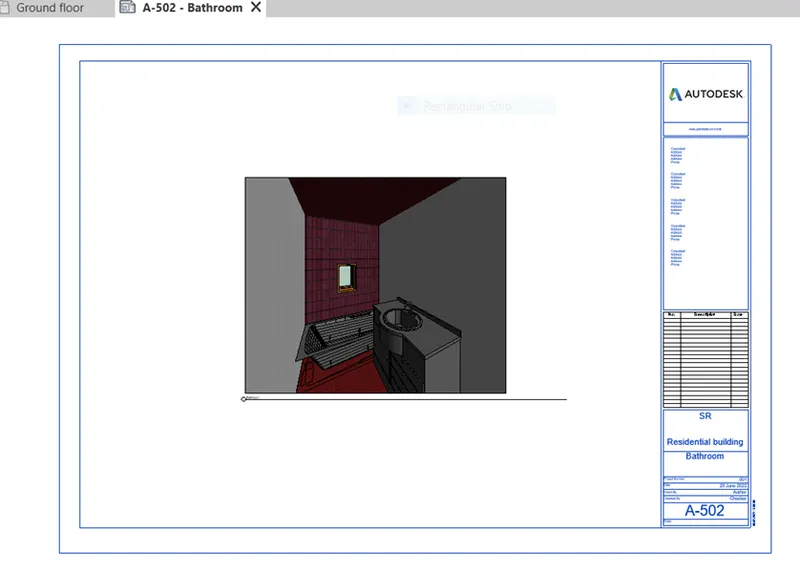
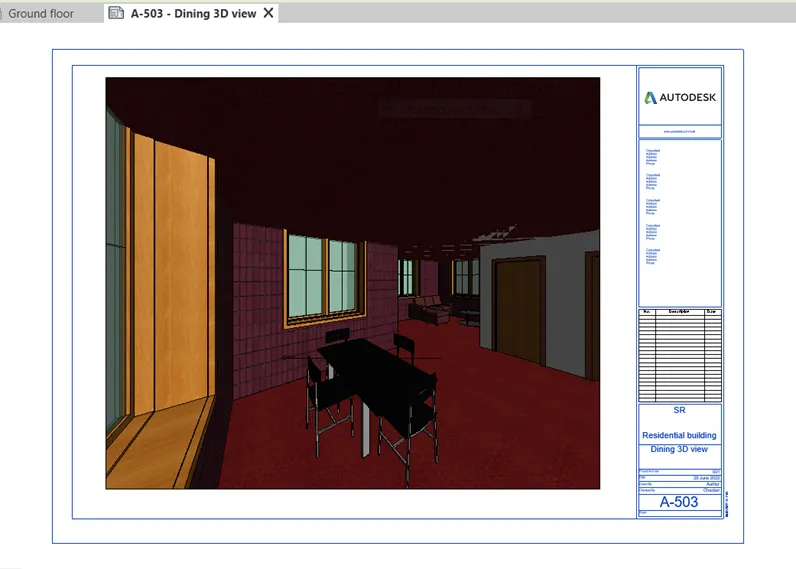
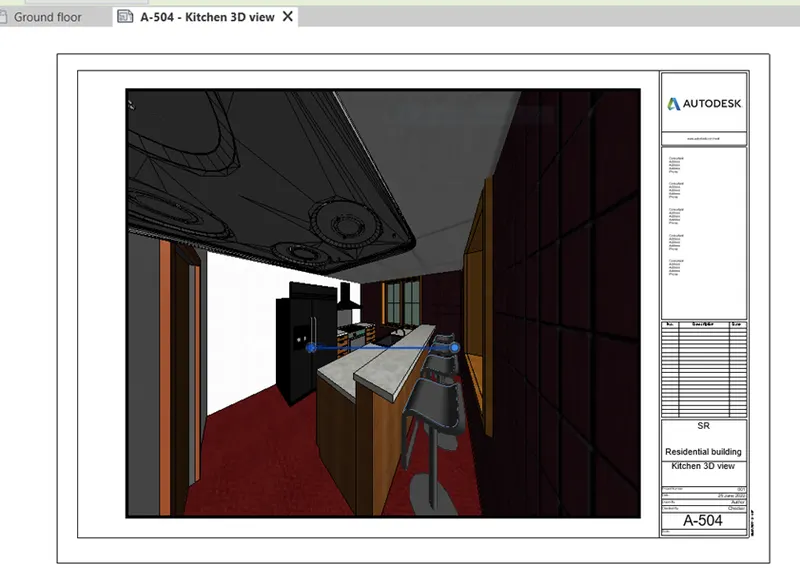
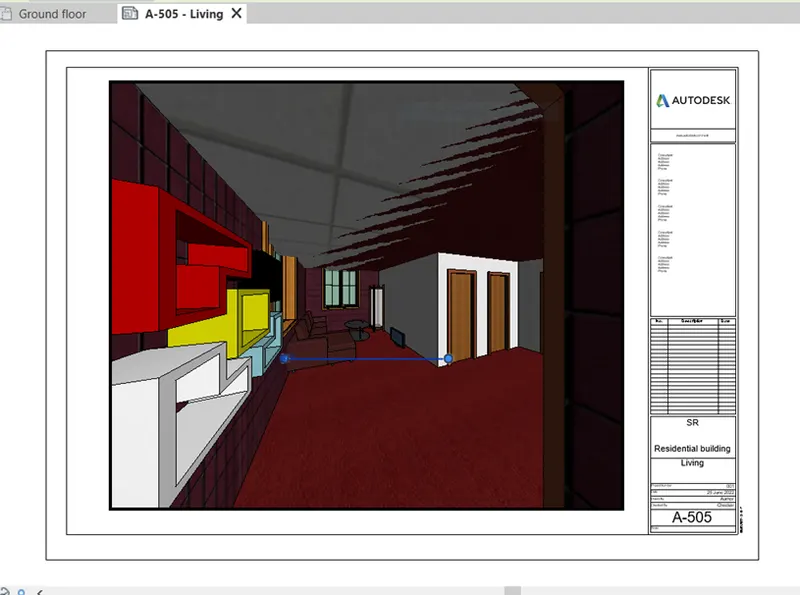
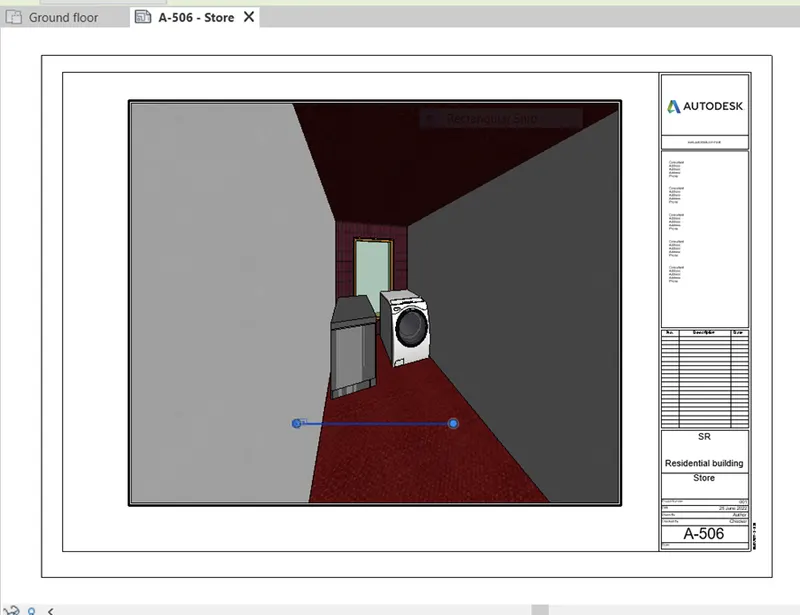
To place camera, go to View tab> Drop down 3D View> Camera> Place the camera in the room and drag it in the direction in which you want the view. Choose Realistic option for a more realistic look. Rename the 3D view in project browser. Similarly add cameras in all the rooms. Add all the views in sheets.
- Bedroom:
- Bathroom:
- Dining:
- Kitchen:
- Living:
- Store:
RESULT:
All the necessary details are added.