Creating Walls, Partition walls and Floors for a residential layout using REVIT
Ans1
AIM-Use the project file created from Week 2. Use it for this assignment. Based on your layout from week 2, using floor tool under architecture tab and select the floor with appropriate material and thickness using the property browser create a layout in the Ground floor Level. Align the floor plan with grids created from week 2
PROCEDURE
- Select plan from weak two
- go to archetectural ->floor
- add floor to the plan
- go to properties-> edit type -> edit
- give material to the floor
- thickness can be change through proerty itself
RESULT
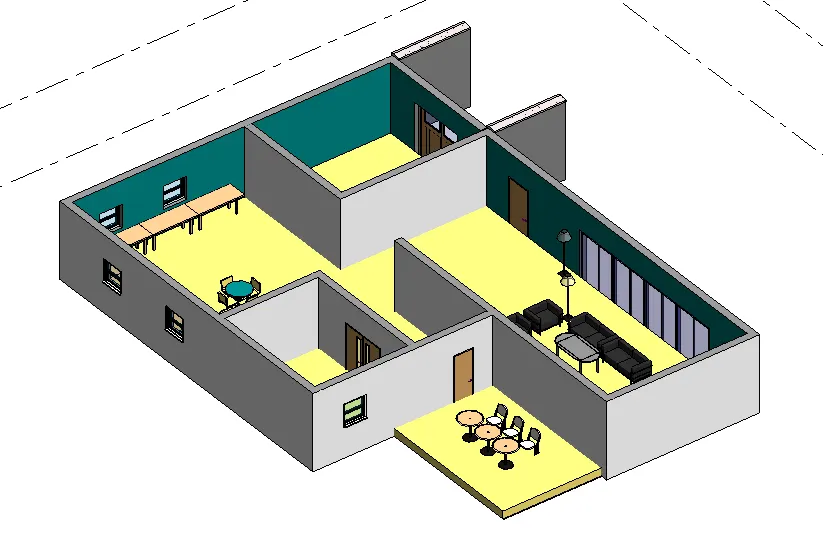
ANS2
AIM-Add walls based on the floor layout. Pick lines or use the draw tool to modify the boundary of walls. Use the property browser to select appropriate material and thickness for walls. After creating the walls verify using the property browser to see if the top and bottom of the walls are constrained
PROCEDURE
- Select plan from weak two
- go to archetectural ->WALLS
- add Walls to the plan
- go to properties-> edit type -> edit
- give material to the floor
- thickness can be change through proerty itself
RESULT
a) In my openion connected walls are more convinent as we change the level height the wall height automatecally gets changed
b) for me modelling by height is more flexible to work on revit
ANS3
AIM-Copy the model elements ( wall, floor ) modelled to Ground Floor Level and paste it aligned to First Floor Level . Use modify tab to utilize copy and paste options to align
elements to a different level
PROCEDURE
- Go to ground floor plan
- copy the plan
- paste in alighn to selected level
- select level 2 and press ok
- your ground floor plan is get copied as it is in the level one
RESULT
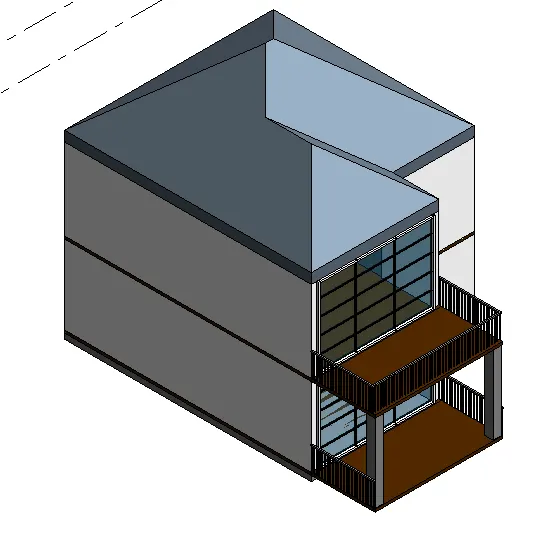
ANS4
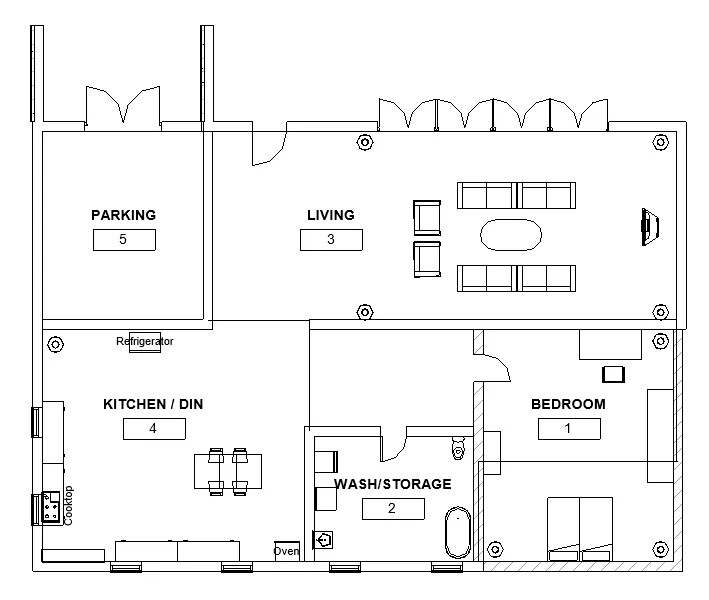
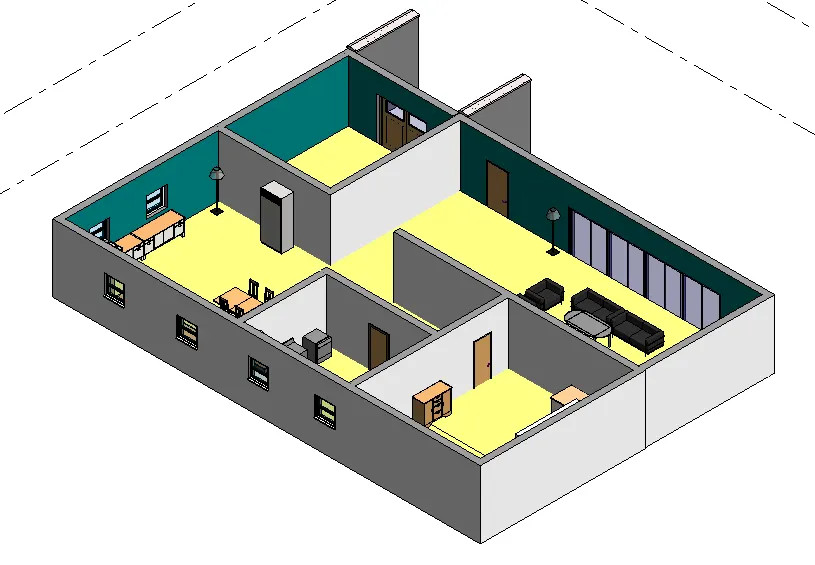
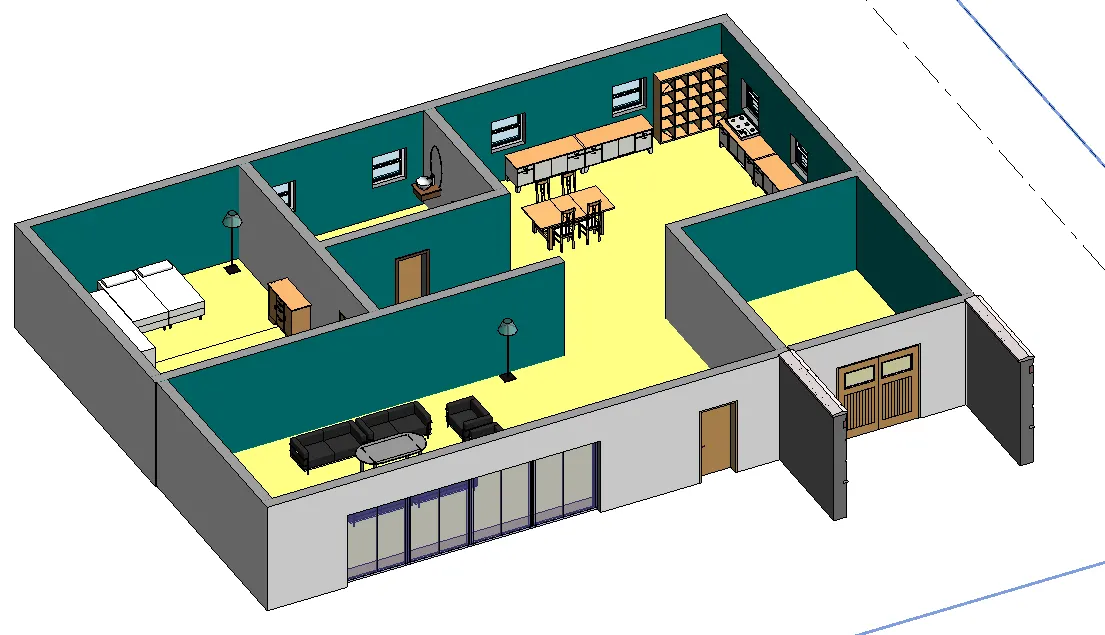
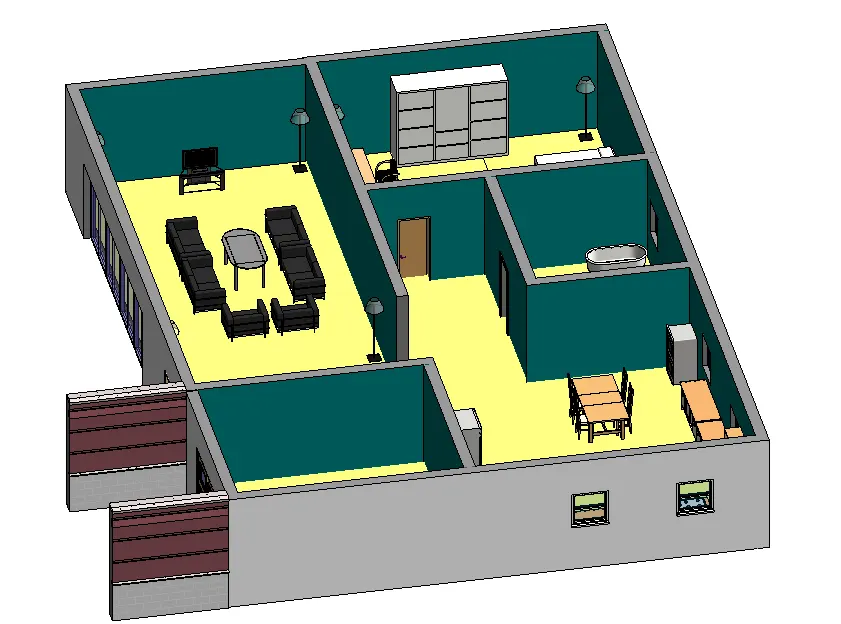
AIM-Use interior partition walls to create separate rooms within your residential unit. The model must include the following rooms
PROCEDURE
- Select plan from weak two
- go to archetectural ->WALLS
- add Walls to the plan
- USE ANNOTATE TOOL TO GIVE THE DIMENSION
RESULT
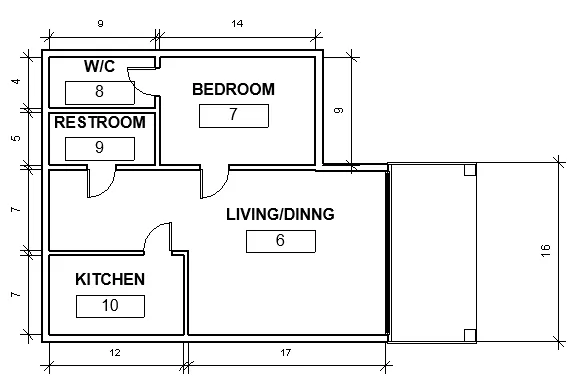
ANS5
AIM-Based on week 2 assignment, the components to be included in a residential unit were inserted to the Revit file. Place these components in appropriate locations to add details to your residential model
PROCEDURE
- select the sample drawing
- go to insert-> load families -> select component
- add all the components mentioned in the question
RESULT