Creating various 3D Models like Furniture, Footing, Girder, Column drop with panel and Gable Wall in AutoCad
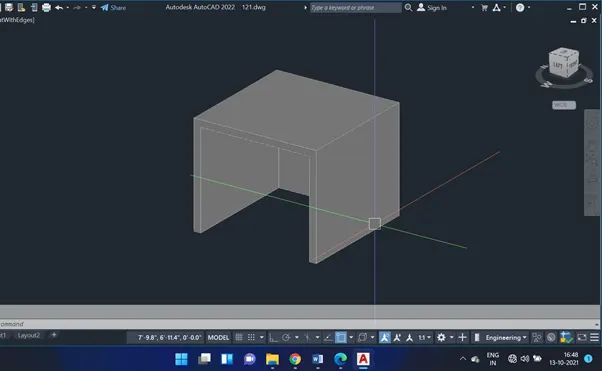
Aim & Introduction: To create a 3D Furniture element as shown in the Figure.
Procedure:
Command used:
- Line join
- Trim
- Offset
- 3D Orbit
- Extrude
- Union
Draw rectangle of 3’ x 3’
Offset the rectangle of thickness 2”
Explode the rectangle
Make it region
Region > select the inner area > enter
Extrude > select object > enter distance 2’-6”
Result:
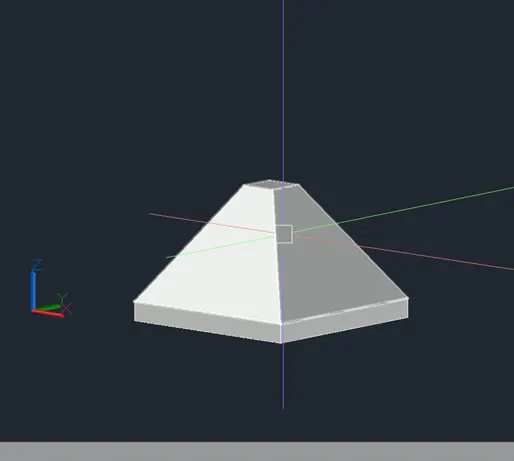
Aim & Introduction: To create the 3d Model of an Isolated footing as shown in Figure
Procedure:
- Draw a rectangle of 1’ x 1’
- Offset the rectangle for the outer side
- Change in to isometric view
- Move the rectangle to z-axis of 2’
- Extrude the rectangle
- Extrude> select object > taper angle > Move downwards > change the grip to rectangle
- Extrude the lower rectangle up to 6”
Result:
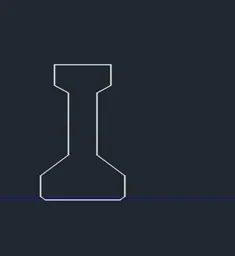
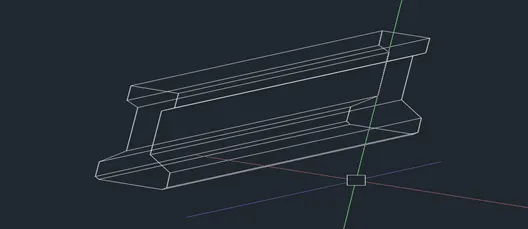
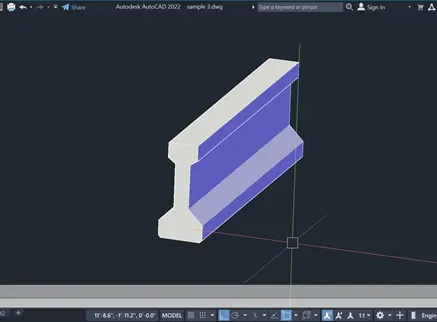
Aim & Introduction: To create the 3D view of the AASTHO Type Girder.
Procedure:
- Draw a shapes of give dimensions with polyline
-
Extrude the shape in to 10’
-
Result:
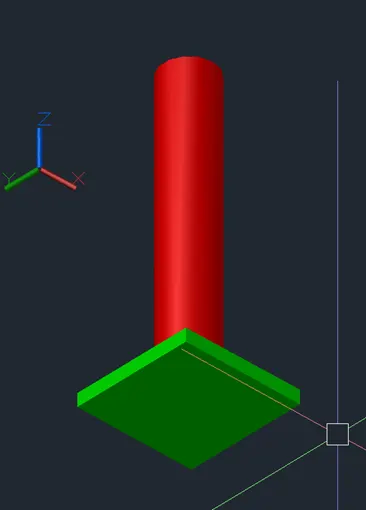
Aim & Introduction: To Create a 3d Model of a drop column with panel as shown in section and isometric view.
Procedure:
Draw a rectangle of 4’-6”
Offset in to 6”
From the centre of the rectangle , draw a circle of 1’-6”
Move towards upside upto 1’
EXTRUDE THE RECTANGEL UPTO 6”
LOFT > SELECTOBJECT >JOIN MULTIPLE EDGES> SELECT OBJECT > ENTER
EXTRUDE THE CIRCLE UPTO 10’
Result:
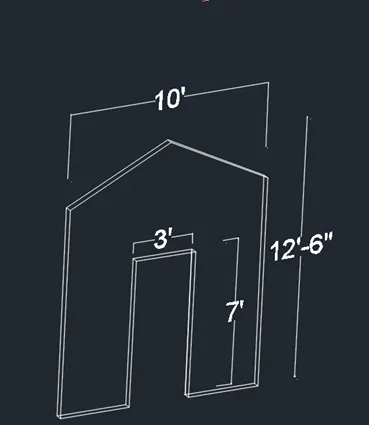
Aim & Introduction: To Create the 3d model of a wall as shown in Figure. Consider wall thickness as 9”.
Procedure:
Draw a rectangle of 10’ x 12’-6”
Divide the rectangle vertically
Make offset of 2’-6” horizontally
Make rectangle of 3’ x 7’
Trim the unnessary area
Create a region
And extrude up to 9”
Result: